Looking for a Fun Halloween Look? Try This Chilling Zombie SFX Makeup

Ready for Halloween? Let me show you this zombie SFX makeup tutorial, which includes prosthetics. Prosthetics definitely give off that wow factor and make everything look so lifelike.
Keep on scrolling and see how I achieved this gross and spooky zombie special effects makeup inspired by “Fear The Walking Dead” costumes.
Tools and materials:
- Witch hazel
- Cotton pads
- Cotton buds
- Pros-aide
- Setting powder
- Various-sized application brushes
- Zombie prosthetics
- FX color palette
- Red pencil
- Fake blood
- Bloodshot contacts
- Makeup sponge
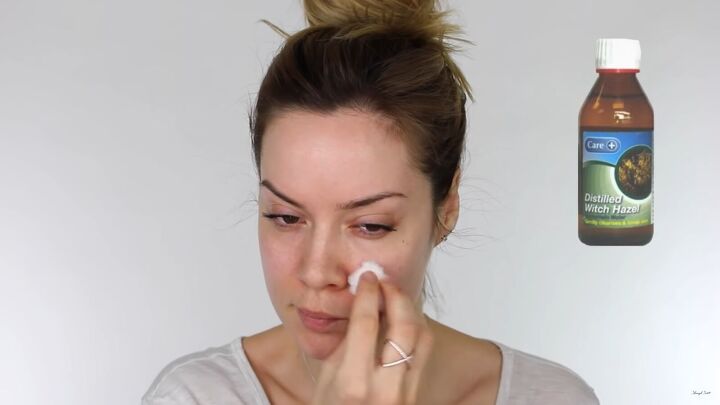
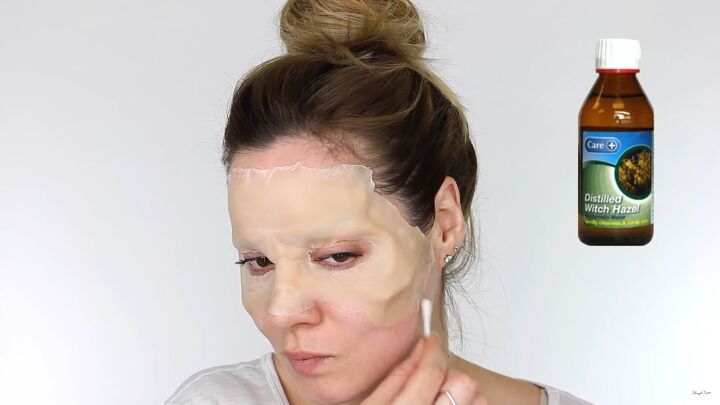
1. Prep your face
Clean your skin with witch hazel before applying your prosthetic mask. This will remove any oils from the face.
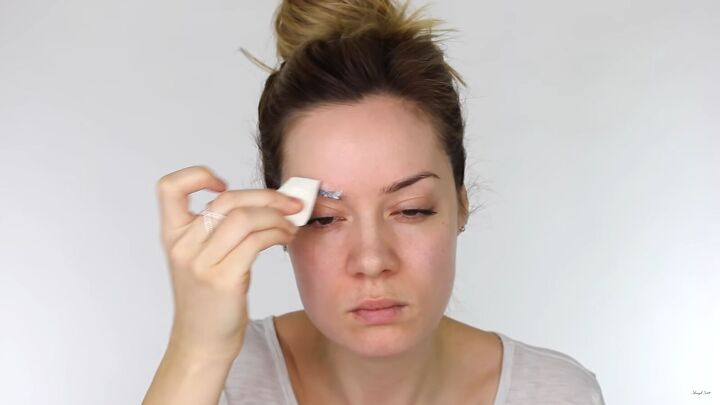
2. Glue your eyebrows
Using pros-aide, add some glue to your eyebrows so that they don't get caught in the prosthetic piece. Dab a little on a makeup sponge and evenly distribute it.
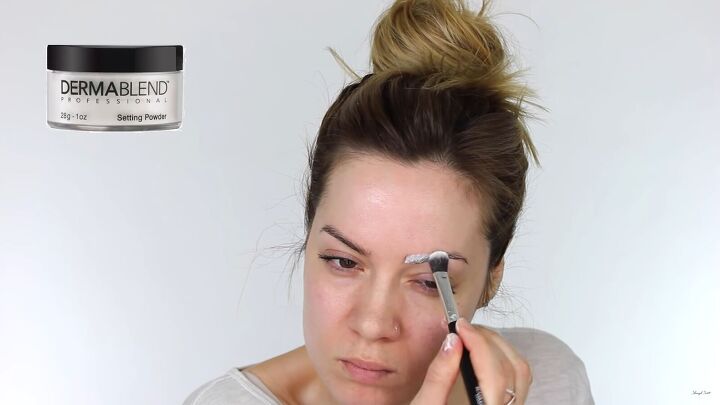
Once you’ve flattened both your eyebrows, go over it with setting powder.
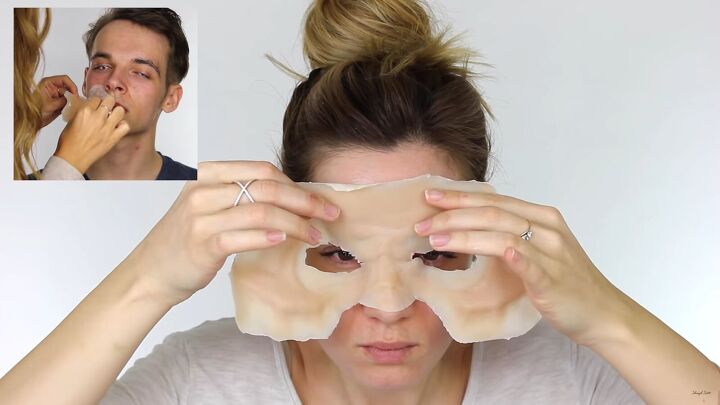
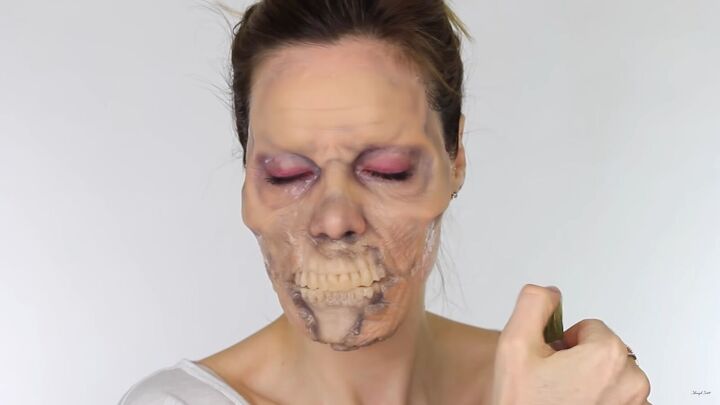
3. Apply the prosthetics
I’m using the Nimbus prosthetics range. It’s best to start with the forehead area and work your way down. Apply pros-aide to your skin and allow it to become tacky and transparent before setting the prosthetic on your face.
Tip: Apply pros-aide to the back of your prosthetic as well.
Blend away at the edges of the prosthetic with witch hazel. Use a cotton bud for this step. There’s a specific technique to this; roll the cotton bud between your fingers as you go along.
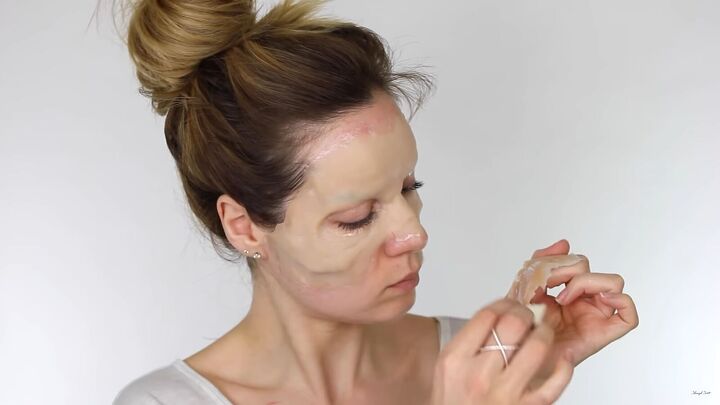
Now, apply the jaw sections. Blend it out with witch hazel as you apply each piece.
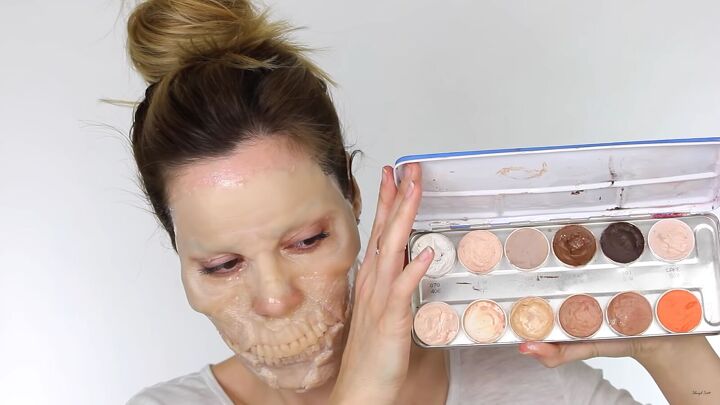
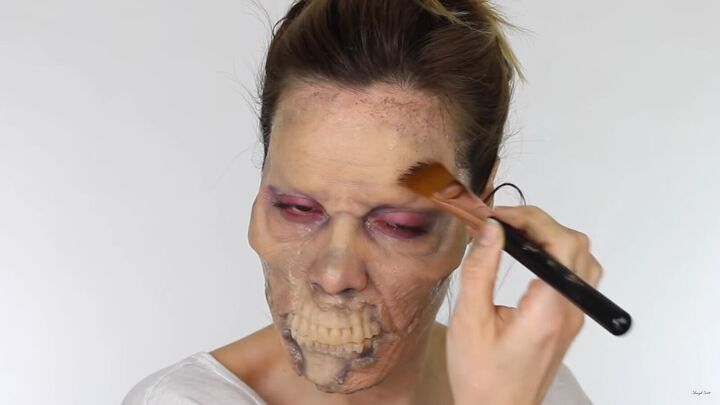
4. Add color
Using an SFX palette, mix a bunch of colors to get as close to your skin tone as possible. Then press this color onto the prosthetic using a makeup sponge.
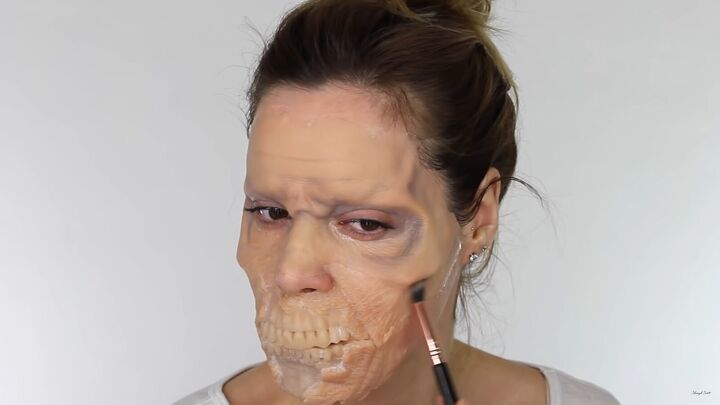
Taking a gray shade, work it into all the hollowed areas of your eyes, side temples cheeks, and around the mouth area. Build up the pigment slowly.
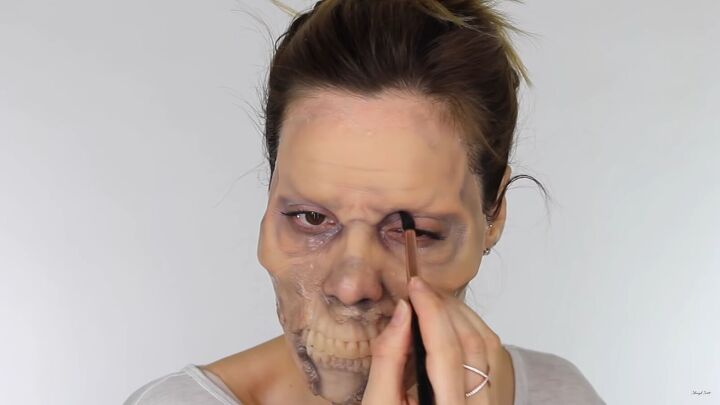
Now, mix a blood-red shade with the grey and apply it to the inner corners of the eye and around the sockets.
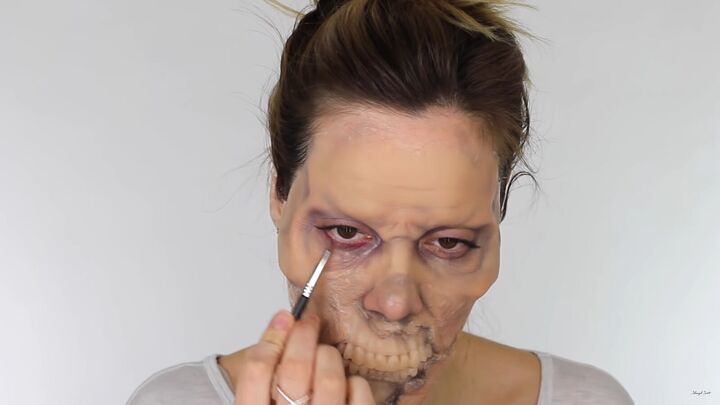
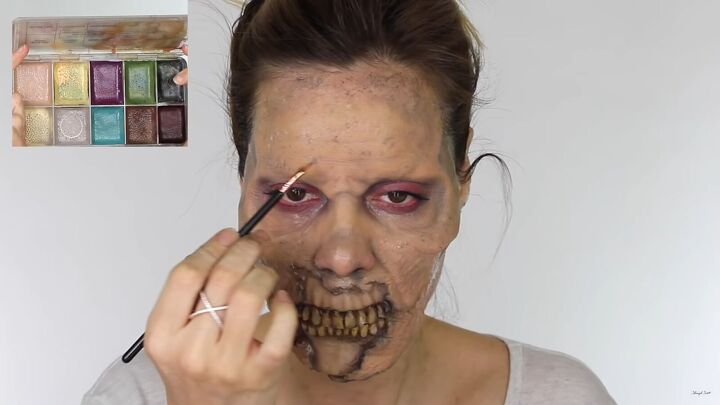
Apply a red shade underneath the lower and upper lash line.
Also, apply the red shade to the top lid; this will make the eyes look sore.
Then, apply a red pencil to the waterline.
Mix a gray and green shade of FX makeup and, using a stipple brush, flick the color on your face.
This is the best way to break up the skin tone and give your face a mottled appearance. Uneven skin tone is one of the key aspects of zombie special effects makeup.
Apply black paint to your skin with a stipple brush. Then, soften it with your fingers.
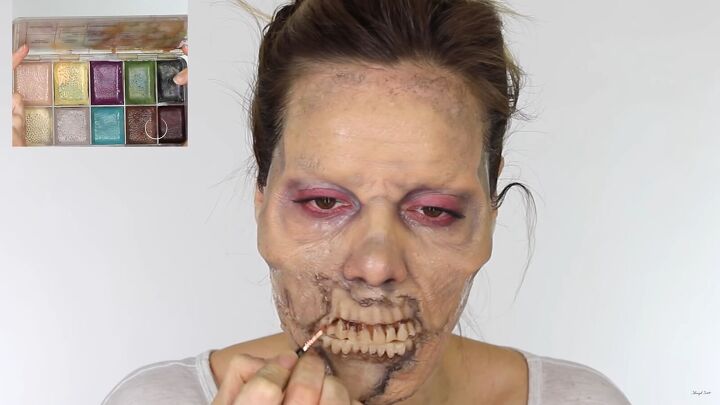
Using a mix of browns and reds, work around the mouth area with an angled brush. This will add more definition to your Halloween zombie mouth makeup.
Give the teeth a more rotten appearance; mix the brown and yellow shades and apply them to the teeth. To show some decaying areas, go in with some black on the different areas of the teeth.
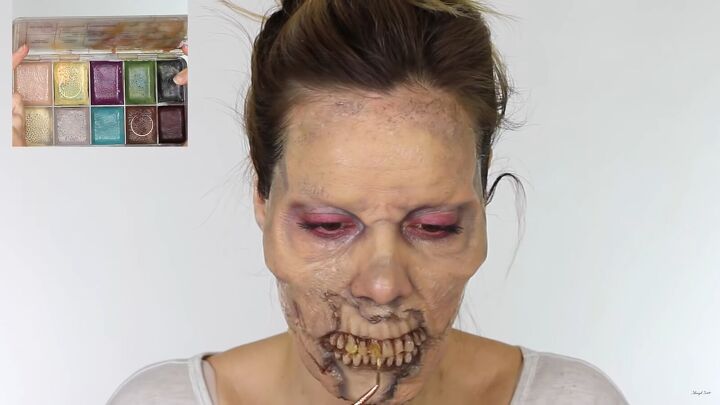
Now, go in with your small angled brush and work the brown paint into your skin. Add dots and blend them with your finger.
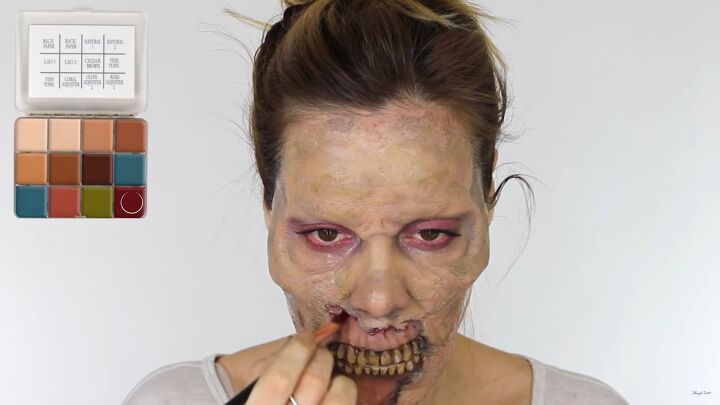
Use a coral color and fill it in the exposed jaw area. To create some depth and bloodiness, go in with a darker red and fill the edges. Then, blend it in with your fingers.
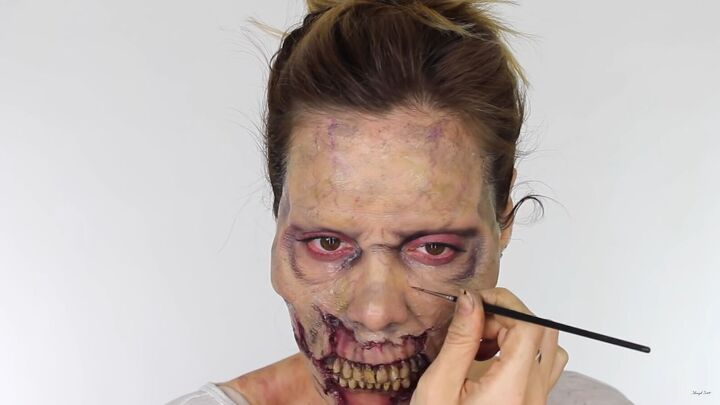
Using a smaller brush, apply the red into all the cracked areas around the mouth. Then, add dark red and black to the tear alongside the cheek.
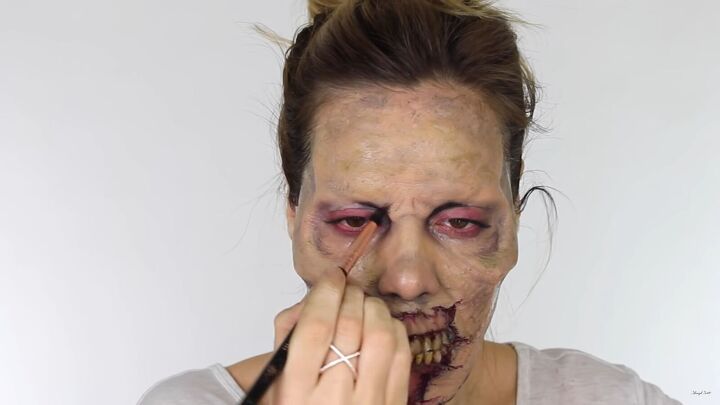
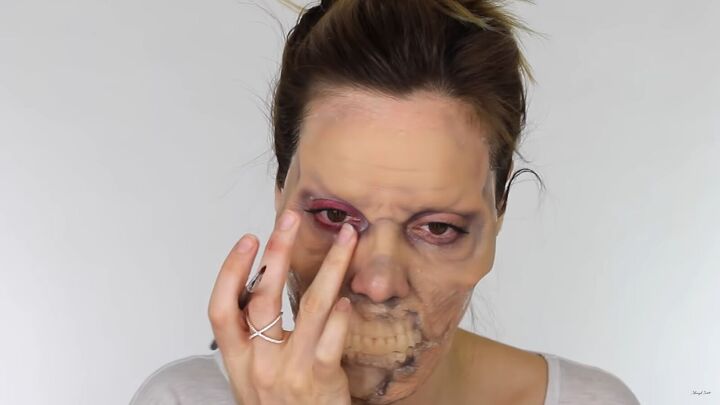
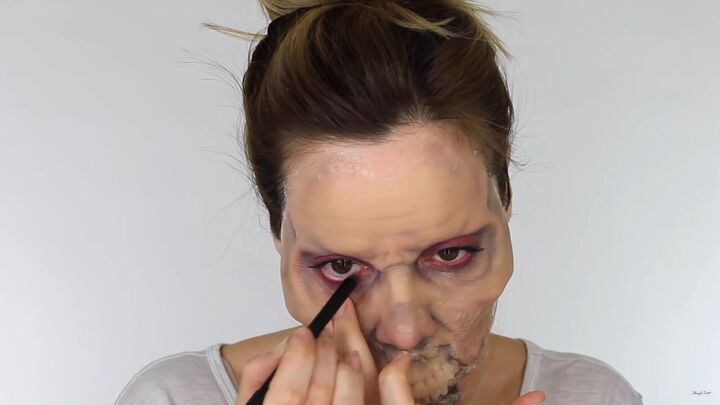
Apply red and black along the hollows of the eyes. To create more depth around the eyes, darken the areas around the inner eyes.
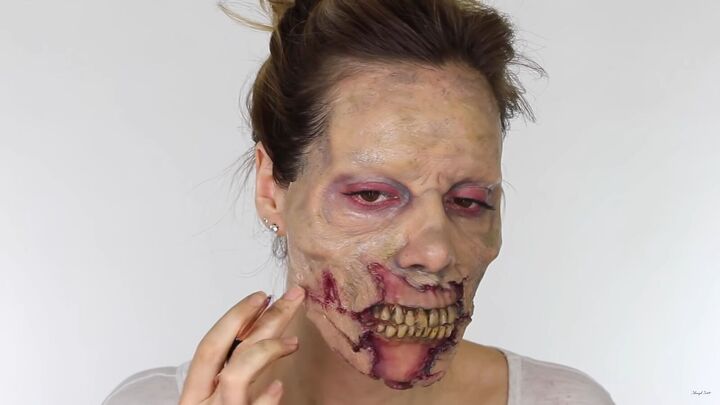
Create small veins by mixing a combination of purple and blue paint. Apply this to your forehead. Apply small light veins around the nose area, too.

5. Apply fake blood
Now, apply fake blood to the tear marks of the face and around the nose.
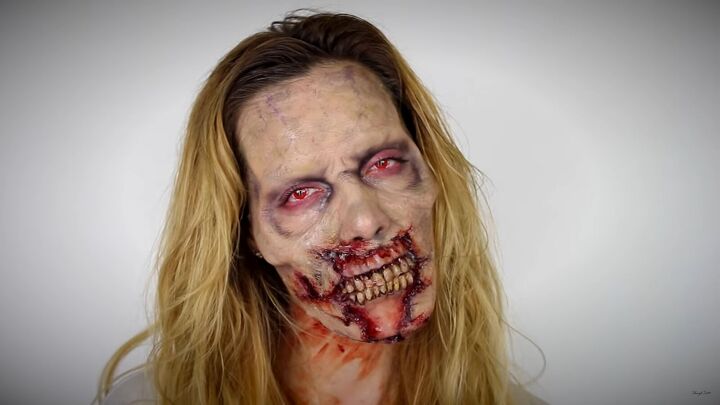
Zombie SFX makeup tutorial
To complete the look, put in blood-shot contacts and grease your hair for a dirty look. So, what do you think of this brilliant zombie SFX makeup? It’s rather fun to create, and the results are phenomenal! Thanks for joining me on this spooky zombie tutorial!
Products used
The author may collect a small share of sales from the links on this page.


Comments
Join the conversation