Create Your Own Christian Louboutin Glitter Heels for Less
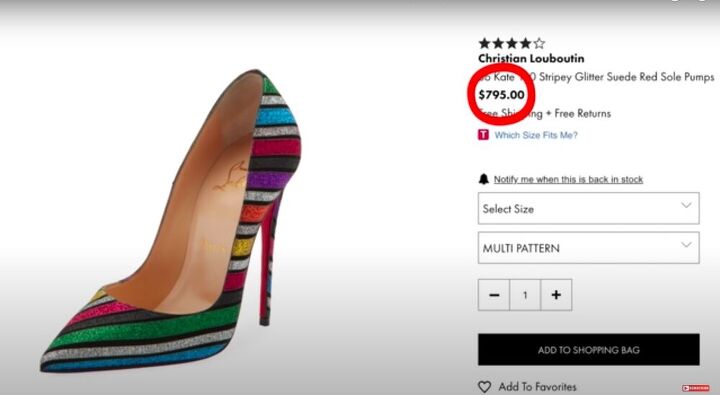
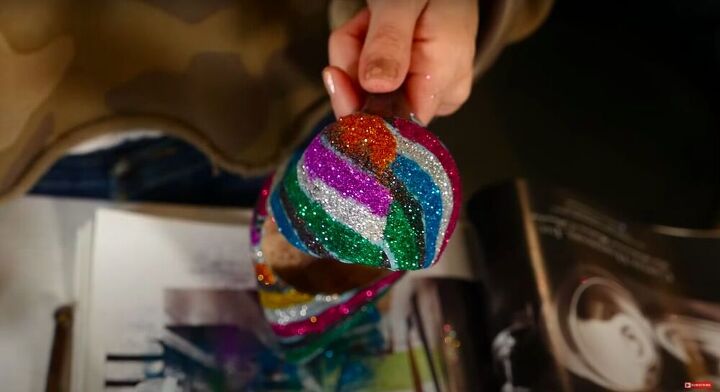
I love myself a great pair of heels. When I saw these rainbow glitter Christian Louboutin heels in a magazine I was instantly in love, but the price was a no-go, so I decided to make my own! This is a great easy project that anyone can do. All you need is a pair of heels, glitter, and glue and you’ll have your own stylish rainbow glitter heels in a matter of hours! Check out my step-by-step tutorial below to get started making your own today. Also, if you like what you see, head on over to my blog for more great DIY projects!
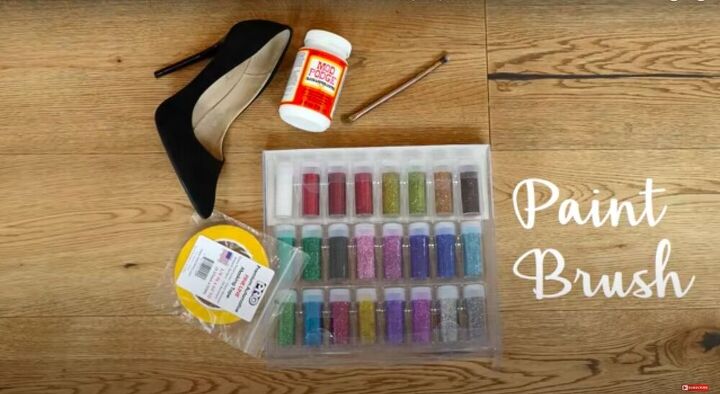
Tools and materials:
- High heeled shoes (Suede or faux-suede material works best, if the heels are patent leather or any kind of slick material the glitter may peel off)
- Glitter
- ⅛ inch painter’s tape
- Mod Podge
- Paint brush
- Craft knife
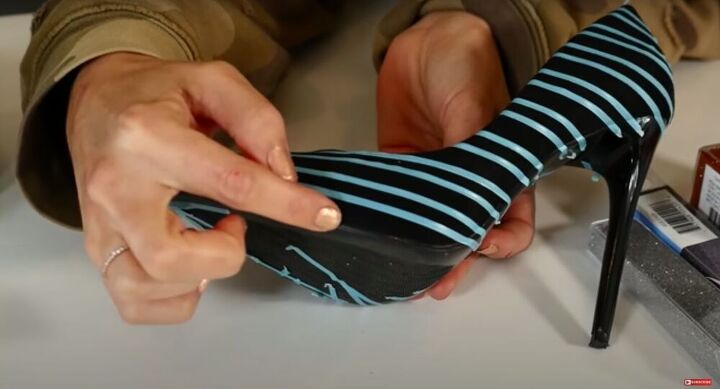
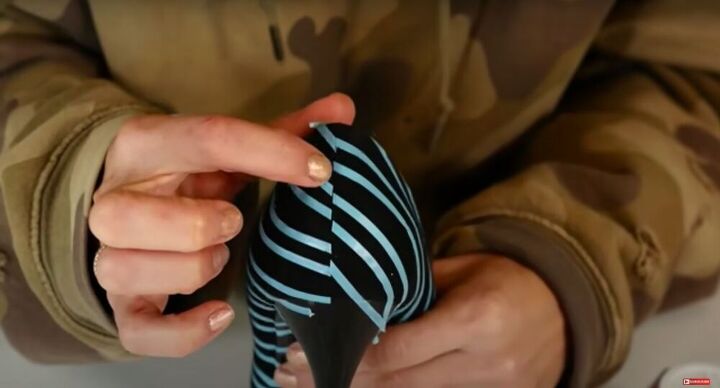
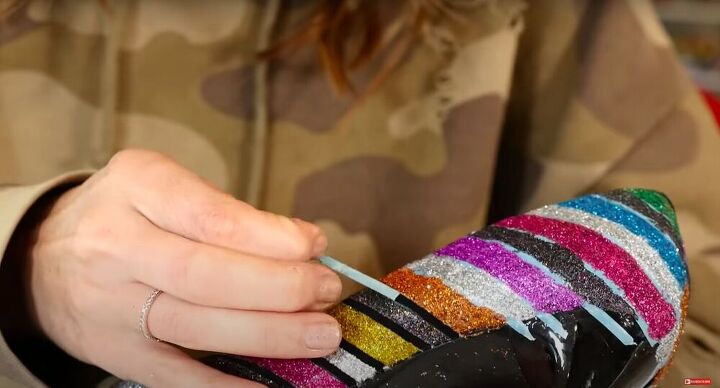
I started out by using the painter’s tape to tape off my design. I wanted to have alternating thick and thin stripes, so I made sure to tape it accordingly. Make sure to have a bit of tape that overlaps the sole of the shoe, as this will make it easier to pull it off later.
I continued taping, following the line of my first piece of tape, alternating thick and thin stripes as I went.
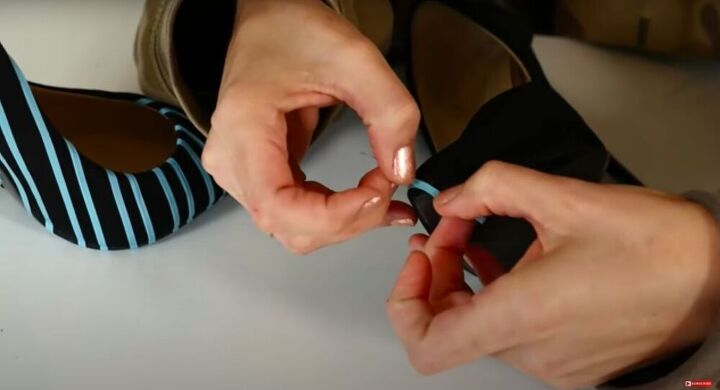
When you get to the back don’t worry about them matching up perfectly, as they don’t even match up perfectly on the real Louboutin heels. Use a craft knife to cut off any excess in the back.
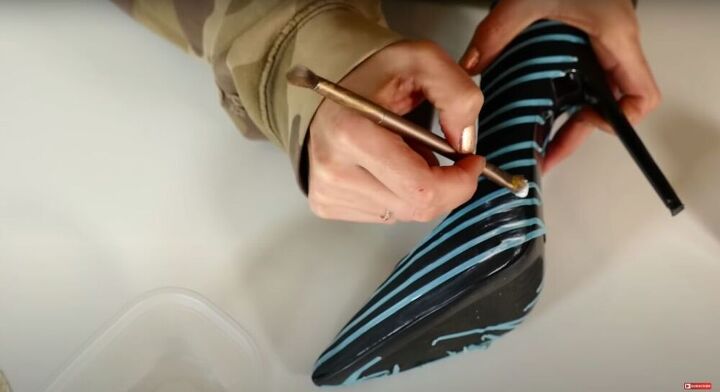
This step is super important. I coated the entire shoe in Mod Podge and let it dry. This will protect the bits that you want covered by the painter’s tape and prevent any glitter from getting under there.
There are two ways to apply glitter. The first way is to apply a layer of glue and then tap the glitter onto the glue and tap off the excess. The second way is to mix the glitter with the glue, essentially creating your own glitter glue, and then brushing it one.
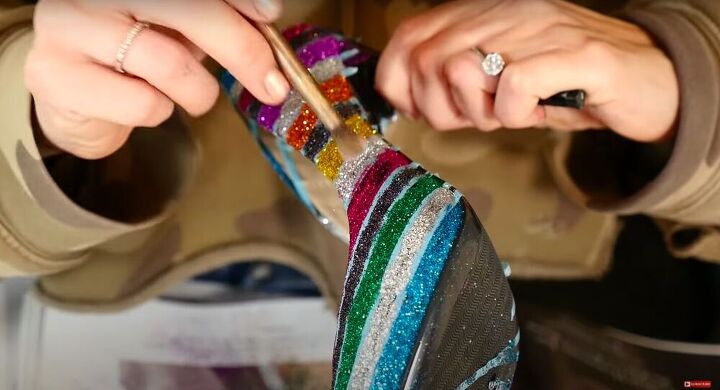
I ended up doing a mix of the two methods. I created a glitter glue and painted it on.
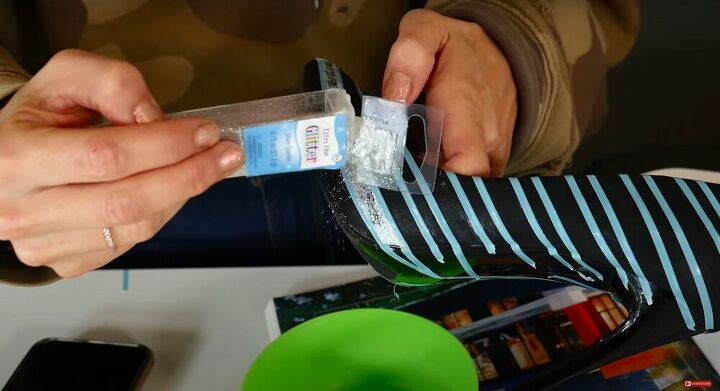
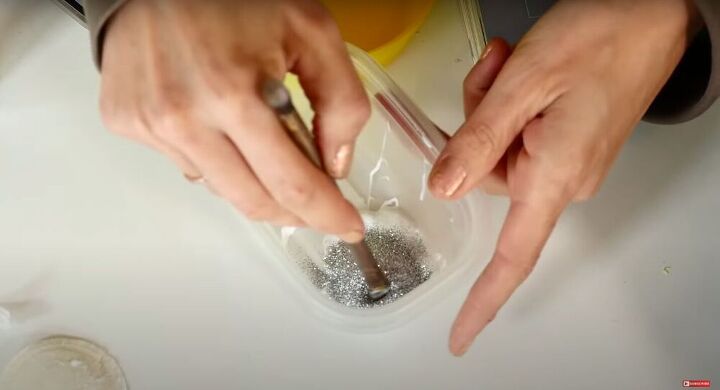
Then I went back in with loose glitter and dusted it over the glitter glue I had just applied. This provided the best coverage.
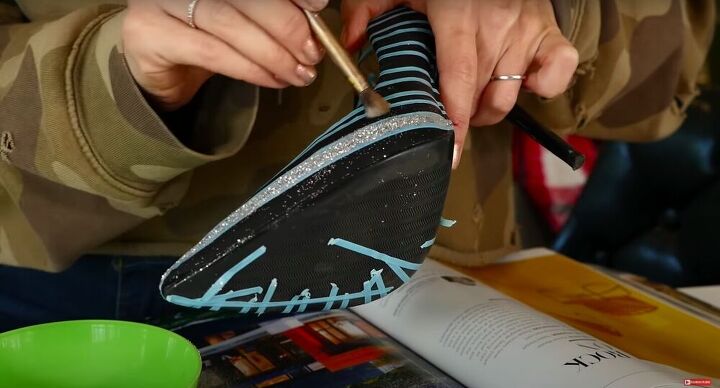
I worked color by color, doing all of my silver stripes first. Then I brushed the excess glitter off of the other parts of the shoe.
Tip:
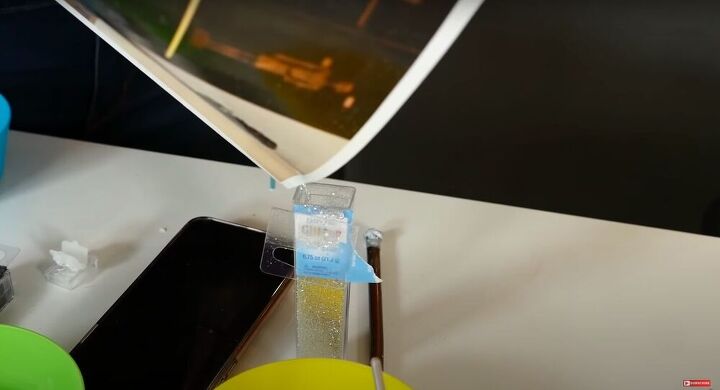
When working with glitter, place a magazine under your project to catch the excess glitter. Then you can easily funnel it back into the container. For each consecutive color just flip the page of the magazine and repeat.
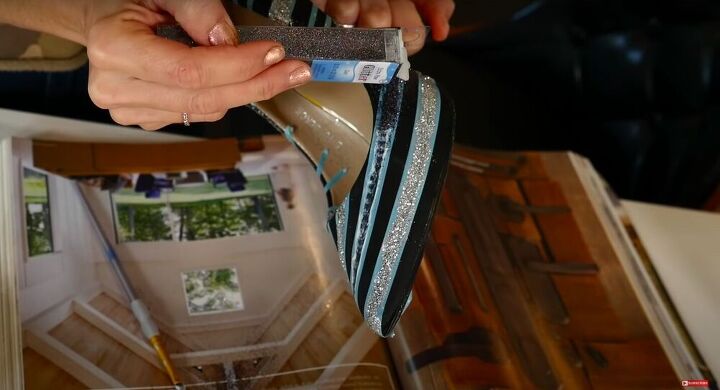
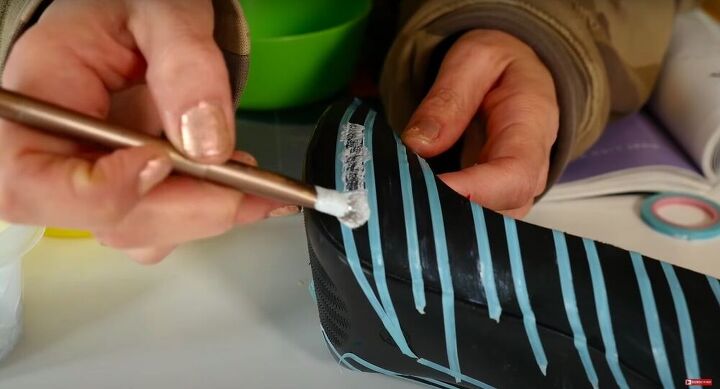
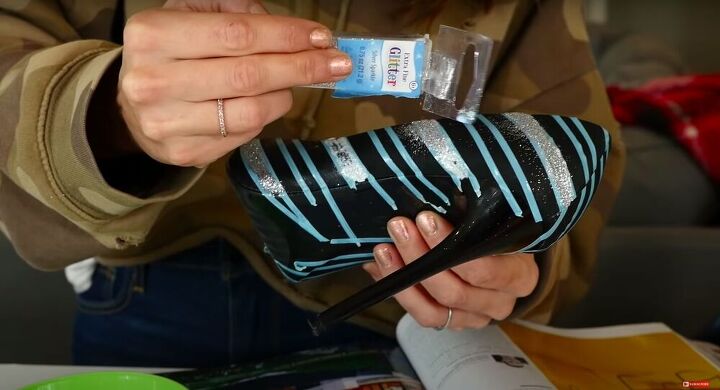
I repeated the process with gunmetal colored glitter on the alternating thin stripes.
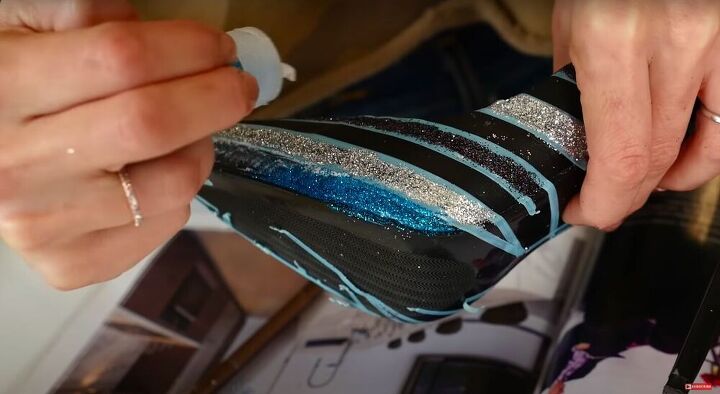
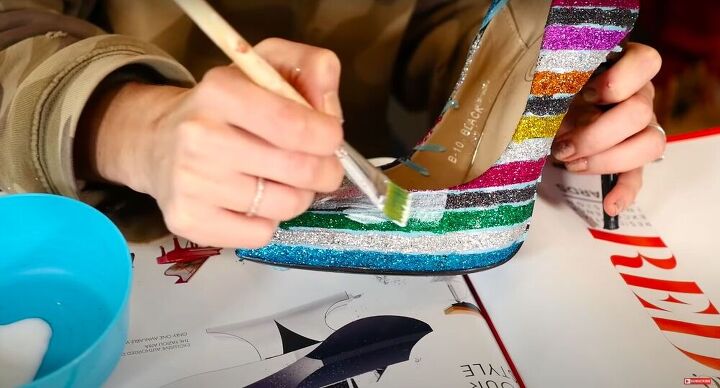
With my thin stripes of silver and gunmetal dry, I was ready to finally add some color! I followed the pattern of the original heels, but you can do whatever pattern makes you happy. If the colored glitter gets onto other parts of the shoe just go back with a dry brush and brush it off.
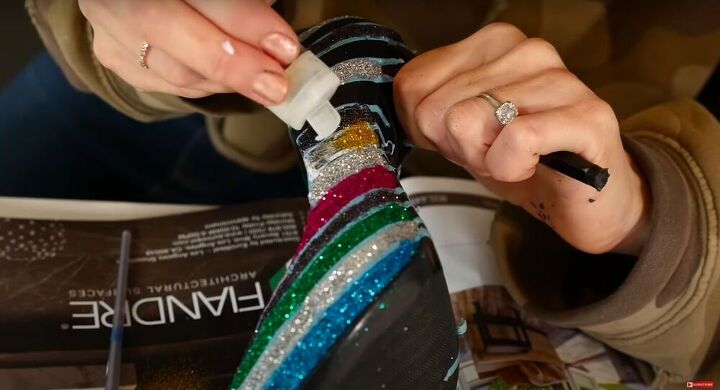
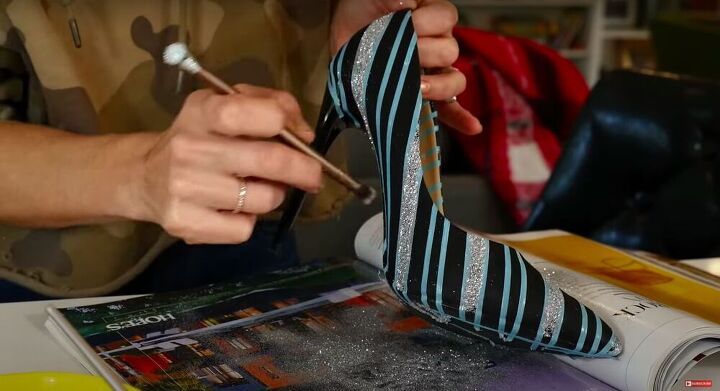
Once I had applied all of the colored glitter, I went over the whole shoe and touched up any areas where I could see the black fabric of the shoe.
Tip:
Make sure to brush off any loose glitter that isn’t glued down with a clean, dry brush.
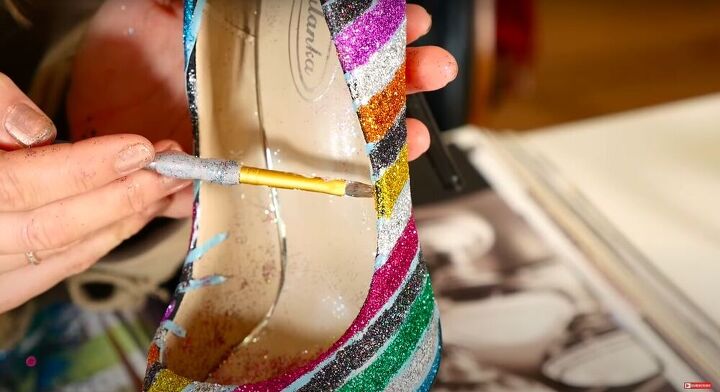
Now here is a chance for you to learn from my mistakes. On my first shoe I went over the entire shoe with Mod Podge with a wide brush, including the painter’s tape. This was not the best idea, as it made it a bit more difficult to remove the painter’s tape at the end. For the second shoe I used a thin brush to apply Mod Podge only to the areas with glitter on them.
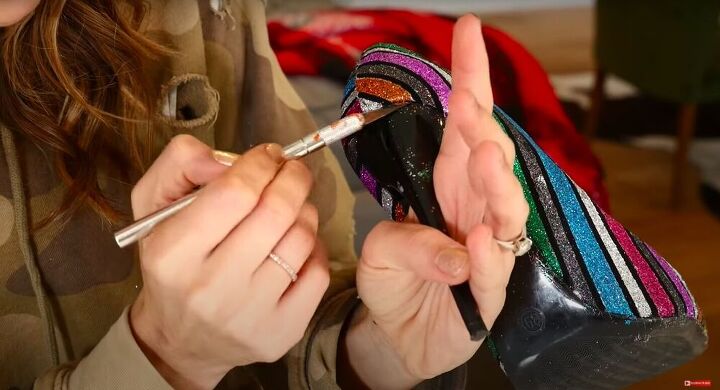
Then I went back in with a craft knife to clean up my edges. I scraped off glitter from anywhere I didn’t want it to be.
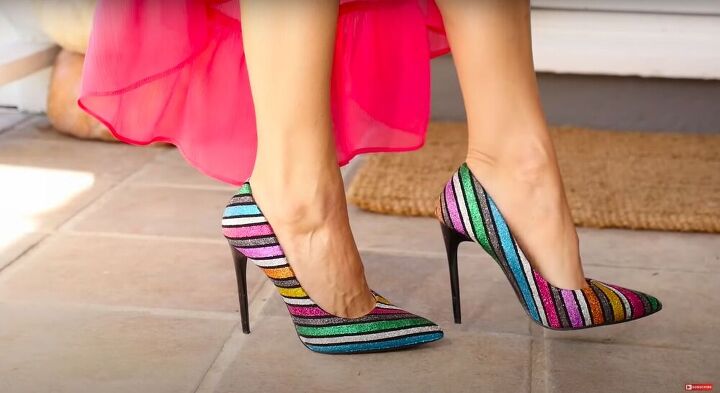
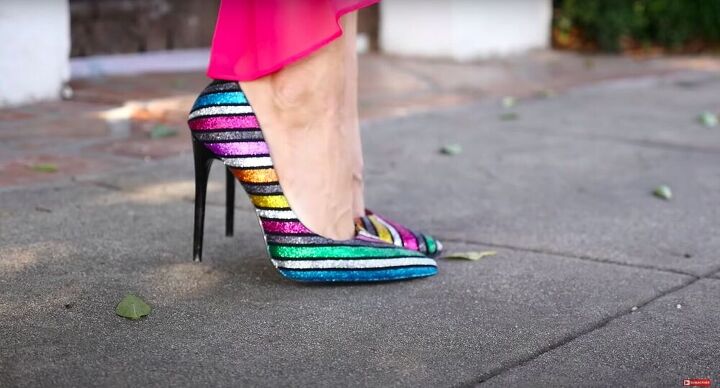
I’m obsessed! These shoes literally look like a million bucks! And they only cost me a few dollars more than the shoe itself! I love projects that make high fashion accessible to everyone, and if you’d like to see more check out my blog for great DIY designer projects!
Resources for this project:
See all materials


The author may collect a small share of sales from the links on this page.


Comments
Join the conversation
Awesome!
I like yours better than the expensive one's 👠❤️