How to Easily Make a Comfortable & Breathable Face Mask

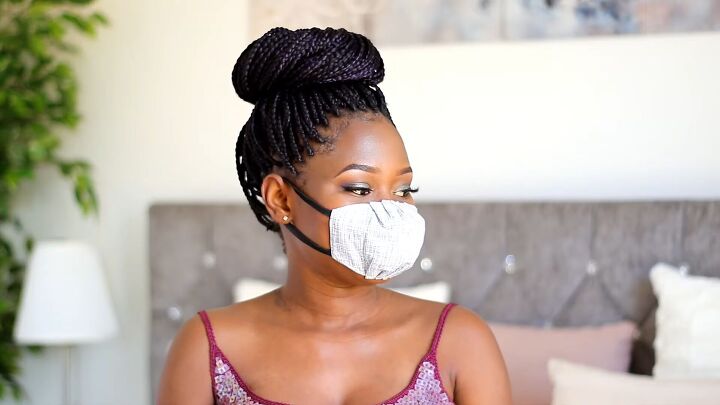
Don’t you dislike those face masks that stick up right against your nose and mouth making it extra difficult to breathe? Well, I’ve got the perfect solution for you! An easy-to-sew breathable face mask that won’t touch your nose or mouth area, thus making breathing a whole lot easier (and talking, too).
You’re going to love this comfortable face mask, and you can even make a few for yourself or your loved ones. Let’s get started!
Tools and materials:
- Fabric
- Cotton fabric
- Elastic
- Sewing machine
- Chalk
- Fabric clips or pins
- Thread
- Measuring tape
1. Make the DIY face mask pattern
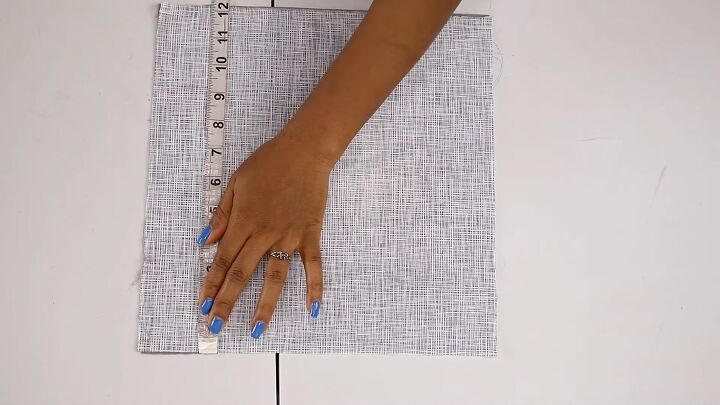
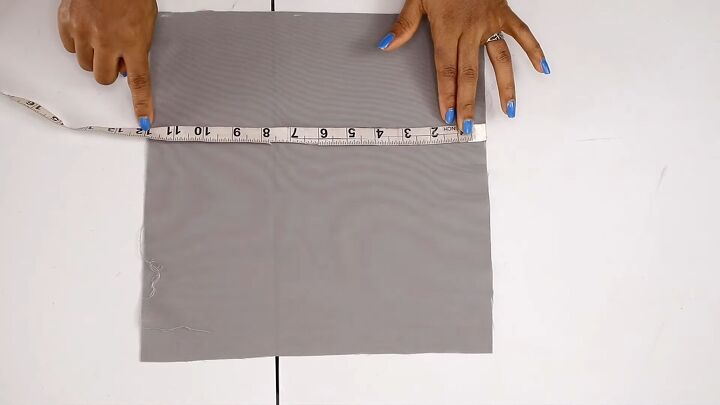
Cut your fabric so that it’s 12 x 12 inches.
Then, cut out another fabric for the lining. Here, I’m using a lightweight cotton fabric.
Tip: The size I’m using works great for teens and adults. However, you can adjust the size for kids by taking in more seam allowance.
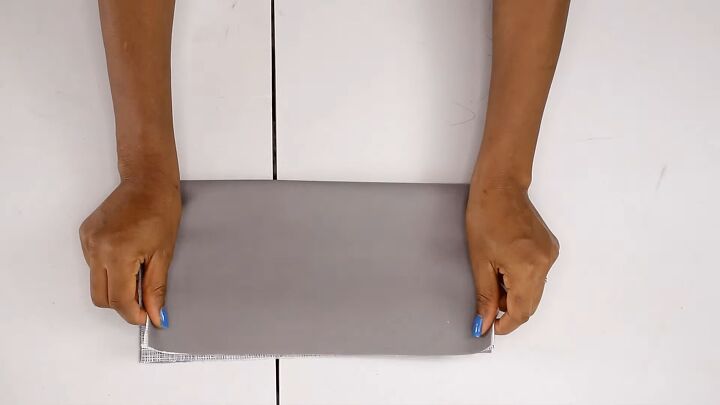
Place the fabric pieces on top of each other, right sides facing, and fold it in half, as shown.
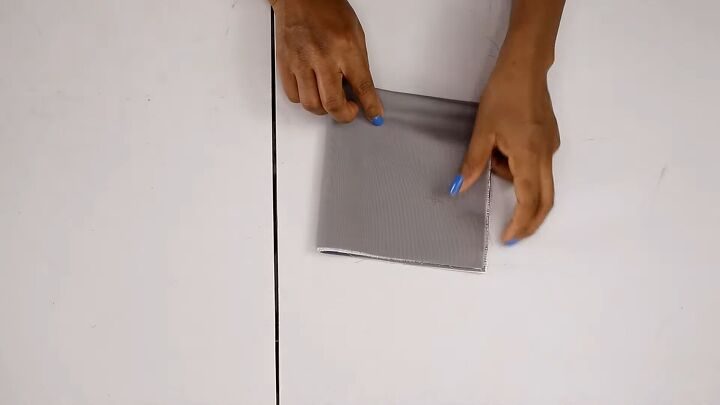
Then, fold it again in half so that it forms a square.
2. Cut the fabric
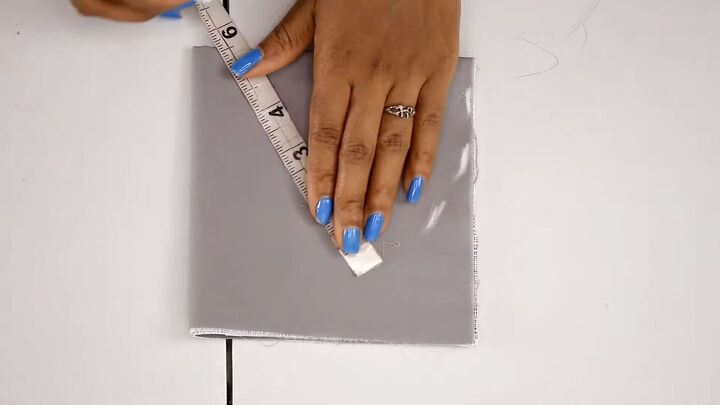
Now, measure 6 inches and use that as a guide to create a semi-circle on the folded square fabric piece.
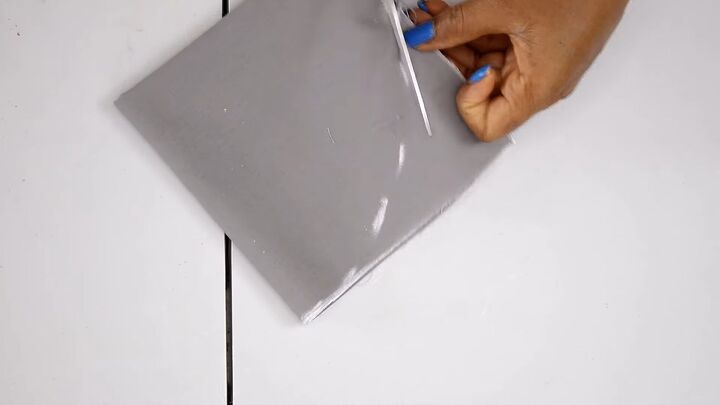
Now, cut along the line accordingly.
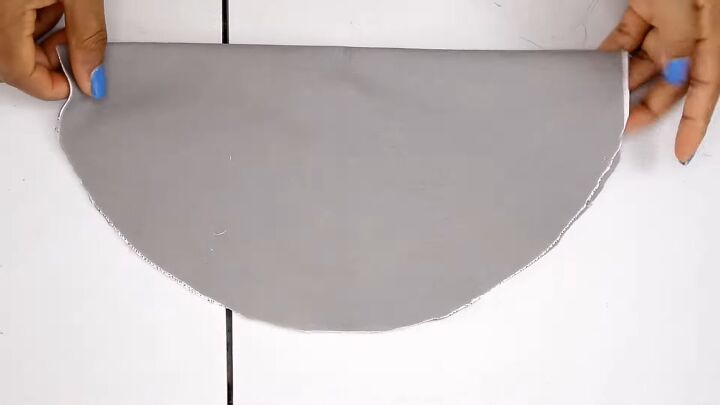
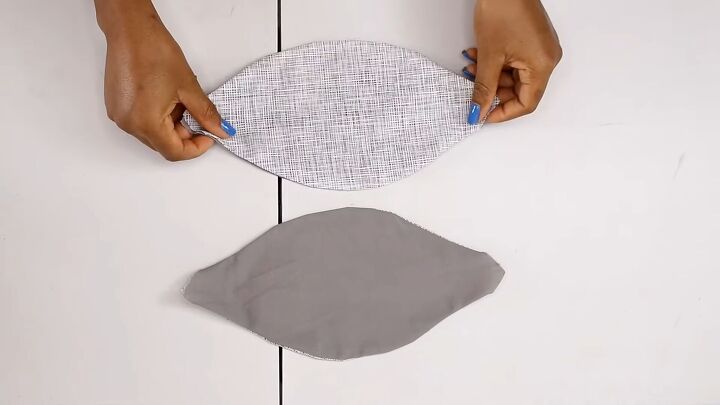
When you open it up, you should have something like this.
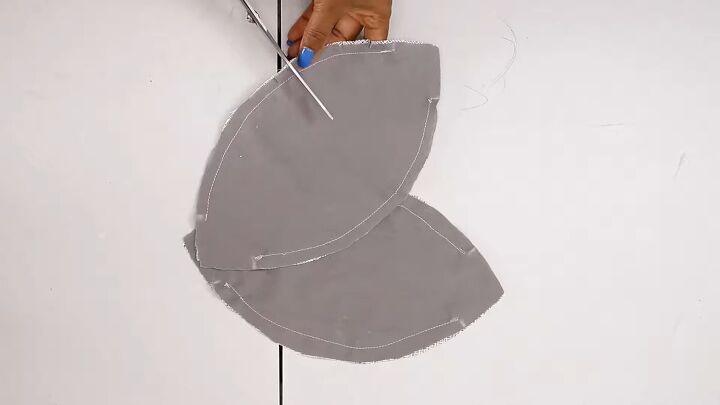
Now, fold the semi-circle upward, and cut the excess pieces.
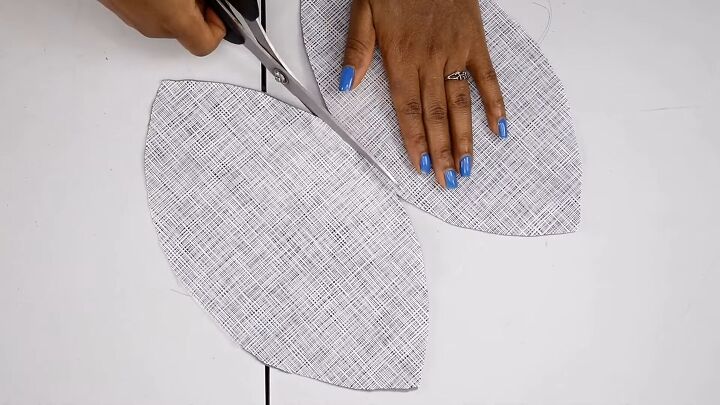
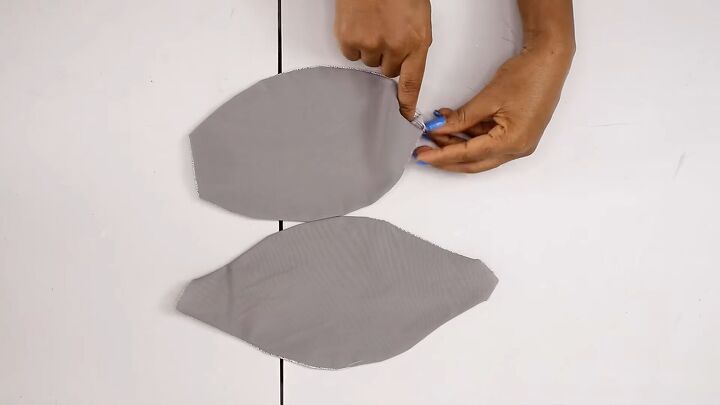
When you open the piece twice, it should look like this. Now, simply cut the pattern in half, so you land up with two pieces. You can now make not one but two face masks!

3. Sew your DIY face mask
Using your measuring tape, measure 1.75 inches from the tip of one side and make a mark. Then, from the same end, measure 1.75 inches on the opposite side of the first mark.

Go ahead, and repeat the same on all the sides.
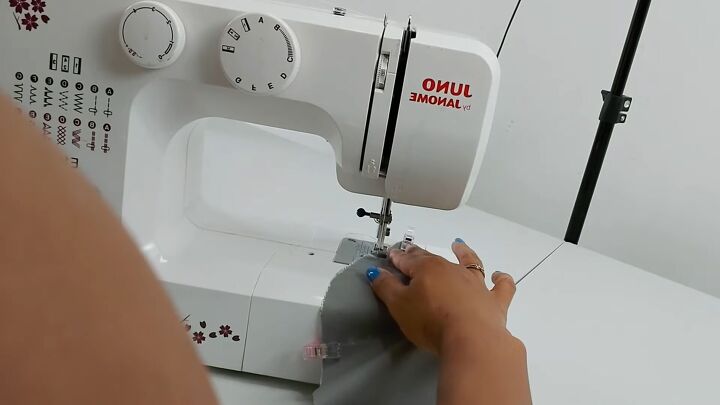
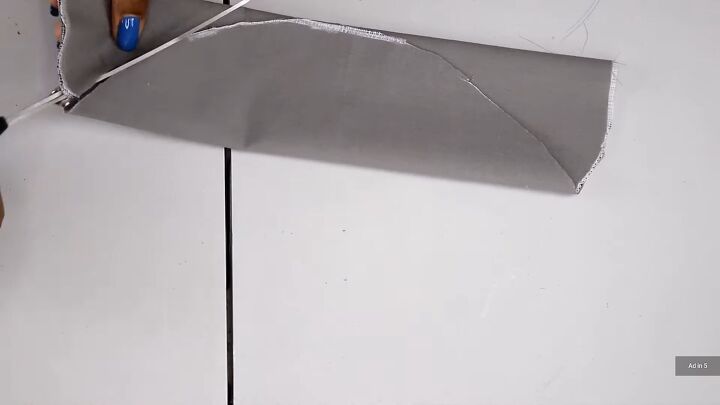
Turn your fabric so that the right sides are touching, and then sew along the curved line of each side of the face mask in between the points you just marked. Use a ½ inch seam allowance.
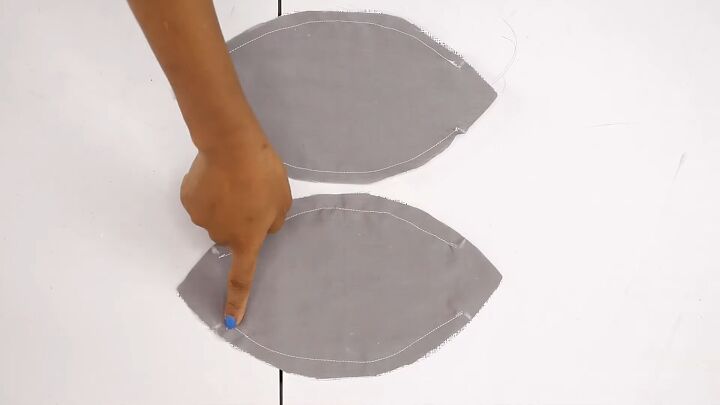
For reference, I sewed these two face masks with a different-sized seam allowance. The one closer to the edge will be bigger than the bottom, with a wider seam allowance. This is the trick to make if you want to make different-sized face masks.
Next, snip around the curved areas.
Flip your masks right sides out, and give it a good press. This is how your face mask should look like.
4. Fold in the ends
Neatly and carefully, tuck in the sides of the mask.
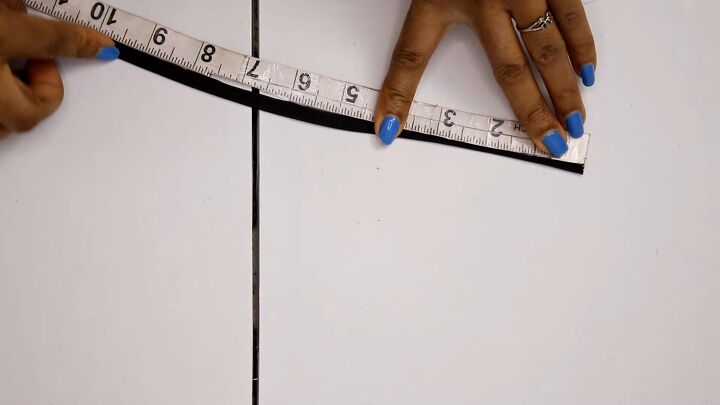
5. Cut your elastic
Cut out two elastics that measure between 8-10 inches in length. The size depends on the mask itself; if you are making a mask for an adult vs. a teen.
Tip: For kids, you can cut an elastic that measures between 5-8 inches.
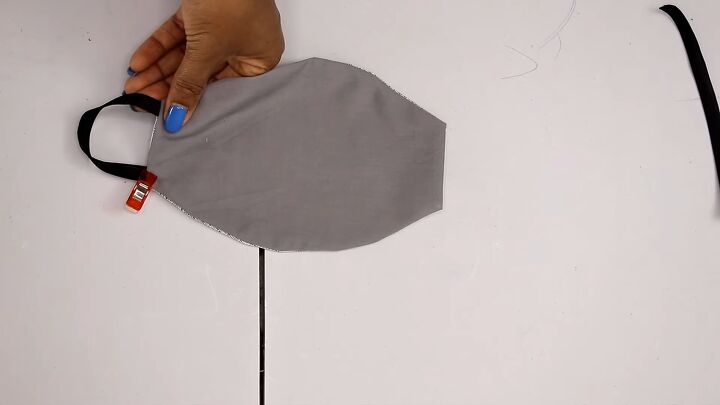
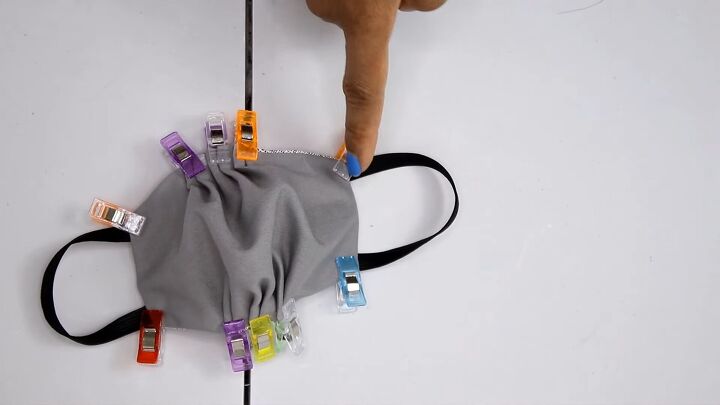
Now, place each end of the elastic on the sides of the face mask, as shown.
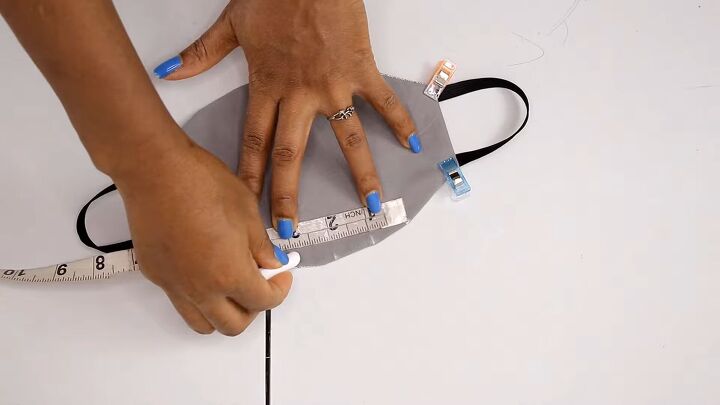
6. Make your pleats
On the curved sides of the DIY face mask, measure 4 inches and center it as much as possible. Then mark five lines evenly, as shown.
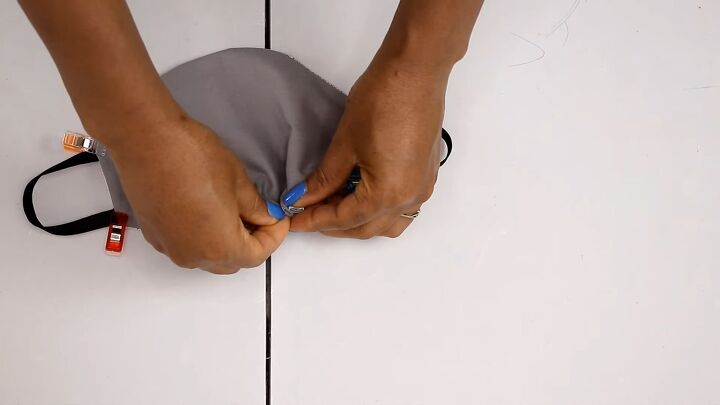
Next, make the pleats by folding the first line on top of the second.
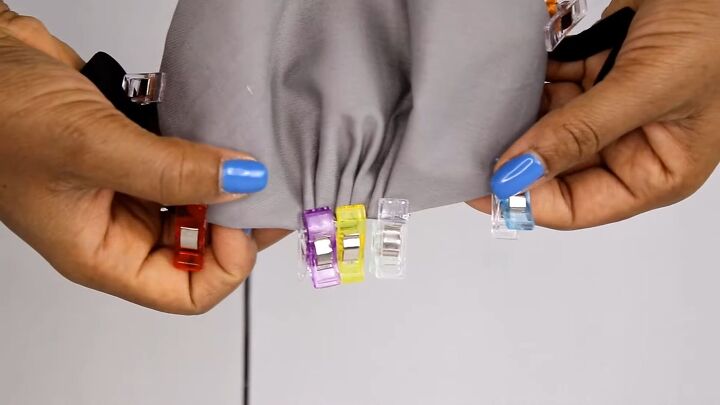
Continue forming the pleats, using those marks as a guideline.
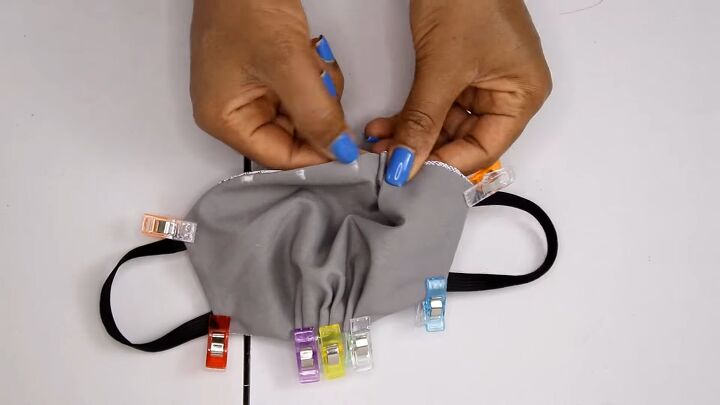
Repeat the same for the other side.
Tip: Watch my video from 7:08 minutes to see how I make the pleats.
7. Stitch the elastic & pleats
Now, stitch the elastic on the side and the pleats across both sides of the face mask.
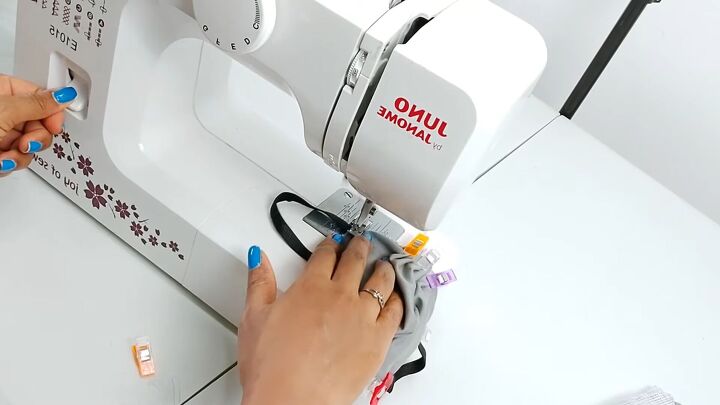
Make sure to do a backstitch when you get to the elastic.
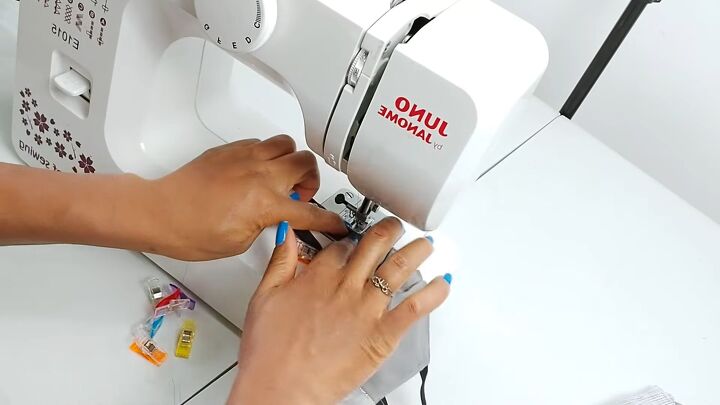
Do the whole stitch in one go, meaning, pivot where necessary.
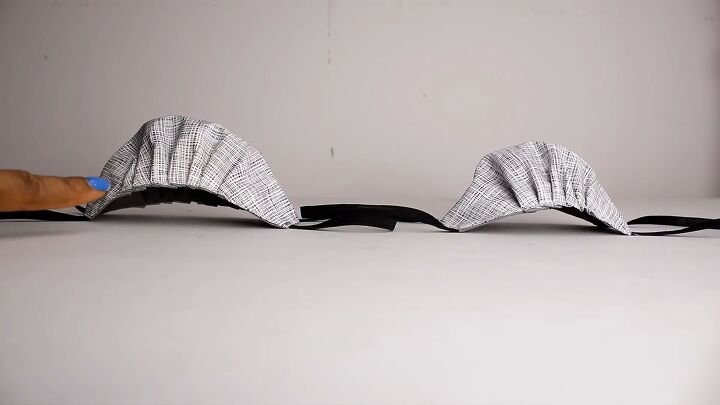
How to make a breathable face mask tutorial
Now your comfortable face mask is complete! I love this breathable face mask for so many reasons, and it’s just so agile and easy to wear without making you feel suffocated. Thanks for tuning in, and remember to keep safe and healthy!
The author may collect a small share of sales from the links on this page.


Comments
Join the conversation