How to Tie a Knotted Bridal Headband in 10 Minutes (easy Tutorial)

In this tutorial, I’m going to show you how to make a white lace headband. This is a great technique for wedding headbands for brides and it’s a quick and easy DIY that you can do in just ten minutes! Let’s get started.
Tools and materials:
- Lace fabric
- Headband
- Scissors
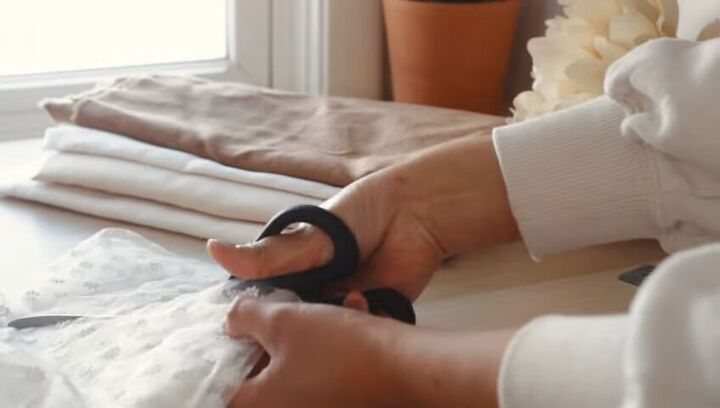
1. Cut out your fabric
Cut out the fabric you intend on using for your lace headbands into a strip. It should be 160cm long and 12cm wide.
2. Cut off the side diagonally
Fold the strip of fabric in half. Then, cut off a piece diagonally from the center
3. Glue the fabric to the end of the headband
Glue the fabric to one end of the headband by wrapping the fabric around the top and both sides and gluing it down.
4. Wind the fabric around the body of the headband
To wrap the fabric around the body of the headband, start by making a circle on the right side of the headband.
Then, pull the loose tail underneath the headband and then through the circle.
Tighten it into a knot.
Repeat this process by alternating the side you make the circle on.
5. Adjust the width
You can loosen the knots in the middle of the headband to make it thicker.
You can also tug at the fabric to make it looser and frilly.
6. Tie it off
When you get to the end, tie the knot tightly so it doesn’t come undone.
7. Glue the fabric down
Wrap the remaining tail around the end of the headband as in step three and glue it down.
How to tie a knotted bridal headband in 10 minutes (easy tutorial)
Here’s the finished knot hairband! This beautiful bridal hair headband is perfect for a bride wanting to dress up their hairstyle without committing to a full veil. Let us know what you think down below!
Enjoyed the project?
Suggested materials:
- Lace fabric
- Headband
- Scissors
The author may collect a small share of sales from the links on this page.


Comments
Join the conversation