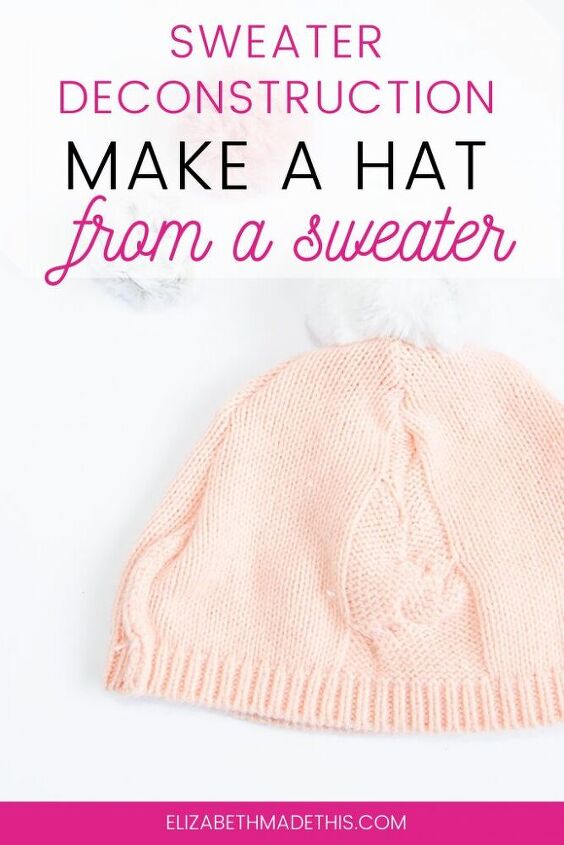
Sweater Deconstructed: How to Make a Hat From a Sweater
It’s a sweater deconstruction kind of day, and on the docket is how to make a hat from a sweater.
Quick, go check your closet. I just bet there’s a forgotten sweater hanging out lurking in there. Maybe it’s the shrunken victim of the washer and dryer, or maybe it’s just been in storage for too long. Before you put it in the donate pile, consider turning it into something more useful.
It’s a quick project that’ll give new life to your old sweater, plus you’ll get some good practice handling sweater knits. And while we’re in the midst of winter, your new sweater hat will keep you nice and snug too.

The other cool thing about this is that you can get several hats out of the same sweater. So if you do any charity sewing, this is another project you can throw in the mix. Just be sure to follow the advice on hemming sweater knits from sewing with sweater knits.
On with the tutorial!
Supplies for your sweater hat:
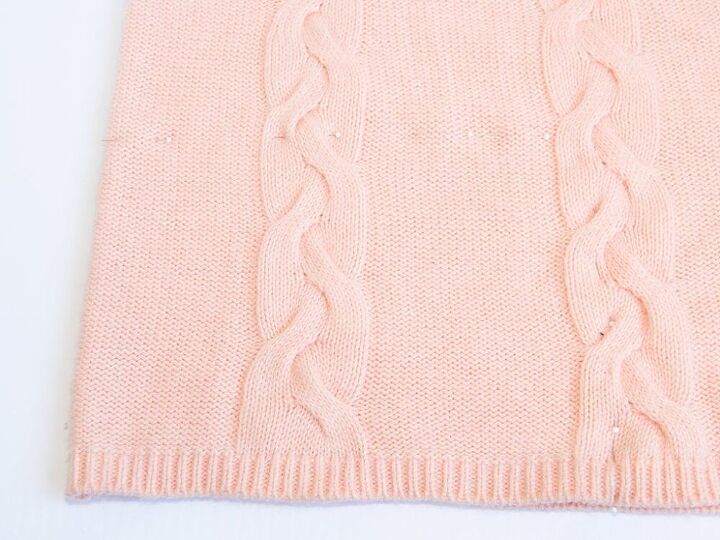
- Old sweater with hem ribbing
- French curve ruler
- Chalk
- Ballpoint sewing machine needle
- Matching thread
- Pins
- Embroidery thread (optional)
This is the silly part, but hang with me.
First wrap the rib knit hem of the sweater around your head. Pull it down to a level where you want your sweater hat to sit.
Pinch the sides together so that it fits comfortably. Next mark this circumference with a pin.
After this, pinch the sweater up at the top of your head. Mark the top of your head with another pin.
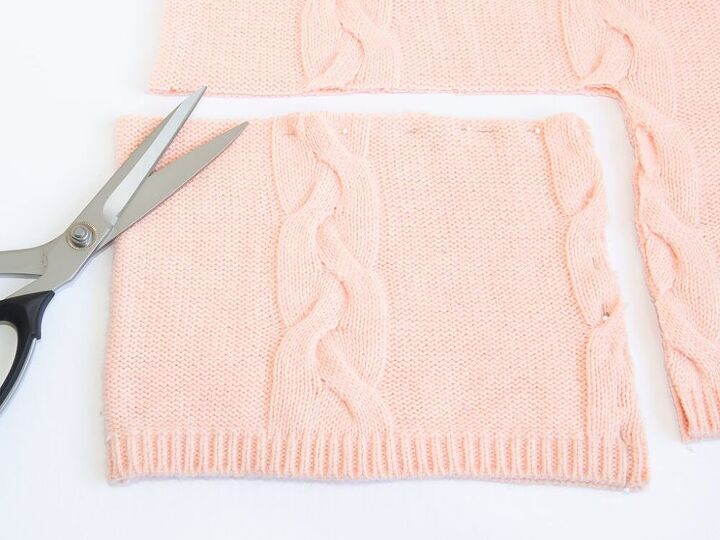
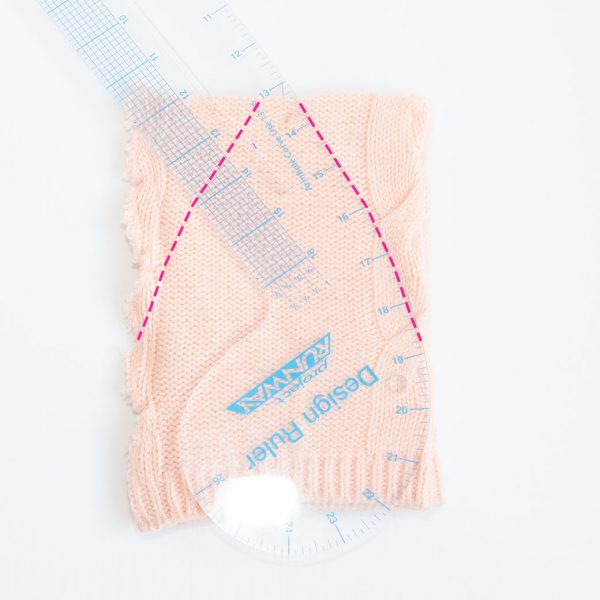
First we need to draw our cutting lines. Draw a vertical line 1/4″ past your pin mark on the hem. After that, draw a horizontal line 1/4″ past the pin for the top of your head.
Cut up the sweater straight through both layers along both lines. That’s all we need to cut for now. We’ll give the hat some shaping in the coming steps.
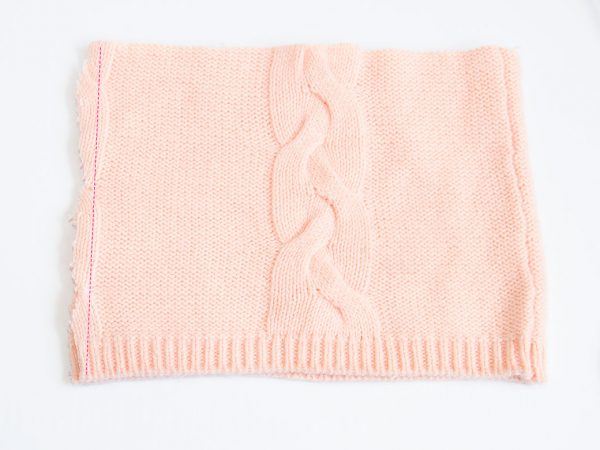
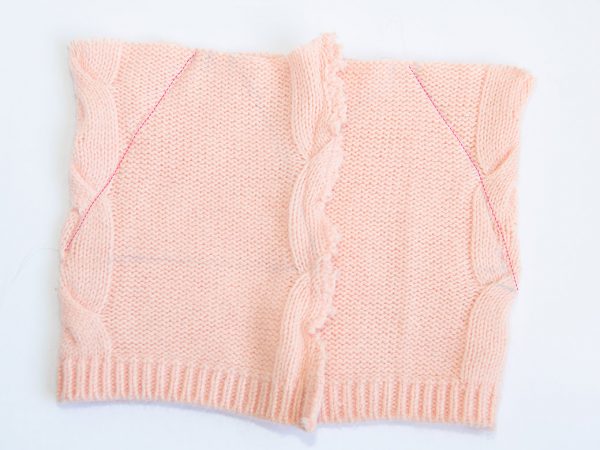
Fold the sweater knit right sides together. Sew with a narrow zigzag (0.5mm width, 2.5 length) down the vertical side. Be sure to backstitch at the start and end of this seam.
Lightly press the seam to one side. Stitch the seam allowance with a wider zigzag 5.0-6.0m right on the edge of the seam to finish the seam.
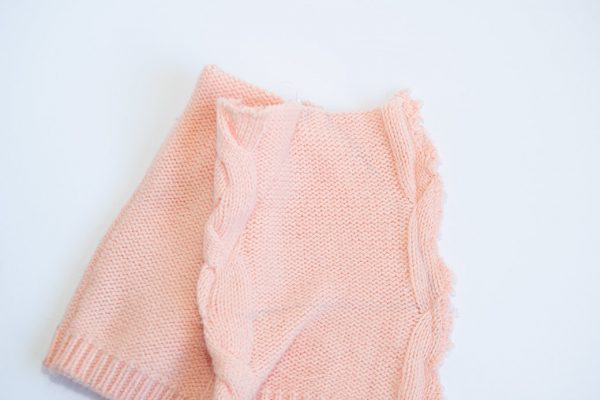
Now let’s shape up the crown of the hat.
Next, fold the tube in half, then in half again so that the ribbing is at the bottom.
Place a pin so that it’s in the center of the folded fabric. Now make 2 marks 1/4″ away from the pin on either side.
Draw a curved line with your chalk 3″ from the bottom to one of your marks. Repeat for the other side. Make sure that the line tapers to nothing right at the top edges of the ribbing.
My sweater has fairly narrow ribbing. If yours has a wider ribbing, you can taper the curves to the top of the ribbing.
Flip the folded hat over and draw a second set of lines.
Unfold your hat. Now we need to sew up the darts we just cut.
Match the side seams together. Sew along 2 of the curves you just drew. Use a 1/4″ seam allowance and a narrow zigzag for the dart, and taper the dart to nothing at both ends.
Match the tops of the darts together. Now sew the second set of curves. Sew the other darts the same way to close up the crown.
Finish off the seam allowances with a wide zigzag. After you’ve finished the seam allowance, trim close to the zigzag stitching to finish the seam.
This falls under the category of optional but awesome.
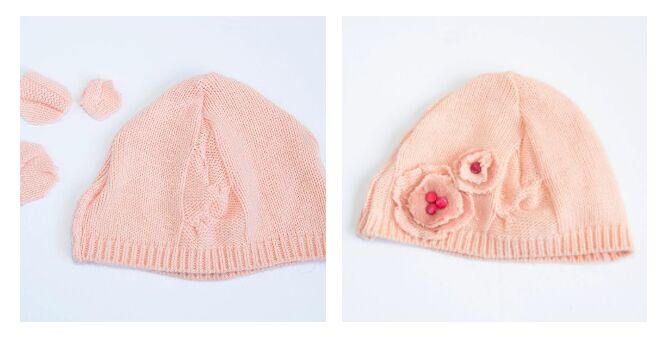
Cut several small circles from the leftovers you trimmed off. Overlap them, sewing on each with a small X with embroidery thread like I did in this refashioned sweater shrug tutorial.
Another idea is to stack a few circles together and make a small flower. Use a few hand stitches to anchor the flower on your hat. You could add a couple beads to finish it off like a proper flower.
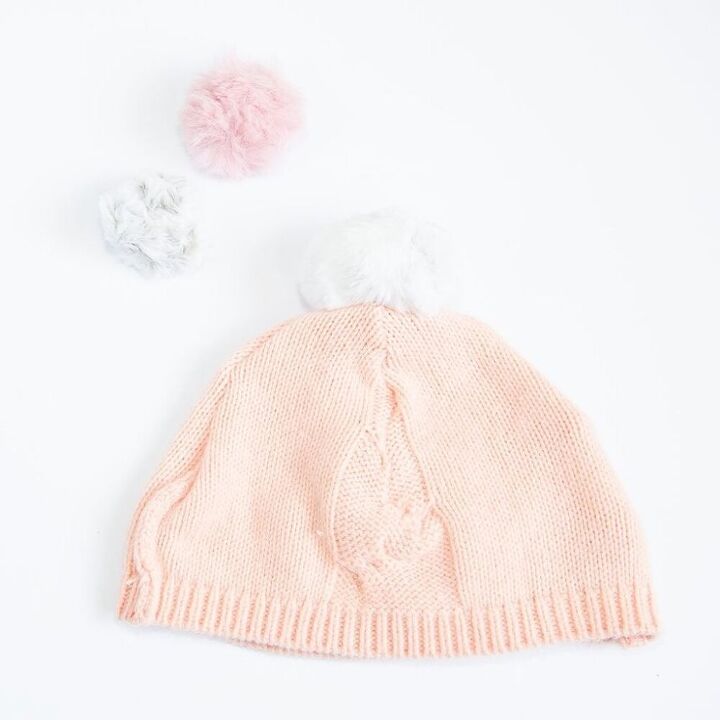
You can also top off your sweater hat with a good old pom pom. Here’s how to make a faux fur pom pom.
More embellishment ideas this way.
So that’s how to make a hat from a sweater. If you’re wondering what else to do with the rest of the sweater be sure to check out this DIY fingerless gloves tutorial.
The author may collect a small share of sales from the links on this page.


Comments
Join the conversation
So cute! And what a great idea if you have a sweater that you love that got stained or a moth hole in it! You can still enjoy it! Love this!
I thought this was going to be a "turtle" for skiing or extra cold days...think NY state, Minnesota, or Chicago.
PS for attaching the pom-pom use quilting thread. It's pretty strong, and I think you'll find more uses for it if you are crafty.