Easy and Beginner-friendly Makeup Brush Guide Tutorial

Welcome to your beginner makeup brush guide.
Makeup brushes come in all different sizes, shapes, hair types, and densities, and they all serve different purposes.
I’m going to break down eye and brow makeup brushes for you. I’ll explain which brushes you need, why you need them, and how you use them.
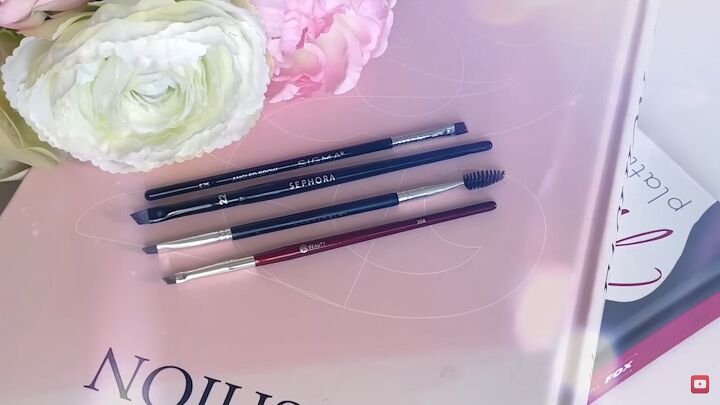
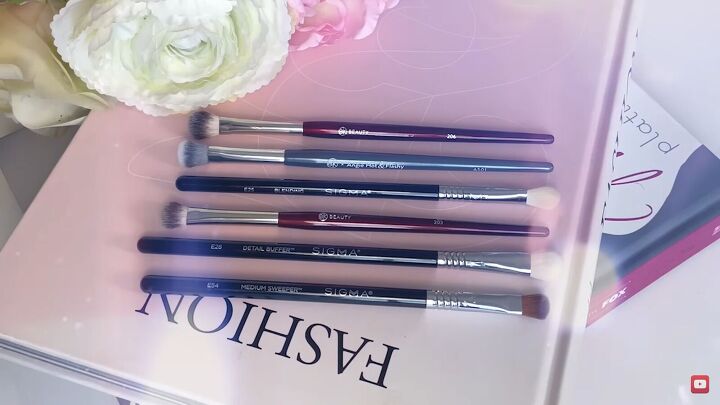
Tools and materials:
- Angled brush
- Spoolie
- Eyeliner brush
- Concealer brush
- Fluffy crease brush
- Lid brush
- Smudge brush
- Eyeliner
- Eyeshadow
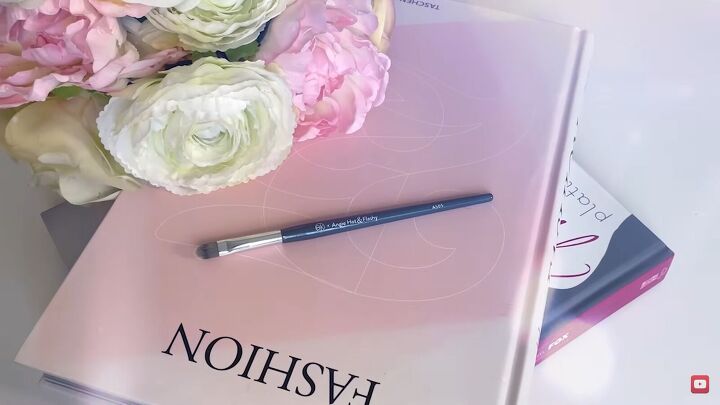
1. Angled brush
An angled brush can be used for filling the sparse areas of your eyebrows, and for lining the eyes.
The smaller and denser the hair on the brush is, the more pigmented the result.
For smoother and softer looks, you want your brush to be fluffier and less dense.
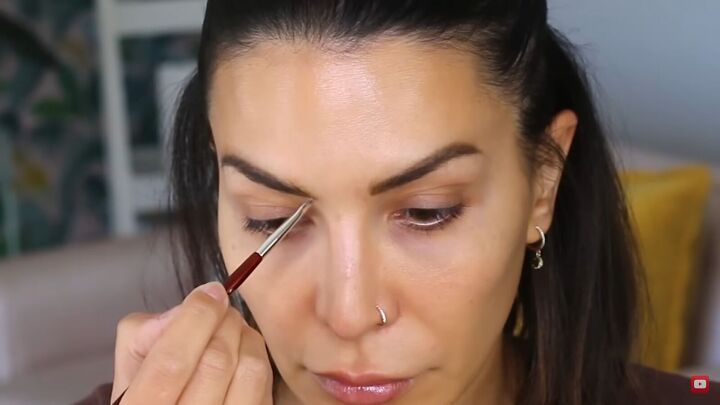
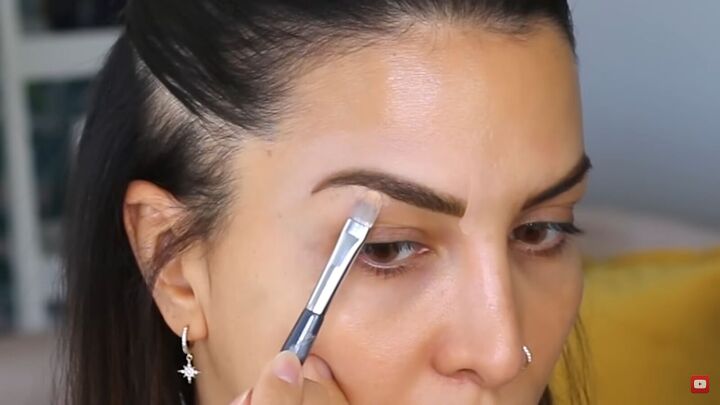
Use a tiny angled brush to sketch in hairs at the front of the brows. This brush gets tons of precision and gets those lines looking sharp.
Angled brushes are also great for applying eyeliner. If you have a gel liner, you can dip your angled brush into it and apply it.
These brushes are tight and sharp so they do a fantastic job of lining the eye with precision.

2. Spoolie
A lot of these angled brushes come dual-ended with a spoolie on one side and that’s because these brushes are known to be great for eyebrows.
The spoolie is intended to be used to brush the eyebrow hair upwards. It can also be used for defusing brow pigment.
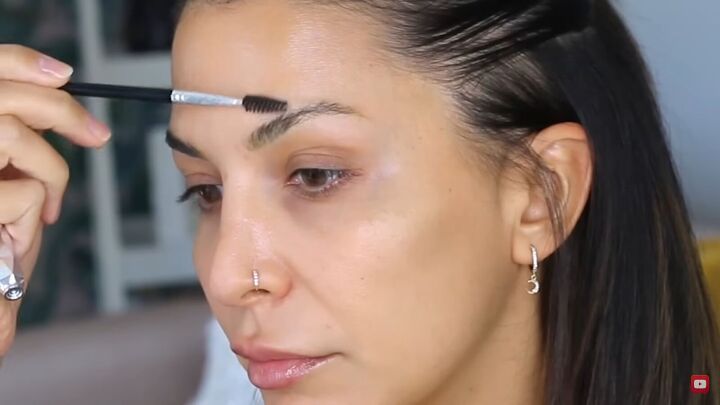
Always start by brushing your eyebrow hair upwards and then filling the rest in with a pencil or a powder.
After, run the spoolie through the brows to soften and diffuse the pigment. This creates a softer, more natural-looking brow shape.
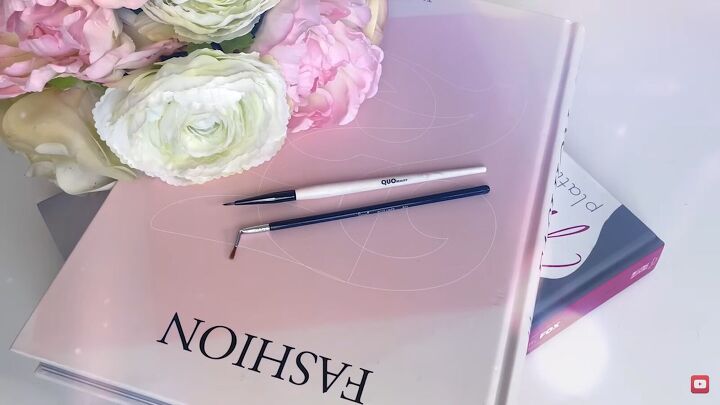
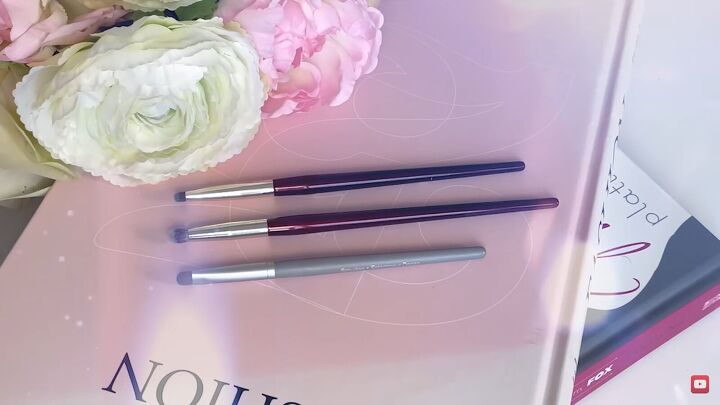
3. Eyeliner brush
If you don’t like using an angled brush for eyeliner, you can get an eyeliner brush. The tip almost looks like a pen.
These brushes are great if you like a winged liner or any other style that needs lots of precision. It will give you a sharp line with a defined tip.
4. Concealer brush
A concealer brush is not completely necessary, especially if you’re a beginner or are going for a more minimalist look.
I want to show it to you anyway because it does serve its purpose. It is always made up of synthetic hair and lays flat and dense.
It’s a great brush for sharpening up lines and making things precise. I like to use it when I’m cleaning up around my eyebrows.
It can also be great if you’re trying to get more precision or lift in an eyeshadow look, or for cleaning up a winged liner look.
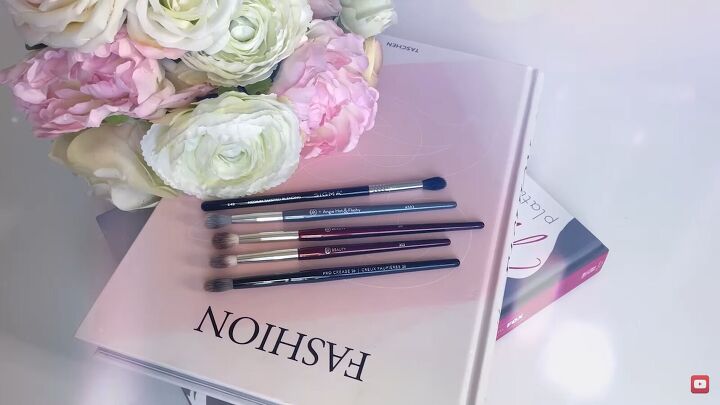
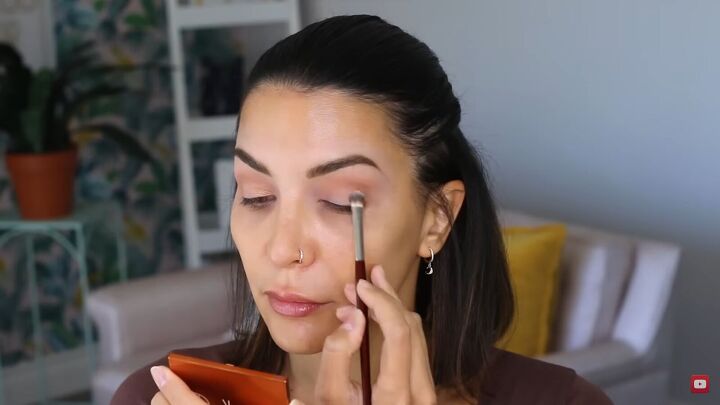
5. Fluffy crease brush
I use this brush in every makeup look I create. It can be used to contour the crease and blend the eyes.
It comes in many different sizes and densities. I recommend you get a small, medium and large.
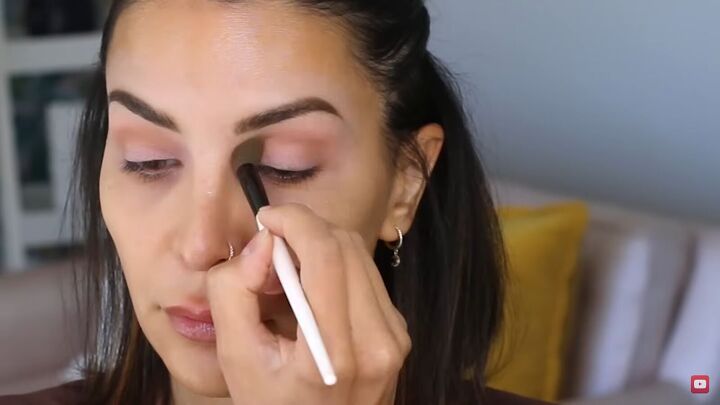
Use a medium brush for shading the crease with a transition color. It fits right into the eye socket and deposits pigment perfectly.
It provides a wash of color that shows up well but is not too dense either.
A big fluffy brush is great to use at the end when you want to marry all the pigments together.
It will blend and diffuse everything out so beautifully and so softly.

The small fluffy crease brush or a precision blender brush is not necessary for beginners but, if you’re into makeup, they’re good to have.
They are for diffusing pigments more strongly in smaller areas. I use this brush to darken the corner of my eyes.
It’s great for creating that subtle V-shaped smoke on the outside of your eyes.
5. Lid brushes
Lid brushes are flatter but still puffy. They are great for applying a wash of color on the lid by sweeping the color on.
If you’re a person who usually just applies one shadow color, without any transition or crease color, you will need one of these.
6. Smudge brush
Smudge brushes are small and densely packed. They’re great for doing any type of smoky eyes.
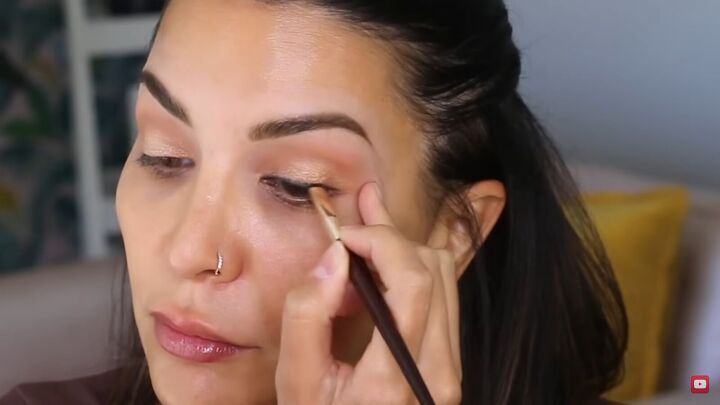
I often use a gel liner and then dip a smudge brush into the liner and smoke out the color.
This helps diffuse and soften. I also use it underneath my eyes for any type of shadow under the eyes.
Beginner makeup brush guide
You don’t need too many brushes to create a complex eye makeup look. You just need to use the right brushes in the right places.
Did you find this helpful? Leave me a comment and let me know.
Next, check out my Easy Latte Makeup Tutorial.
The author may collect a small share of sales from the links on this page.


Comments
Join the conversation