New to Makeup? Try This Easy Neutral Eyeshadow Tutorial for Beginners

Getting your eyeshadow to look good can be a little complicated, especially if you’re a beginner. In this neutral eyeshadow tutorial for beginners, I’m going to show you one of my best beginner eyeshadow looks. It’s subtle, fun, and really pretty. Also, the technique is pretty straightforward too.
Tools and materials:
- Packing brush
- Fluffy brush
- Crease brush
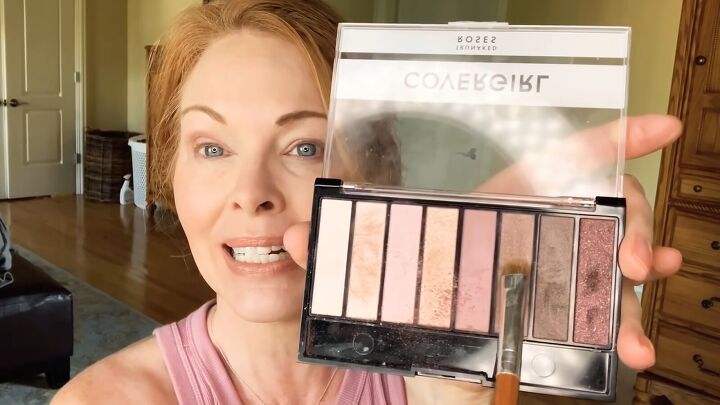
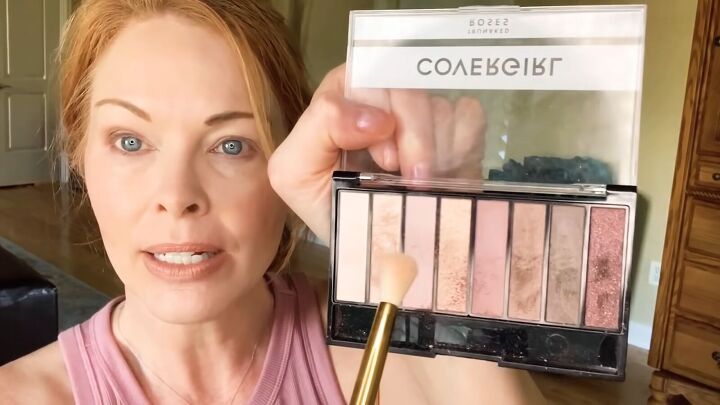
- Neutral eyeshadow palette
- Primer
- Eyeliner
- Mascara
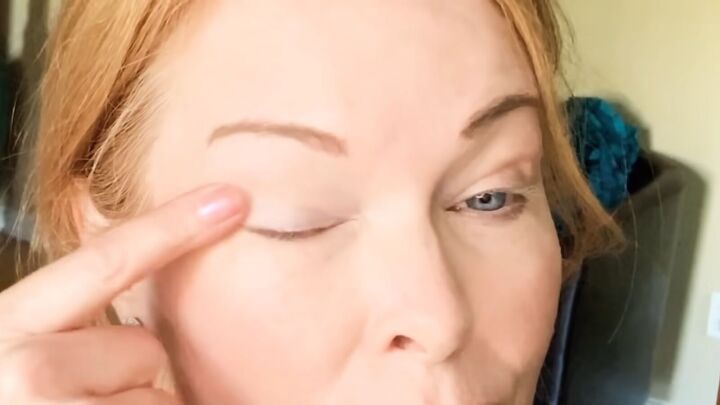
1. Prep your eyelids
First, apply some primer on your eyelids. This will create a smooth, workable surface for your eyeshadow and prevent a lot of your eyeshadow from accumulating on your crease.
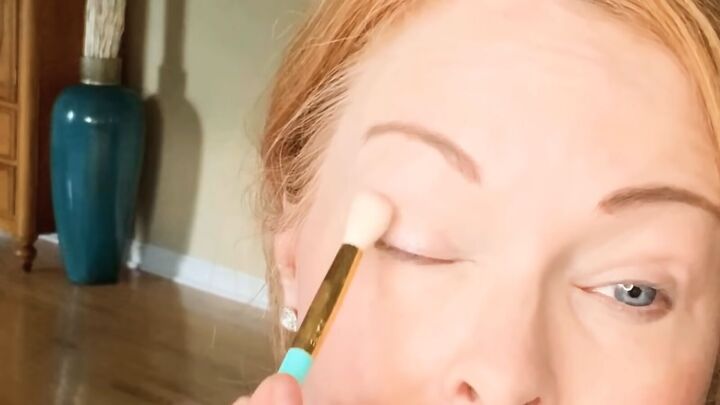
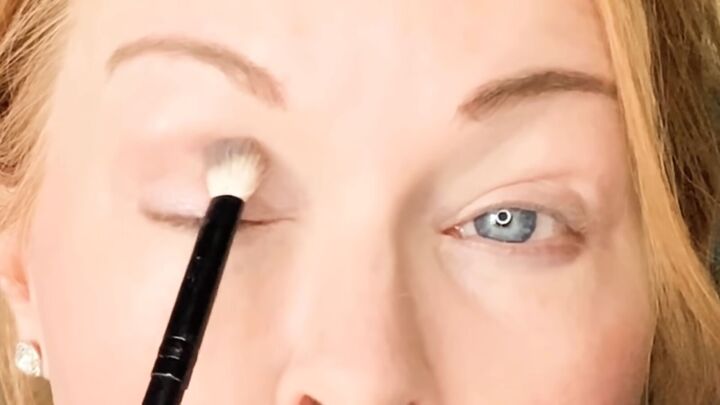
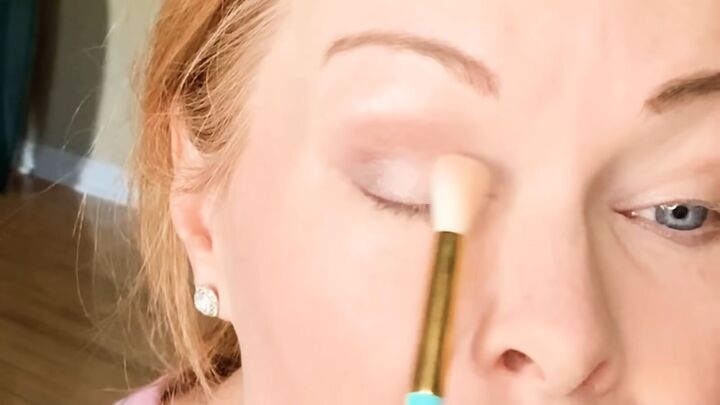
2. Apply base eyeshadow
I’m starting with a pretty gold shimmer eyeshadow. Lightly apply this eyeshadow to the whole mobile eyelid. I used a fluffy brush for this step as it minimally applies the eyeshadow. The eyeshadow should be applied upward, almost your brow bone.
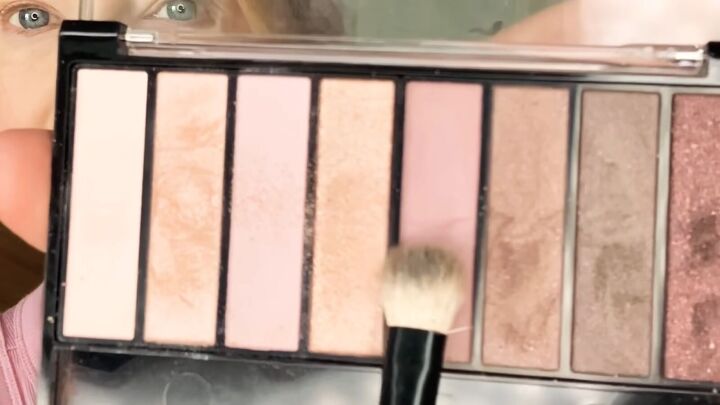
3. Apply eyeshadow to the crease
Next, I’m going to be using this beautiful mauve color.
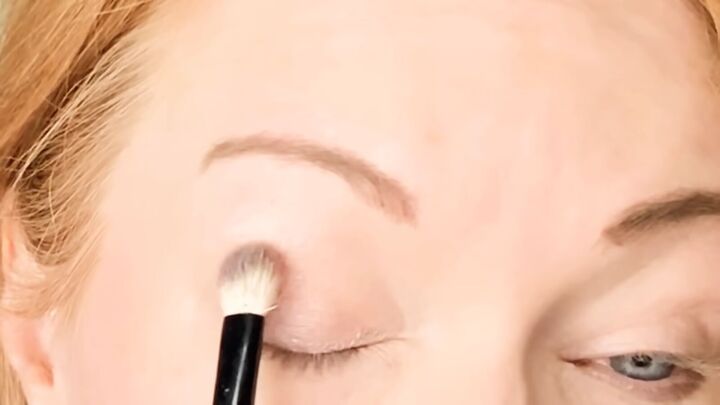
Apply this color to the crease of your eye with a crease brush.
Go back and forth until you’re satisfied.
Can you see the beautiful color gradient appearing on my eyelid?
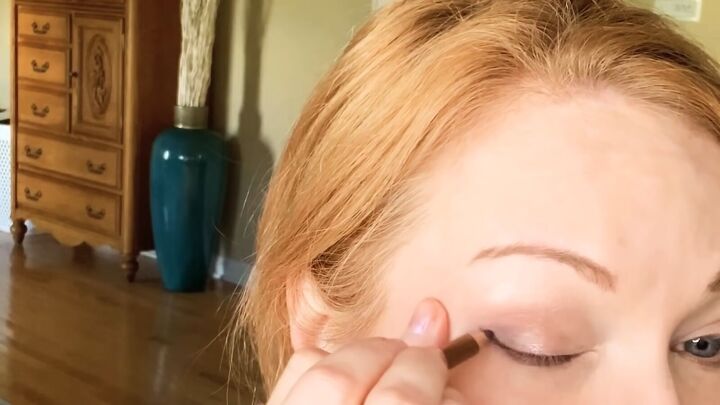
4. Apply a darker color to the outer corner
Next, with a flat packing brush, choose a darker color like the one I am using.
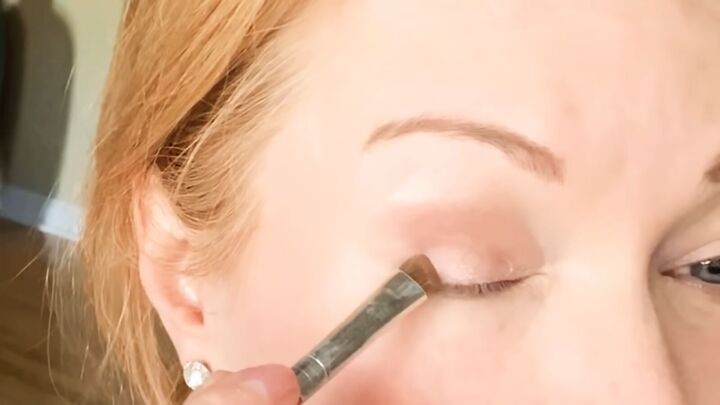
Apply this beautiful, neutral eyeshadow to the outer corners of your eye. It should be a sideways “V” shape.
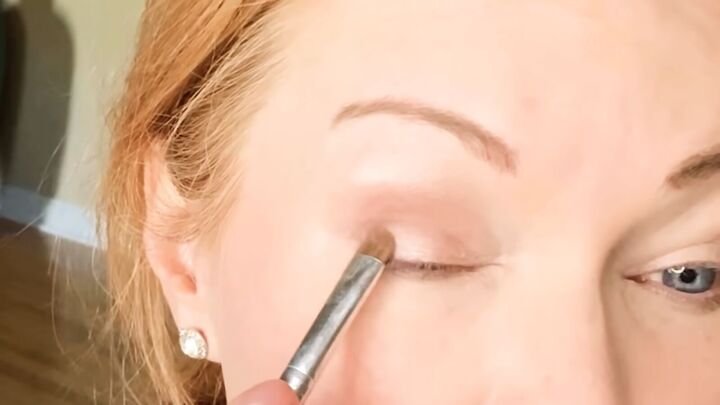
Once you’ve carved out the “V”, pack the color right into it by dabbing the brush on your eyelid. Hold the brush closer to the tip so you have more control.
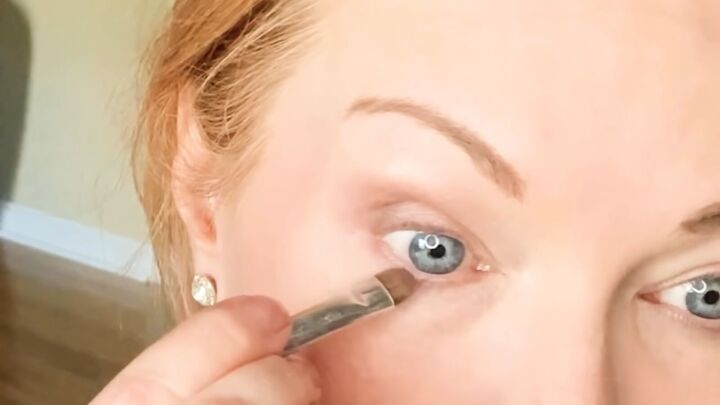
Line your lower lash line with the excess eyeshadow on the brush.
5. Apply shimmer to the inner corner
Next, go back to your blending brush and apply the first light shimmery color that you used in the beginning.
Apply this eyeshadow to the inner corner of your eyes.
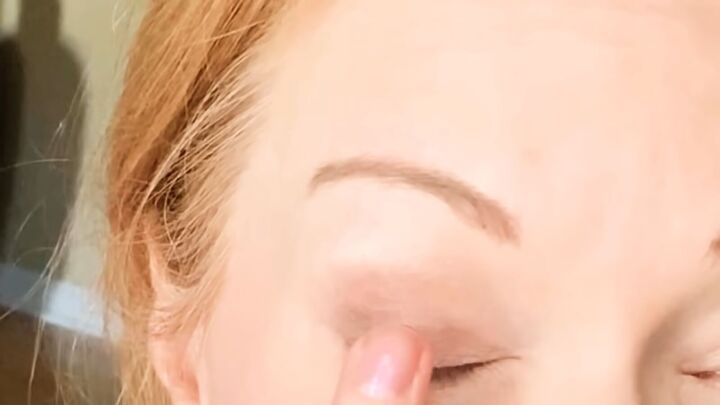
For the last part, dab a little shimmer to the tip of your finger. Then, press it into the center of your lid. This will act as a spotlight and emit that lovely gradient, shimmery effect.
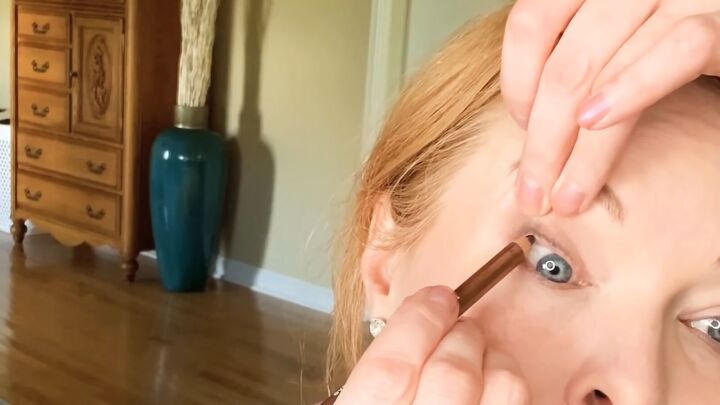
6. Apply eyeliner
Next, tightline your eyes with whatever colored eyeliner you want. Because this eyeshadow look is on the neutral side, I chose a light gray eyeliner.
Also, you can draw a little wing on the outer corners of your eye.
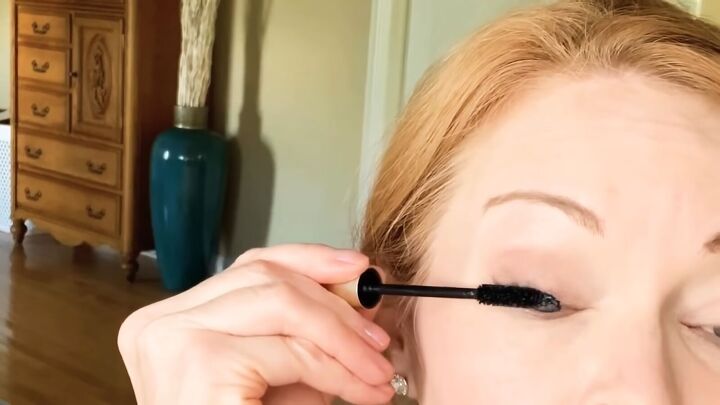
7. Apply mascara
Don’t forget the mascara! I’m using a volumizing mascara, which makes a huge difference in opening my eyes. Apply two or three layers to the bottom lashes, too.
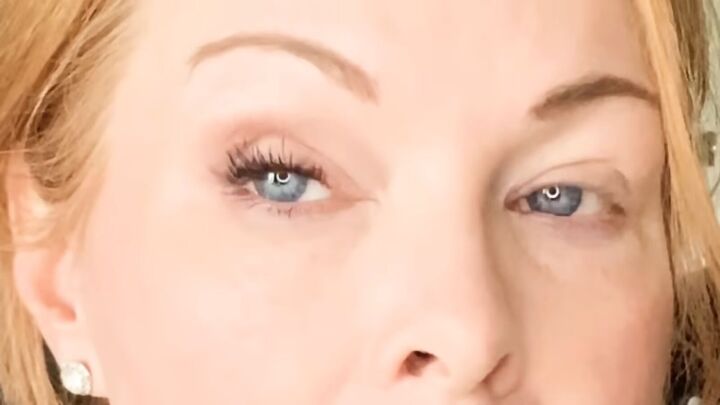

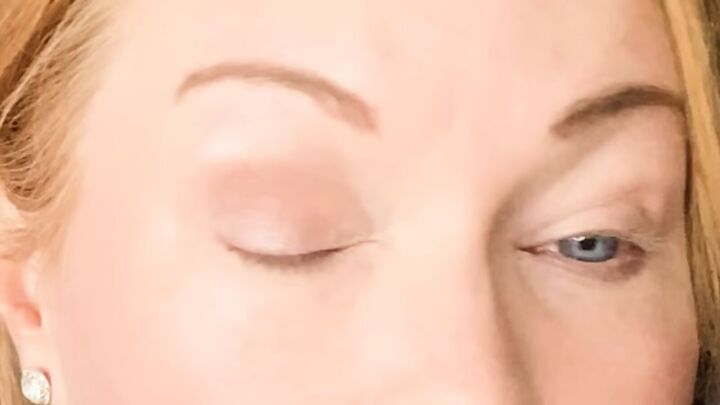
Neutral eyeshadow tutorial for beginners
Here’s the finished eye. Can you see how a little eyeshadow really goes a long way? There’s really nothing to it; just spending a few minutes in front of the mirror can enhance and elevate your eyes, especially if you’re over 40.
I love this warm color tone, and I think it’s one of the best beginner eyeshadow looks. Thanks for watching my tutorial!
Products used
The author may collect a small share of sales from the links on this page.


Comments
Join the conversation
Beginner