Cut Your Jumpsuit in 2

Hello Readers. I found this cool jumpsuit at a clothes swap. I really do love a jumpsuit. This one had tiny flowers on it.
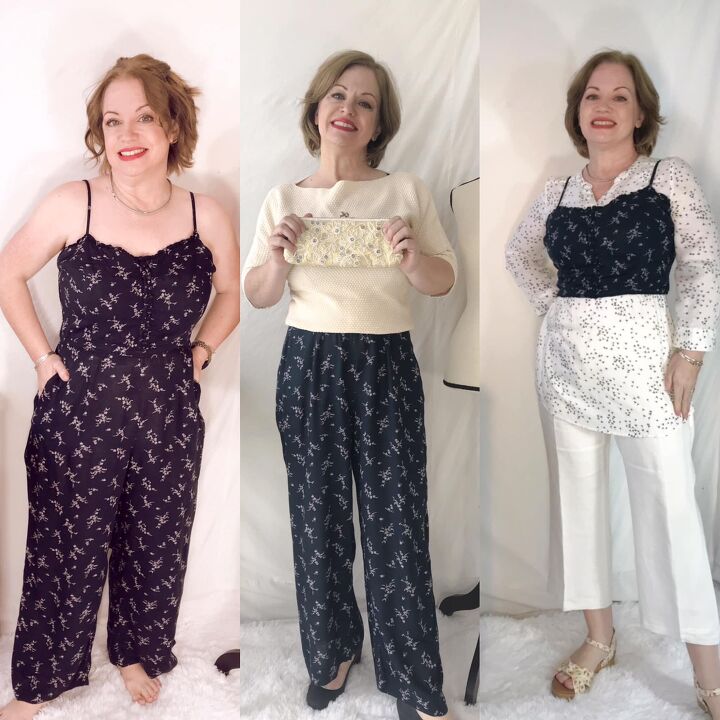
Before and after.
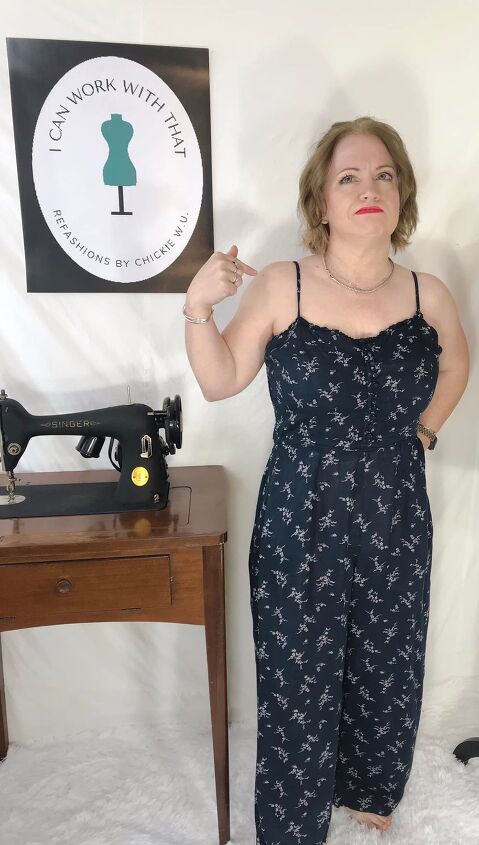
This jumpsuit was fine as it was but I had an idea. The top would make a cute but quick bustier top. They seem to be all over Instagram so I wanted to try and create one for myself. But I wanted to create it quick and easy. This was my chance.
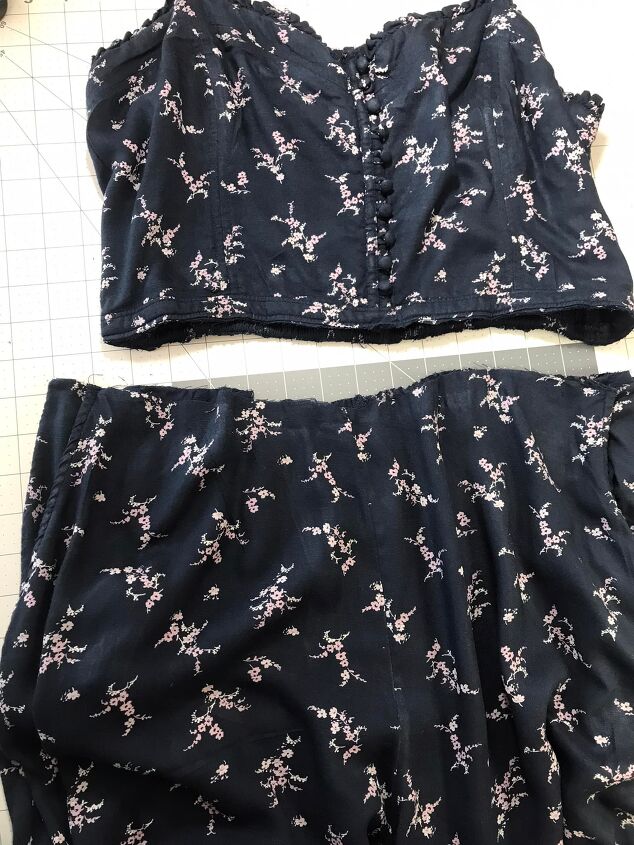
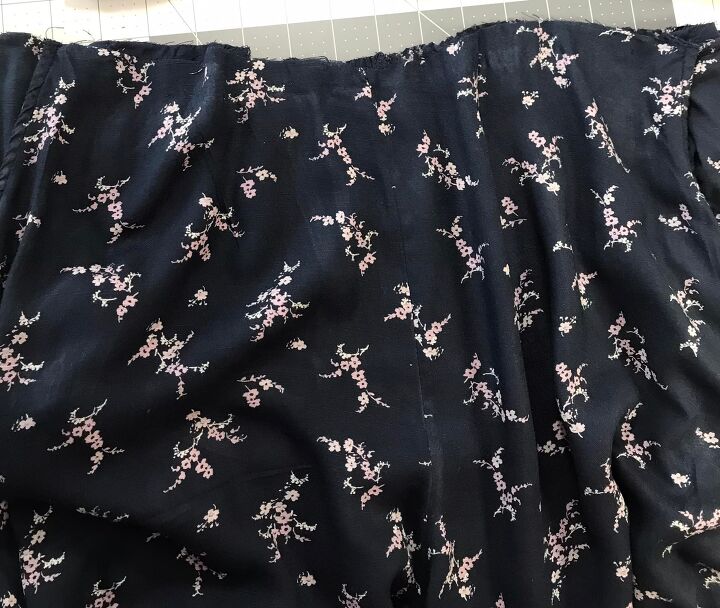
I cut the top off the jumpsuit. You can see in the picture that I cut the top fully off the pants. I kept all the seams intact. I cut as close the bottom of the waist seam as I could. The stitching of the seam will keep it from falling apart but...
To be sure it stays looking nice I used a zigzag stitch along that bottom edge. The zigzag stitching along the edge will keep it all together with no fraying. I used black thread to make sure it blended in. Almost all sewing machines have a zigzag stitch. I stitched right on the edge and stitches sort of wrap around the edge back and forth to keep the fabric from fraying.
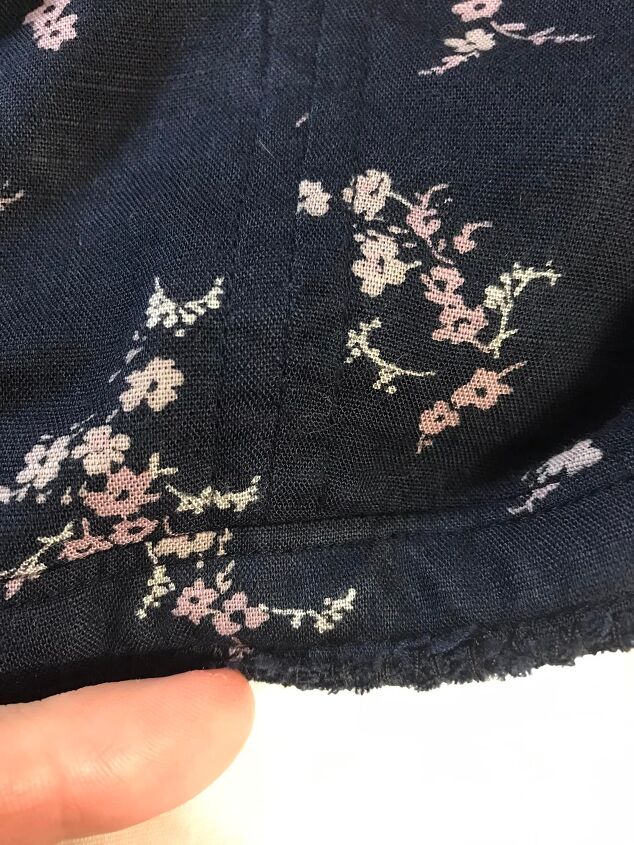
I made my zigzag stitches right on the edge of the bustier top. This is the back of the top.
What about these pants? They have no waistband so I need to fix that. Where could I find a waistband?
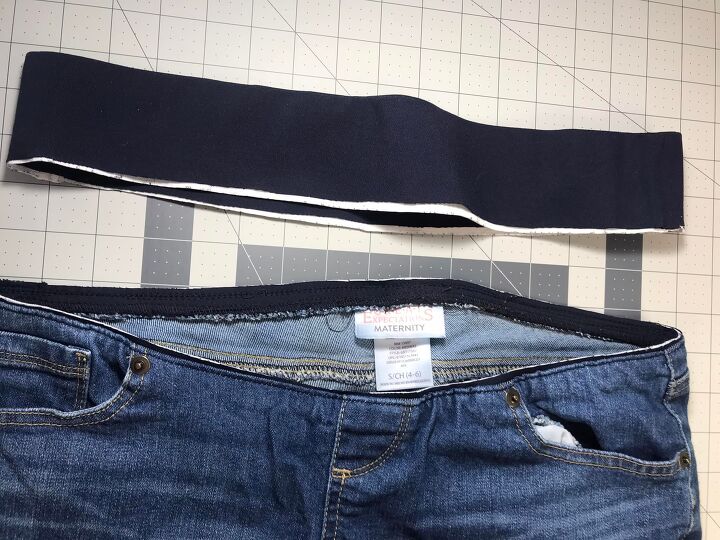
I cut the waistband off these jeans. The waistband is just the right color for these pants and I love elastic waistbands. (I am getting old. I just want to to be comfortable.)
This waistband was elastic with a black nylon layer covering it. I liked it because the color matched my pants so well. I didn't want those layers of fabric to slip around while I was sewing. I used my serger to close the cut edge and hold the layers in place neatly. You can use a zigzag stitch for this step too. (I use the rainbow thread where I can so it is easy to see in photos. I can't use it for every seam in my clothing but it would make photos easier for you to see if I did.)
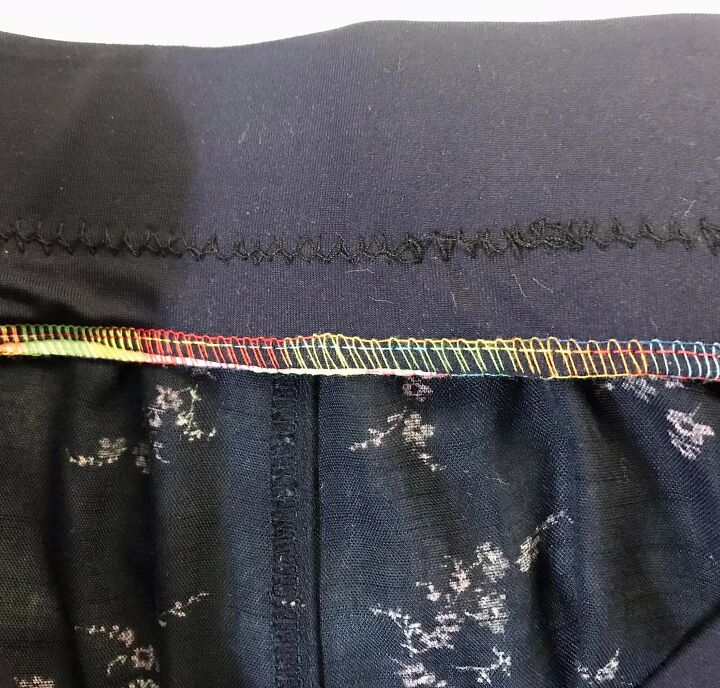
*Inside view.*
I used a zigzag stitch in black to connect the pants to the waistband. I put the right sides together and zigzag-ed all the way around the waist.
Here is my zigzag around the waistband. I actually went around twice to make my pants really strong. Once was probably enough though.
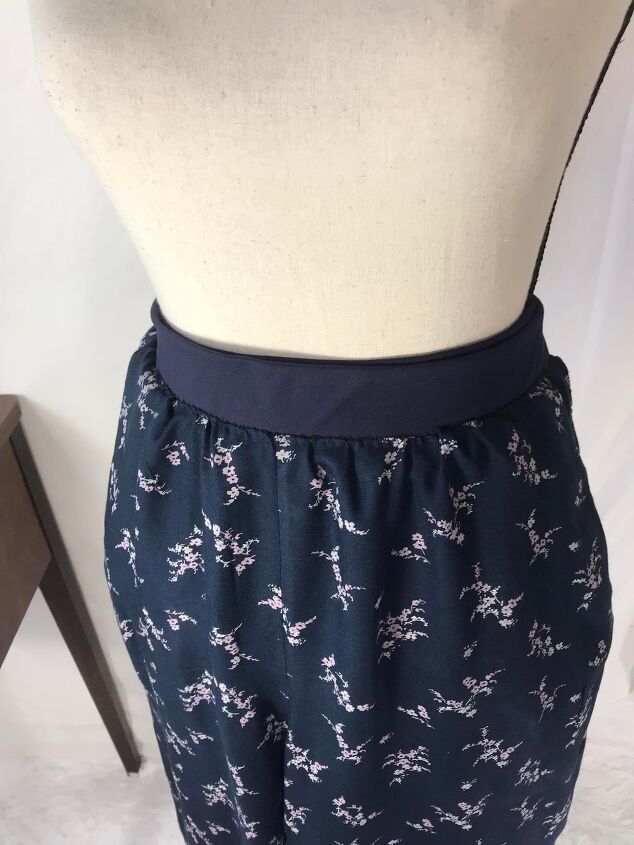
*Outside view.*
The waistband is soft and works perfectly for these pants. The waistband was so stretchy it fit these pants well. All my stitching is hidden inside the pants.
I connected the waistband to the pants with the right sides/outsides facing each other. When I flip the waistband & all that stitching in, you can see what the pants look like from the outside.
I used a narrow zigzag stitch to top stitch the seam you see here. It will make the pants and waistband lay flat and smooth. It is also another layer of strength to the waistband. I used the zigzag stitch here because this waistband is elastic. It will stretch. A zigzag stitch will give and stretch with the elastic.
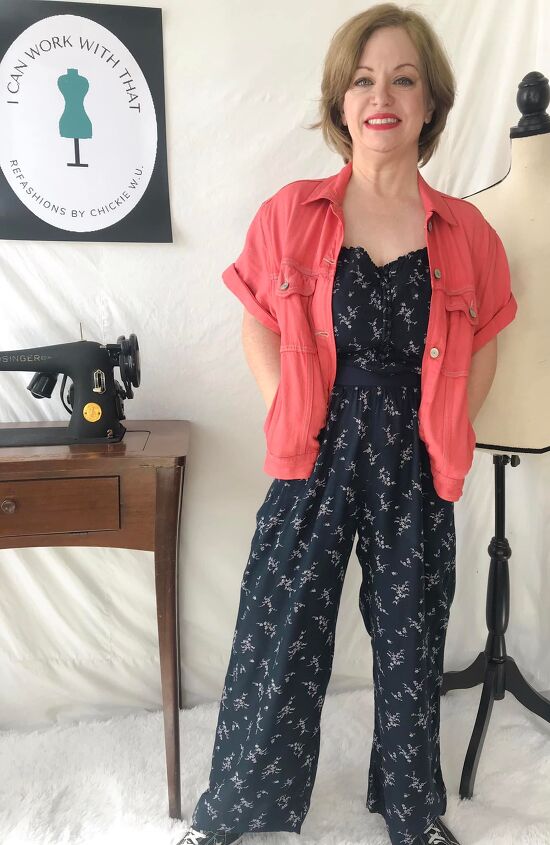
I can wear the 2 pieces together and it still looks like a jumpsuit.
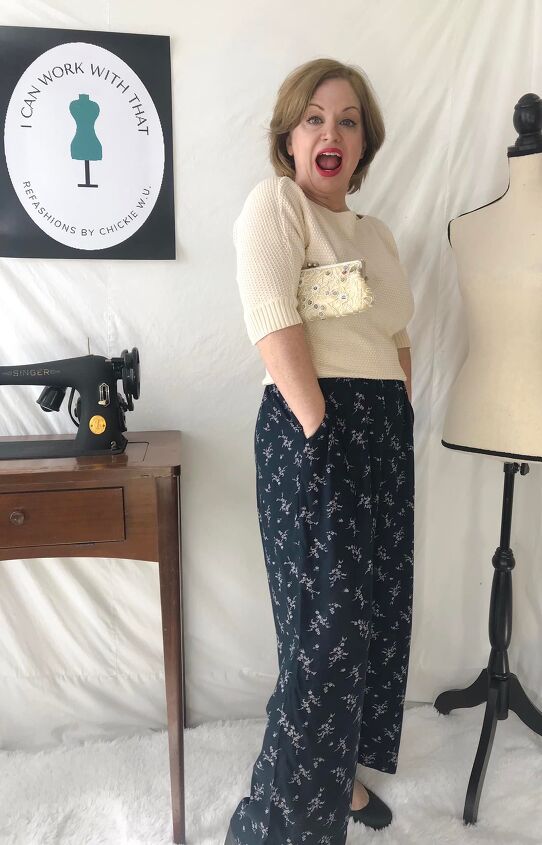
I can also wear the pants by themselves with a different shirt.
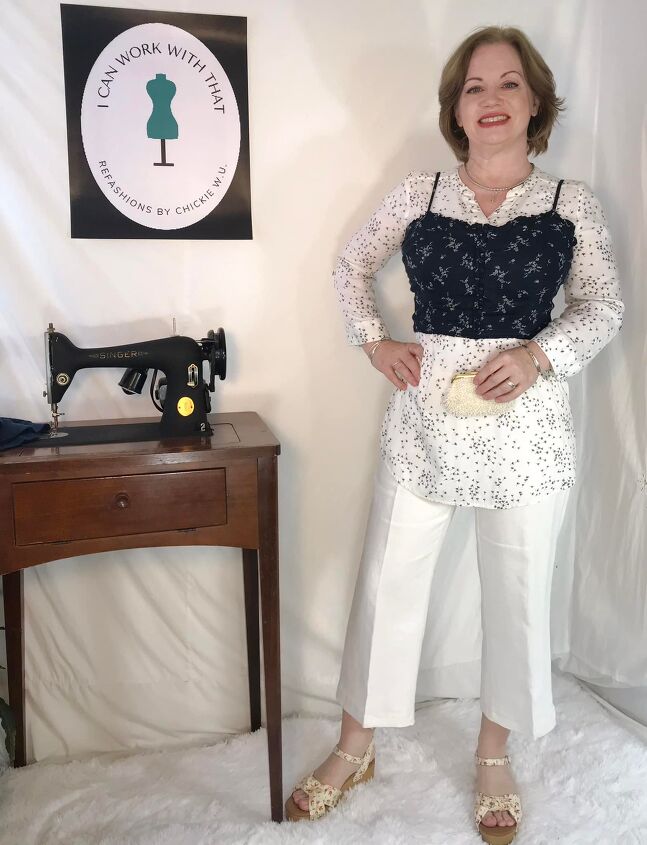
And I can wear the bustier top without the pants and with a different top underneath. I liked this look because I was more covered on my shoulders and arms. Thanks for reading along, see you next time.
The author may collect a small share of sales from the links on this page.


Comments
Join the conversation
Great job! I’m not too crazy about the blk and white it seems to have something missing(?) They all look beautiful on you !
I really like the 2 pieces together w/your orange top over
Very Pretty!
☘️