5 Unique DIY Safety Pin Clothing Ideas for Summer

Hey, everyone! Today, we’re going to be making safety pin clothing - including a DIY safety pin shirt, a DIY safety pin dress, and some safety pin shorts. It is as easy as cutting up t-shirts and putting safety pins on them!
Tools and materials:
- Safety pins
- Scissors
- Tank tops
- Jeans
- T-shirts
Style 1: DIY safety pin shirt
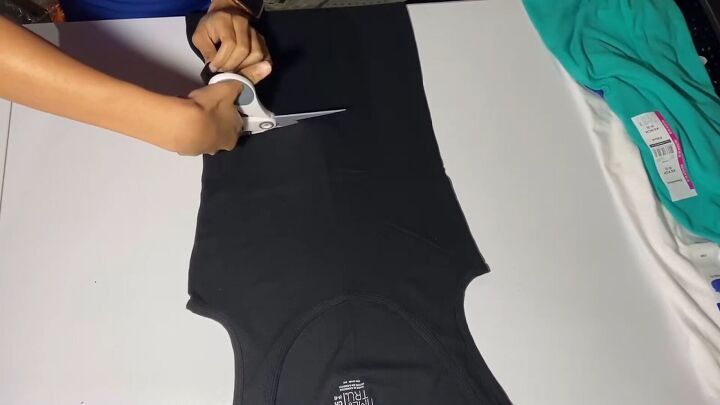
1. Cut
Start by cutting a tank top in half into a crop top.
Then, cut the top layer of the shirt right down the center.
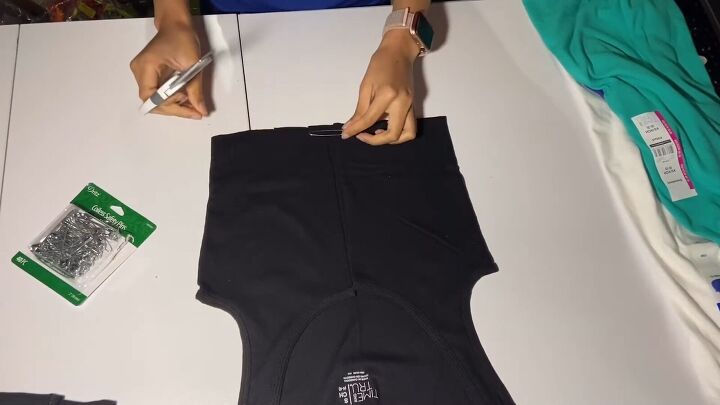
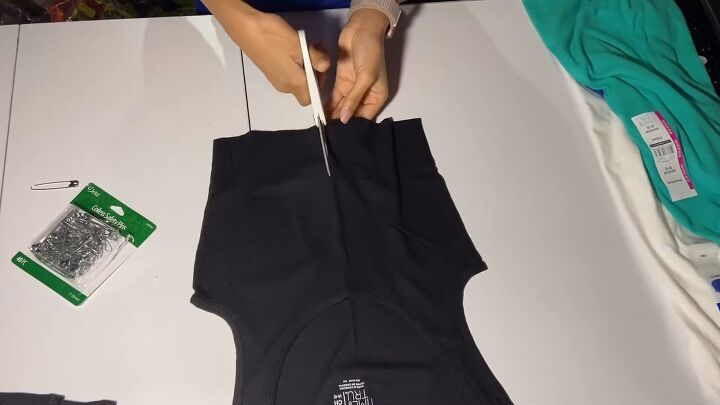
2. Measure and cut where you want the safety pin
Use the safety pin as a guide to figure out how much you need to cut and where you want to cut.
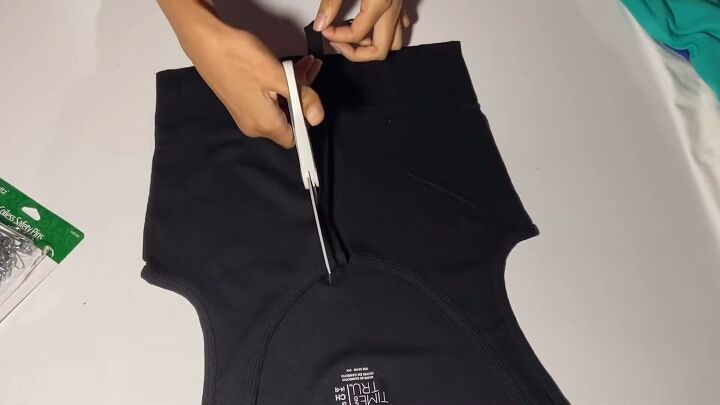
Then cut a big enough space for the safety pin so your shirt can be fitted.
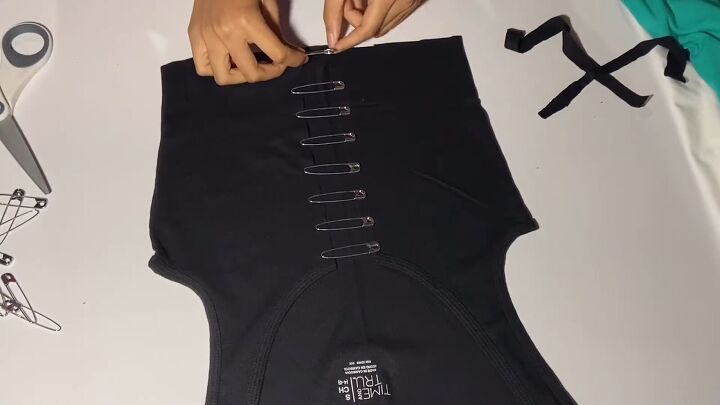
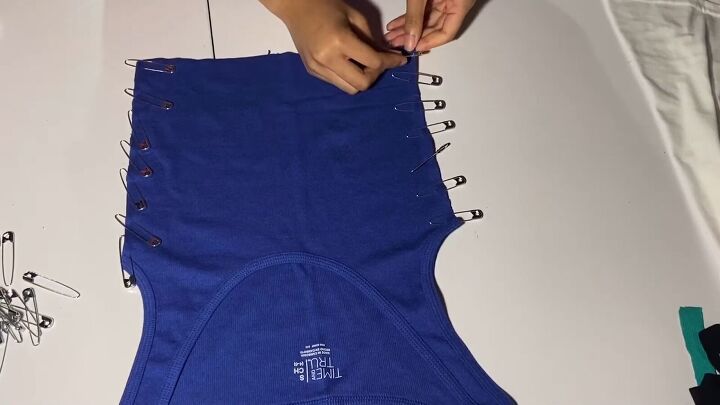
3. Attach the safety pins
Now, lay the safety pins down to figure out the right spacing, and then just safety pin the two sides together.

Here’s the finished top! This DIY safety pin shirt is the easiest way to create a no-sew outfit.
Style 2: Safety pin dress
1. Cut
Just like the first style, cut the top in half where you want it to stop, and then cut right down the center.

2. Attach the safety pins
Lay the safety pins out where you want them. For this one, I’m attaching the safety pins down the center of the dress to connect the top’s opening, and then I'm using them to connect the top piece and the bottom piece. After you like the positioning, just safety pin it together.
When attaching the top and bottom pieces, make sure you don’t safety pin the front and the back side together. You can turn it around to the back and pin the back together, or you can leave the backside open. I did mine all the way around.
3. Stretch
Stretch out the top and the bottom so there’s space between all of them.

Here’s the finished DIY safety pin dress!
Style 3: Side safety pin tank top

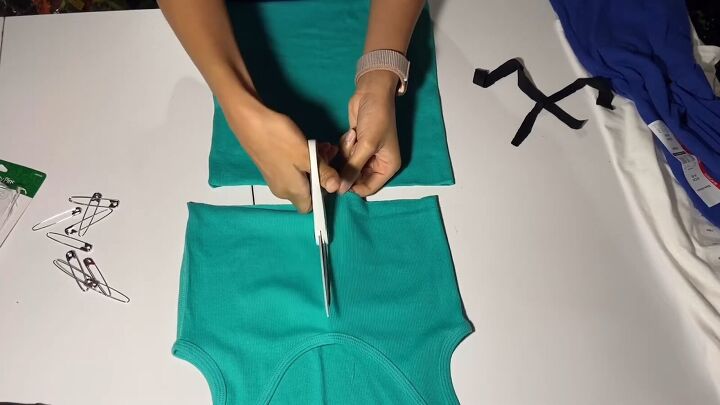
1. Cut
Similar to the previous styles, cut off the bottom of the top until it’s the size you want, but this time we’re going to cut off a bit of both side seams.
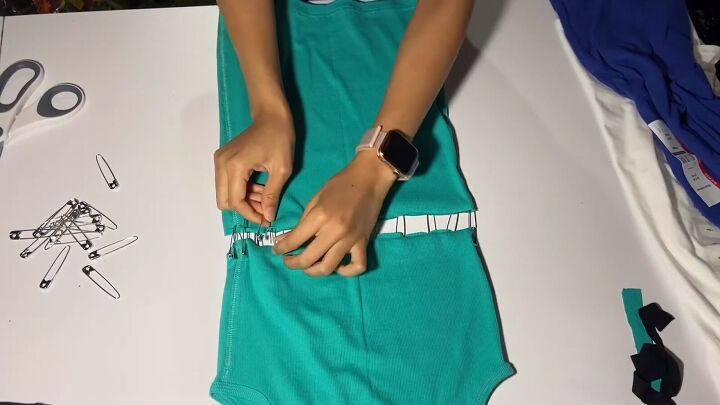
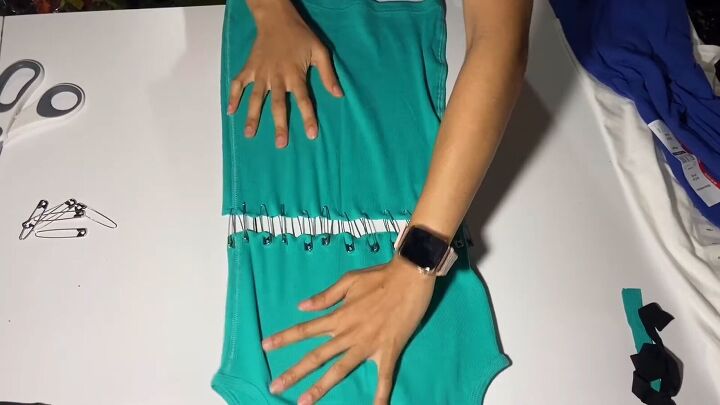
2. Attach safety pins
Safety pin the two sides together.
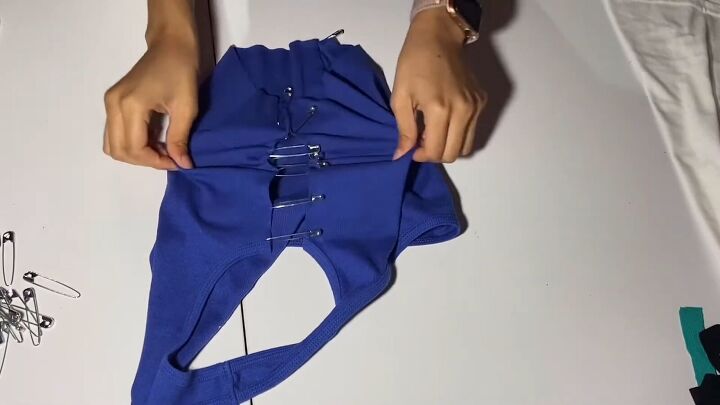
3. Stretch
Finally, just stretch it out.

Here’s the finished top!
Style 4: Safety pinned colored sleeves
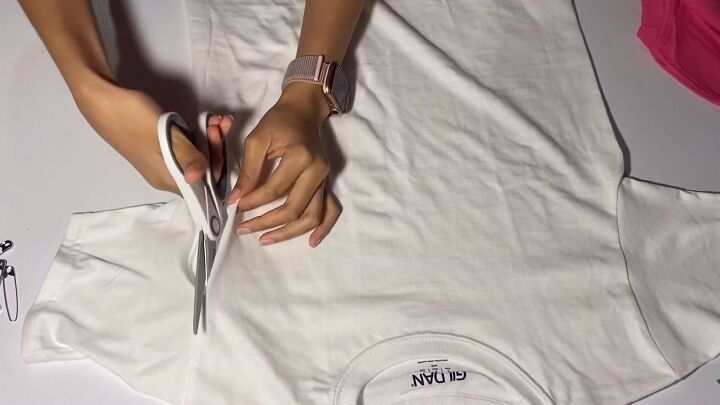
1. Cut
Moving on from the tank tops, I’m taking two t-shirts and cutting off the sleeves on both. One should be a different color than the other. The second shirt I’m using is pink.
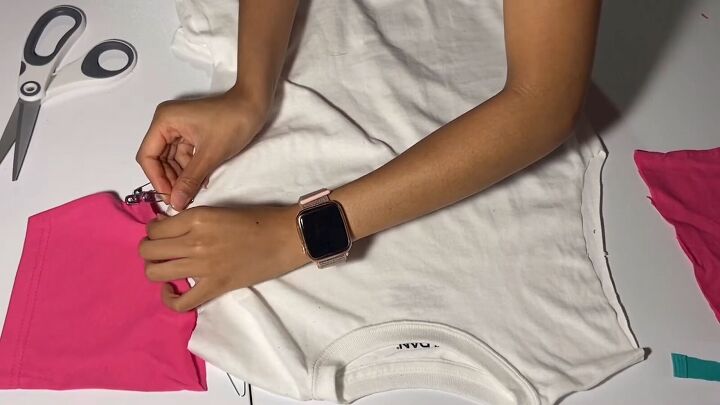
2. Attach the safety pins
Next, safety pin the sleeves of the colored shirt to the sleeves of the white one.

Here’s the finished t-shirt! The cool thing about this style is that it’s really customizable. You can cut the sleeves as long or as short as you want. You can crop the shirt or even add long sleeves. It’s all up to you!
Style 5: Safety pin shorts
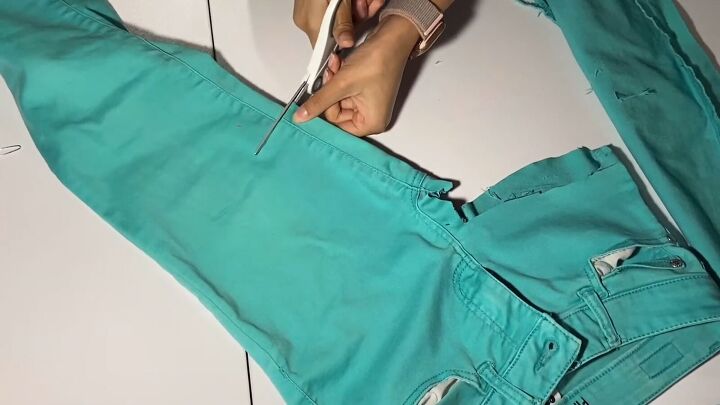
1. Cut
Cut the pants into shorts to your desired length, and then cut off a little extra for safety-pinning.
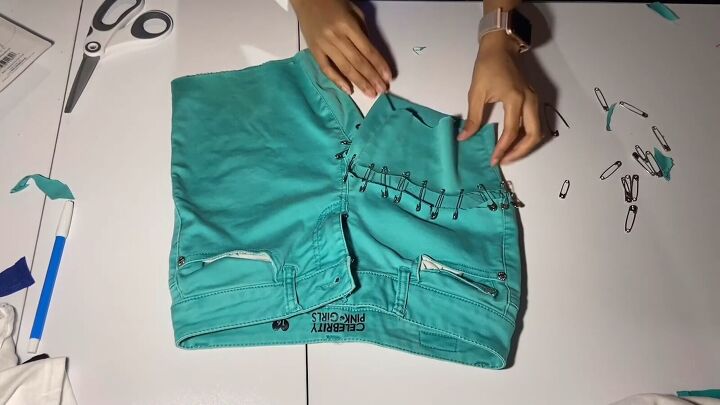
2. Attach the safety pins
Attach the extra fabric to the shorts and you’re done!

Here are the finished safety pin shorts!
DIY Safety Pin Clothing Tutorial
I hope you guys love these safety pin clothing ideas as much as I do! Let me know down below which style is your favorite.
The author may collect a small share of sales from the links on this page.


Comments
Join the conversation