How to Make a DIY Cut-Out Top With Long Sleeves & a Turtleneck

In this tutorial, I'll show you how to make a DIY cut-out top. I found some colorful vintage fabric at my parents' house and knew I wanted to make something special with it. I decided to create a cute cut-out long-sleeve turtleneck top, and I'll show you how to make your own too. Let's get started!
Tools and materials:
- Fabric
- Well-fitting top
- Turtleneck
- Extra fabric for bias tape
- Paper
- Pen
- Tape
- Scissors
- Tracing wheel
- Measuring tape
- Ruler
- Pins
- Sewing machine
- Ballpoint or jersey needle (depends on your fabric)
- Iron
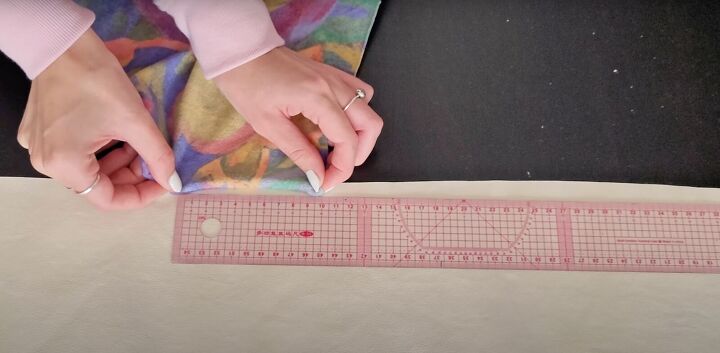
1. Check the stretch
Using a ruler, check the level of stretch in your fabric as well as the tops you will use as templates.
You’ll need a garment that has roughly the same stretch as your fabric so your new top ends up with the right measurements and proportions.
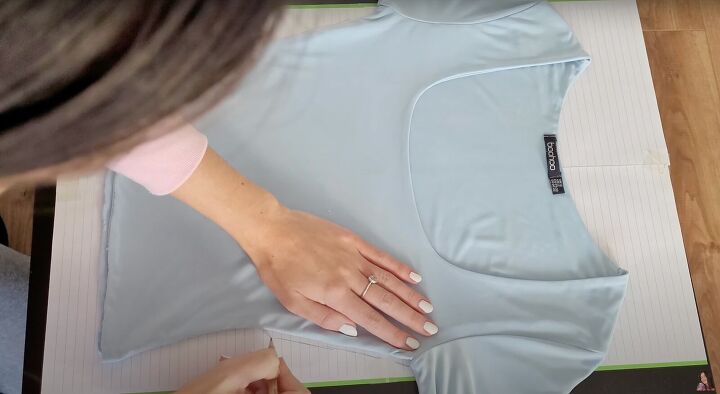
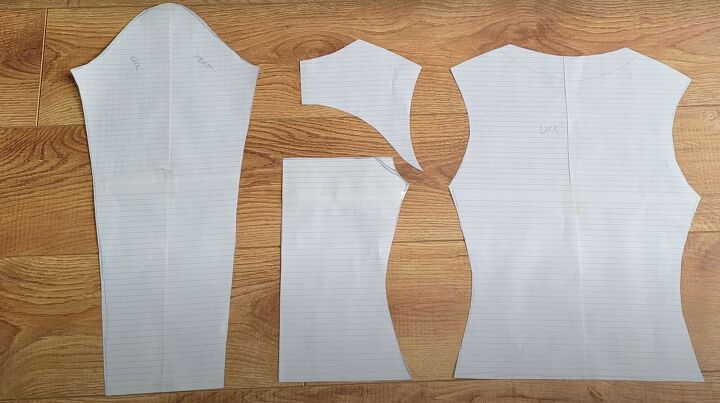
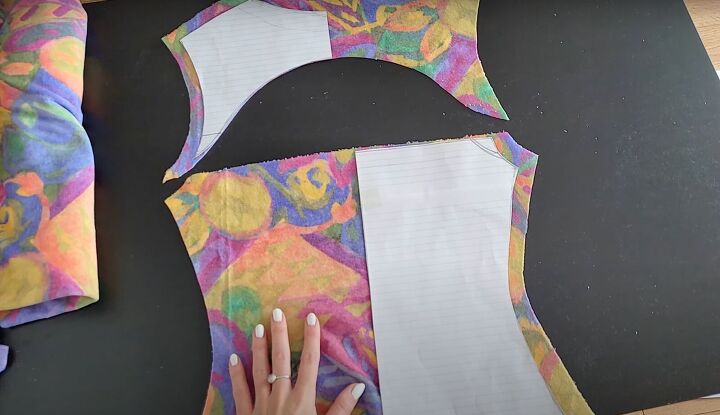
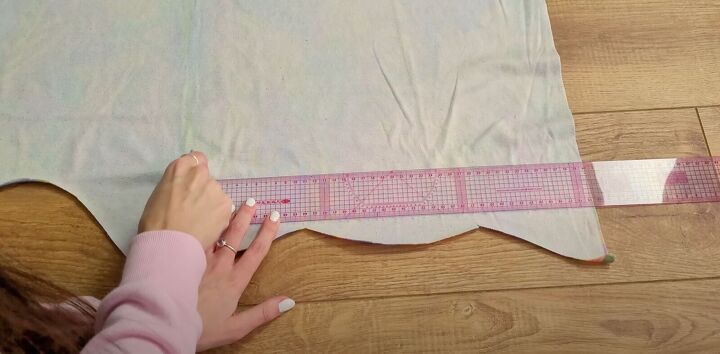
2. Make the pattern
Trace your shirt onto pattern paper (I used sheets of paper stuck together).

Use a tracing wheel to mark the armhole seams. The tracing wheel leaves little indents that you trace with a pen or pencil so you get an exact measurement.

To mark the turtleneck, use your own turtleneck and trace on the neckline. Align the shoulder seams.
Mark the front cut-out using the shirt’s neckline as a reference.
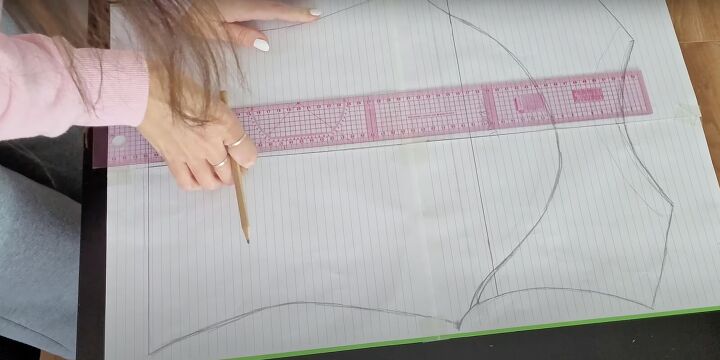
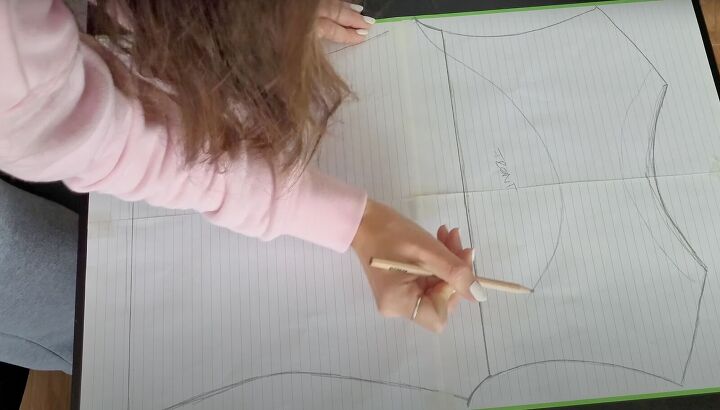
Since the two patterns overlap (the top of the bodice above the cutout and the bottom of the bodice below the cut-out), divide the pattern in half lengthwise with the ruler.
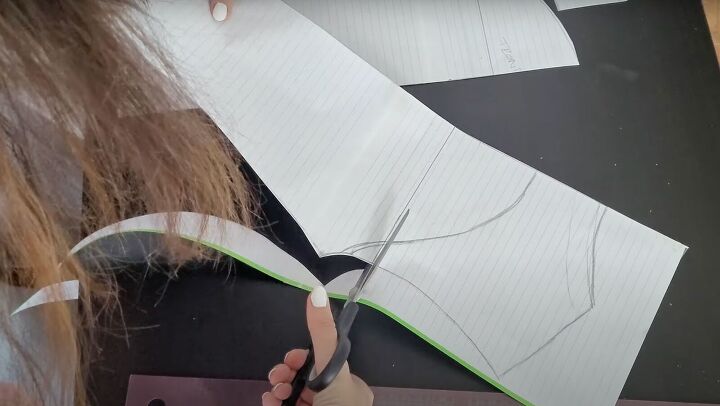
Cut along the center marking. Then cut the top and bottom separately.
Mark the back pattern by tracing your shirt’s back on another piece of pattern paper. Use the tracing wheel for the back of the armhole seams. Copy the turtleneck neckline from the front.
Mark the sleeve pattern by using both sides of the sleeves.
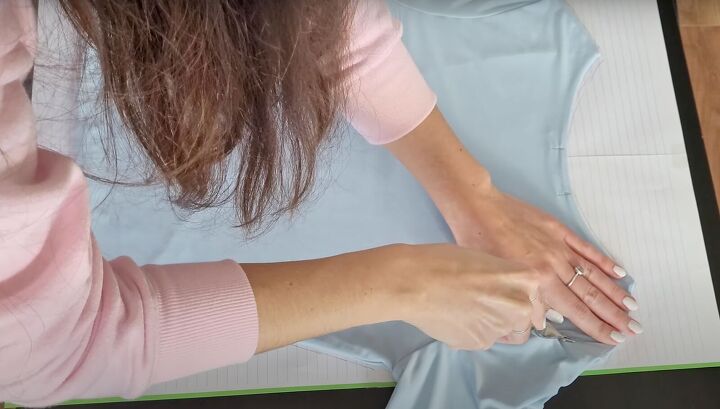
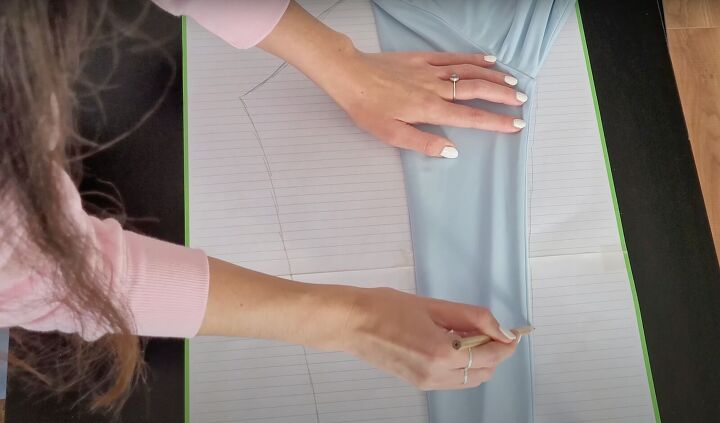
3. Cut the fabric
Lay the pattern on the fabric. Add ¾ inch (2cm) seam allowance and cut out the pieces. There is no need for seam allowance on the cut-out area as you’ll be adding bias tape to finish it.
For the sleeves and front pieces, use folded fabric. Use the first sleeve to cut out the second sleeve.
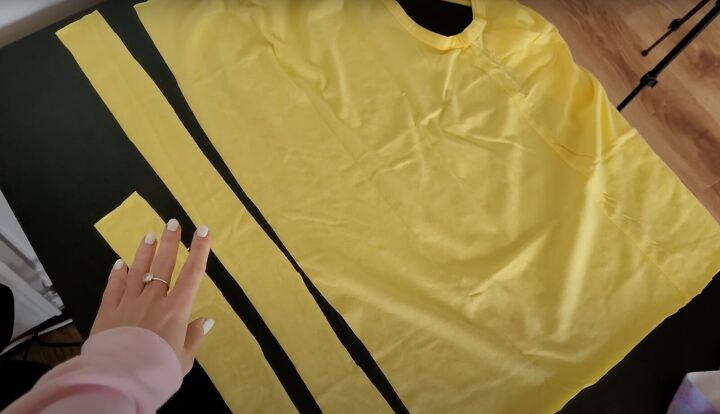
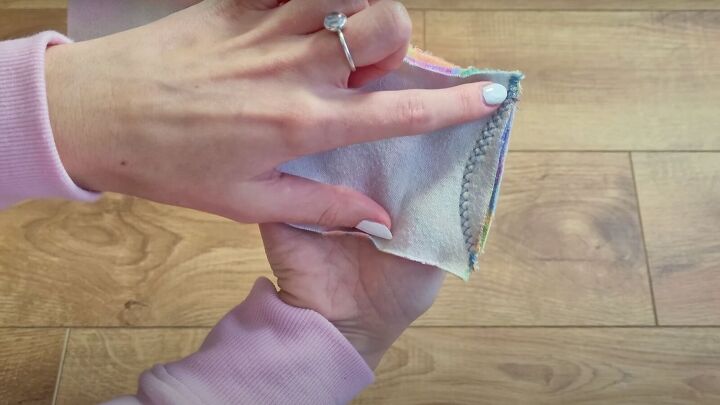
4. Make the bias tape
Measure the length of the cut-out. Use an old stretchy t-shirt in a complementary or contrasting color.
Cut the fabric into strips equal to or a bit longer than the cut-out and 1½ inches (4cm) wide.
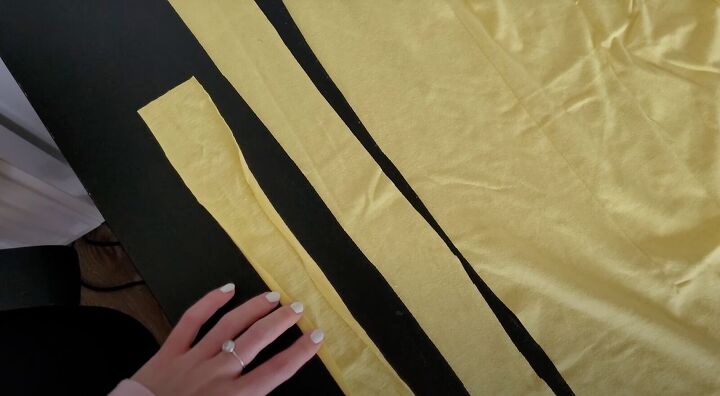
Fold in the raw edges. Press.
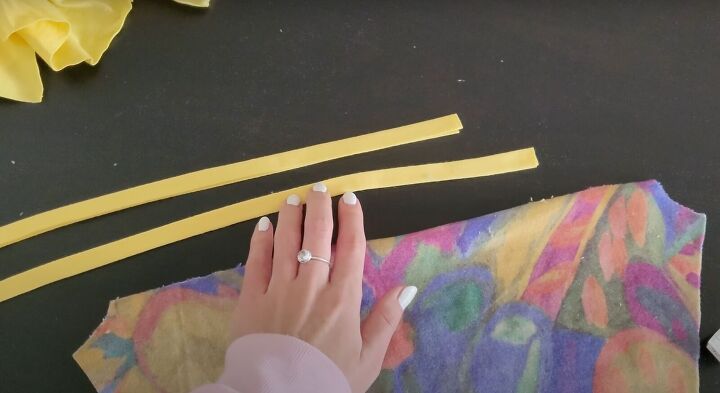
Then fold in half. Press flat.

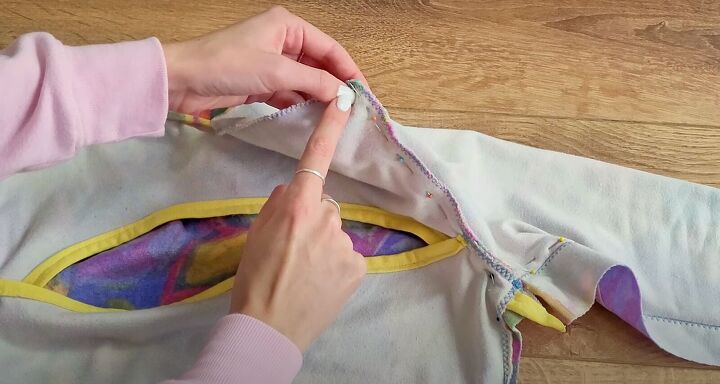
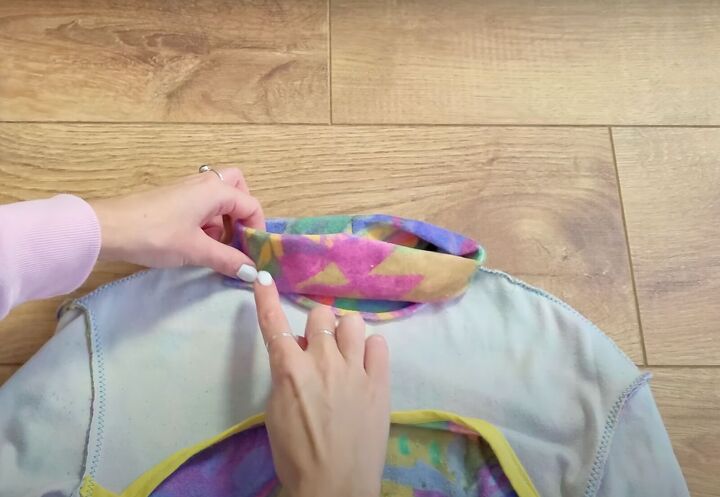
5. Attach the bias tape
While this isn’t the traditional way to use bias tape, it works well here. Insert the cut-out fabric into the open edge of the bias tape.
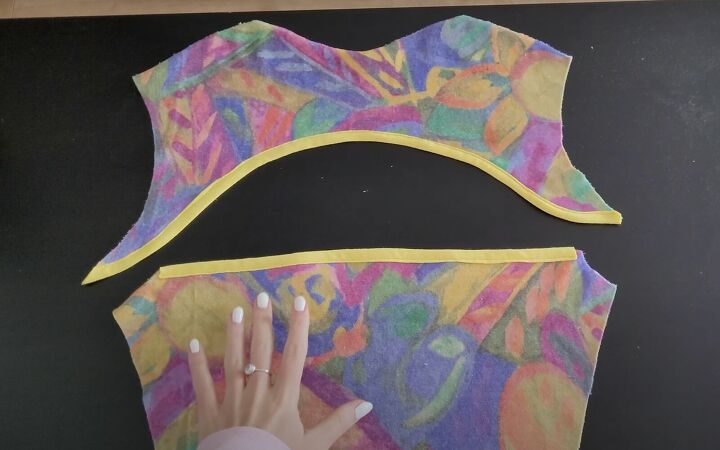
Topstitch the bias tape with a stretchy straight stitch.
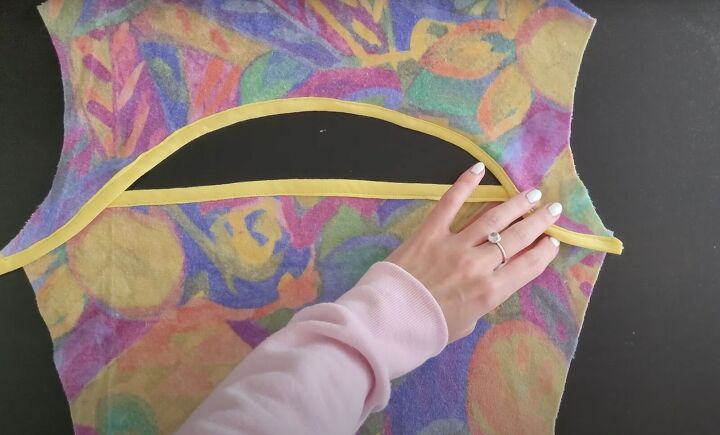
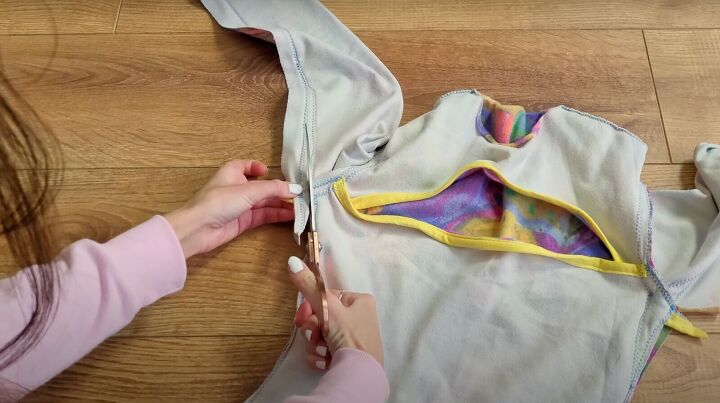
6. Sew the cut-out
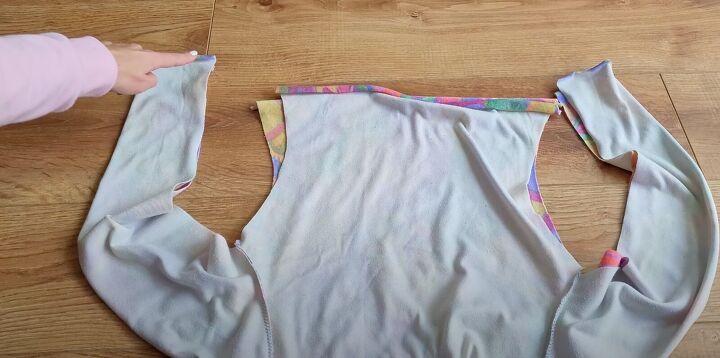
Align the front pieces so the curves match. They’ll overlap a bit to become one. Sew with a zigzag stitch to attach them on the wrong side.
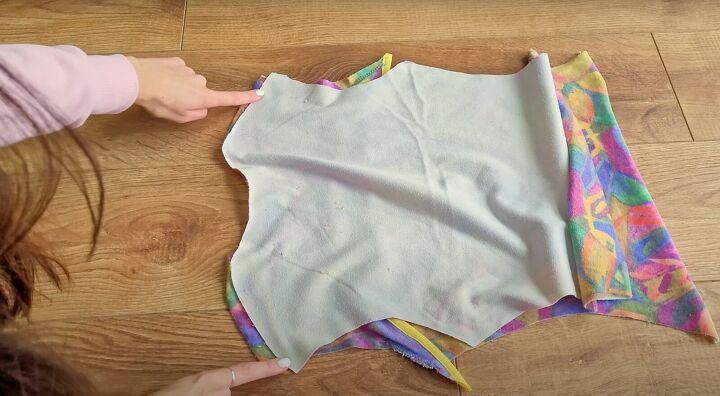
7. Sew the top
Place the front and back pieces right sides together. Sew the shoulders with a zigzag stitch.
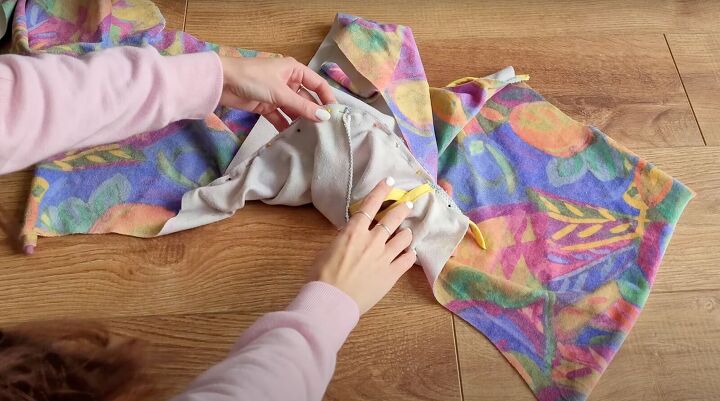
Check your sleeves to make sure you’re attaching the right and left to their respective sides. Pin the sleeves along the shoulder. Sew into position with a zigzag stitch.
With the top right sides together, align the armpits, sleeves, and sides. Start sewing from the bottom up, along the sleeve and side seams.
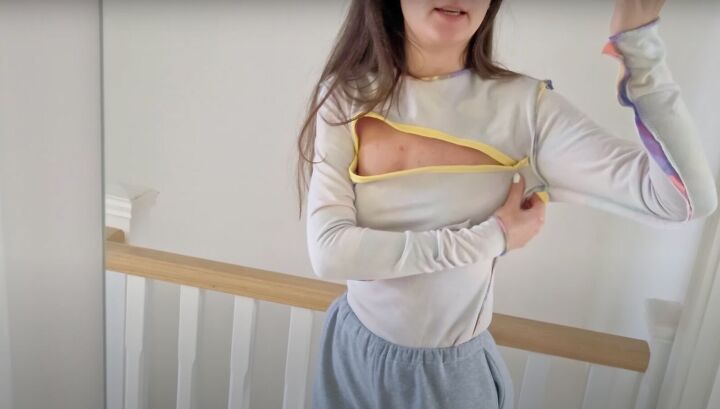
Check the fit.
If the cut-out gapes too much, take in the top by the armhole. Pin the armhole to the desired measurement, with an inch or so down the sleeve and the side seam.
Trim the excess after making sure the fit is perfect. Take in the armhole again.

8. Sew the turtleneck
Measure the entire neckline and multiply by 0.85 to determine your measurement for the turtleneck.
Mark this measurement on the fabric for the length. Mark 3½ inches (9cm) for the width with a bit of seam allowance.
Sew the rectangle into a loop, right sides together with a zigzag stitch on a little curve to close.
Flip to the right side out and fold it in half. Line up the open edge with the seam to the exact center of the back neckline. Pin in place. Sew together with a zigzag stitch.
If your fabric doesn’t fray, there’s no need to hem the sleeves or the bottom of the top.

You’re done making your DIY cut out top. I’m so happy with the way mine came out.

DIY cut-out top tutorial
Please let me know in the comments what you think or if I’ve inspired you to make your own cut-out top.
The author may collect a small share of sales from the links on this page.


Comments
Join the conversation