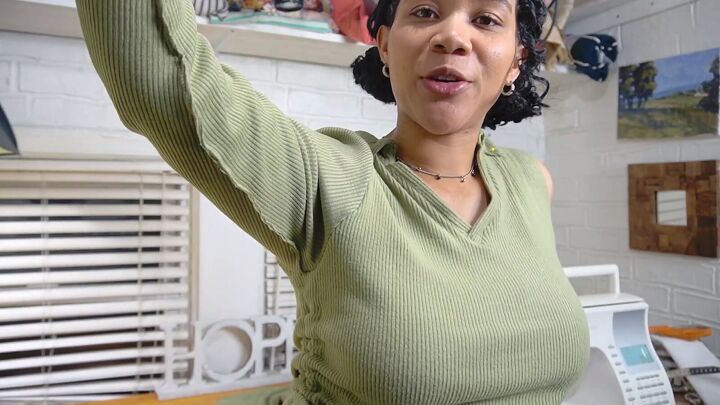
How to Make a DIY Drawstring Top That Hits All This Season's Trends

I’m going to show you how to make this cute DIY drawstring top. From the collared sweatshirt trend and exposed seams to ruching, this top has all the latest fashion trends!
I also opted for a knit material as everyday loungewear clothes are also a fashion trend. If you’d like to see how I made this, follow my drawstring top tutorial below!
Tools and materials:
- Fabric
- Sewing machine
- DIY pattern using your own clothes
- Matching thread
- Scissors
- Pins
- Marker
- Measuring tape
- Interfacing
- Iron
1. Cut the pattern pieces
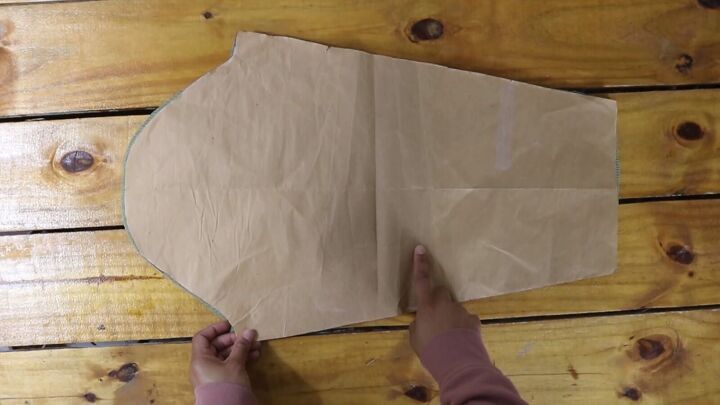
First, make a bodice and sleeve pattern by tracing your existing clothes. You can watch my previous video on pattern tracing to see how to do this.
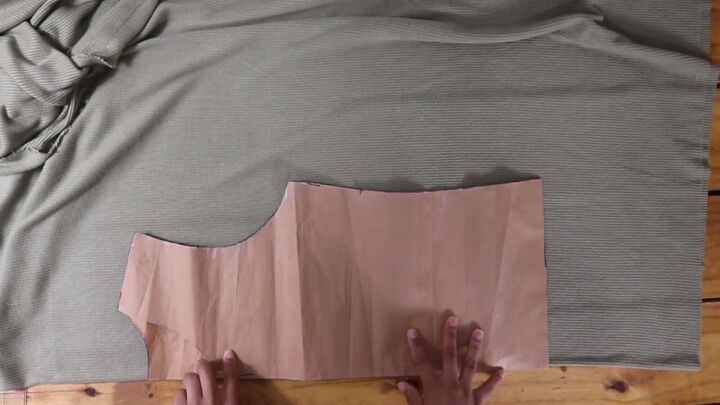
Place your pattern with the center on fold, as shown.
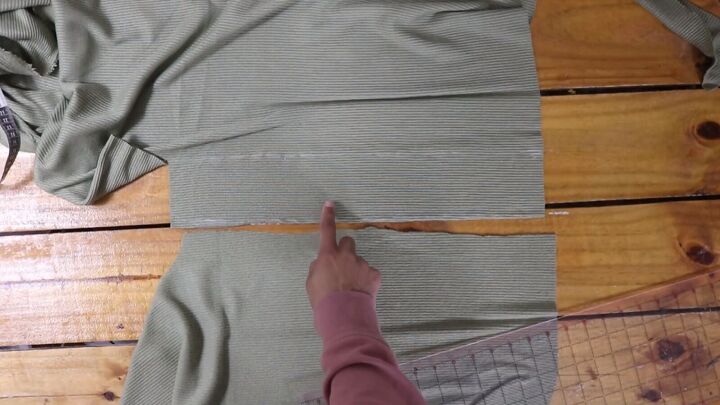
Trace the pattern onto your fabric and extend the bottom by around 6 inches (or longer). We're making it longer because we're adding the drawstring and ruching.
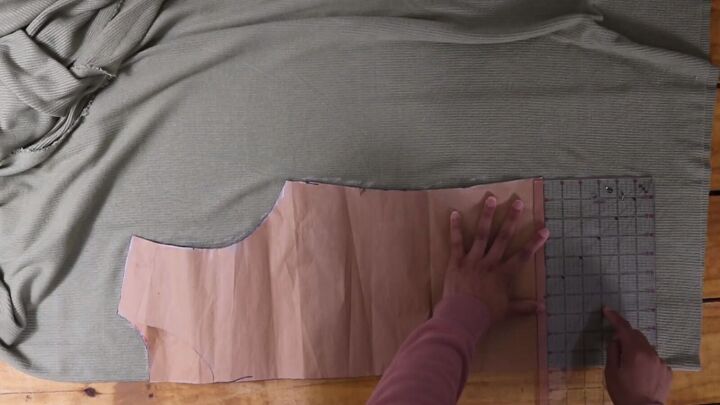
Cut it out and align the folded edge on the edge of your folded fabric. Cut around the pattern except for the neckline.
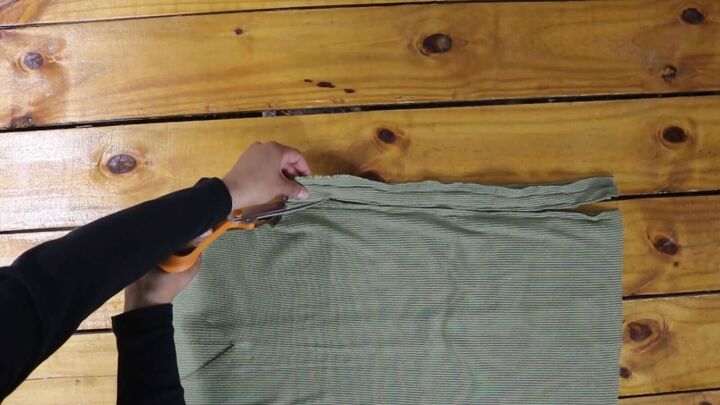
Since this will be the front bodice, draw a v-neckline. Then, cut.
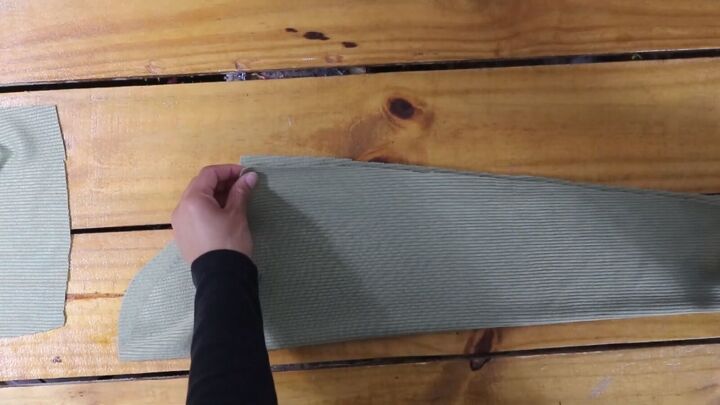
Next, cut out two strips of fabric that match the length of the main bodice’s sides, with a width of 3 inches. These will serve as the casings for the drawstrings.
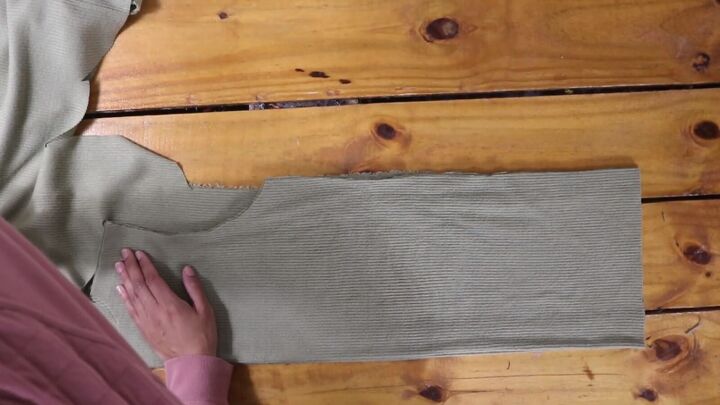
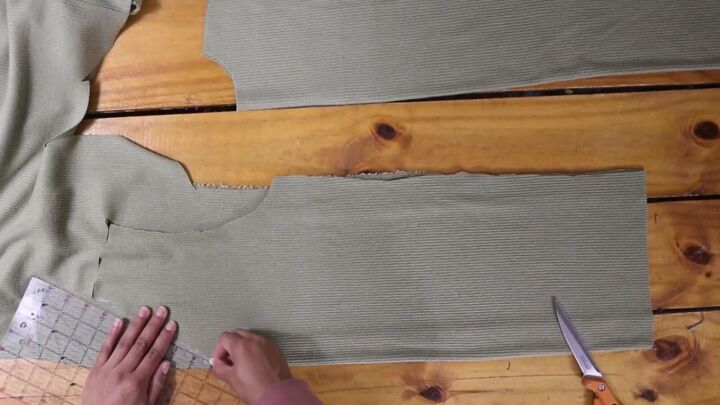
Now, cut two sleeve pieces using your DIY sleeve pattern (see the same video above).

2. Assemble the front bodice
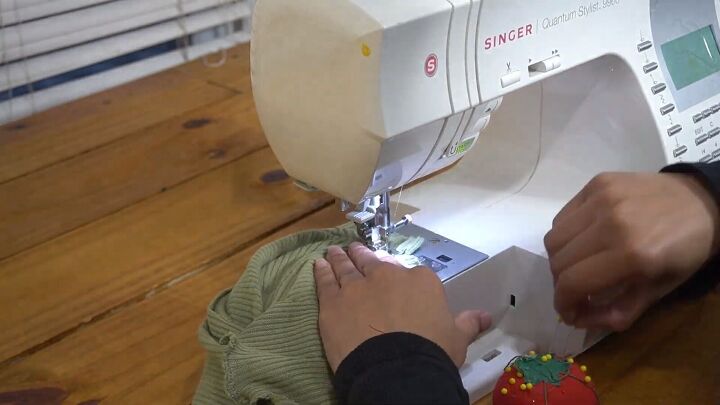
Align the front and back pieces, right sides facing. Sew the shoulder seams with a zigzag stitch and the side seams with a straight stitch.

3. Make alterations
You have a vest! If the pattern is big for you, now’s the time to adjust the sides according to your preference.
Mine was pretty loose, so I took in the sides and cut the excess fabric after. I also took in the shoulders a little. These alterations changed the armhole, so I will have to adjust the sleeve pieces accordingly.
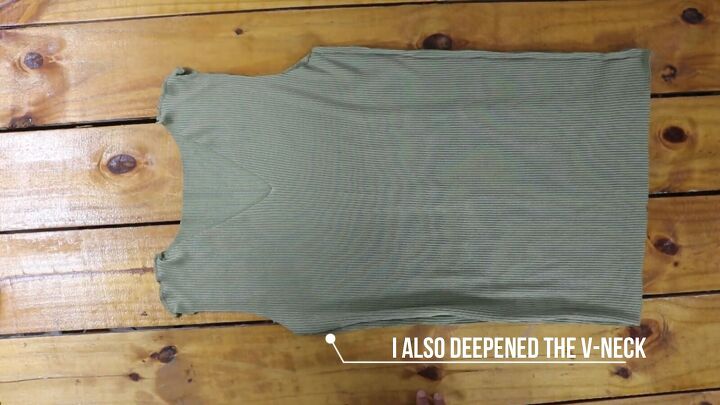
Here’s my new and improved shape. I also deepened the V-neck area.

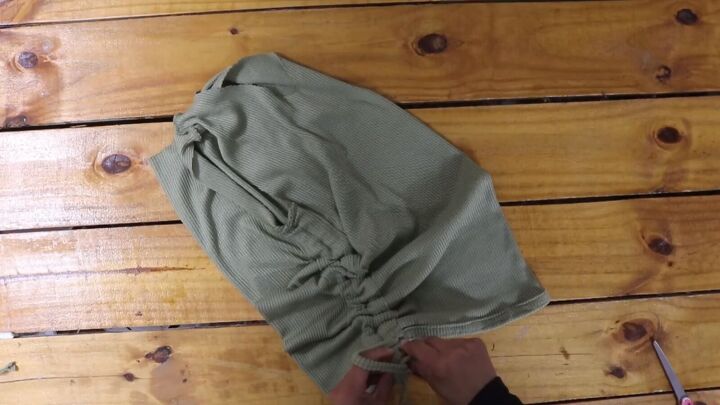
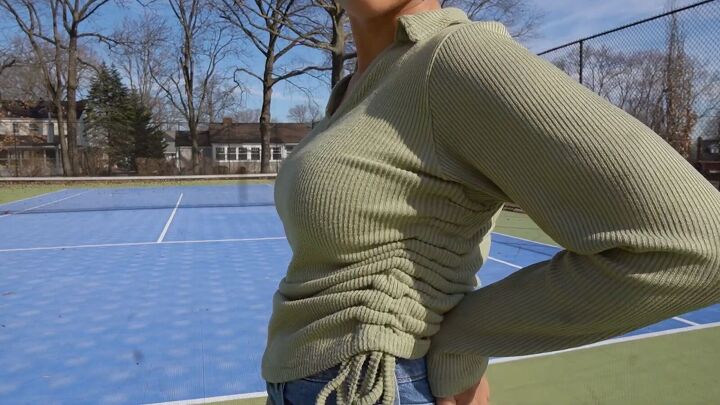
4. Sew the drawstrings and ruching
Cut out four 1x20 inch strips.
Press open the side seams of your top with an iron.
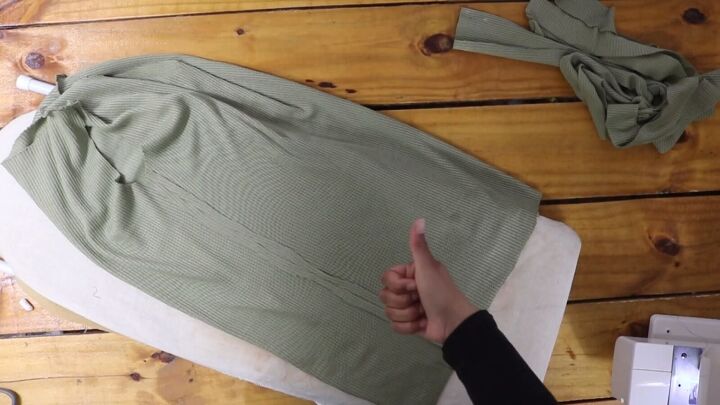
Hem the bottom of the top with a double fold.
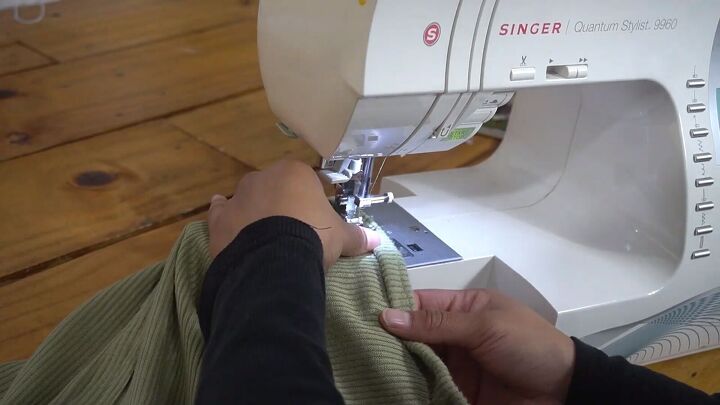
Sew in the sides of the casing by ¼ inch and hem the short ends.
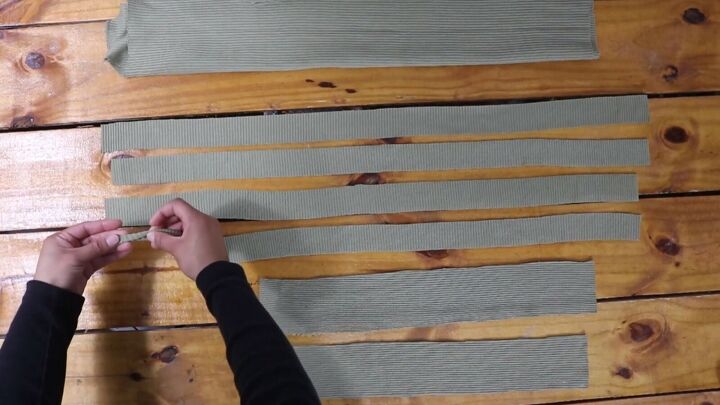
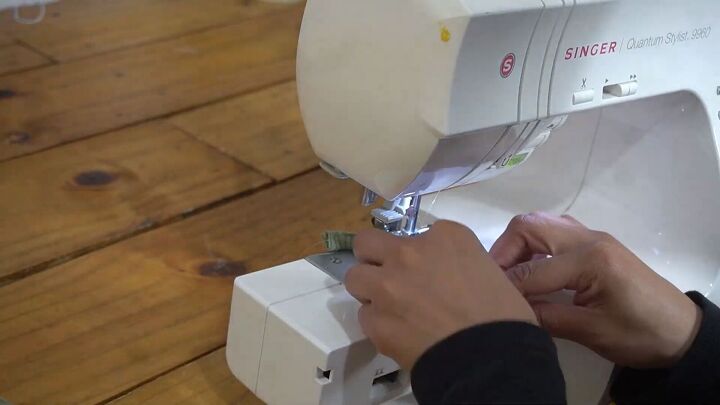
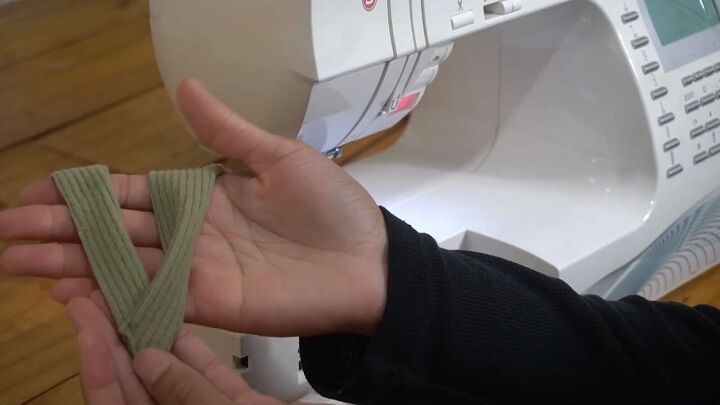
Fold in the edges of longer strips and fold the whole strip in half lengthwise. Sew the fabric strips along the edge.
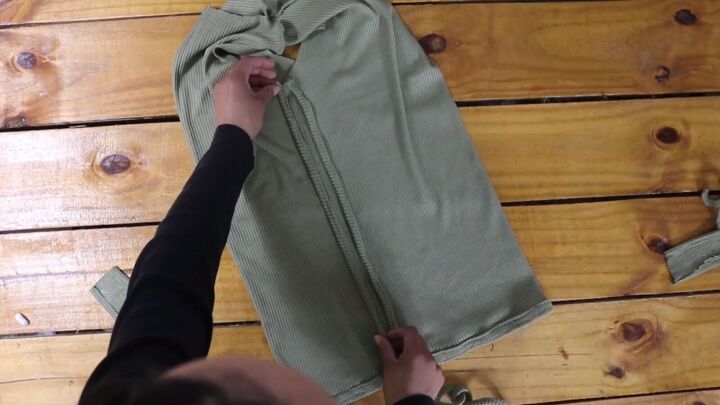
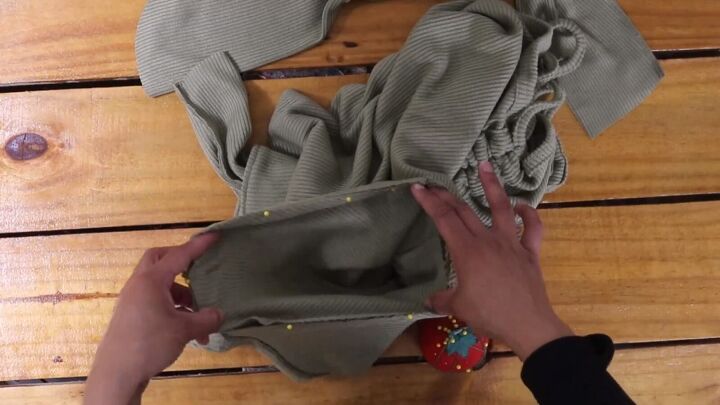
Align each drawstring along each side seam.
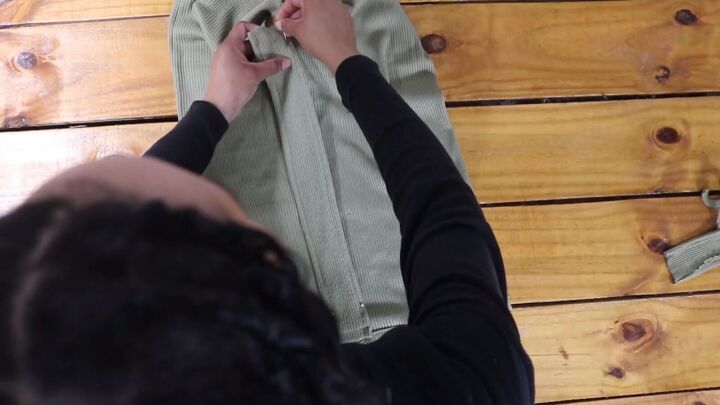
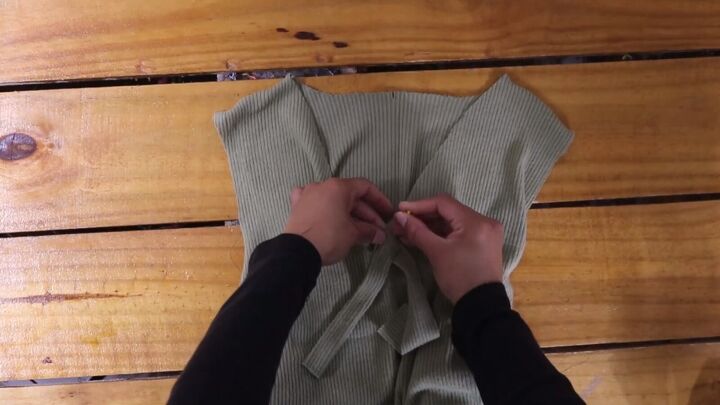
Lay the casing over the drawstring and pin in place, just above the hemmed edge of the top.
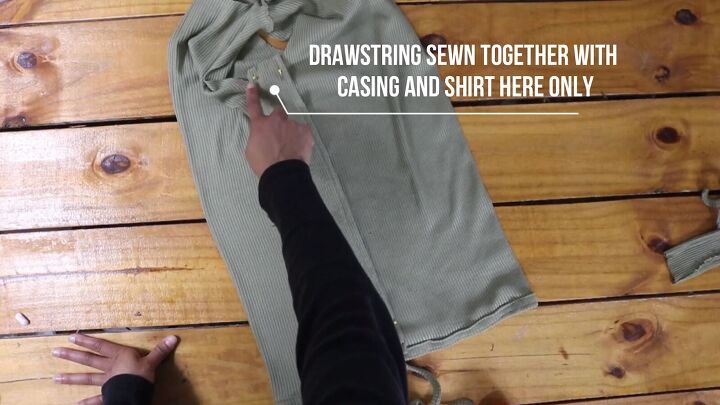
Ensure that your drawstrings are pinned in place on top.
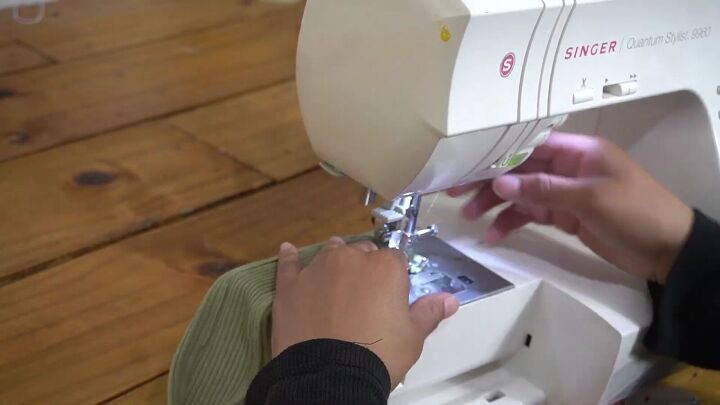
Sew along the top (together with the drawstrings).
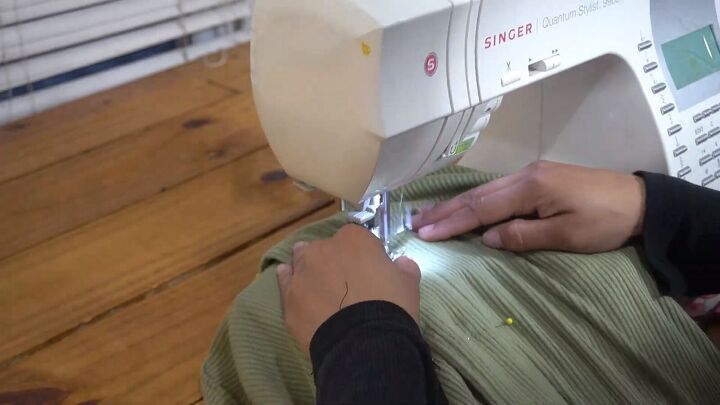
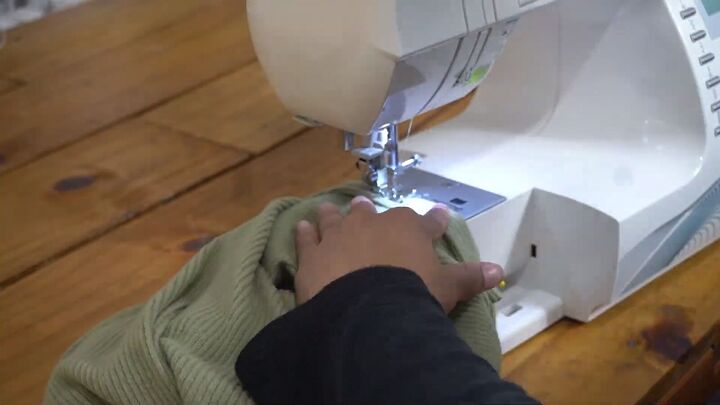
Then, sew down the sides and center but ensure that you do not sew the drawstrings when sewing down the sides.
Tip: Place pins along the drawstrings to ensure they won’t get sewn.
Done! Now, do the same thing for the other side.
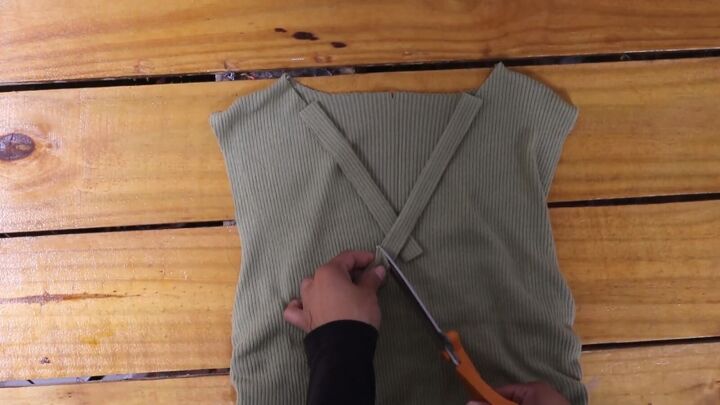
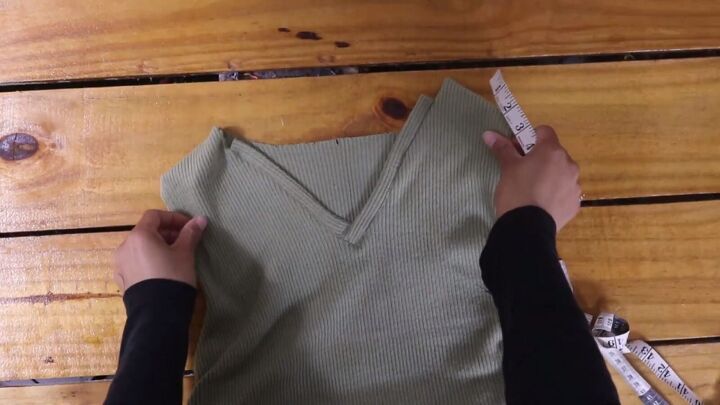
5. Finish the neckline
Cut a long 1-inch wide strip of fabric. Fold it in half and align it to one half of the neckline, two inches from the shoulder seam. Then, trim. Do the same for the other side.
Sew the centerpieces together and trim off the excess fabric.
Align the point with the center and pin to the neckline, right sides facing.
Sew to the neckline.
Trim the excess bulk on the inside, then topstitch the ditch.
6. Make and attach the collar
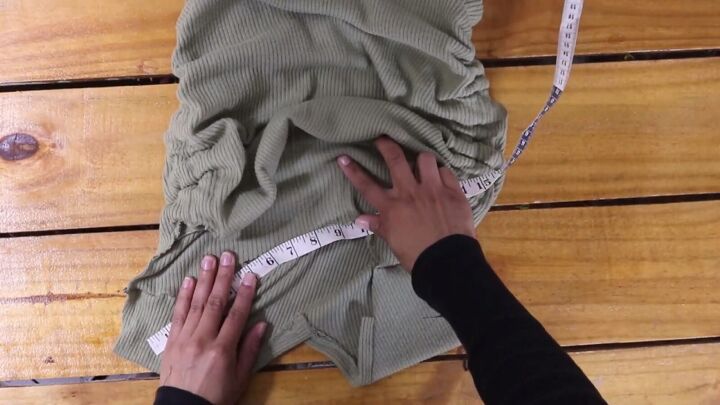
Measure around the remaining collar and add an extra inch for seam allowance.
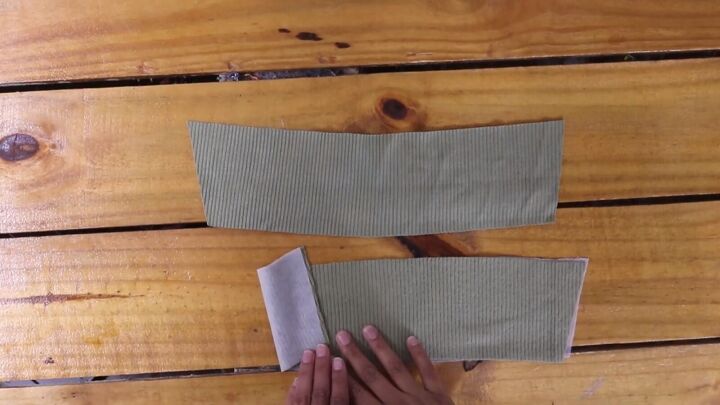
Cut two collar pieces. The bottom matches the measurement you just measured. Add interfacing to one-half of the collar.
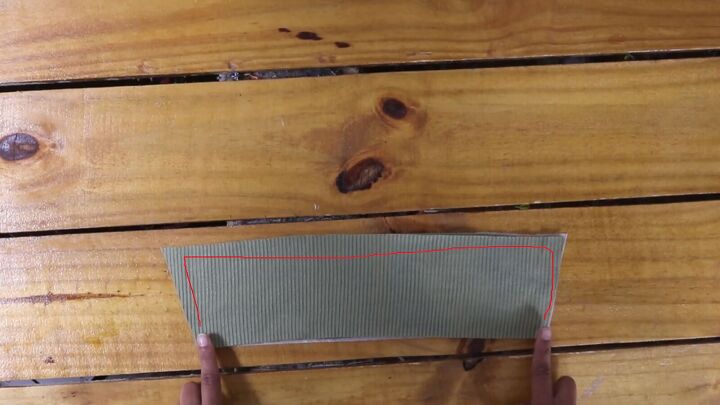
Sew the two collars together, right sides facing. Be sure not to sew all the way down to the bottom edge.
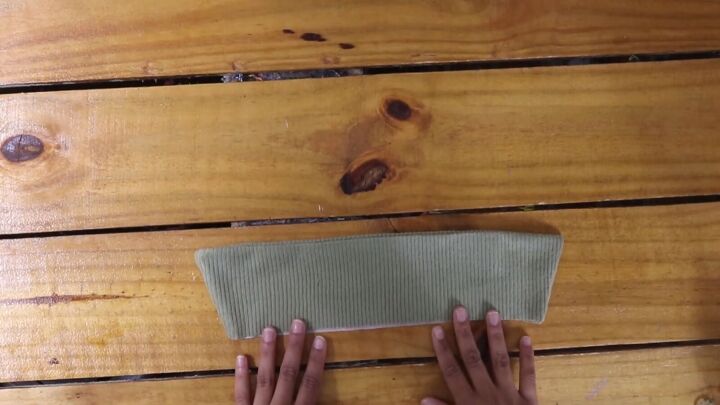
Trim the corners, turn the right sides out, and press.
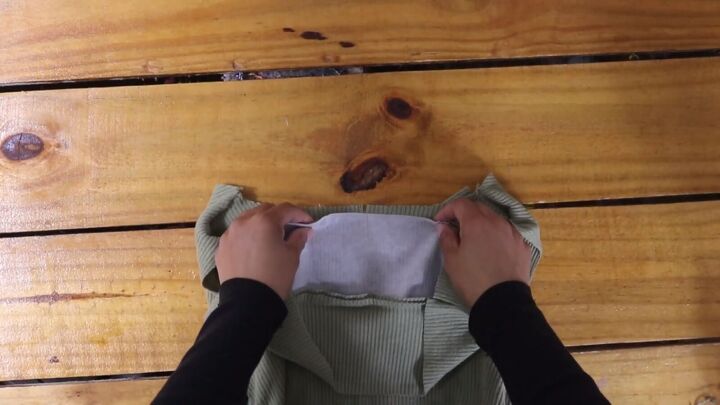
Make a notch at the center of the collar and align it to the center of the back neckline. Pin around with the edges slightly overlapping.
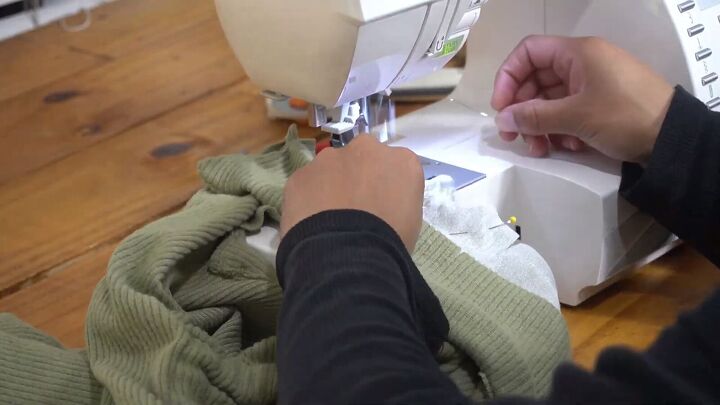
Sew the layer with the interfacing.
Fold the front layer inward and pin. Press the edge before sewing.
Next, topstitch in the ditch and around the edges of the collar.
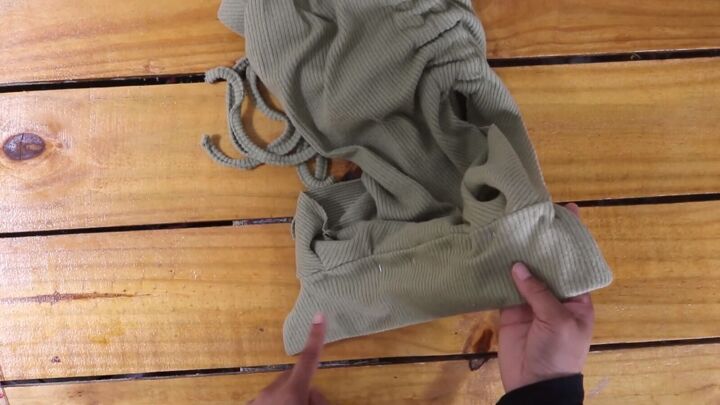
7. Attach the sleeves
Fold your sleeves in half and sew the sides with a zigzag stitch.
Turn your shirt inside out and pin your sleeve inside the armhole. Sew with a zigzag stitch.
I accidentally sewed my sleeve inside out, but I like the look of exposed seams; they're very on-trend at the moment. I decided to keep it and do the other sleeve the same way.

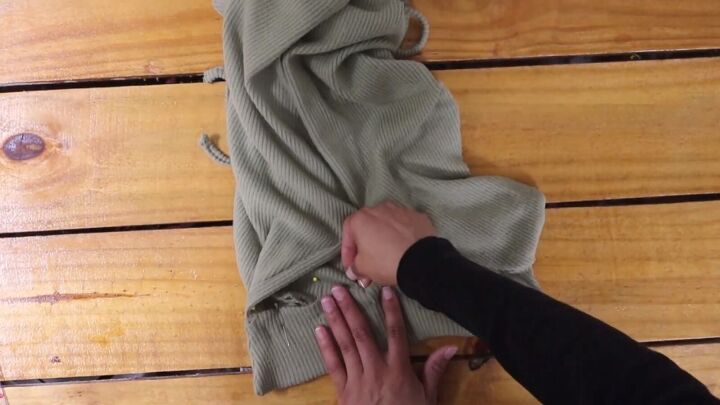
Hem your sleeves and stitch the collar ends in place.

DIY drawstring top tutorial
Thank you for watching, I hope you enjoyed this drawstring top tutorial. Let me know your thoughts in the comments below.
The author may collect a small share of sales from the links on this page.


Comments
Join the conversation