How to Do Easy & Cute Chevron Nail Art Designs With Dip Powder

In today’s tutorial, I’m going to show you how to make chevron nail designs with dip powder. Dip powder is a super fun material to work with and you can use it to make so many cool designs.
Today, we’re going to be making pink chevron nails. You can’t go wrong with chevron nail art—it’s super stylish and always in. If you want to know how to get DIY chevron nails, keep reading!
Tools and materials:
How to do dip nails
Before I show you how to do the chevron design, I’m going to show you how you can use the dip powder kit to get beautiful nails.
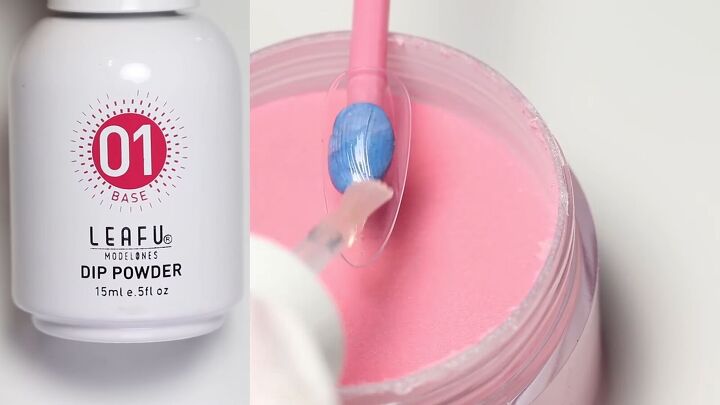
1. Apply the base
Cover your nail or your clear acrylics with the clear base that comes with your dip powder kit.
2. Dip the nail in the powder
After your nail is sufficiently covered, dip the entire nail into the pink dip powder so the powder completely coats the nail.
Tap off any excess powder.
3. Apply the activator
Brush on the clear activator over the powdered nail. The activator cures the powder without the use of a UV/LED lamp.
4. Apply the gel top
Brush on the clear gel top over the nail, and you’re done!
How to make a chevron nail design
Now that you know how to use the dip powder kit, let’s move on to the chevron nail design.
1. Dip your nail into the dip powder
To get the classic chevron look, start by applying the base coat on a completely dry nail. Then, dip your nail diagonally on both sides into the dip powder.
It should come out looking like this.
2. Sprinkle dip powder
Sprinkle your second color of choice on the rest of the nail. I’m using this baby pink to offset the bold hot pink I used at the beginning of the nail.
3. Remove excess powder
Tap off any excess powder then use a clean brush to remove what’s left.
Repeat steps 1-3 on the same nail.
4. Clean up
Clean up any messy edges with the cuticle pusher tool.
5. Apply the activator
Brush on the clear activator over the nail.
6. File and buff the nail
File and buff the nail until it’s smooth.
7. Reapply the activator
Apply the activator again.
8. Apply gel top coat
Apply two layers of the gel top coat.
9. Clean up
After you’re done, dip your brush into the brush saver solution to dissolve any unwanted residue and powder accumulated on your brush before you replace it.
Chevron nail art tutorial
You’re done! Here’s the finished nail! See how easy it is to get chevron nails at home? If you enjoyed this tutorial, let me know if you decide to try it out!
Enjoyed the project?
Suggested materials:
- Dip powder nail kit
The author may collect a small share of sales from the links on this page.


Comments
Join the conversation