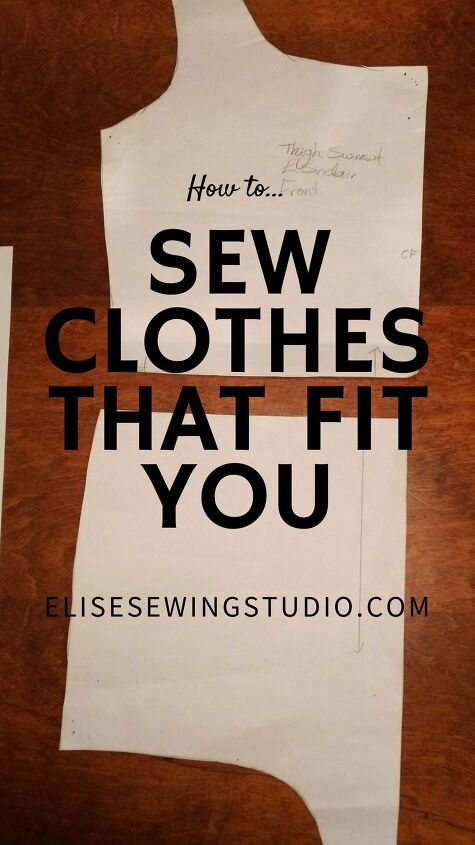
Get Started Sewing Clothes That Fit

Most patterns you buy will put you in a size based on three measurements: Bust/Chest, Waist, Hip. Getting a good fitting garment starts with good measurements.
This post contains affiliate links. Should you click a link and later make a purchase, I receive a small commission at no extra cost to you.
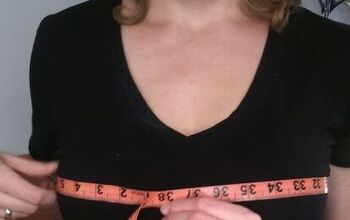
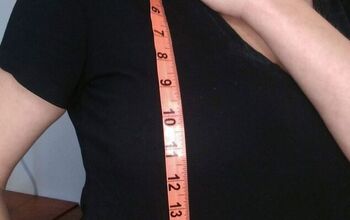
Measure around the fullest part of the bust/chest. Make sure the tape measure is parallel to the ground all the way around and not twisted. It helps to stand in front of a full length mirror or have a friend help.
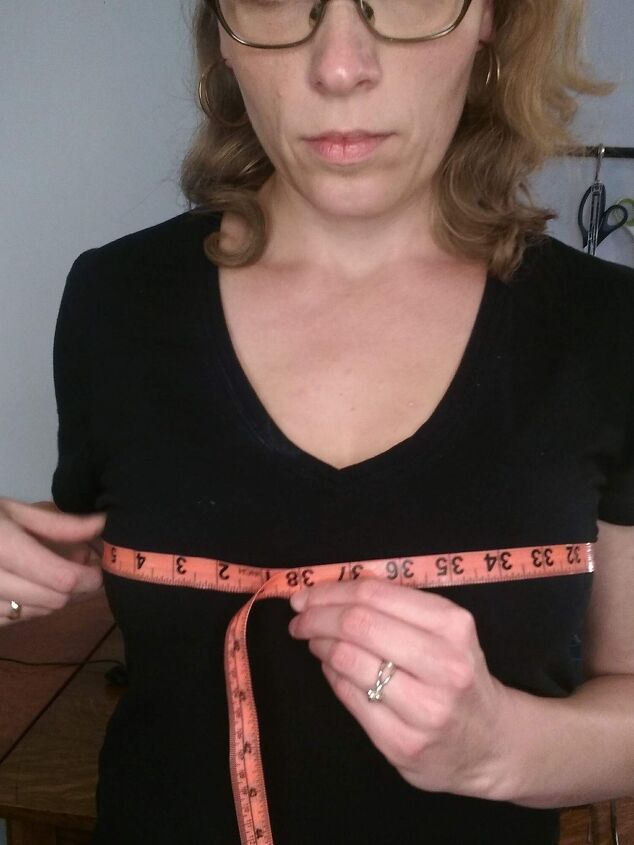
Measure the bust parallel to the floor, making sure that the measuring tape does not dip at the back.
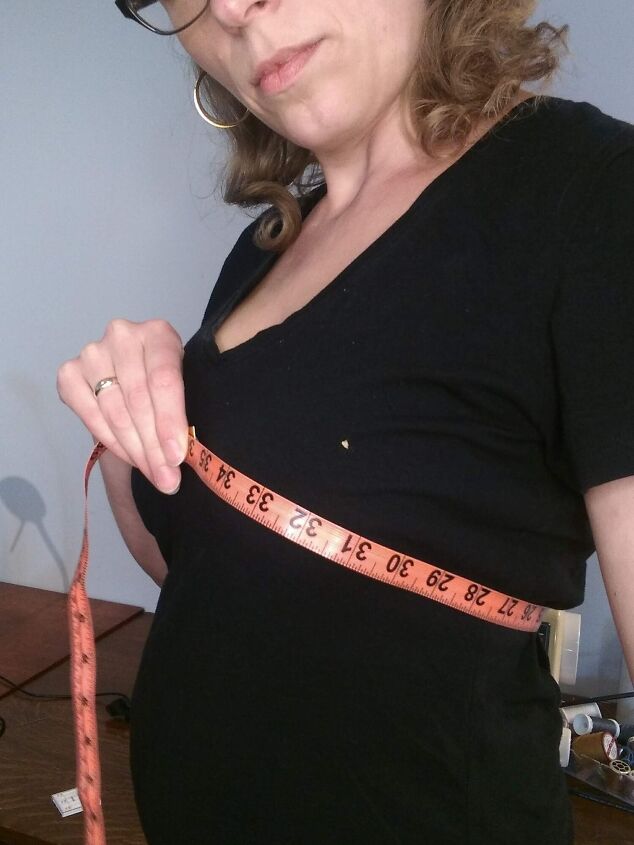
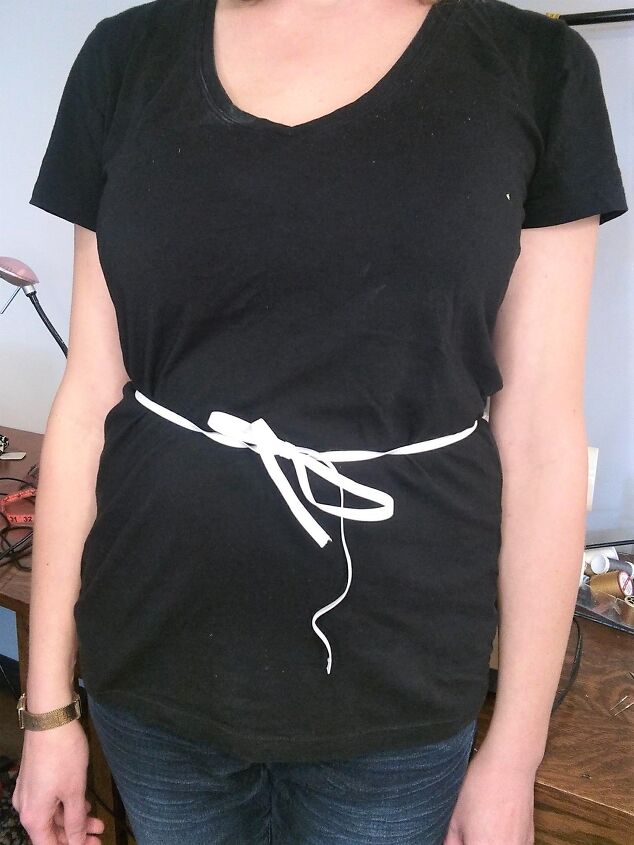
This is the “natural” or high waist – the smallest part of the waist – not where low rise jeans hang out! A few tricks to make this easier:
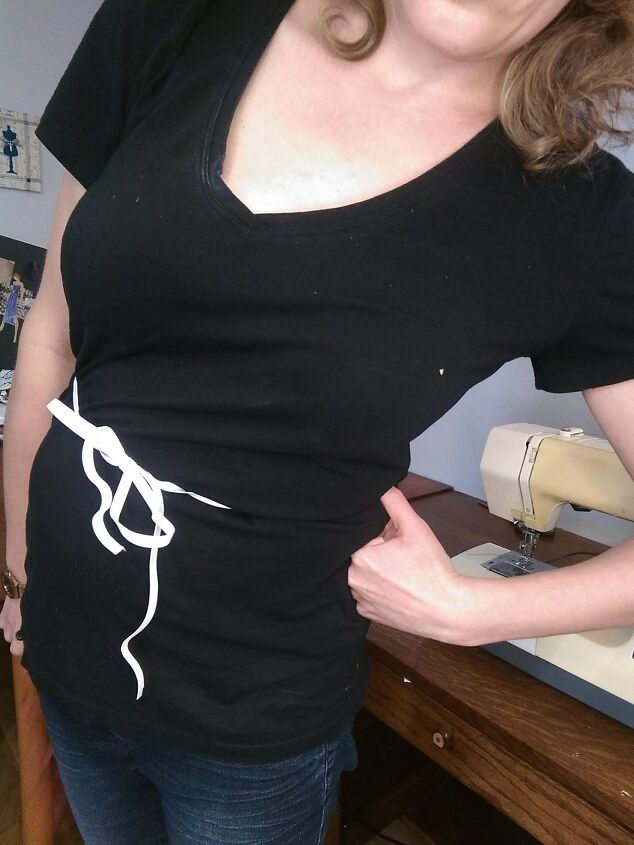
- Use a 1/4″ elastic and tie it snugly around the waist. It will wiggle itself into the smallest spot. This should be you take the waist measurement
- Bend to the side. Poke where your waist folds, this is your waistline. Measure around your waist here.
Measure your waist, again making sure your tape measure is parallel to the floor and not twisted.
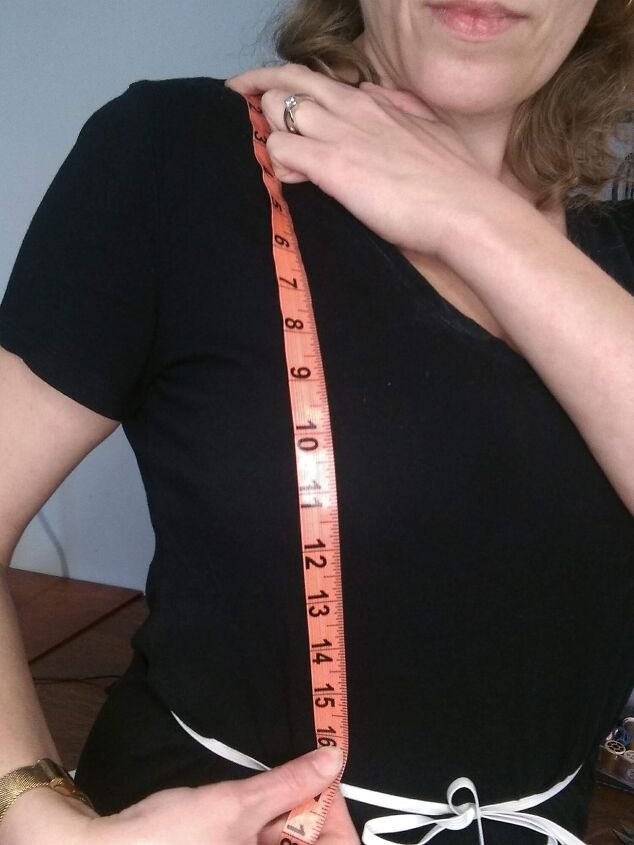
I like to also measure mid shoulder to natural waist to check against the pattern for height (I’ll get into this in a minute).
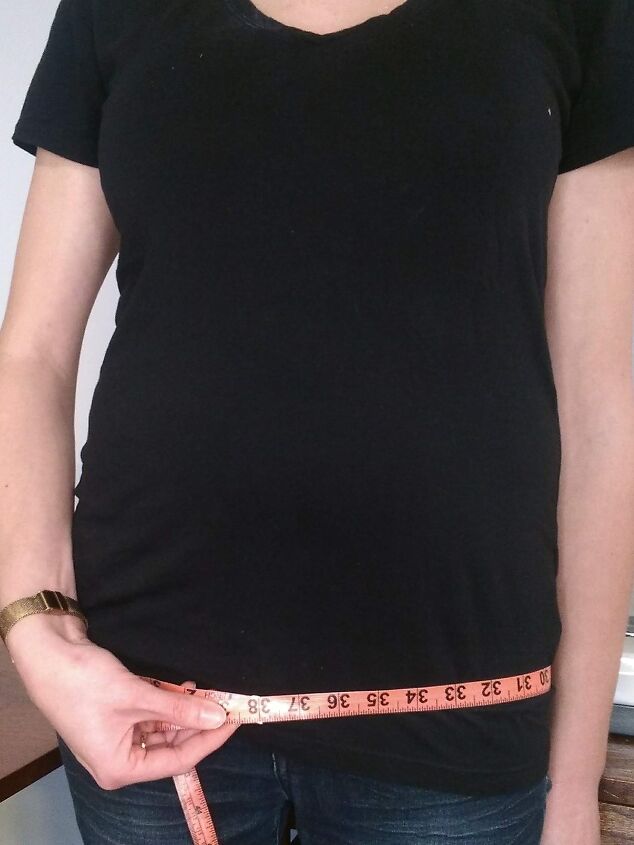
Measuring the hip/seat:
This is the fullest point of the hips. You may want to measure a few spots on your hips and go with the largest measurement. My hips are high, yours may be lower.
Choose a style of pattern you like, whether it is a printed pattern or a PDF pattern that can be printed and taped together.
I like Rebecca Page patterns (affiliate link) – lots of different styles and most come in sizes XXS-5X.

For more pattern recommendations, check out Sewing Patterns and Tools.
See where your measurements fall in the size chart.
WARNING! Do not just buy a pattern based on the size you wear at your favourite store the mall. Sewing patterns are different! Just forget about whatever size you normally buy and just go with your measurements, because they are not the same thing!
If you have measurements in different sizes, this is very common, I assure you (I don’t come anywhere close to falling into the same size especially for bottoms). I did a whole post about this here. In most cases it’s best to go with the larger size and then take it in on the side seams where needed.
If you are on the taller or shorter side, check where the waist falls on the pattern versus your body for tops and dresses. To do this, measure from mid shoulder to waistline on yourself and your pattern.
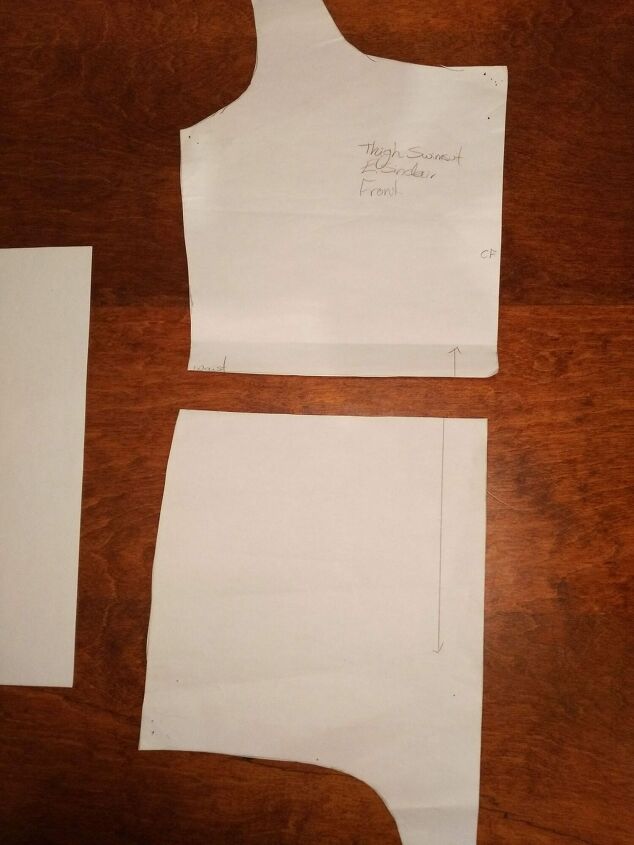
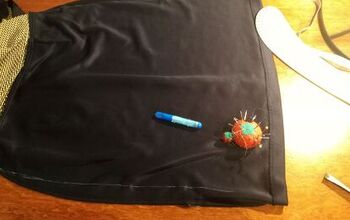
If you need to raise the waist, shorten the pattern by folding the waistline to bring the rest of it up. You will have to true up the side seam.
“Truing up” just means drawing the line back that you have folded to smooth it out. I only needed to do it a little right here.
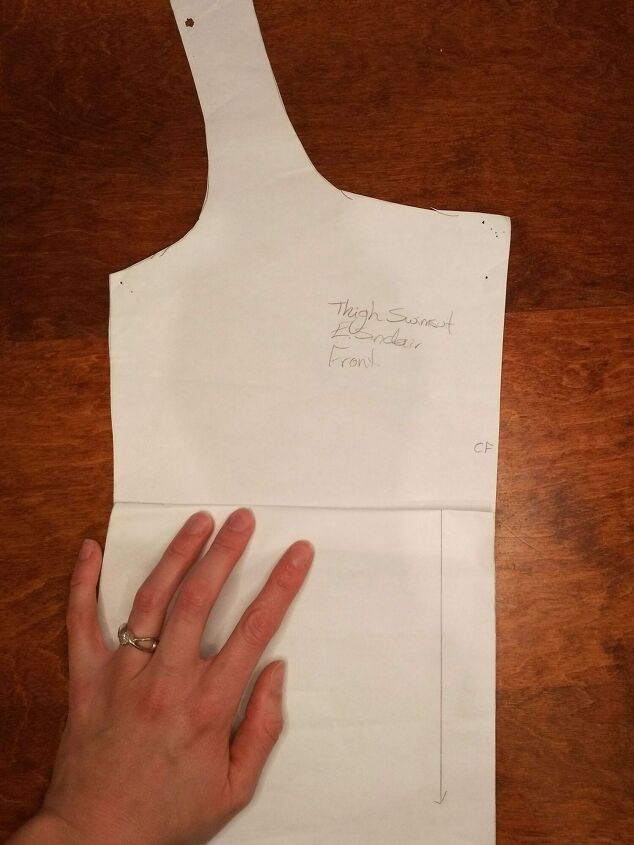
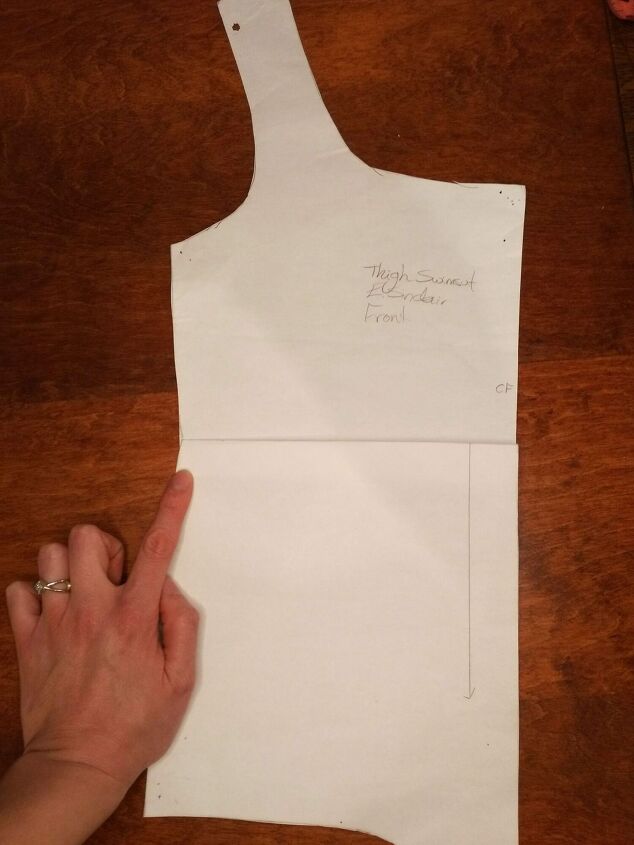
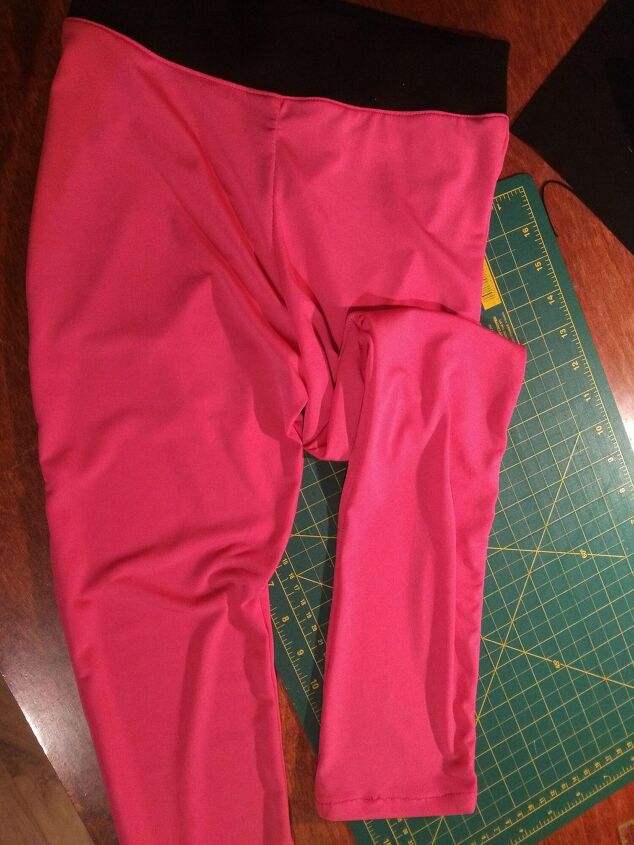
Shortening the torso of a swimsuit at the waistline.
To make the torso longer, cut your pattern along the waistline and add more length here. You will have to even out the side seams and any darts you may intersect if you do this.
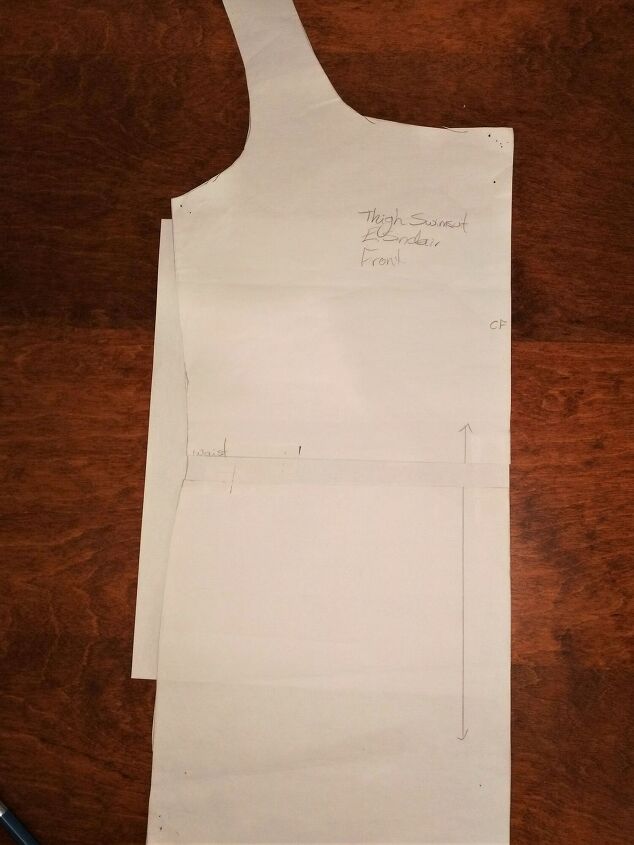
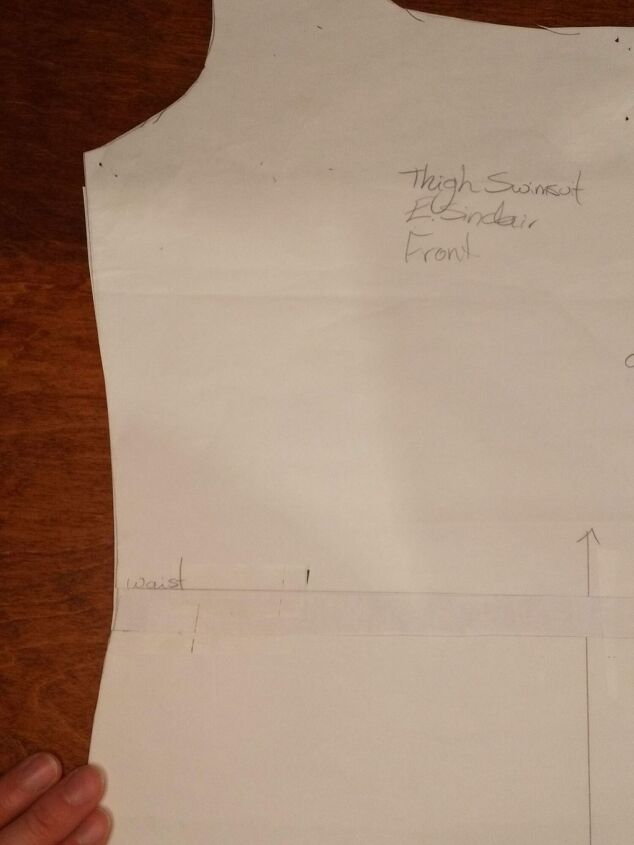
Lengthen the torso by cutting the waist line, taping the pieces in place lengthening the torso, and drawing in the side seam.
It’s also a good idea for anyone to check this for items like bodysuits, jumpsuits and rompers where the torso length is very important or else the whole thing is unwearable if too short and droopy if too long.
Changing the torso length by adjusting at the waist affects the garment differently than just adding to or shortening the hem. The hem is just the bottom, but by adjusting the body length, you are changing where the waist and hip falls to better fit you here.
If a dart on a pattern does not fit you, it’s easiest to unpick it and then just try the finished item on inside out and pin in where it best suits you. You can also pin in side seams to take it in further. For more on darts, see my post How to fit and sew contour darts.
One last thing…it’s normal for a new pattern to need a few tweaks! If you adjust your garment on your body, make a note of it on the pattern to make things go a bit easier next time (almost like how you might pencil in changes to a recipe!).
This is a process, but once you have sewn up a garment once and made any necessary adjustments, if you decide to try it again in another fabric, the next time it is a much easier and faster sew.
Want to learn more about altering clothes you already have, to fit your unique body and style? Receive my free guide full of tips to get you started doing your own clothing adjustments by signing up to my newsletter here.
The author may collect a small share of sales from the links on this page.


Comments
Join the conversation