How to Hem Knits Easily
Do you find your knit hems are difficult to sew? Ever struggled with wavy seams, curling edges, or maybe your machine loves to eat the fabric? This tutorial will walk you through a quick and simple way to hem your knits to get a professional finish.
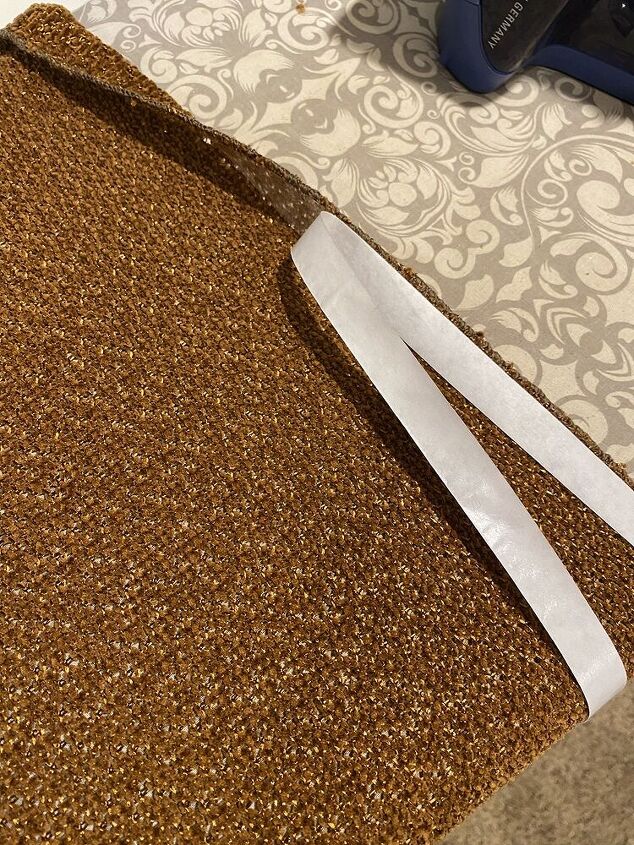
The first step is optional, but will result in a cleaner look. Finish the bottom edge of your fabric with a serger or an overcast stitch on your machine. Take Soft n' Stretchy Hem Tape (made by Heat n Bond) and finger press it to the bottom edge of your hem on the wrong side of the fabric.
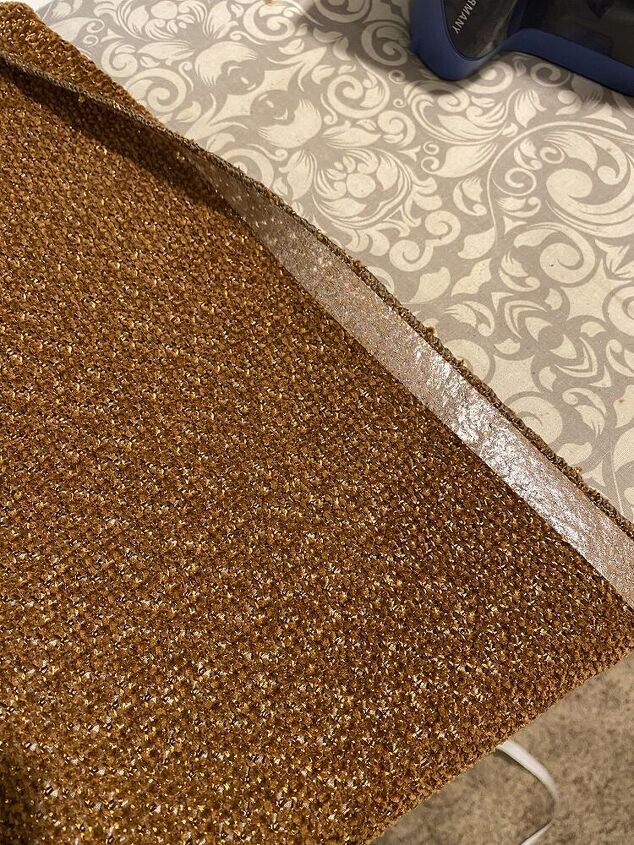
Let the hem tape sit for a minute and then gently peel the paper backing off. The tape should remain stuck to your fabric.
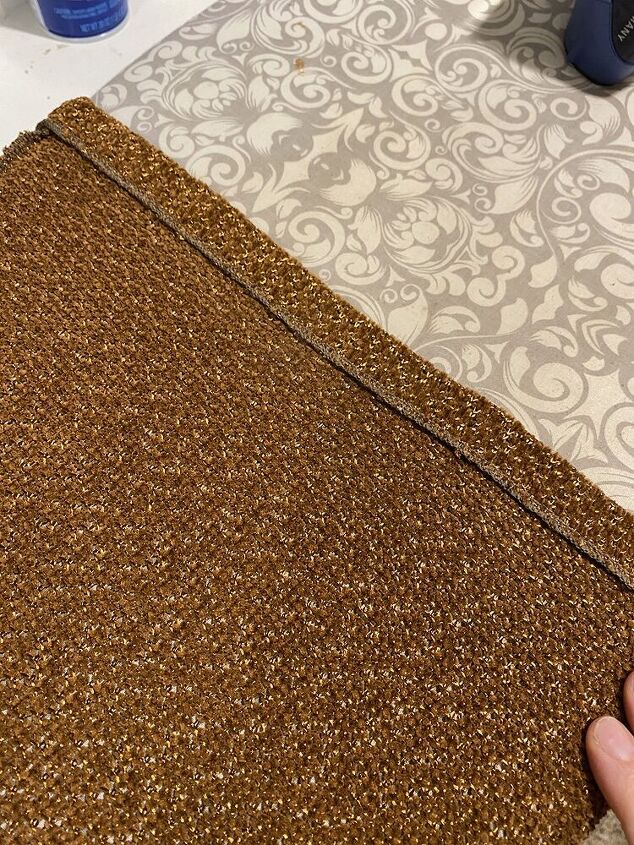
Next, fold up your hem. The hem tape will stick but it will not be a permanent bond until pressed.
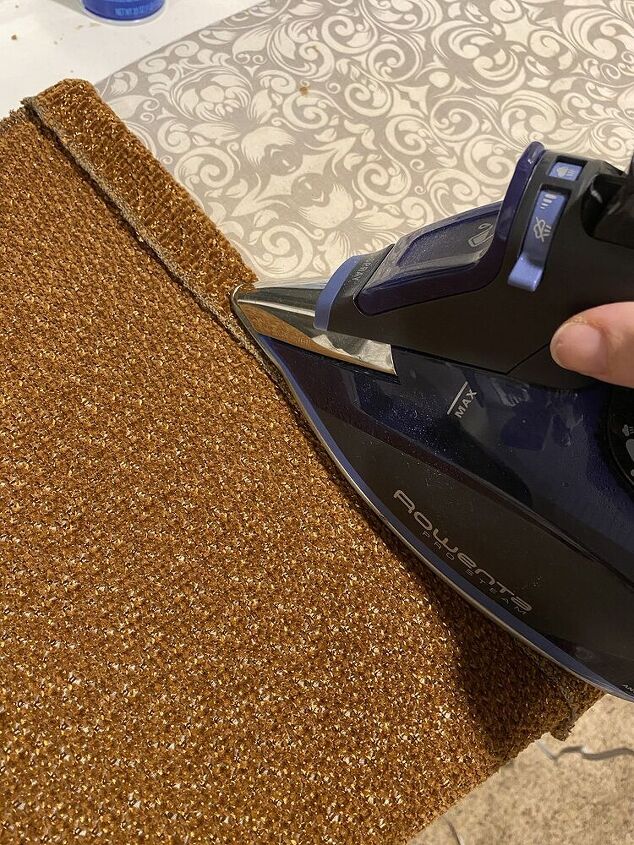
Press the hem well. Make sure you are lifting and pressing your iron. Do not slide the iron back and forth in an ironing motion as this will shift your fabric. The heat of the iron will melt the adhesive, creating a permanent bond on your hem. You do not need any pins to hold your hem in place.
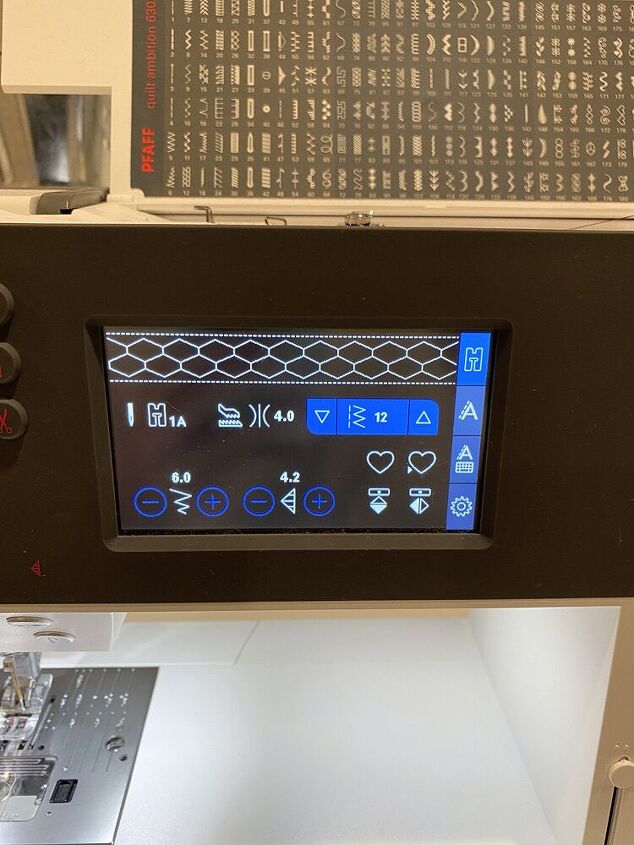
Take your hem to your machine and stitch your hem. You can use a variety of stitches but make sure they all have stretch. Options include using a twin needle, zig zag stitch, stretch stitch, triple stretch stitch, or more. My personal favorite and one I recommend is the honeycomb stitch. This allows you some flexibility as the stitch is wider and you can easily catch the edge of your hem. Stitch close to the raw edge of your hem. If you stitch near the folded edge, at the bottom, your hem will want to flip. Also, make sure you are using a needle designed for knits: ball point, microtex, or a stretch needle.
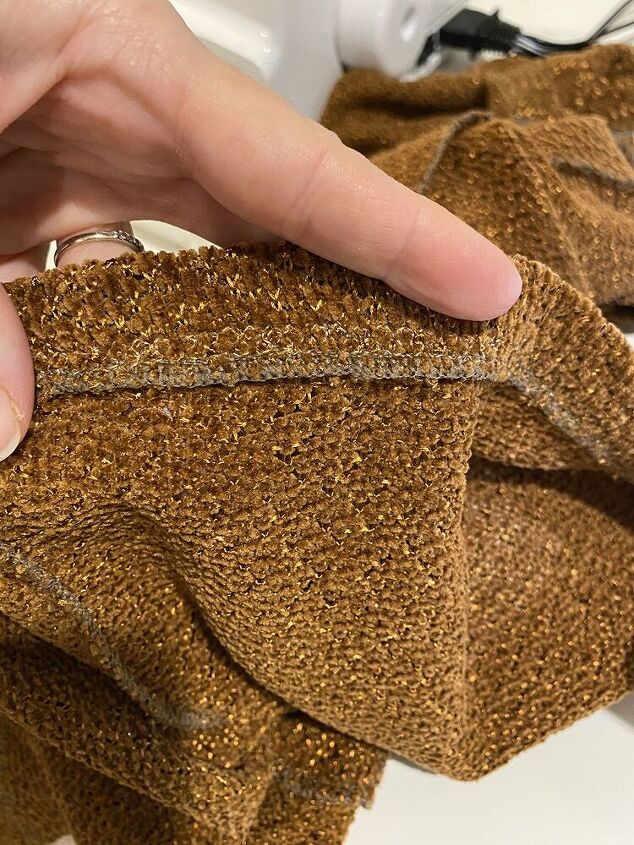
This shows the completed honeycomb stitch on the inside of the garment. You can see it is hardly noticeable next to the serged edge.
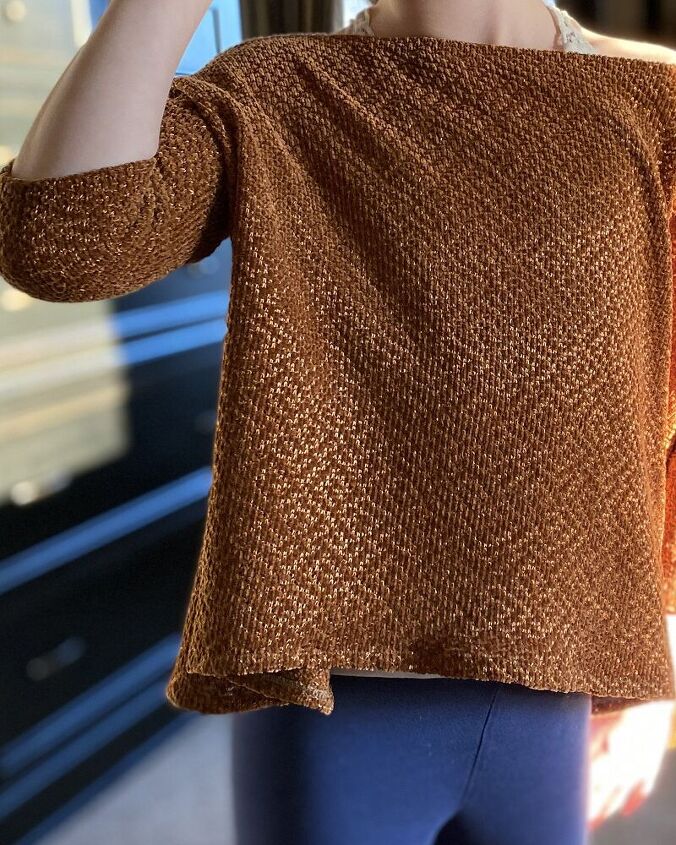
You can barely see the stitch from the outside. The stretchy hem tape allows you to maintain the needed stretch on your garment while providing stability for stitching. It won't ruin your needles and will give you great results on your knit projects. After stitching, give your hem a final press and if you find any rippling, hold your iron a couple inches over your fabric and hit it with a good burst of steam to help.
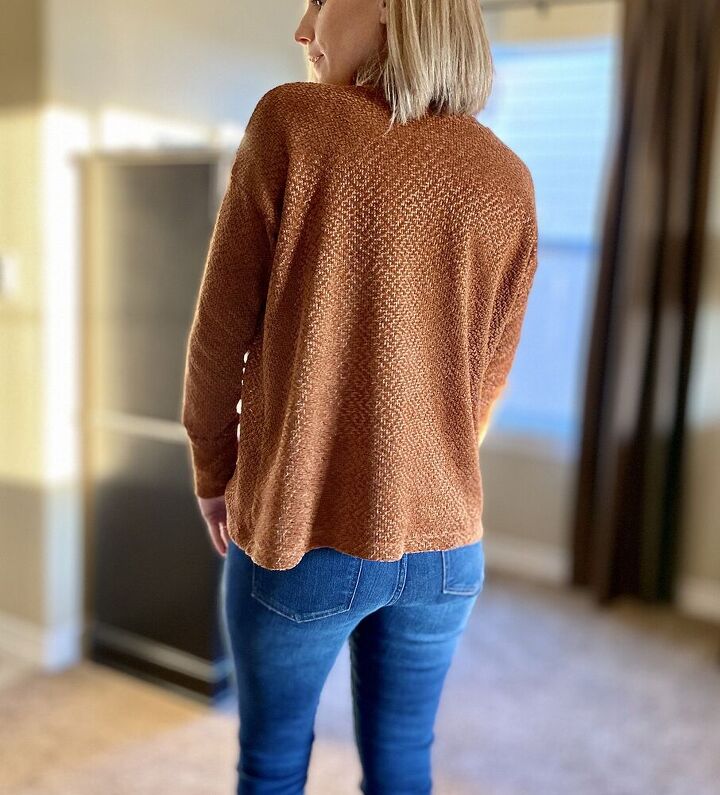
Now you can easily sew up all your knit hems without the frustration of waves and unruly fabric. A quick and simple tool can help take your knits to the next level.

The author may collect a small share of sales from the links on this page.


Comments
Join the conversation
Oh my word! I use this all the time! But not for sewing.......I have a whole lot to learn huh?
Just getting back into sewing after a 40 something year layoff, and this is so helpful! I actually work in a Jo-ann's part time, partly for the employee discount and partly to play catch-up on what has changed since I stopped sewing. They hadn't even invented fusible interfacing when I last sewed! Anyway, I am always taking home products to try out, but my store is a tiny one, and we don't get all the goodies. I will have to pay a visit to another larger store, or order this tape on-line!