How Do I Easily Hem Pants Using A Straight Stitch
If you’ve ever bought a pair of pants that are too long, then you understand the frustration of getting them shortened to the perfect length. Sometimes, fashion will ‘give’ us permission to roll the pant legs for a cute casual look, but other times, we really need those pants to look professional and business appropriate. If hemming has been on your list of things to learn, then keep reading because I’m going to cover the steps that professional tailors use to achieve those fantastic, perfect looking hems.

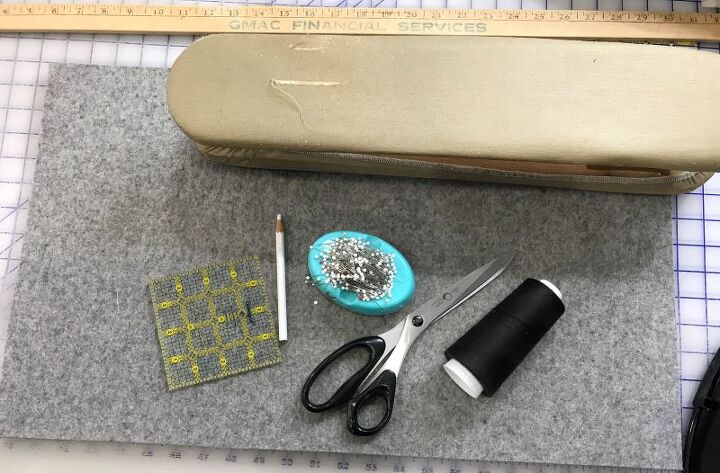
Tools Needed:
- Yard stick
- Straight pins w/holder
- Disappearing ink pen or tailor’s chalk
- Hem gauge or quilter’s ruler
- utility thread that matches your pants
- Sleeve board (optional but highly recommended)
- iron
- ironing board
- sewing machine with straight stitch
- Universal size needle for sewing machine (unless you are working with jeans, then use a jeans needle)
- Dress shears and thread snippers
- Wool pressing mat (optional)
Step 1: Mark the length
For this step, you will need to mark the desired length of your pants. It is important to try them on wearing the correct shoes (flats or heals), undergarments (think pantyhose or compression garments like Spanx), and belts that you will be wearing once the pants are hemmed. All these items can and do impact the way the pants fit the body so taking the time to properly mark your pants will mean the difference between ‘ok’ and ‘perfect’ length. Also, if the pants are wrinkled or have creases, press, or steam them so that the fabric is straight and flat. You want to eliminate any variable that can affect the fit of your pants. If you will be hemming your own pants, ask a family member or friend to help you with this step.
Standing straight and looking ahead (DO NOT look down), fold up the pants to the desired length and carefully pin at the inner and outer seam. If you wish to also mark the front and back creases, place pins there too. No need to add more than 4 pins to each pant leg. Take your time to mark the length of the inner seam length. This is the most important seam and the one I will be referencing throughout this tutorial. I will refer to this measurement as the “inseam” going forward.

Before proceeding to the next step, evaluate the pants in a mirror and make sure that you are happy with the length. Pay particular attention to the inseam. If you don’t like the length, adjust as necessary.
Once you are satisfied, carefully take off the pants and proceed to step 2.
Step 2: Marking the Inseam
Lay the pants on a flat surface lengthwise (an ironing board will work for this step if you don’t have a tabletop available) and carefully smooth them out. If you only marked one inseam during step 1, make sure that the marked pant leg is laying on the table surface as we will be working with that leg first. One leg will be laying atop the other with the inseams touching. Carefully fold up the top pant leg. Lay your yardstick on the inseam of the pant leg laying on the table. Make sure that the yardstick is touching the top of the inseam at the junction of the pant inseams.
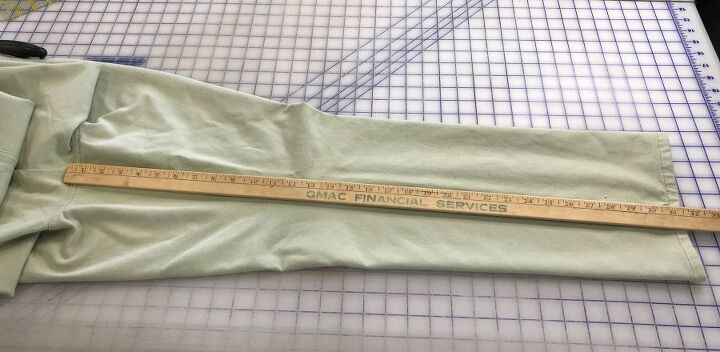
Measure the length of the inseam to the pin you placed when trying on the pants. Make a note of this number. If you folded up the pant legs, carefully place a pin at the inseam fold, and then unroll the pant leg. This is the most important mark, so be careful not to lose it. If you used additional pins for marking, transfer them to the fold before unrolling. The pants I used in the tutorial required a 28” inseam. Note in the photo that my pin is touching the 28” mark on the yardstick.
For best results, do not use a tape measure to mark pant inseams—use a yard stick.
Once the inseam is marked on the first pant leg, unroll the other pant leg, flip the pants over, smooth them out, and repeat the process to mark the inseam on leg 2.
Step 3: Check Inseam Measurements and Mark
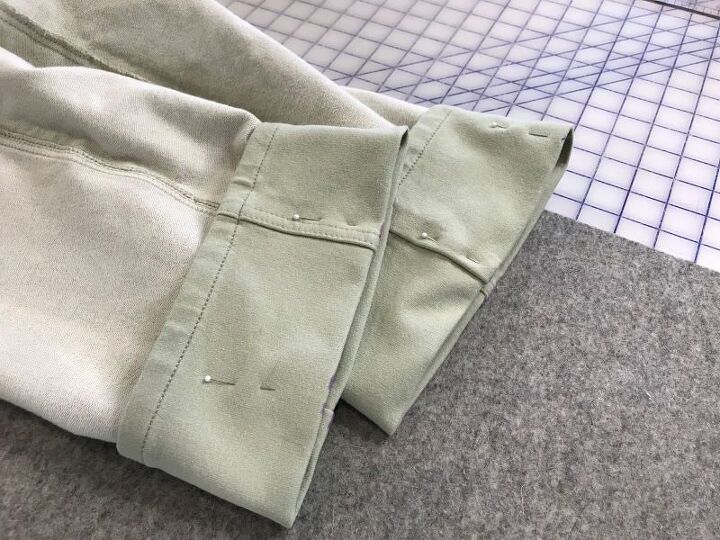
Remember when I told you to make a mental note of the top of your inseam where you started measuring? This is where that detail is important. If you measure your inseams from different starting points, then the inseam of leg 2 will not match leg one. It’s important that the inseam pins match (see photo), so you may need to repeat step 2 until you achieve similar measurements.
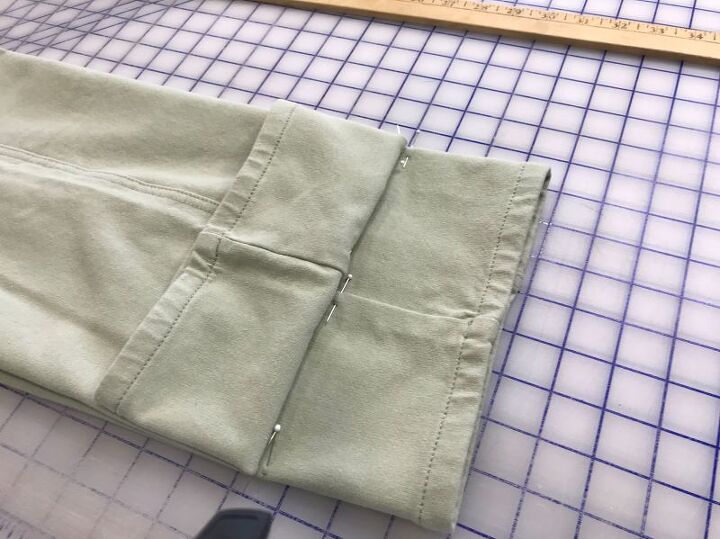
Pants that are mass-produced often have non-matching hems, so take your time to get good alignments during the pinning process. If you need to adjust the pins so that they line up, now’s the time to do so. Once the pins are correct, use either tailor’s chalk or a disappearing ink pen and place a line directly over each of the pins. This will now be the new fold line and the marks will act as guides.
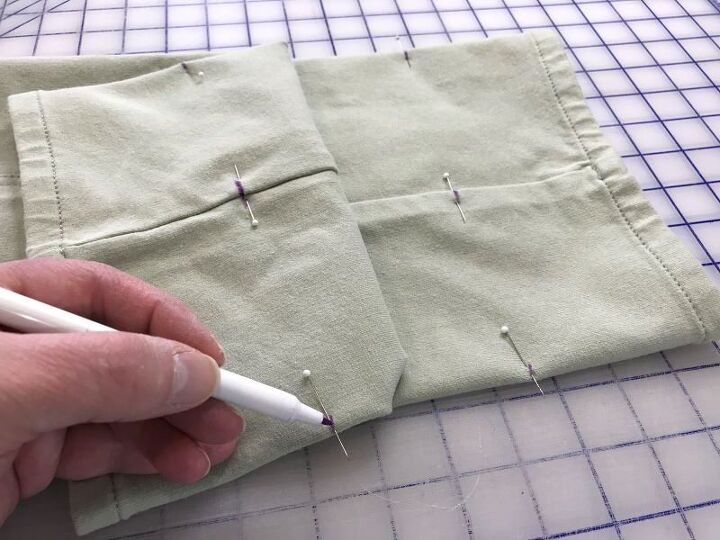
Step 4: Pressing the new fold
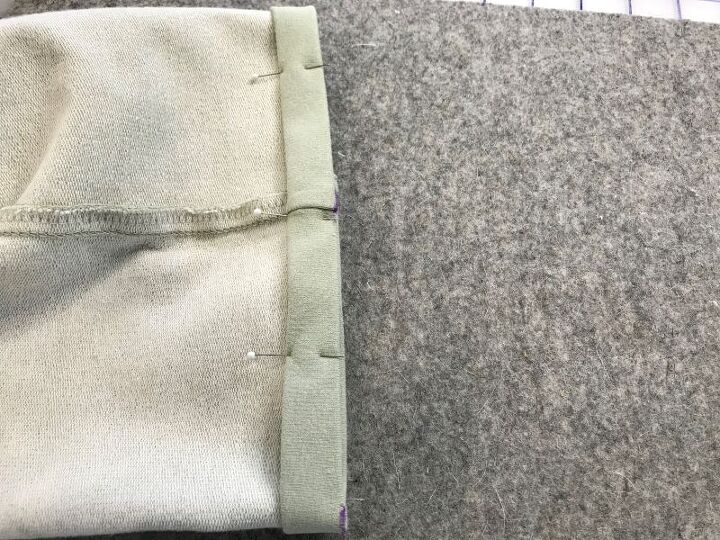
Once you are satisfied with the alignment of your pins, carefully turn your pants inside out and fold up the pants until the pins are located where the new fold should appear.
Pin the folded fabric at the inseam, outer seam, front crease, and back crease of the pant leg. If you are working from just one or two pins, measure the distance from the old fold to the pin. In my example, I had a 3.5” distance from the original hem to my new hem mark.
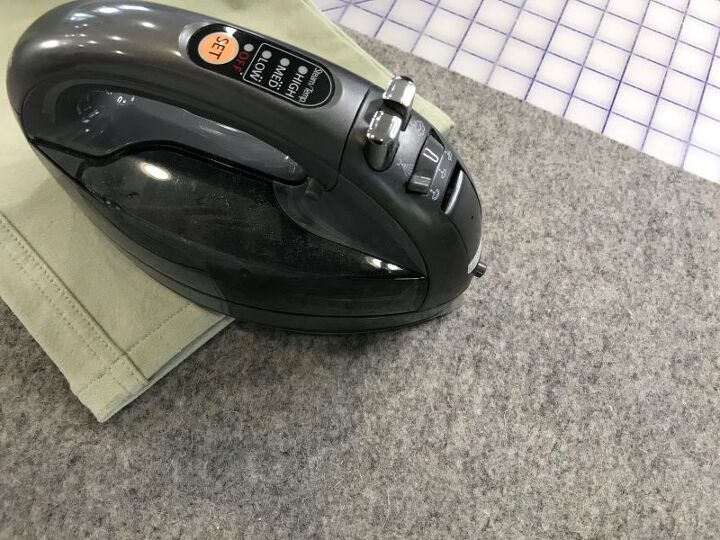
Once both pant legs are folded up and pinned, press. Check your garment’s care label so that you select the proper heat setting on your iron.
Step 5: Cutting off the excess fabric
Remove the pins holding the fabric in place and set them aside temporarily. We will be using them again after we trim the excess fabric.
To determine how wide to make your hem allowance, measure the original hem and double it. My pants had a 5/8” hem width. This meant I drew a line 1 ¼” from my new pressed hem with my disappearing ink pen. This line will be my cut line and the marks act as a cutting guide. Never ‘guesstimate’ the distance!
Measure and mark around both pant legs. Once you have marked the hem allowances, it’s time to trim.
CAUTION: BE CAREFUL TO NOT CUT YOURSELF OR YOUR PANT LEGS DURING THIS STEP!!!
Using the new cutting line marks as a guide, cut off the extra fabric. If necessary, place your hand between the folded fabric and pant leg to separate the layers.

Once you have trimmed the fabric, it’s time to fold and create a new hem allowance.
Step 6: Folding the hem
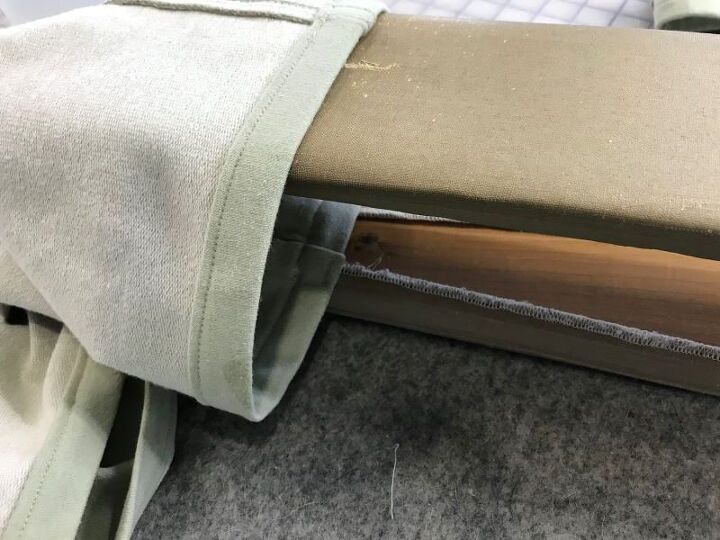
To create a finished edge on your hem, simply fold the raw edge of your hem allowance to the inside until it sits next to your new hem fold. Use pins to hold it in place. Once you have folded and pinned both pant leg hems, press the new hem. If you have a sleeve board to press the new hem, use it. This amazing tool makes pressing pant hems so much easier!
Step 7: Sew the seam
It’s finally time to sew the new hem!
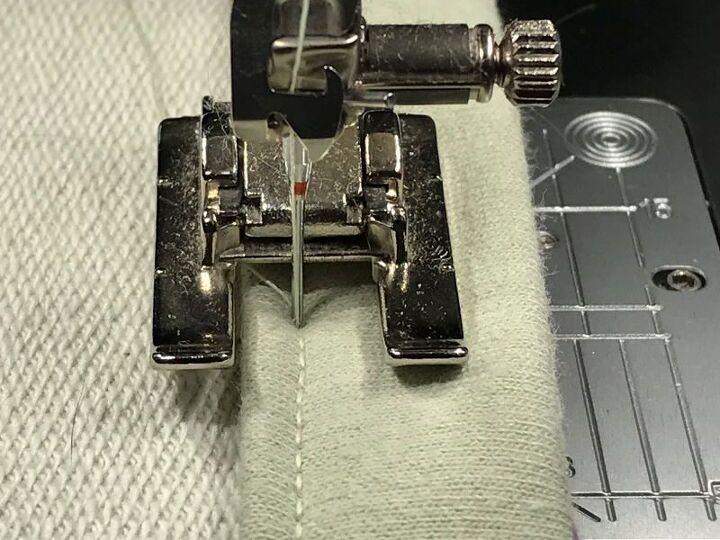
- Set your sewing machine to a straight stitch (default length)
- Thread the upper needle and bobbin with general utility thread that matches your pants
- Position one of your pant legs under the needle so that you sew as close to the fold as possible.
- (My original hem had a 5/8” seam width and I sewed the new seam at the 5/8” mark.)
Carefully and slowly sew the new seam. Backstitch at the beginning and end to lock your stitches in place. Once you sew the hem seam, lift the presser foot and trim your threads as close to your sewing as possible without damaging the fabric.
Before pressing your new seam, it’s best practice to remove any marks you made with a disappearing ink pen or tailor’s chalk. Simply wipe them off with a dampened cloth or diluted laundry soap solution. Make sure you remove all soap before pressing.
Step 8: Press
Press your new seam and hem.
Once you press just the new hem, turn the pants right side out and press the pants again. This will set the hem and give your pants that professional look.
And that’s it!! I hope you found this sewing tutorial helpful. If you have any questions, please leave them in the comments below and I’ll do my best to answer.
If video tutorials are easier for you to follow, please visit the detailed pant hemming tutorial on The Creative Sewist YouTube Channel.
Before leaving, please take a moment to sign up for our email list. We don’t send junk or spam—just good sewing content.
The author may collect a small share of sales from the links on this page.


Comments
Join the conversation