How to Sew a French Seam

If you want to learn to make your hand sewed items with a higher level of care and quality, knowing how to sew a French seam is the best skill to have. A French seam gives a really pretty finish because it hides all of the raw edges inside the seam allowance. This technique is perfect for lightweight, silky or sheer fabrics.
Tools and materials:
- Pins
- Iron
- Sewing machine
- Scissors
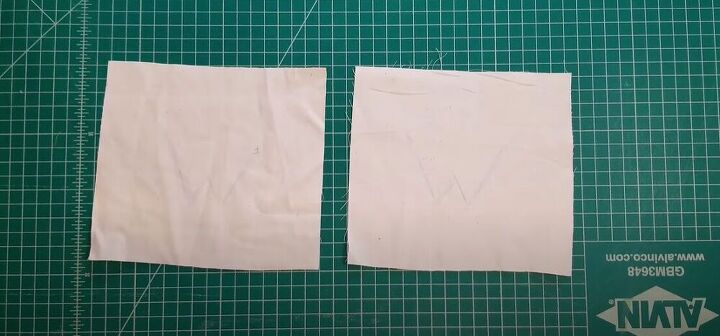
For the sake of my tutorial, I prepared a couple of squares of fabric and I marked the wrong sides with a W.
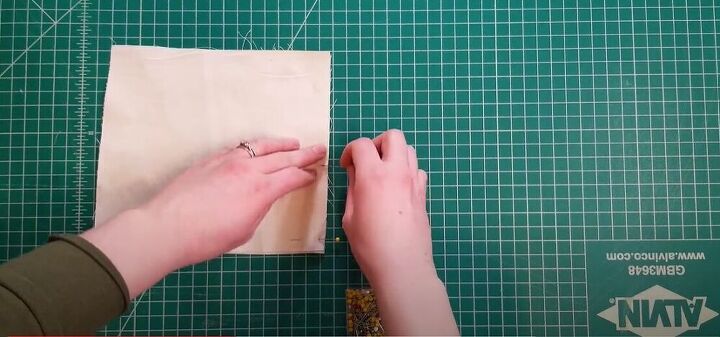
Pin the fabric wrong side together
For a French seam, the first thing you need to do is place your fabric pieces, wrong sides together and pin around the edges. This is the opposite of what you would do with a regular seam when you sew the pieces, right sides facing.
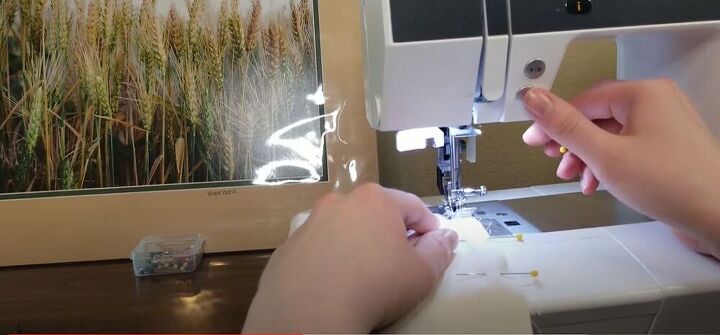
Sew with half the seam allowance
Once you have pinned the side, take your fabric over to the sewing machine and sew the pieces together with half of your seam allowance. For this square, my seam allowance was a half-inch so I sewed the pieces together a quarter inch from the raw edge.
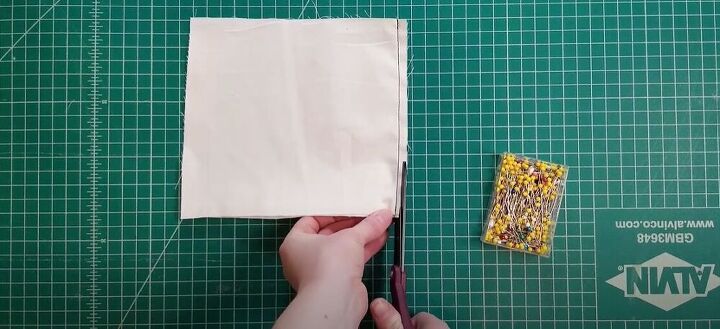
Trim the edge
Next, take scissors and trim your seam allowance down to an ⅛ of an inch.
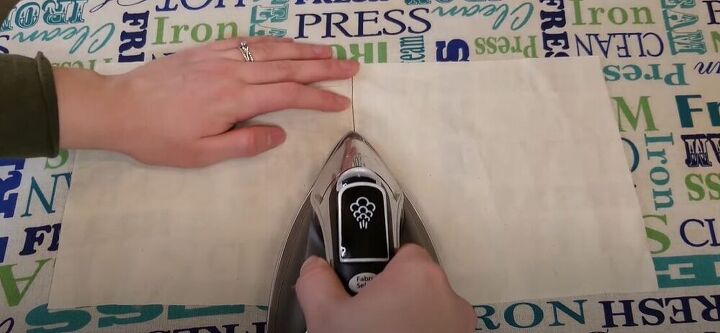
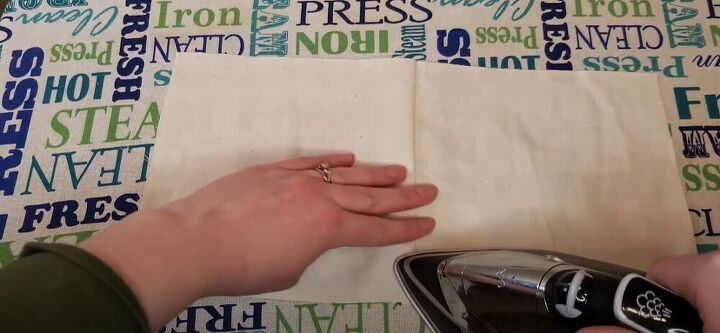
Press the seam
Take your fabric over to the ironing board and press the seam allowance down on one side. I like to iron my seam allowance on both sides of the fabric so that it lies really nice and flat.
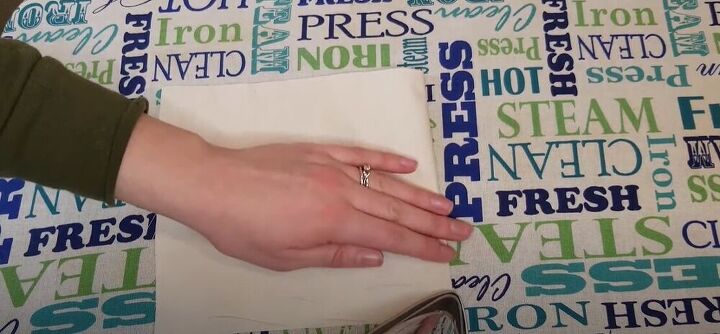
Fold the fabric so that the right sides are touching with the raw edges on the inside and press the seam.
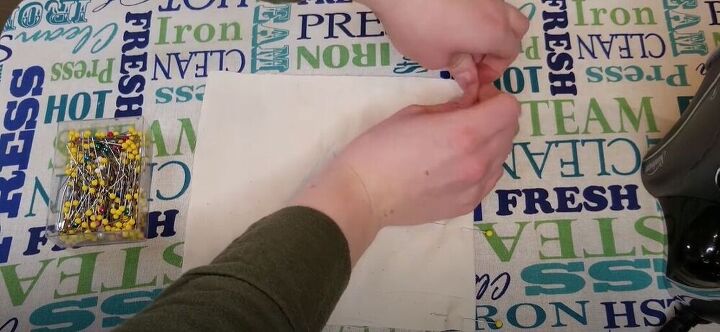
When your fabric is sitting nice and flat, put in pins to hold everything in place.
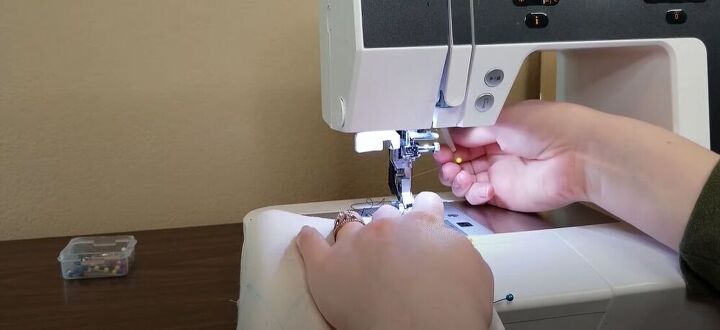
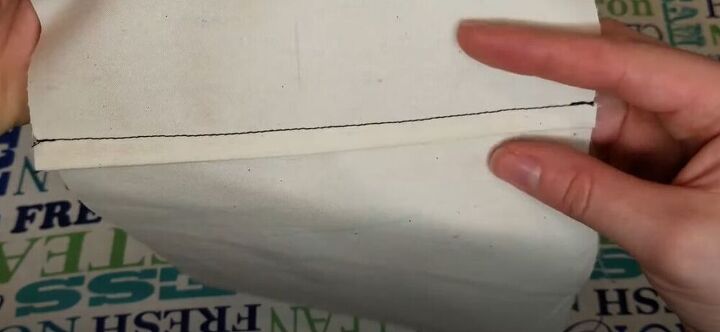
Sew on the wrong side
Head back to your sewing machine and sew another stitch a quarter inch from the edge. Once you have sewed this seam you will have used up the entire half-inch seam allowance. This will leave your raw edges encased inside the seam so that you won’t see them.
Iron the seam allowance to one side
Now that your seam is looking nice and pretty, all that’s left to do is iron the seam allowance to one side. If you plan on making an item of clothing, you typically want to iron the seam allowance towards the back of the garment.
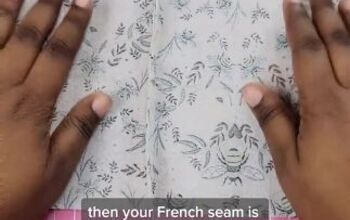
There you have it! The perfect French seam! What pieces are you planning to sew using this technique? Let me know in the comments!
The author may collect a small share of sales from the links on this page.


Comments
Join the conversation