How to Sew a French Seam

If you don’t like seeing raw edges on the inside of your garment, consider sewing a French seam.
It looks neater than overlocking the edges and doesn’t need any special equipment.
It’s easy enough to sew on a regular sewing machine, so let’s do it!
Tools and materials:
- Two pieces of fabric
- Sewing machine
- Scissors
- Iron
1. Sew first seam
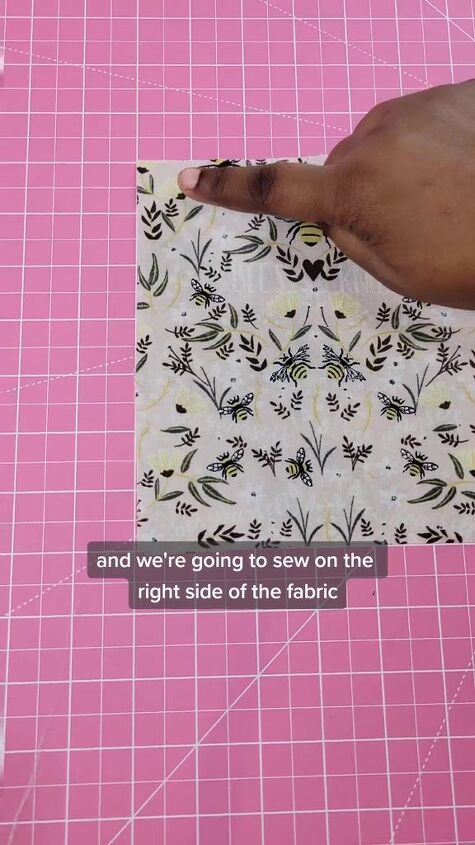
Place your two pieces of fabric together with the wrong sides facing.
Yes, I really do mean that! You’re going to be sewing the first seam on the right side.
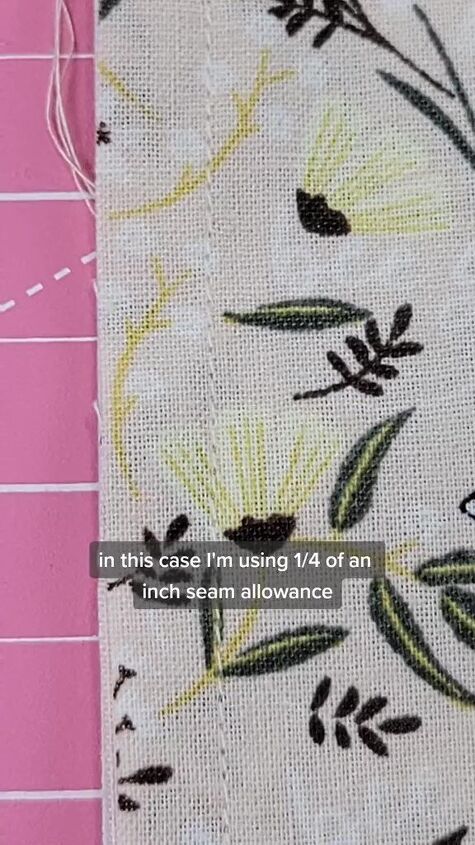
Sew them together, but only use half the pattern’s seam allowance.
In my sample, I’m taking a quarter inch seam allowance instead of the full half inch.
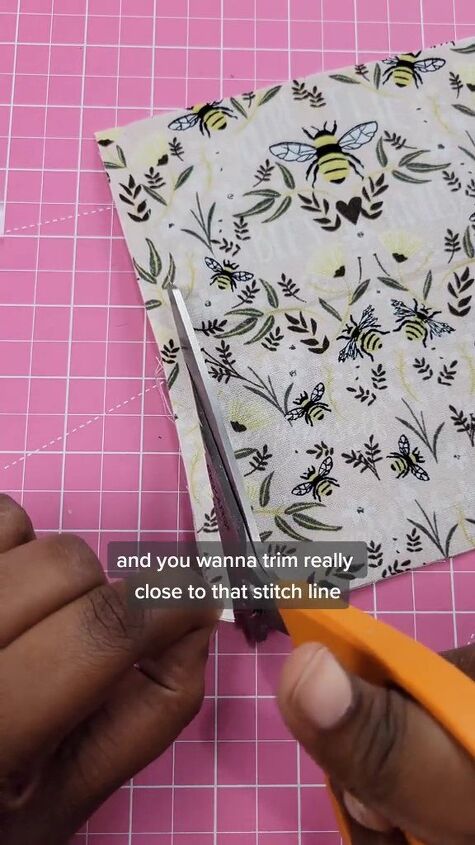
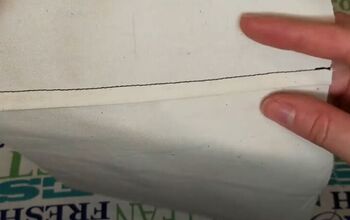
2. Trim the seam allowance
Next you’re going to trim the seam allowance as close as you can to the stitches, without cutting through them.
Take your time with this.
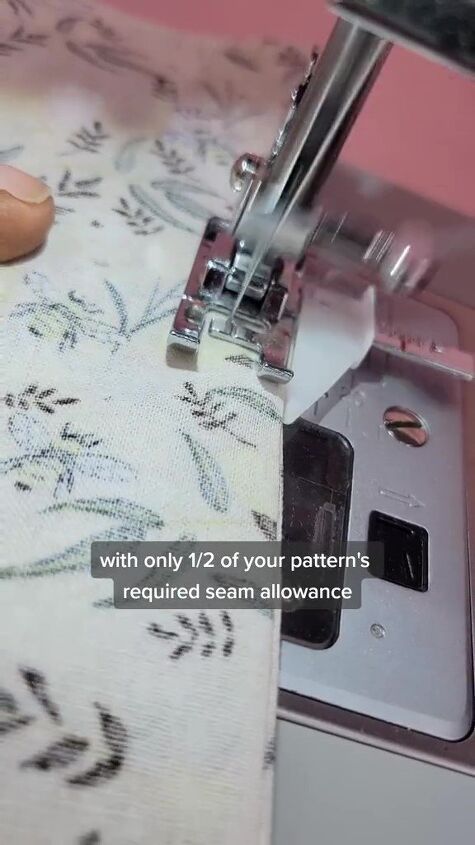
3. Sew the second seam
Open up the fabric and fold it back along the seam with the right sides together.
Sew the seam again on the wrong side this time, also taking only half the seam allowance.
This will encase the raw edge inside the seam allowance, so it no longer shows on the right side.
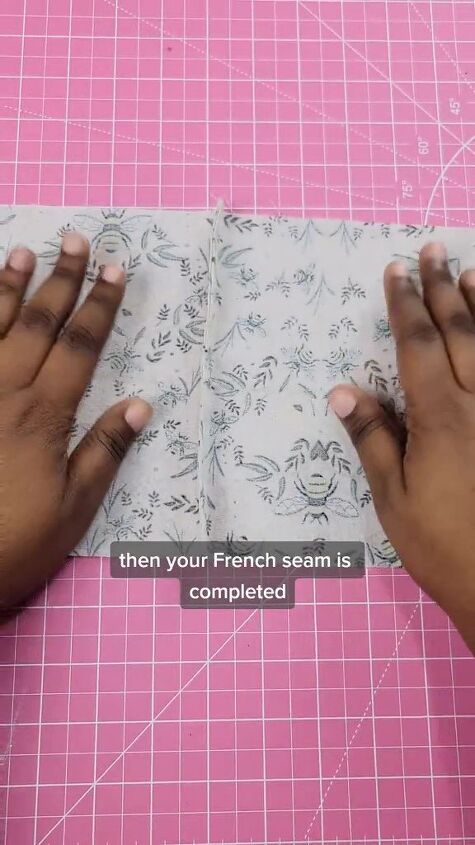
How to sew a French seam
Now you have a perfect finish on the outside and the inside.
Press the seam to one side so it lies flat.
How easy was that! Will you try it? Let me know.
You should also follow me on TikTok: @kenjahb
The author may collect a small share of sales from the links on this page.


Comments
Join the conversation