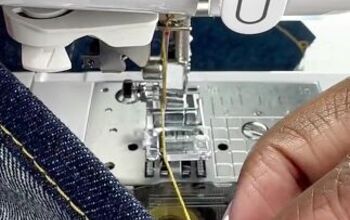
Quick French Seam Tutorial

You don’t have a serger but you want to make a seamed garment? Let me show you how to sew a French seam.
I’m demonstrating it on denim in this tutorial, but French seams are usually used on lightweight fabrics that tend to fray, and rainwear.
Tools and materials:
- Scissors
- Iron
- Sewing machine
1. Sew the inner seam
Place the wrong sides of your fabric together.
Sew the first seam, taking 1/4” (0.6 cm) seam allowance.
2. Remove the excess
Trim the seam allowance down to 1/8” (0.3 cm).
Be very careful not to cut through your stitching.
3. Press
On the right side, press the seam allowance in one direction.
Press the seam again on the wrong side.
Fold the fabric along the stitching line with the right sides together so the raw edges are enclosed, and press again.
4. Sew the second seam
Still with the right sides together, sew the final seam 1/4” (0.6 cm) away from the fold.
Press the seam allowance flat on the wrong side.
How to sew a French seam
The raw edges are completely enclosed inside the seam.
You can use this on denim if you're sewing a loose or unfitted jacket or bomber and you want clean seams on the inside. It’s not suitable for fitted denim garments.
I’d love to know if you enjoyed this tutorial. Please drop me a comment below.
Enjoyed the project?
Suggested materials:
- Scissors
- Iron
- Sewing machine
The author may collect a small share of sales from the links on this page.


Comments
Join the conversation