See How I Made This Cool Black Bomber Jacket at Home

There was this gorgeous jacquard fabric that I’d had my eye on for a while. I knew I wanted to use it at some point for a project but wasn’t sure for what. I then decided I wanted to make a black bomber jacket and remembered that material. It was perfect for this! So I got that and, along with some velvet, created this gorgeous bomber jacket that I love. Keep reading to see how I made it!
Tools and materials:
- Jacquard fabric
- Velvet fabric
- Jersey fabric
- Scissors
- Measuring tape
- Pattern
- Pinking scissors
- Serger
- Sewing pins
- Sewing machine
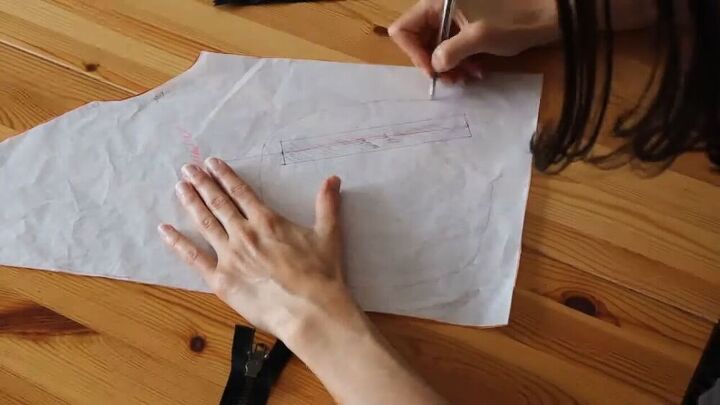
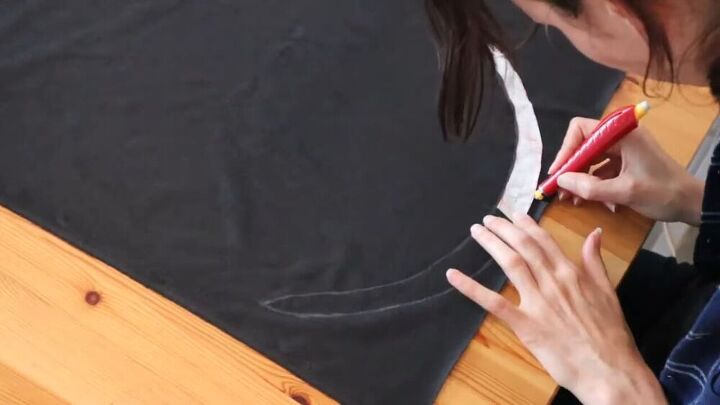
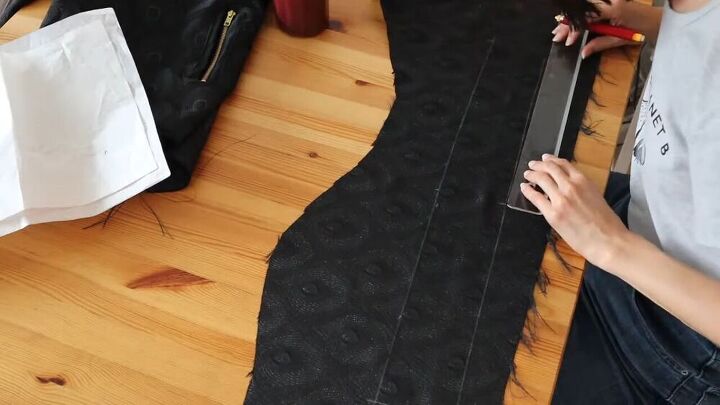
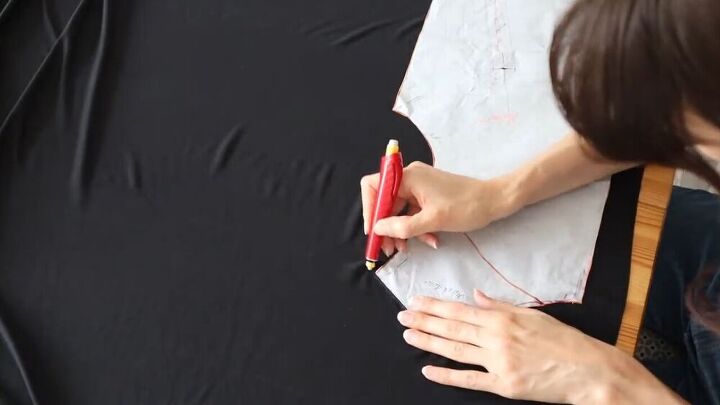
I started off with an easy pattern, amending it slightly so that all the measurements would add up. Out of the general shape of the pattern, I decided that the top parts of the front, back, and sleeves would be made out of a different type of fabric, so I drew a line where I wanted the two types of fabric to meet. I also marked the pocket openings and the general shape of the pockets that I duplicated later on, on a separate paper. I then cut out all the pieces of my pattern.
For this project, the two types of fabric I used for the exterior were black peacock jacquard and black velvet. So once my pattern was ready to go, I traced it onto the jacquard and traced the shoulder and top sleeve part of the pattern onto the velvet fabric.
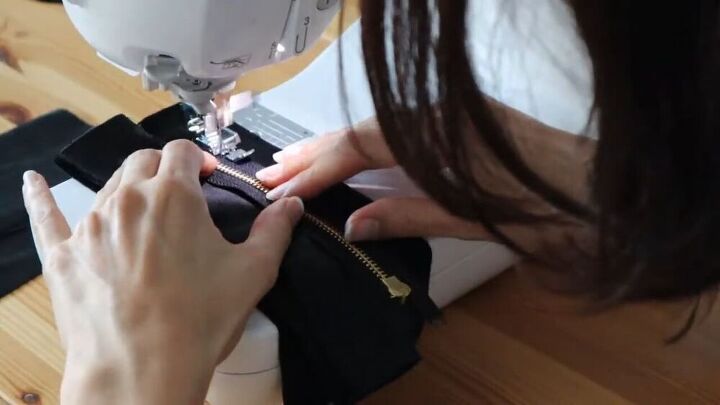
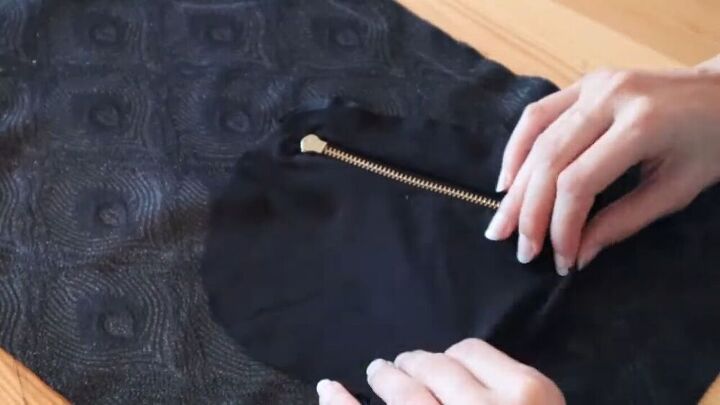
Knowing that I wanted a very specific design for the pocket openings, I decided to get that out of the way. Using my special foot, I sewed the zippers onto velvet so that there would be two small panels of velvet on either side of the zipper.
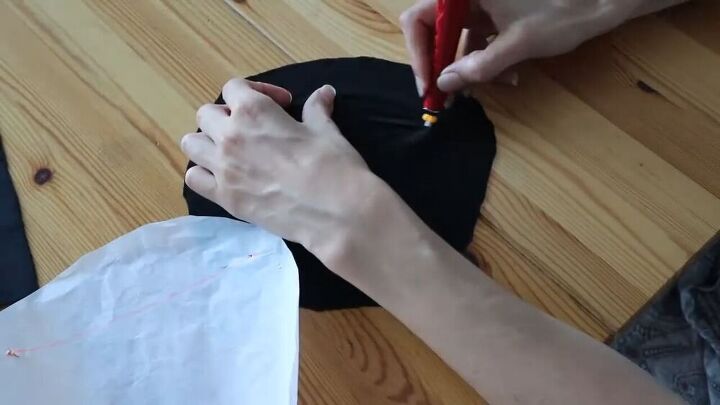
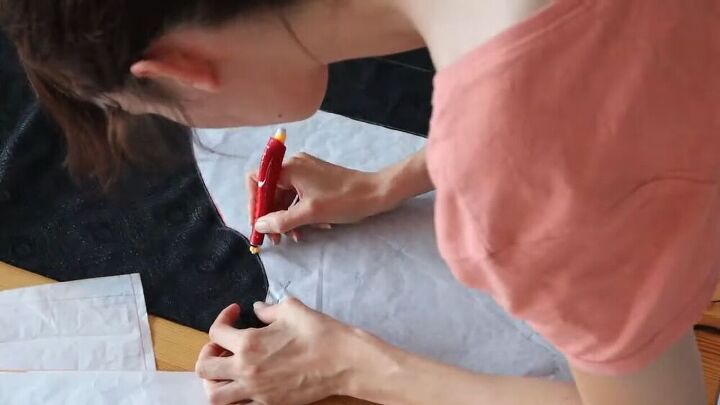
I cut out the shape of the pockets from black jersey fabric, which I also used for the lining of the jacket. I then marked the opening of the pockets onto the fabric and cut it open.
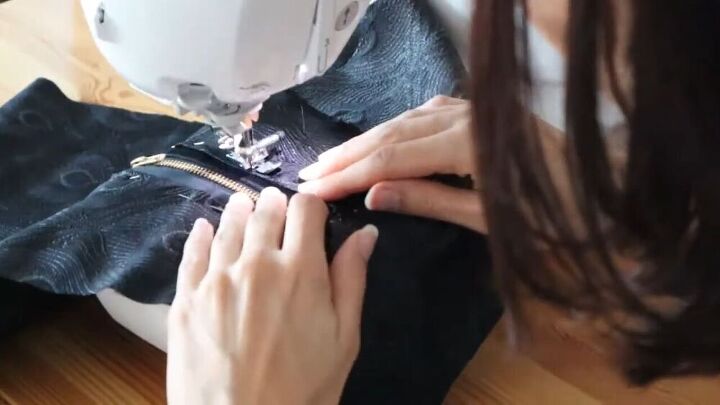
I also marked the pocket openings onto the front piece and cut open two big rectangles which I then ironed. Then I pinned the zipper pieces in place where I cut out the opening and sewed all around the opening, 2 mm from the edge.
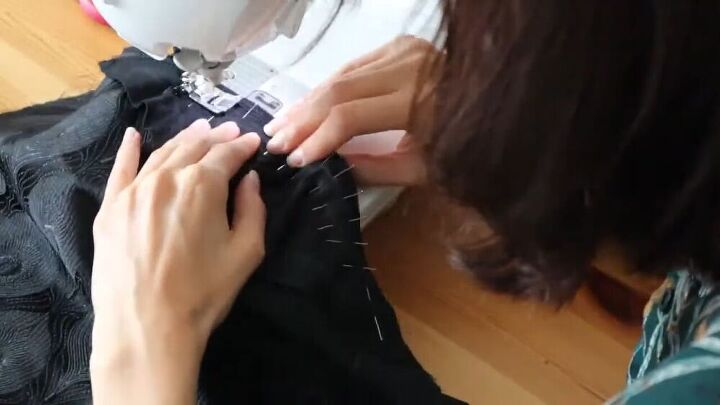
Once the pocket openings were sewn in place, I hand sewed the first layer of the pockets around them. Then I added the second layer on top and sewed them together with my serger.
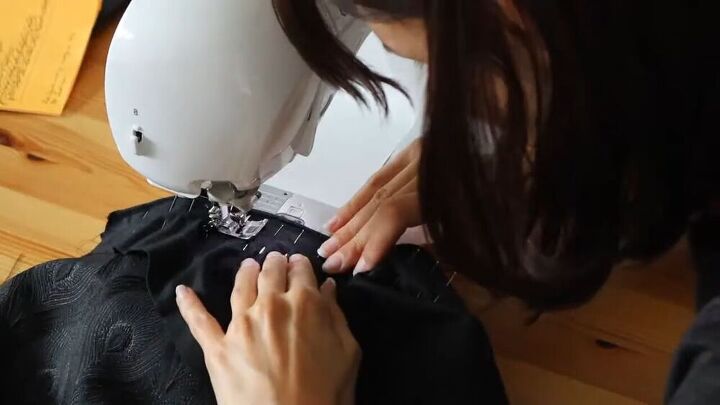
With my pockets done, I moved on to the shoulders. I pinned the shoulder piece to the back panel, right sides facing each other, and sewed them together, having cut off the excess fabric with my serger. I then repeated the process with the two front panels.
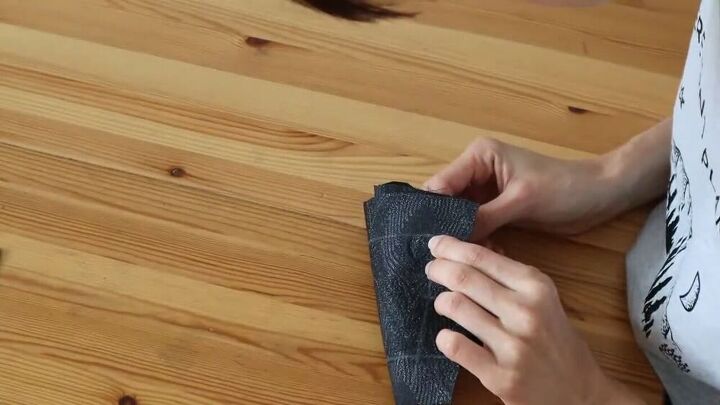
Next, I traced the pattern of the collar onto two layers of velvet fabric. I then pinned both layers together, right sides facing each other, and sewed them in place. Once it was sewn, I cut the excess fabric with pinking scissors and flipped it so that it was right side out. Then I pinned the collar on the bust, right sides facing each other, and sewed them together.
After the collar was in place, it was time to connect the sleeves. I pinned the two pieces of each sleeve together, right sides facing each other, and sewed them together. Next, I pinned and sewed the sleeves on the bust, then cut the excess fabric using my serger. I pinned along the underarm and the side and sewed along the seam, then took it back to the serger to cut off the excess.
For the wrists, I cut out two rectangles that I folded and sewed halfway. Then I flipped them back and pinned them on the sleeves, right sides facing each other. I then sewed them closed, leaving enough of an opening to insert the elastic later.
Next, I cut out a long rectangle to serve as piping for the elastic around the waist and pinned it on the vest, right sides together, before sewing it in place.
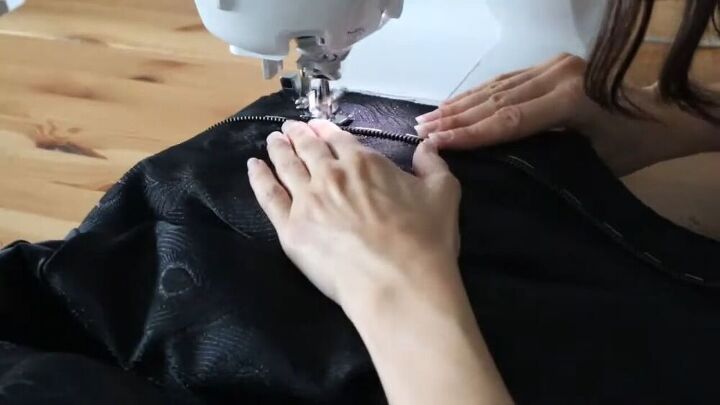
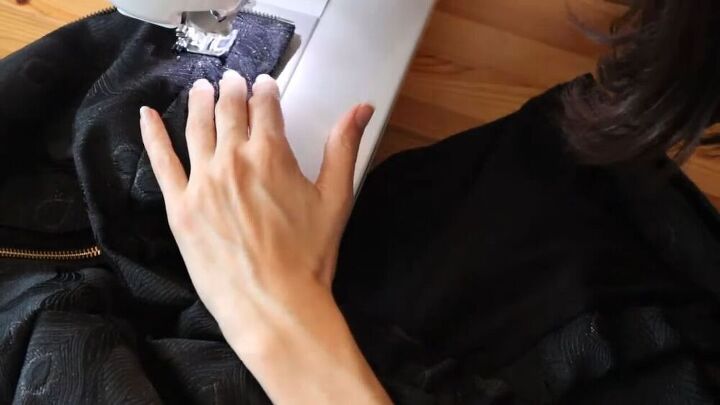
Finished with the piping, I added the zipper to the jacket. First, I basted it by hand, then I sewed it with my special foot.
Moving on to the lining of the jacket, I traced and cut out the pattern from the jersey fabric I was using, then assembled the pieces the same way I had before. I then created a flap out of the same fabric to place under the zipper and pinned it on the fabric. Next, I added the lining on top, right sides facing each other, and sewed the three pieces together. I repeated the process on the other side, but without the flap, and hand sewed the lining around the collar. I then sewed the lining to the bottom part of the bomber, right sides together. Lastly, I topstitched the pieces in place around the seam.
Once the lining was finished, I slid the elastic into the piping and sewed it in place on each end. Then I closed the opening of the piping with hand stitches and did the same for elastic on the sleeves. And my jacket was finished!
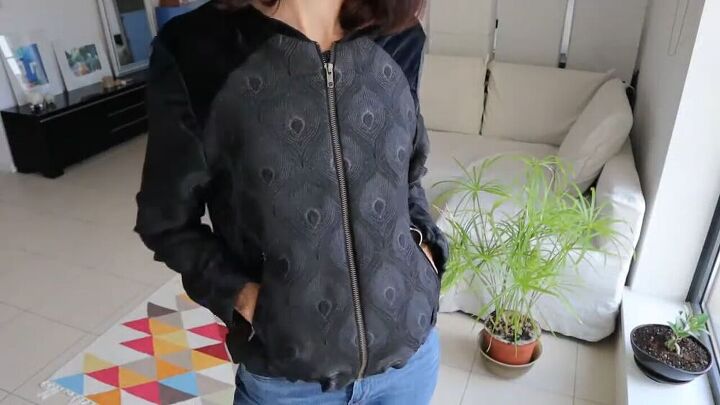
That’s how I made my black bomber jacket! Personally, I LOVE it. It’s cool and chic, with a little edge. I’m so excited to wear it out and about. My only complaint is that the two zippers I used weren’t the exact same color, but I hope that after some wear they’ll both fade and look the same. Other than that, though, I’m just so happy with the way this came out! Are you going to try this out yourself? Let me know in the comments if you have any questions!
The author may collect a small share of sales from the links on this page.


Comments
Join the conversation
Well done. I did lots of sewing when I was a teenager & really enjoyed it, but I cant get back into it again & I really wish I could. Keep up the good work.
Hi Jenny! Thank you so much for the support! Yes, it takes a lot of time, but at the same time it is so addictive. :)