Checkerboard Jacket Sewing Tutorial

In this sewing tutorial, I’m going to show you how to make a DIY quilted checkerboard jacket.
The design includes two different types of denim, and the end result is super trendy and unique. Let’s begin!
Tools and materials:
- Pattern
- Scissors
- Ruler
- Denim fabric
- Binding fabric
- Quilted lining fabric
- Iron
- Sewing machine
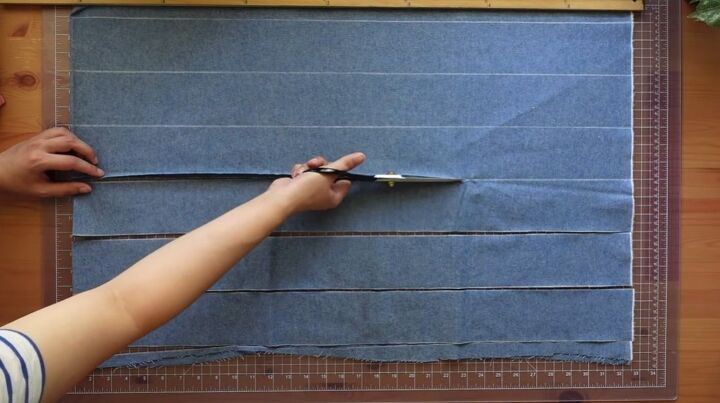
1. Cut out and sew denim strips
Cut out 3-inch (7.6cm) wide strips from the denim fabrics.
Then, sew the strips together with ⅜ inch seam allowance to make a big piece of striped fabric.
Iron the back side and seam allowances towards one direction.
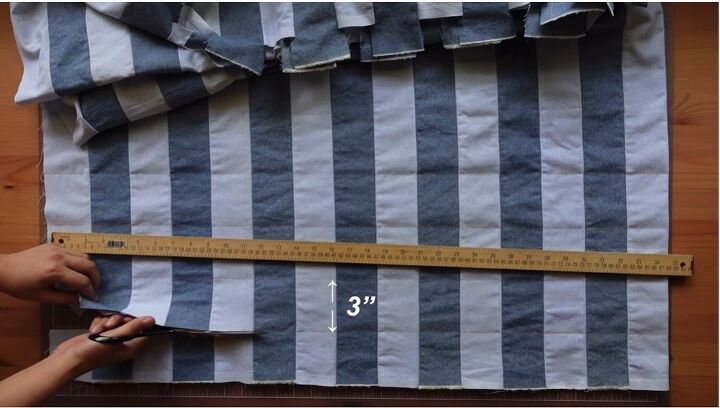
2. Cut the striped fabric
Then again, cut out 3-inch (7.6cm) wide strips from the striped fabric.
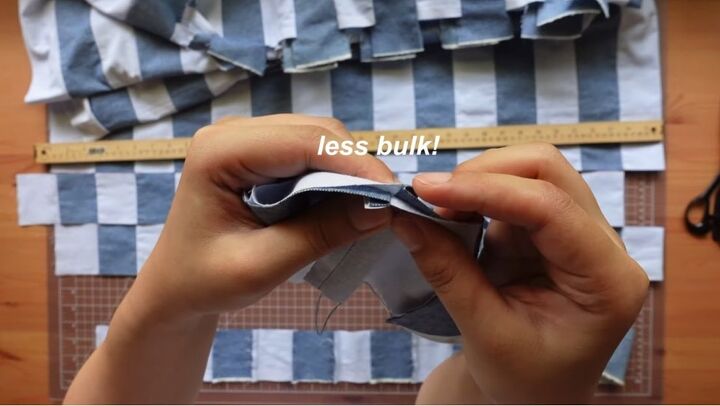
I flipped every other piece, so the direction of seam allowances is in alternate directions.
This means that there will be less bulk when we sew them together.
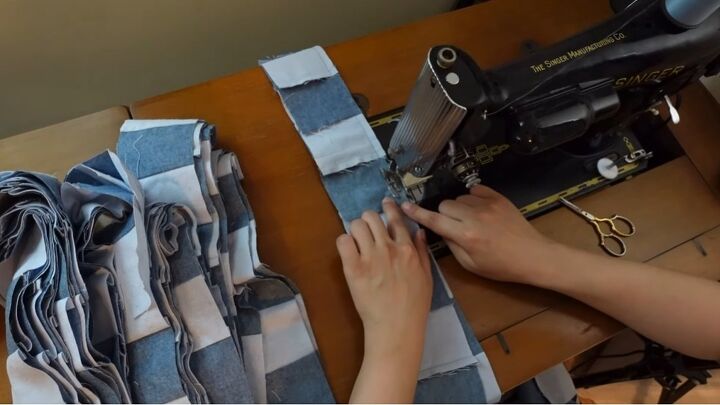
3. Sew the strips together
Sew the strips together with small stitch lengths so that the seams won't fall apart easily when you cut out the jacket pieces.
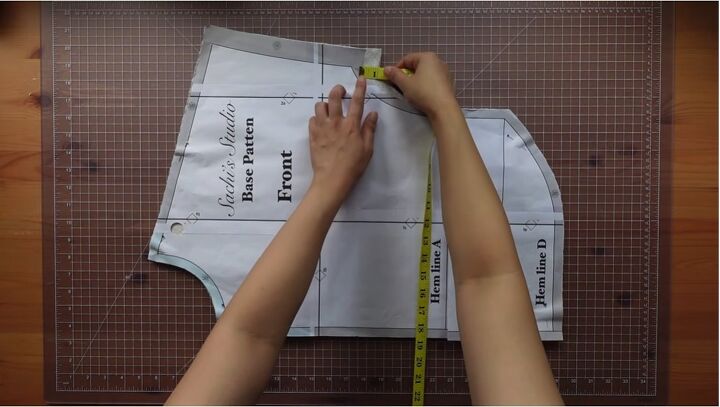
4. Cut out the lining pieces
Take the pattern and fold it at Hemline B and bring it to Hemline A.
Then do the same thing to the back piece. Cut out the lining pieces and add 1 inch (2.5cm) to the sleeve opening.
This will allow you to wear the jacket over other garments you make from the same pattern.
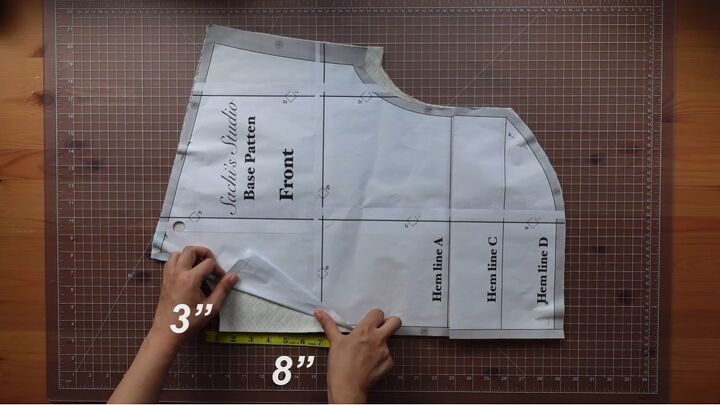
5. Cut the neckline
At the front neckline, fold the pattern in by 3 inches (7.6cm) on one side and 8 inches (20cm) on the other.
Cut the back piece on the fold and exclude the seam allowance at the center back.
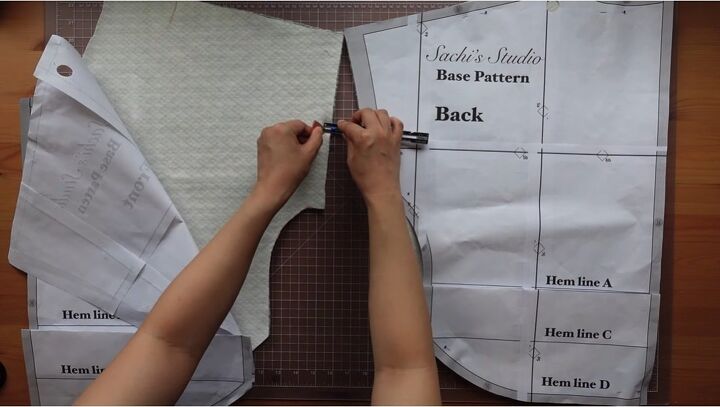
6. Cut the back piece
Add 1 inch (2.5cm) at the sleeve opening to match the front piece.
The pattern comes with 1 inch (2.5cm) seam allowance at the sleeve opening so cut off 1/2 inch (1.25cm) from the edge of the sleeve opening.
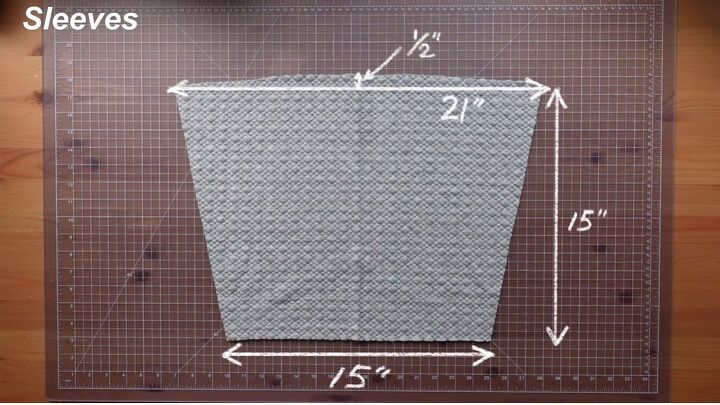
7. Cut the sleeves
The pattern does not come with the sleeve pattern, so here are the dimensions I used.
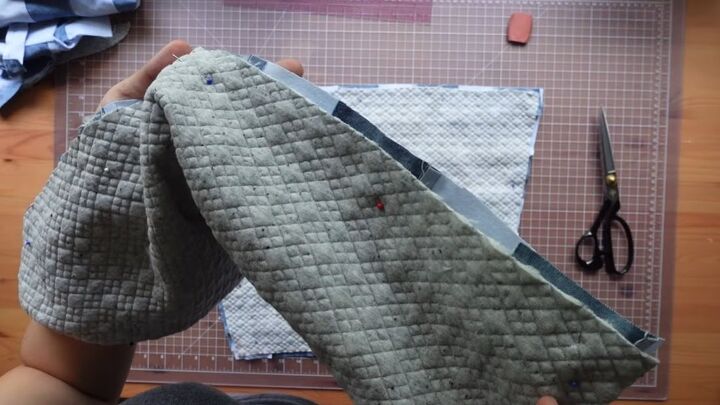
8. Attach the lining to the outer fabric
Pin the lining pieces you just cut out to the outer fabric and cut the outer fabric slightly bigger than the lining. Then, serge off the excess.
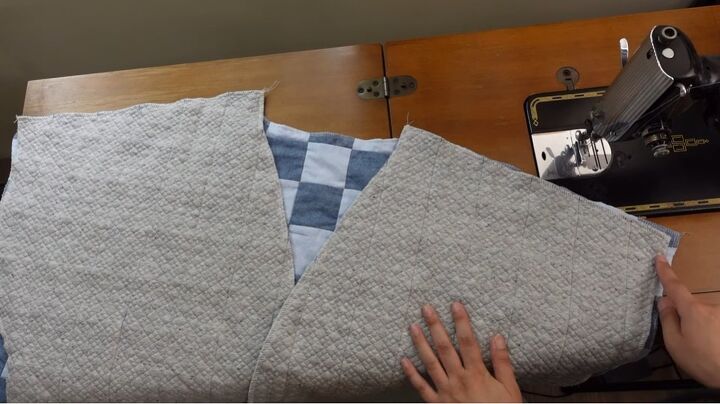
9. Assemble the jacket
To assemble the jacket, sew the shoulder seams together.
Then attach the sleeves. The slightly curved line should be attached to the bodice.
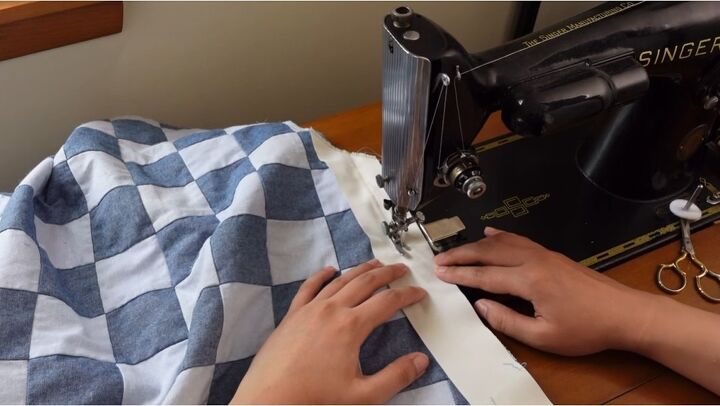
10. Add white line (optional)
Then, drape the piece over yourself to see if you like the general shape.
I liked the shape of the jacket but didn't like how the checkered pattern looked at the shoulder, so I decided to add a white line there.
To do that, I took out the shoulder seams. I then cut 2-inch (5cm) bias strips from the cream fabric and stretched the strips as much as I could to prevent wrinkling.
To reattach the sleeve, I sewed bias strips to the bodice, 7/8 of an inch from the seam allowance edge.
Then, fold the bias strip over the stitch, place the sleeve piece over it and sew with ½ inch seam allowance so 3/8 inch of bias drip would peak out as a result.
I connected some strips to get one long strip in order to continuously bind the front hem and the neckline.
I started binding at one of the side seams. If you are not used to binding, you can baste it by hand first.
After binding the neckline, front hem, and back hem, sew underarm seams.
I did this so it would be easier to adjust the fit if I thought it was too baggy, but I ended up just using a 1/2 seam allowance.
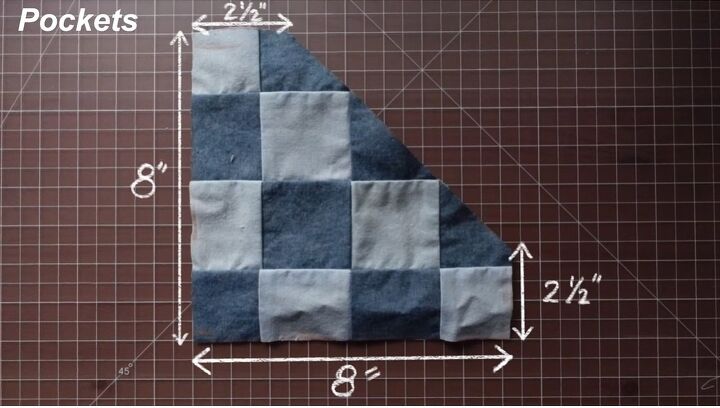
11. Make the pockets
For the pocket, cut out two pieces from the outer fabric so the pattern matched the jacket. Then line, quilt, and bias bound all edges.
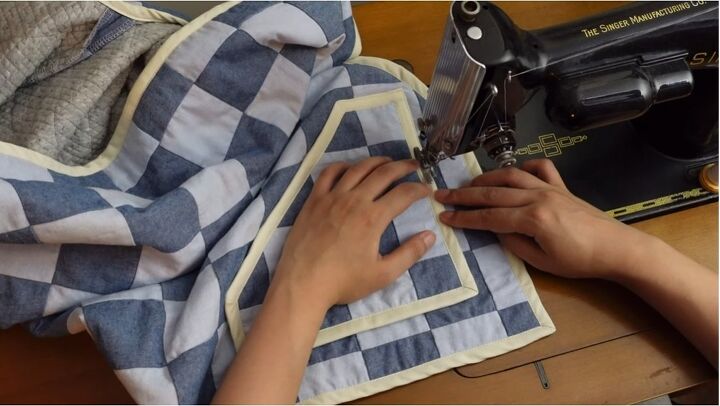
12. Attach the pockets to the jacket
Stitch close to the edge to attach the pockets to the jacket
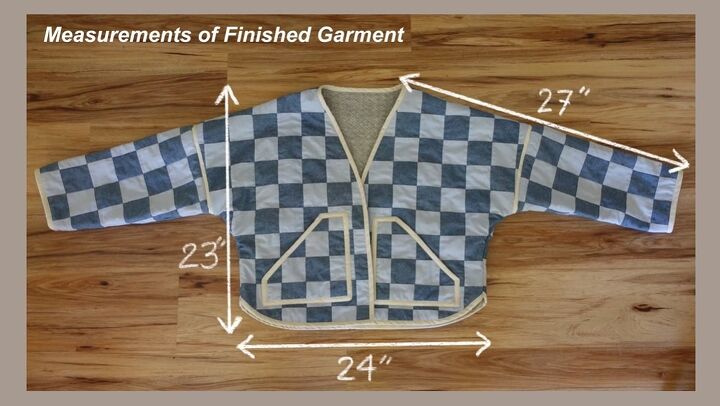
The free pattern comes in only one side, but I think this baggy style could work on many people.
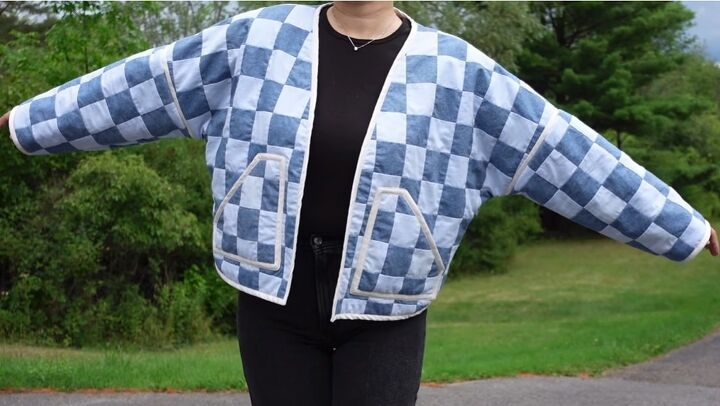
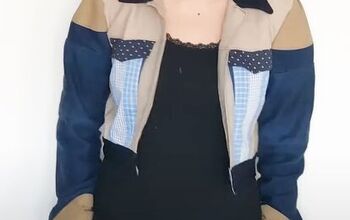
Checkerboard jacket
Here is the finished look! I love the denim squares and the comfy fit.
The white bias all around the edges gives this jacket a really nice finish.
I hope that you’ll give this jacket a go. If you do, leave a comment below!
The author may collect a small share of sales from the links on this page.


Comments
Join the conversation