Need a Cool Layering Piece This Winter? Try This DIY Hooded Vest

Vests are always popular because they help keep you warm and they help hide unwanted pounds or bulges!
While warmer fabrics are perfect for winter, you can even make a DIY hooded vest for every season!
This hooded vest tutorial will show you how to make an elegant, all-purpose vest you can wear anytime.
Here’s a hooded vest sewing pattern you can make in just about an hour! Let’s get started!
Tools and materials:
- 1 yard of fabric
- Scissors
- Sewing machine
- Measuring tape
- Tailor’s chalk
- Clips or pins
- Cotton strap (webbing)

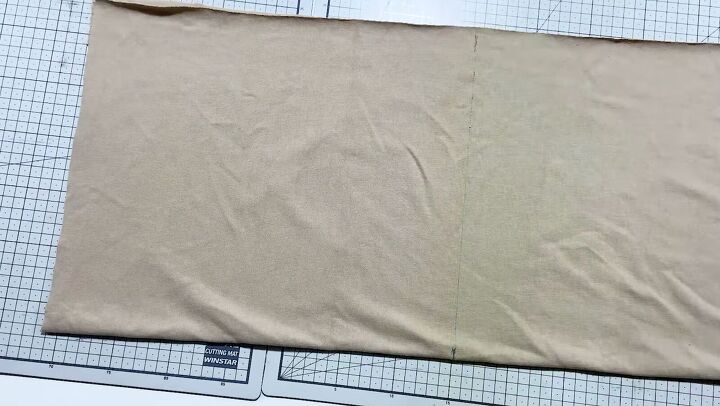
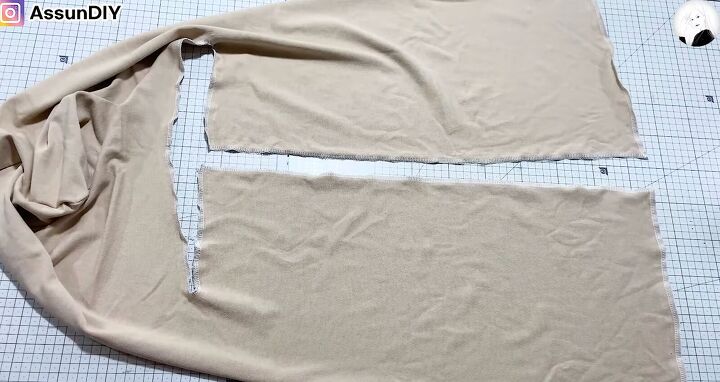
1. Cut the fabric
You’ll need to cut two pieces of fabric. The front is 24½ X 37 inches. The back is 23 X 24½ inches.
2. Make the front pattern
Fold the front piece right sides together and lengthwise.
Measure and mark from the left end in at 14¼ inches. Mark a straight line going down, making sure that the entire square is of equal measure.
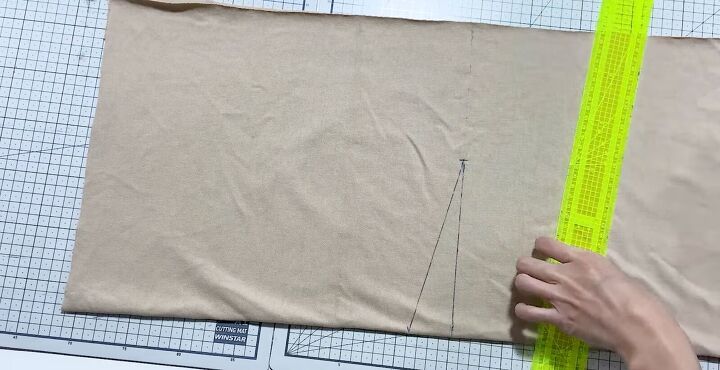
From the fold at the bottom, measure up 7 inches and then down at 1½ inches. Connect these two measurements on a diagonal line.
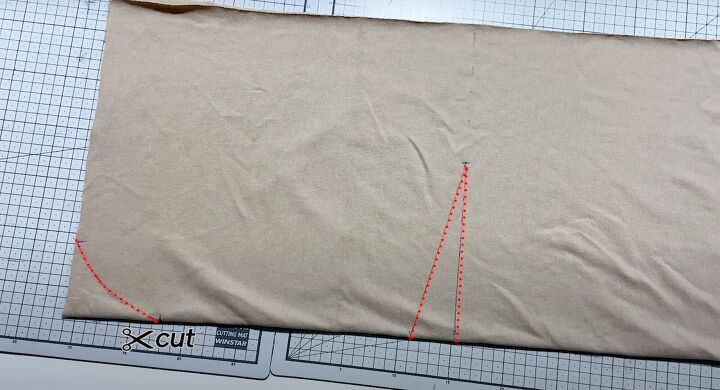
At the open end of the left side from the fold, mark at 2¾ or even 3 inches on the fold. At the bottom, mark at 3½ inches. Connect those two points with a concave line.
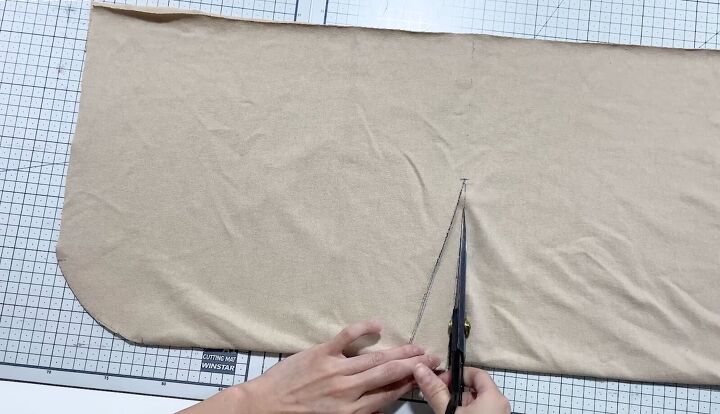
Cut out these two angles.
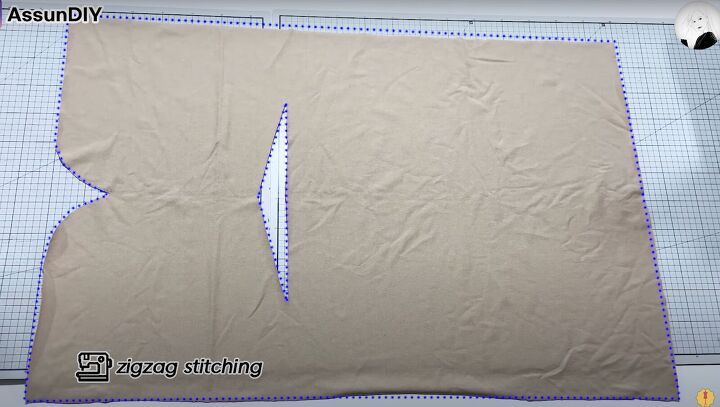
Open the front panel. Zigzag stitch all the edges, including the hole in the center.
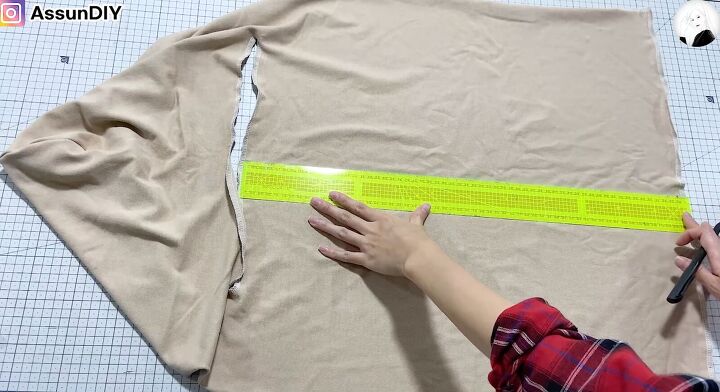
3. Make the back pattern
The length should be 24½ inches and the height should be 11½ inches when folded. At the left side on the fold, make a mark at 1¼ inches. Up on the left side, mark at 4 ¾ inches.
Connect those 2 points with a slightly bowed line.
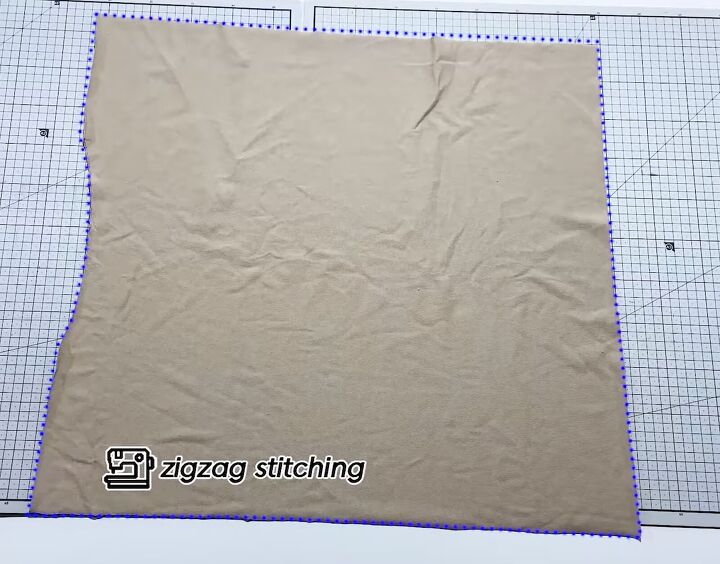
Cut out the piece. Zigzag all the edges.
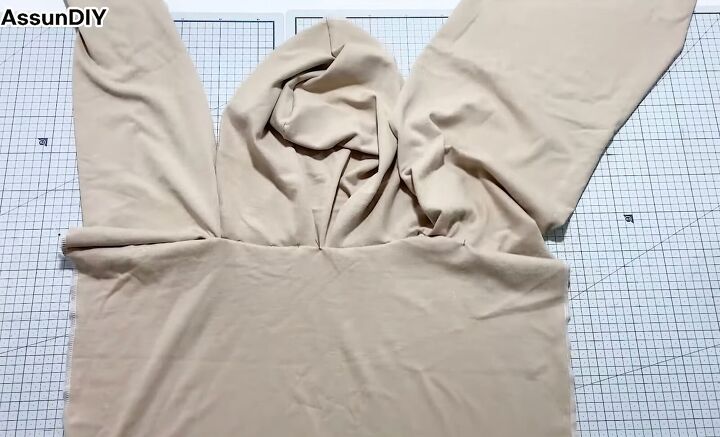
4. Make the hood
Fold the front piece right sides together and sew the top piece together to create the hood.
5. Make the vest
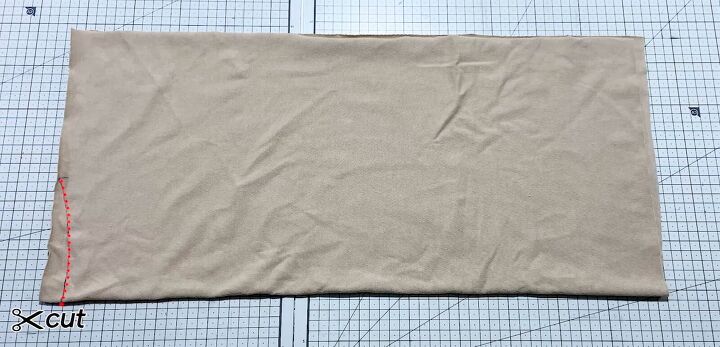
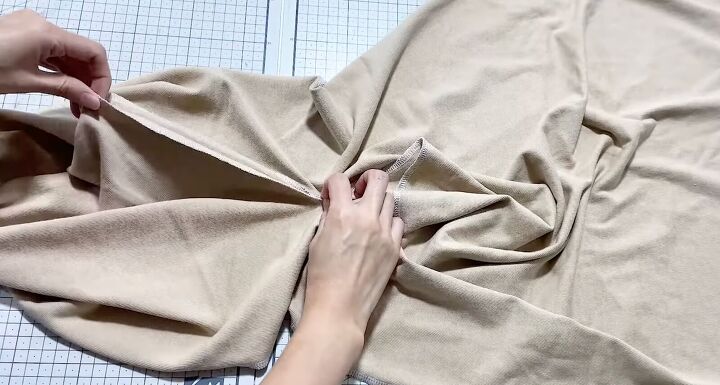
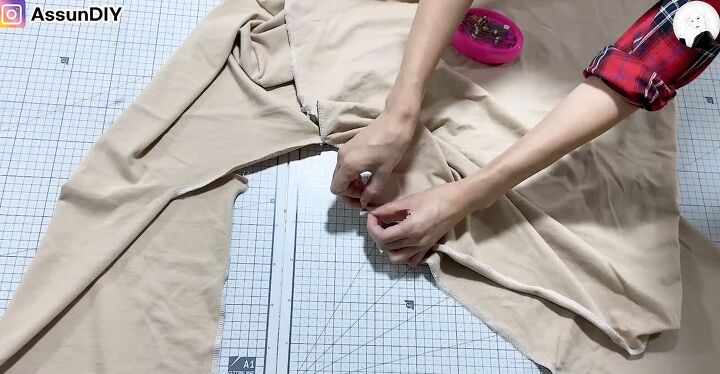
At the hole just beneath the hood, pinch the fabric in the opposite direction. Mark the center on both sides.
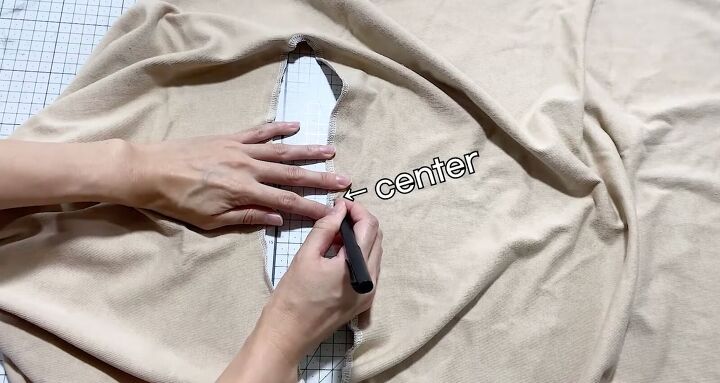
Then, mark the center at the top and bottom of the hole.
Measure a straight line down from the center point of the hole to the very bottom of the fabric.
Cut along that line. Zigzag stitch the edges.
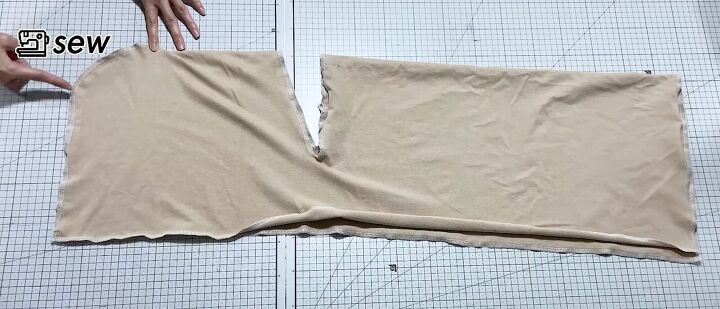
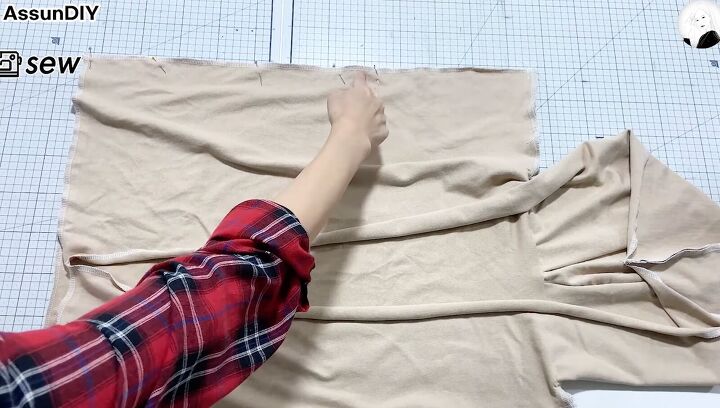
Match the center of the back to the center mark at the base of the hood on the front. Then, twist the back around so the top corner goes to the outer corner of the cut open front panel.
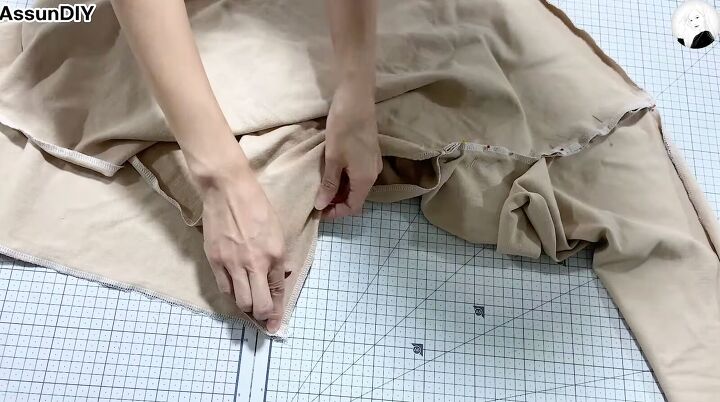
Pin this in place. Lightly pleat the fabric at the hood area only so it fits. Pin in place. Do the same to the other side. Then sew together.
Lay the back face up.
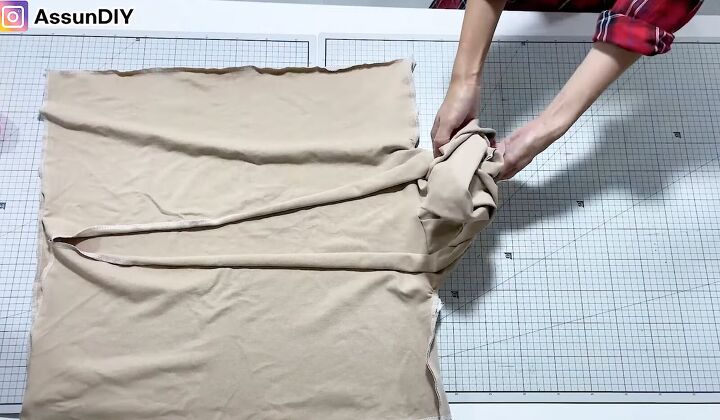
Lay the front panels so their right sides are together. Clip the side seams together.
To make the armhole, measure down 8½ inches from the top. Sew from the bottom up to that mark.
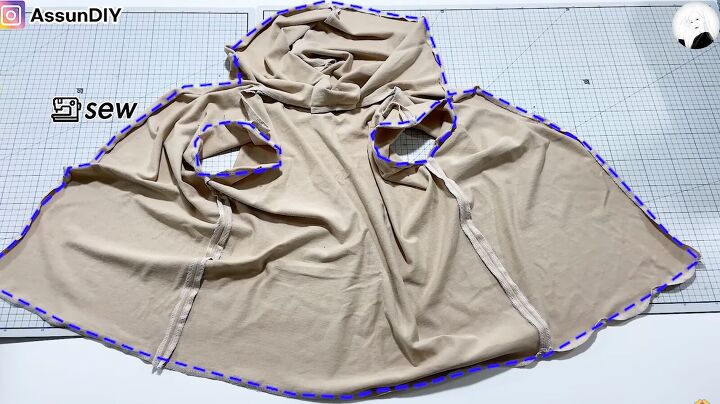
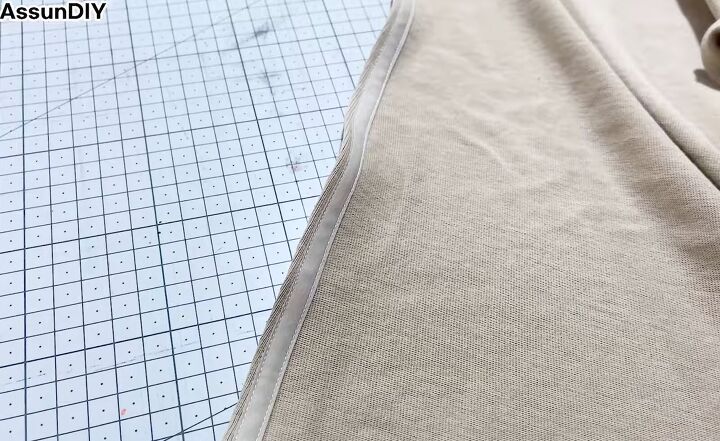
Hem with a single fold at the bottom, sides, hood, and armhole by pinning in place. Then sew all these edges using a zigzag stitch.
Attach a cotton strap or webbing at the open front panels on the wrong side of the vest including the hood.
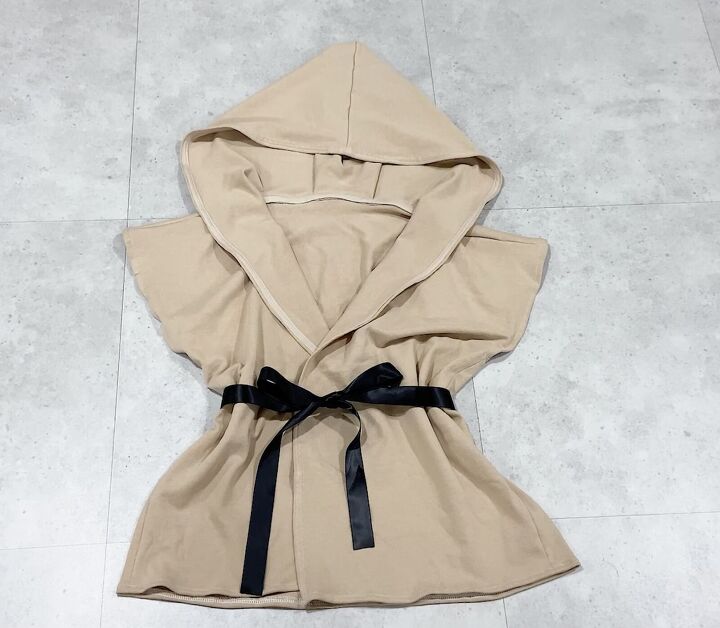
DIY hooded vest tutorial
You’re done sewing a DIY hooded vest that’s perfect to wear over everything from dresses to jeans! Add a flirty ribbon in a contrasting color to highlight your waist.
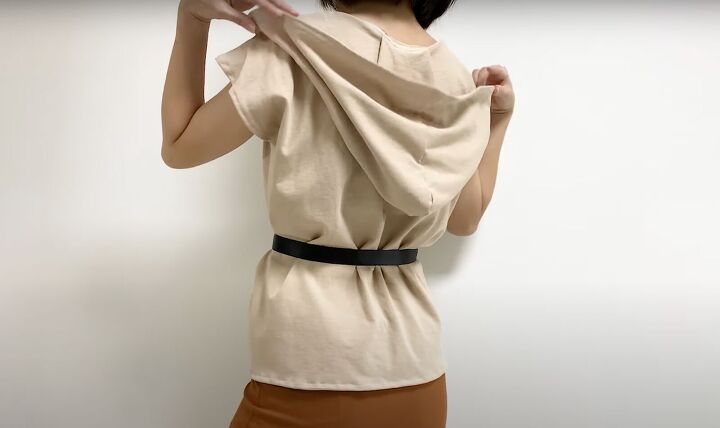
How perfect is this hood?


Please let me know in the comments what you think of this hooded vest tutorial and let me know if you made it!
The author may collect a small share of sales from the links on this page.


Comments
Join the conversation