How to DIY a Cool Stevie Nicks-inspired White Lace Duster

I've been seeing those super-long white lace duster coats everywhere recently.
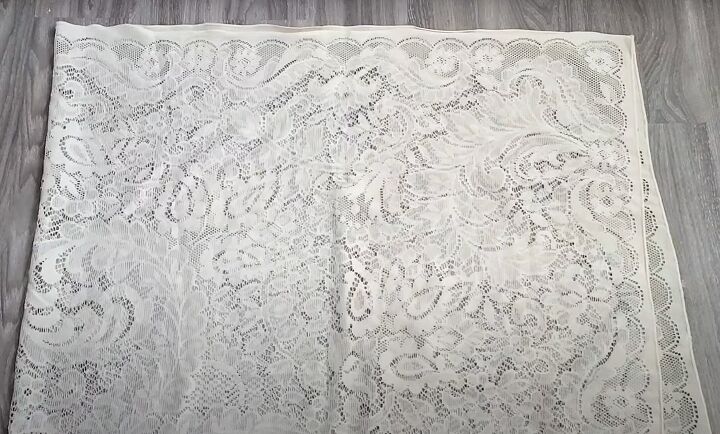
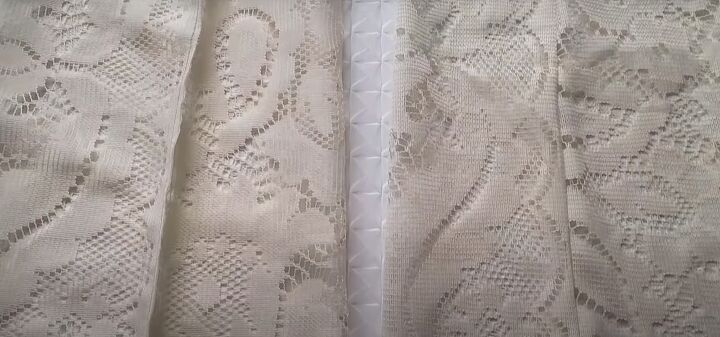
I think they're so pretty and when I came across this vintage tablecloth, I was pretty sure I could make a long lace duster from it.
You'll need a large tablecloth that's big enough to wrap around you a couple of times. This is a really easy project that anyone can make and it's fun to do as well.
Tools and materials:
- Large lace tablecloth
- Jacket for template
- Pins
- Scissors
- Measuring tape
- Sewing machine
1. Decide on the length
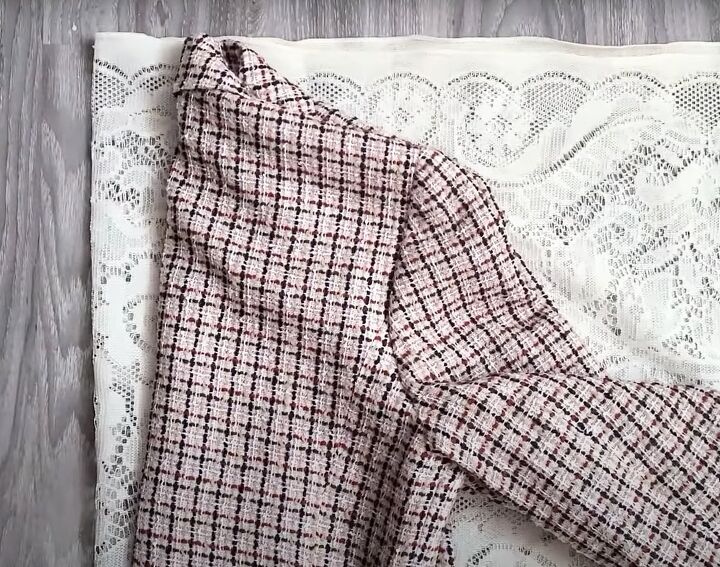
I used a maxi dress to gauge how long I wanted the coat to be.
Lay the tablecloth on a large surface (the floor in my case) and fold it to the approximate length.
Place your dress or other garment on it with the shoulders lined up to the fold and adjust the length of the tablecloth as needed.
Cut off the excess fabric and put it aside for the sleeves.
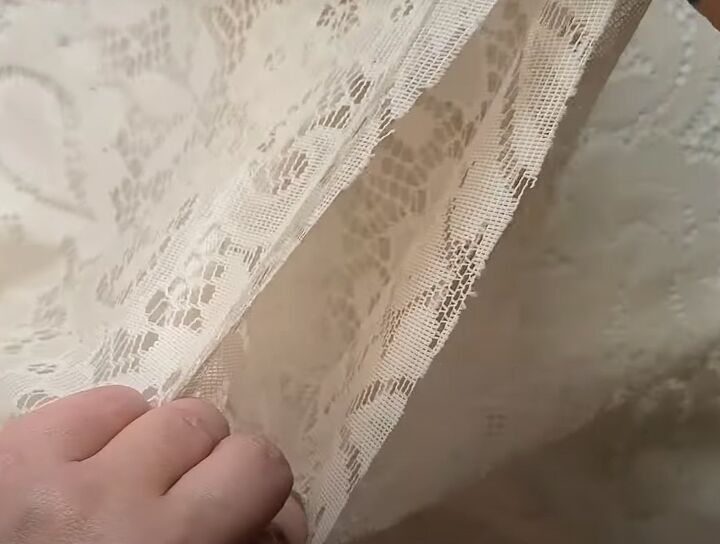
2. Mark the armholes
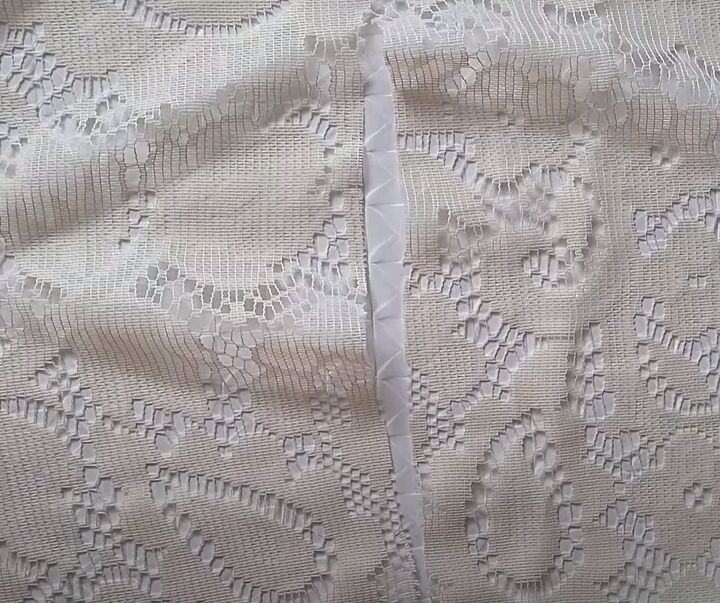
Fold the larger piece of the tablecloth in half lengthways, with the neck edge at the top, the folded edge on the left and the longer open edge on the right.
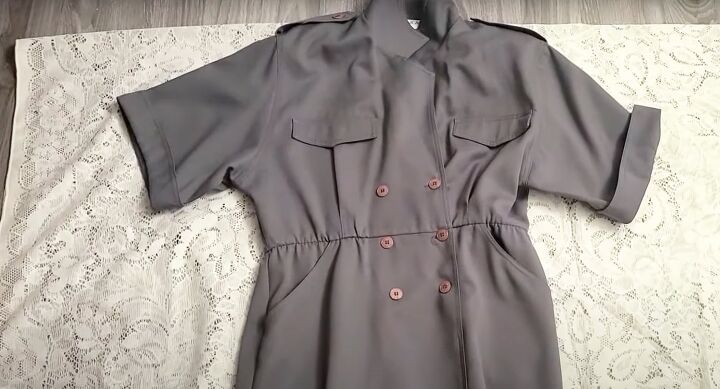
Fold your template jacket in half, with the front on the inside and the fold at the center back.
Place it on the tablecloth, with the center back fold of the jacket against the folded edge of the fabric and the top of the jacket collar lined up with the top edge of the lace.
My jacket is a bit too tight for me so I placed it a few inches away from the fold, to make the lace duster kimono a little larger than the jacket.
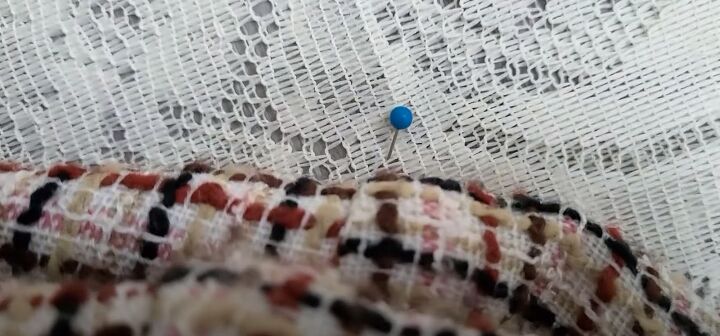
Place a pin at the top of the sleeve at the shoulder and another at the point where the sleeve seam meets the side seam, to mark the depth of the armhole.
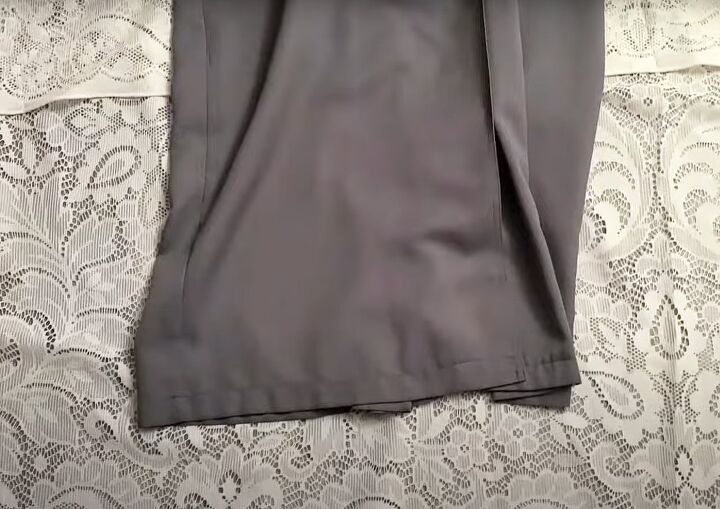
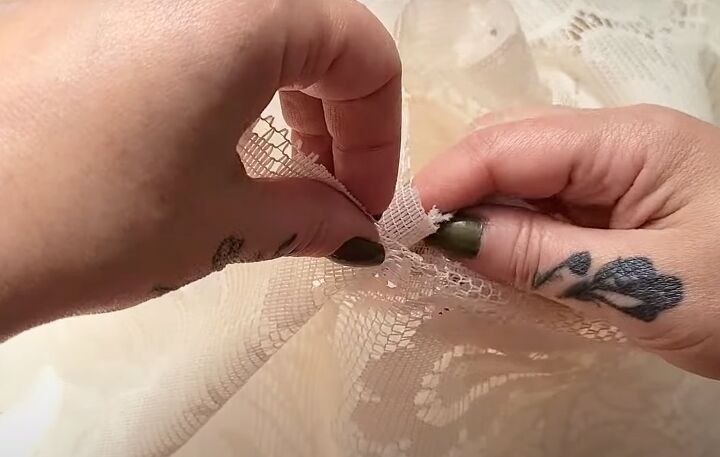
3. Cut the armholes
Remove the jacket and check that the pins are in a straight line.
Cut a slit between the two pins, through both layers of fabric.
Slip the duster on and make sure the armholes are deep enough. Cut the slit a little larger if necessary.
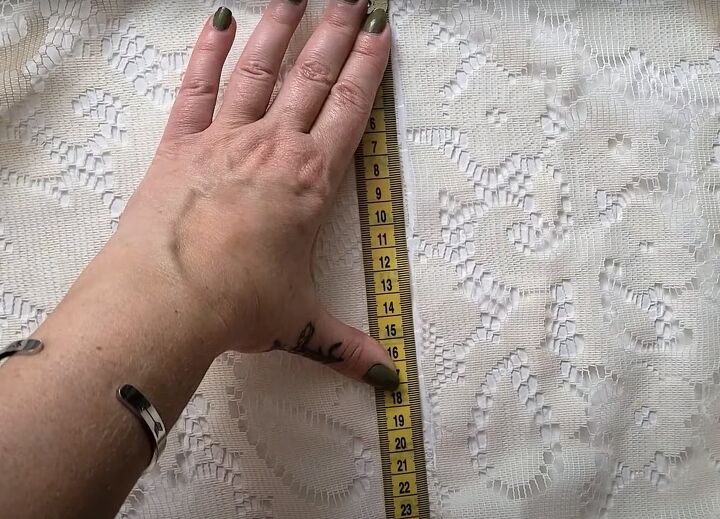
4. Measure the sleeves
Measure the depth of the armhole and add a half inch (1 cm) seam allowance. As a guide, mine was 9 inches (23 cm).
Measure the length of your jacket sleeve from the shoulder seam to the cuff, and a seam allowance as before.
Mine was 23 inches (58 cm).
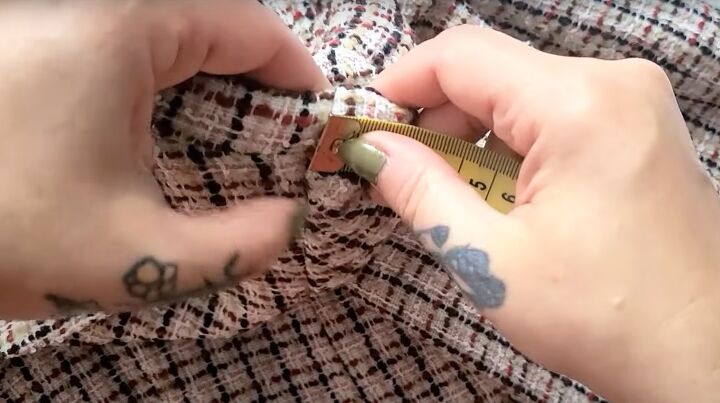
5. Make the sleeves
For each sleeve you will need a rectangle of fabric double the armhole depth wide by the length of the sleeve.
In my case, this would be 18 inches (46 cm) wide by 23 inches (58 cm) long.
Cut two rectangles from the excess fabric you put aside, with the bottom of the sleeves aligned with the selvedge edge so you don't need to turn up a hem.
Fold them in half lengthways and sew the long edges together, so you have two tubes of fabric.
6. Insert the sleeves
Turn the sleeves right side out.
Push them through the armholes, aligning the sleeve seam with the bottom of the armhole slit.
Pin and sew the sleeves in place with the right sides together, and you're done!


DIY white lace duster
While I was making this, I really wasn't sure if it would work out as I imagined it. Once I put it on and styled it - wow!
I'm delighted with my Stevie Nicks duster. It's so versatile, I already have several outfits planned to wear with it. And it was the simplest thing to make - a couple of holes and two tubes of fabric was all it took.
If there's anything you'd like to see me refashion - even an item from your own wardrobe - do let me know in the comments.
I love new challenges and I'm sure I have something in my stash I can use to put together a useful tutorial for you.
Check out my post on 2 Super Cute Ideas for Refashioning an Old Sweater.
The author may collect a small share of sales from the links on this page.


Comments
Join the conversation
I love your duster! I bet it would look great with a LBD and stilettos!
Love this! Dress it up, dress it down. It works!