Easy Patchwork Dress Pattern Tutorial

I'm always being asked for ways to upcycle shirts.
In today's tutorial, I'm refashioning four men's shirts into a patchwork dress.
The skirt part of the dress is paneled, which is a style I've never made before. So let's learn how to sew a dress together!
Tools and materials:
- 4 men's long-sleeved button through shirts
- Well-fitting top as template
- Scissors
- Pins
- Serger or pinking shears
- Sewing machine

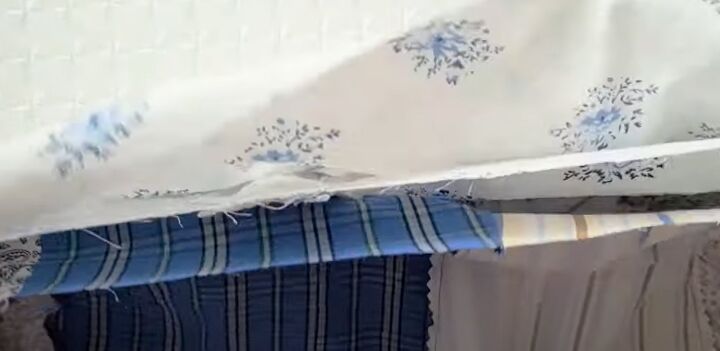
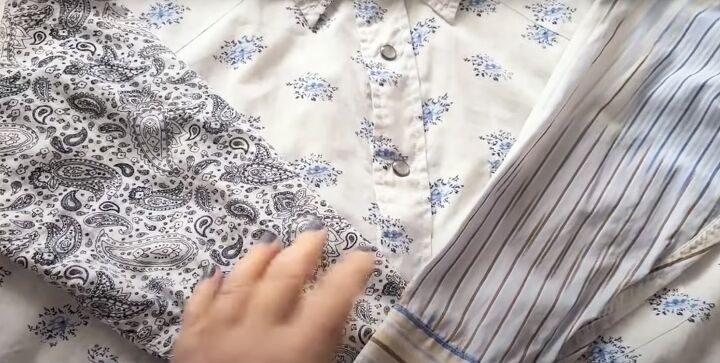
1. Choose your shirts
Pick four shirts that go together well and decide which one to use as the top portion of your dress. Put that shirt aside.
I found that I needed all three of the remaining shirts for the skirt portion of the dress.
2. Cut out the skirt panels
I didn't use a patchwork dress pattern for this upcycle, so it was a learning experience for me too.
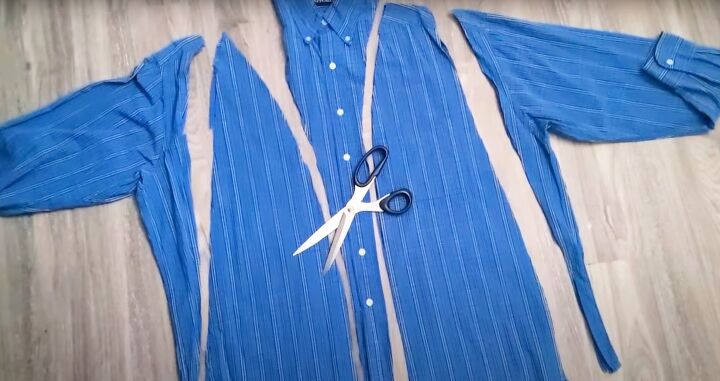
Lay each shirt out flat, matching the side and shoulder seams.
Cut out a rough triangle shape from each side through both layers, so you get four triangles per shirt.
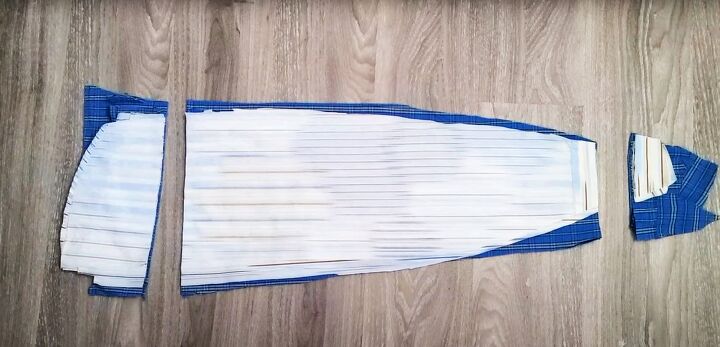
Place all the triangles on top of one another and trim them all to the same length.
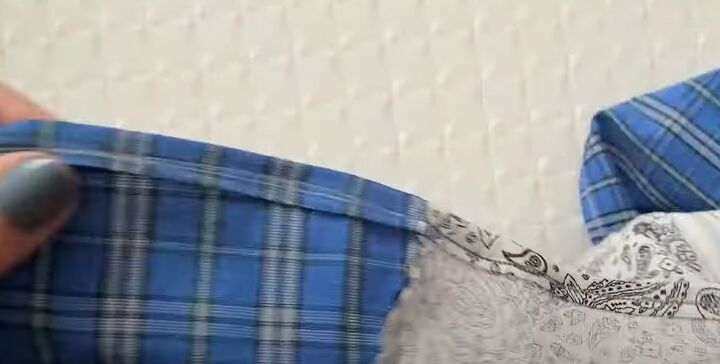
3. Assemble the skirt
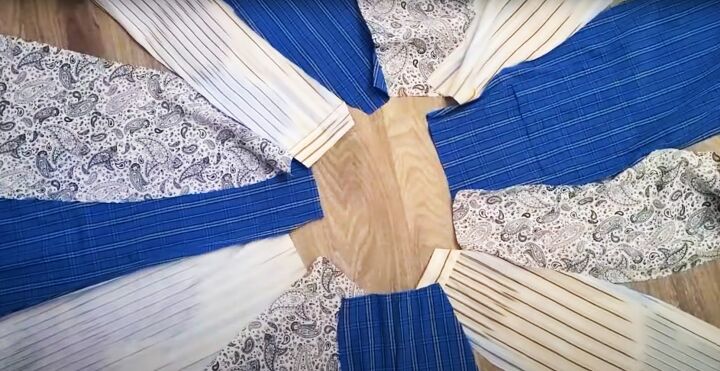
Lay all the triangles out in a circle and adjust their position until you get a combination of patterns that you like.
Sew each piece to the next with the right sides together.
Join the first and last sections to make a circle.
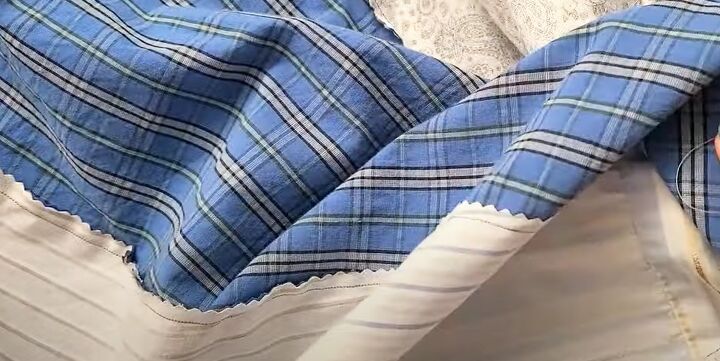
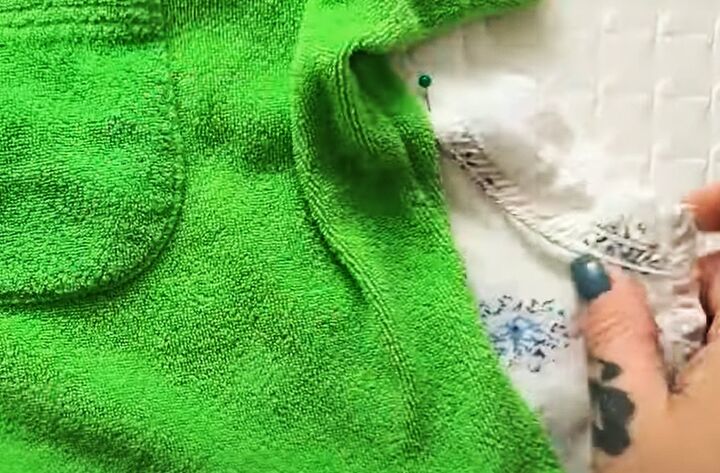
Serge the seam allowances, or trim them with pinking shears if you don't have a serger.
Make a simple hem at the bottom edge of the skirt.
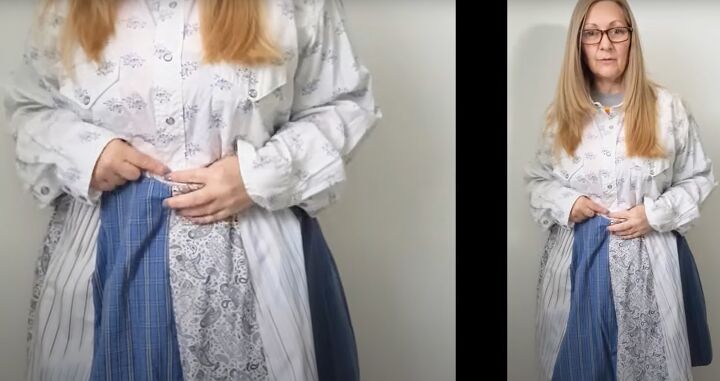
4. Shape the bodice
Try on the shirt you put aside for the top of the dress and decide if it needs to be taken in.
Hold the skirt over the top and place a pin where you want the bodice to end.

Cut the top straight across below the pin mark, leaving a seam allowance.
Turn the top inside out. Fold it in half lengthways, matching the shoulder and underarm seams.
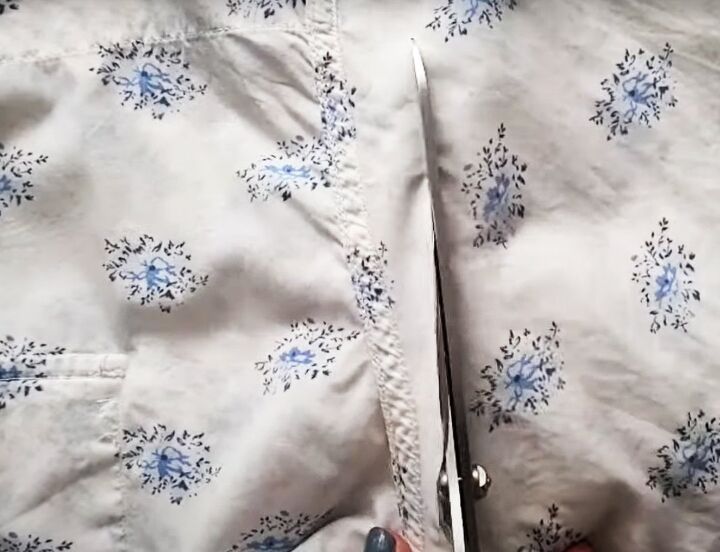
Cut off the sleeves, leaving the seam intact on the top.
Place a well-fitting shirt over the top, lining up the collar and shoulders.
Mark the position of the underarm.
Sew straight down from the pin to the lower edge of the top.
Repeat on the other side.
Try the top on to check the fit, then trim off the excess fabric.
5. Join the skirt to the bodice
Fold the skirt in half lengthways and trim the top edge so it's level.
Turn the bodice right side out and the skirt wrong side out.
Place the skirt over the bodice so the right sides are together and the raw edges are lined up.
My top and skirt matched in size almost exactly. If your skirt is larger than the bodice, you can either use gathering stitches or pintucks to reduce its width.
Pin and sew the top and skirt together and trim the seam allowance.
6. Sleeves
There are several ways you can make the sleeves. Cap sleeves or sleeveless would work well for a summer dress, so you can simply finish the raw edges where you cut off the original sleeves.
I decided on long sleeves and added a sleeve each from two of the shirts, trimming them to size and sewing them to the raw edges.


DIY patchwork dress
Oh my, this came out so adorably cute!
As you can see, I kept one of the shirt pockets intact and placed that triangle at the front of the skirt.
Now all I have to do is decide which of my many vintage purses goes best with this outfit.
I have lots of upcycling ideas for clothes so if you have any specific projects you want me to tackle, do let me know in the comments. And I'd love to see your version of this patchwork dress pattern!
Next, check out my post on How to DIY a Cool Stevie Nicks-inspired White Lace Duster.
The author may collect a small share of sales from the links on this page.

![Swing Dress Pattern & Tutorial [Easy & Free!]](https://cdn-fastly.upstyledaily.com/media/2020/12/20/6348151/swing-dress-pattern-tutorial-easy-free.jpg?size=350x220)


Comments
Join the conversation