Easy Patchwork Tote Bag Pattern Tutorial

Here’s a wonderful way to use up your larger fabric scraps with a patchwork tote bag pattern.
I like to make the base and handles from the same fabric but you can get as creative as you want with this.
The cotton batting gives a firm but soft and flexible finish to the bag that I really like.
Tools and materials:
- Fabric scraps
- 5 inch square template
- Lining fabric
- Fusible interfacing
- Cotton batting
- Pinking shears
- Fabric marker
- Pins
- Scissors
- Measuring tape
- Sewing machine
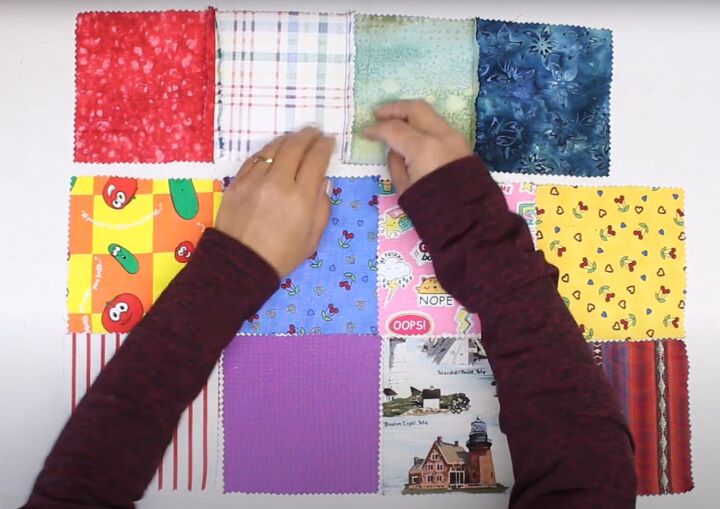
1. Patchwork panels
Cut 24 pieces, each 5 inches by 5 inches. Separate them into two sets, for the front and back of the tote. Use pinking shears if you have them, to prevent fraying.
Otherwise, I suggest serging or overlocking each edge.
Arrange one set of the squares in three rows of four pieces each row.
Sew each piece to the one next to it in horizontal rows with the right sides together. Press the seams open.
Join each row to the one below it. Take a 0.75 inch seam allowance throughout.
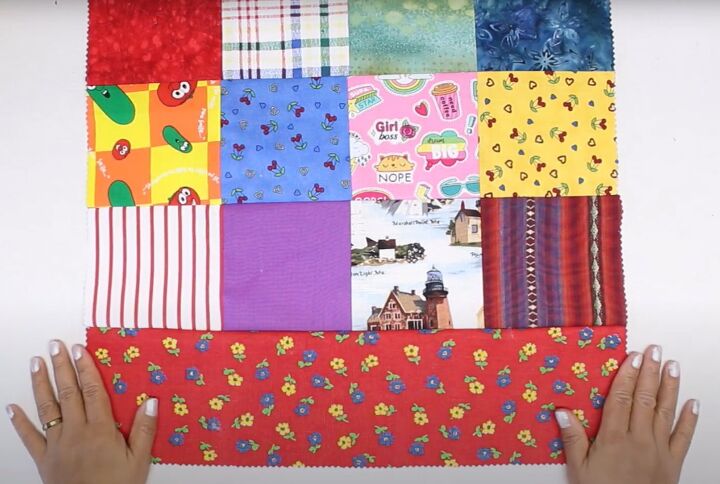
Cut a piece of fabric 5 inches by 18 inches for the base. Attach it to the last row. Press all the seams open.
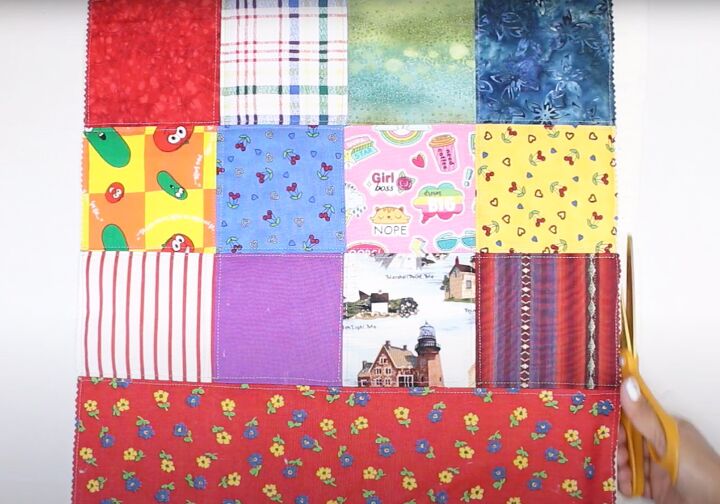
Cut a piece of cotton batting to fit the patchwork panel and base. Top stitch it in place along both sides of all the seams.
Sew in place around the outside edges and trim off the excess.
Make a second panel in the same way.

2. Make the handles
Cut a piece of fabric 4 inches by 28 inches.
Attach fusible interfacing to the wrong side.
Fold in half lengthways and press.

Open out the handle and press each long edge towards the center fold.
Fold in half lengthways and sew around all the edges.
Repeat for the second handle.
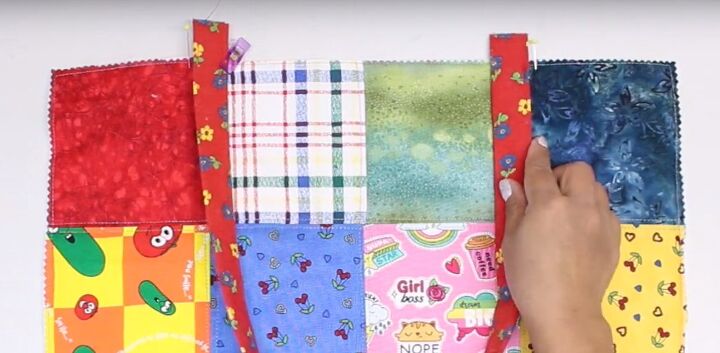
3. Attach the handles
Place pins 4 inches in from the sides of each patchwork panel, on the top edge.
Pin each end of the handle inside a pin, extending by 1 inch above the top edge of the panel. Sew firmly in place.
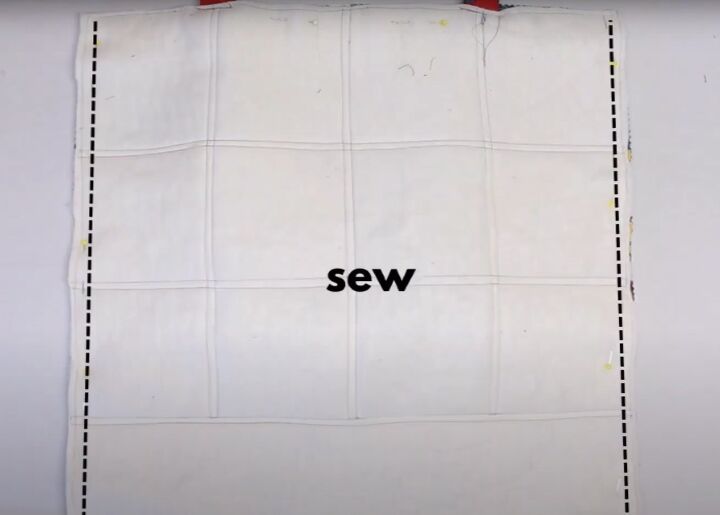
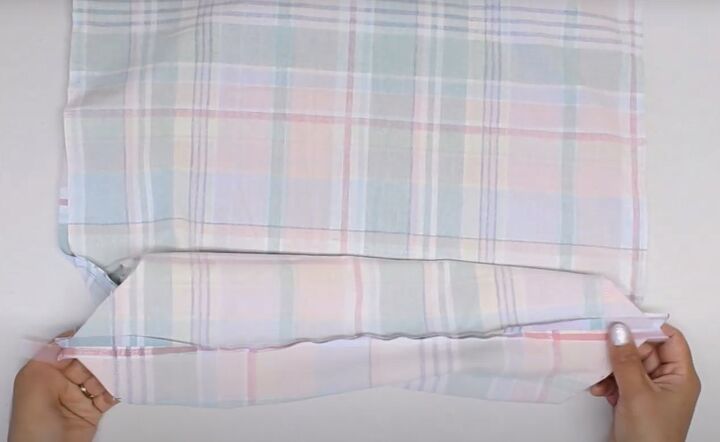
4. Assemble the bag
Place the two panels right sides together, sandwiching the handles between them.
Sew together along the side and bottom edges.

Press open the bottom seam.
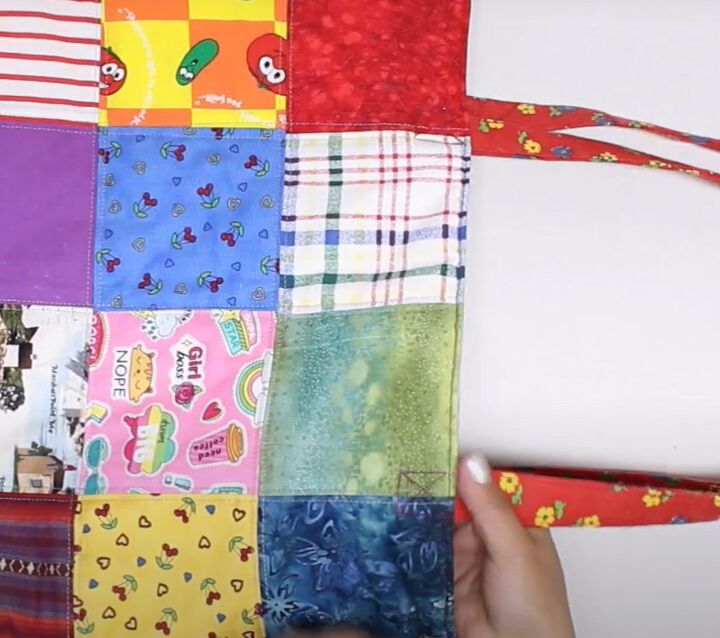
Draw a 3 inch line across both corners of the base.
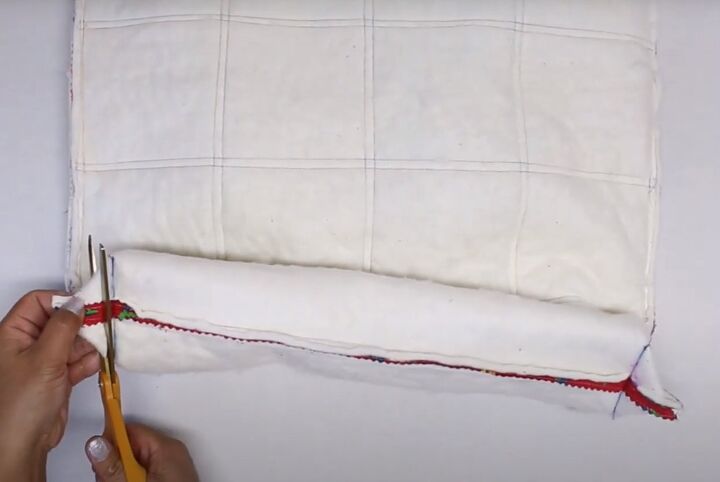
Sew along the lines to make a gusset and cut off the excess.
Turn the bag right side out and push out the corners.
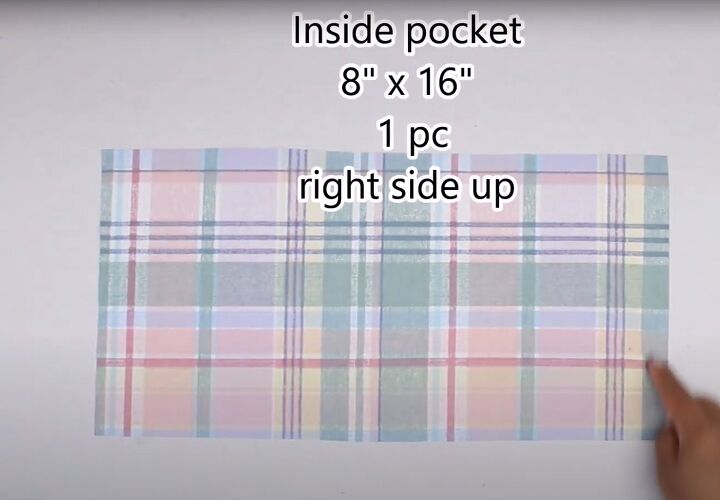
5. Lining and inside pocket
Cut a piece of lining fabric for the pocket, 8 inches by 16 inches.

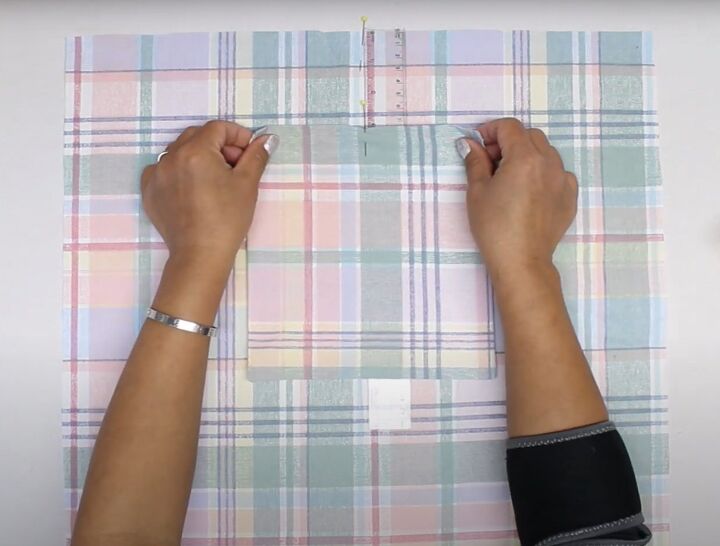
Fold the longest edge in half with the right sides together. Sew along the three open edges, leaving a small opening in the side edge.
Trim the corners and turn the pocket right side out through the opening. Top stitch the folded edge.
Cut two pieces of lining fabric each 18 inches square.
Pin the pocket centrally to the right side of one piece of lining, 3 inches from the top edge.
Make sure the top stitched edge of the pocket is at the top.
Sew the pocket in place around the side and bottom edges.
Place the other piece of lining on top, with the right sides facing.
Sew together around the side and bottom edges, leaving an opening in one side edge.
Sew the base of the lining as you did for the outer bag and trim the points.
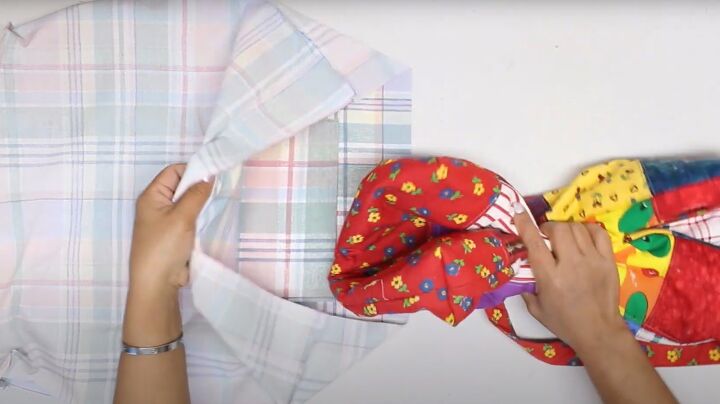
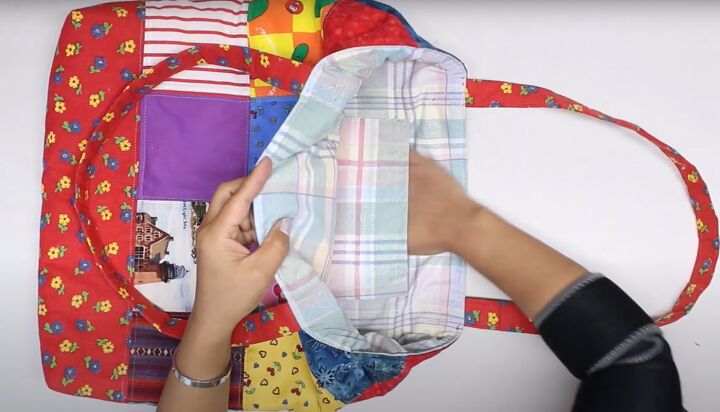
6. Attach the lining
Place the bag, right side out, inside the lining.
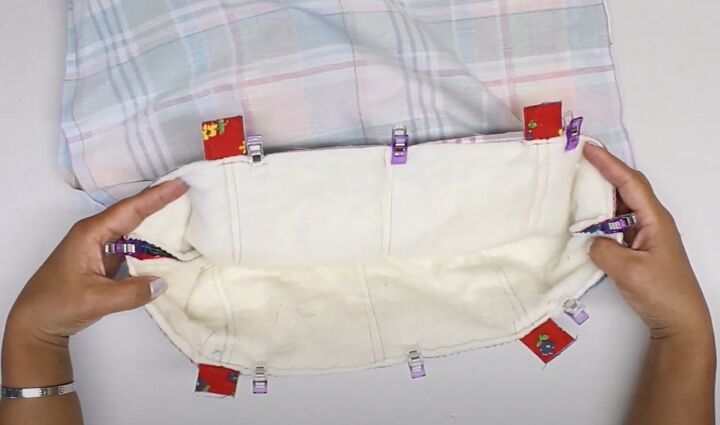
Matching the side seams, pin and sew together around the top edge.
Pull the bag out through the opening in the lining and sew the opening closed.
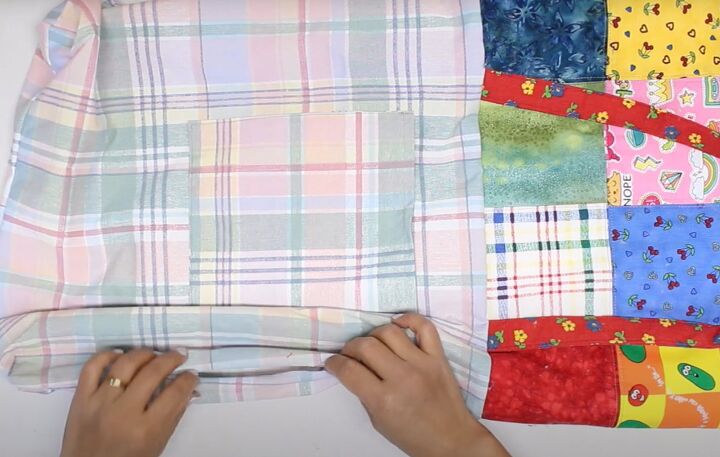
Push the lining inside the bag.
Sew around the edges of the handles to secure them.
Top stitch the top edge of the bag and lining together.

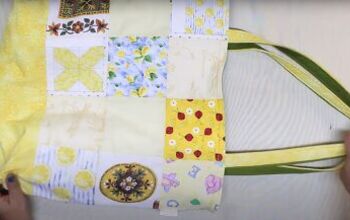
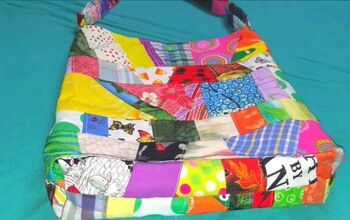
Patchwork tote bag
So that’s how to sew a tote bag the easy way! It’s also a great introduction to quilting and patchwork if you’re new to one or both of them.
This tote bag DIY isn’t just fun to make, it’s practical and a great way to use up your fabric scraps.
I really hope you try it and I’d love to know how you get in the comments below.
Next, learn How to Upcycle Pants Into a Cute Tote.
The author may collect a small share of sales from the links on this page.


Comments
Join the conversation