Fun and Easy Patchwork Tote Bag Tutorial

Hey guys! I’m going to show you how to make an awesome patchwork tote bag.
This DIY tote bag design will allow you to create a tote bag with lining, inner pockets, and an adjustable handle.
Tools and materials:
- Base fabric
- Fabric patches
- Snaps
- Sewing machine
- Scissors
- Pins
- D-ring
- Adjustable slider
- Material for lining and pockets
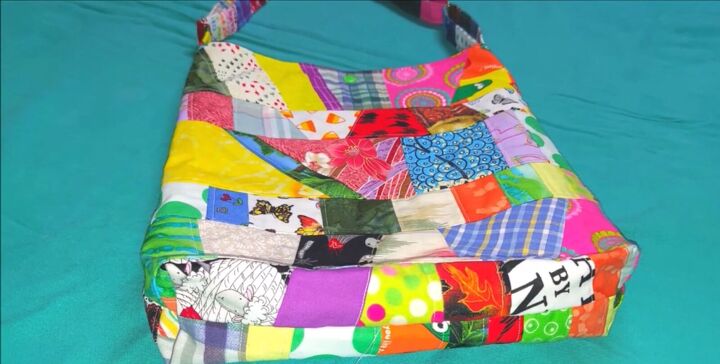
1. Assemble the bag
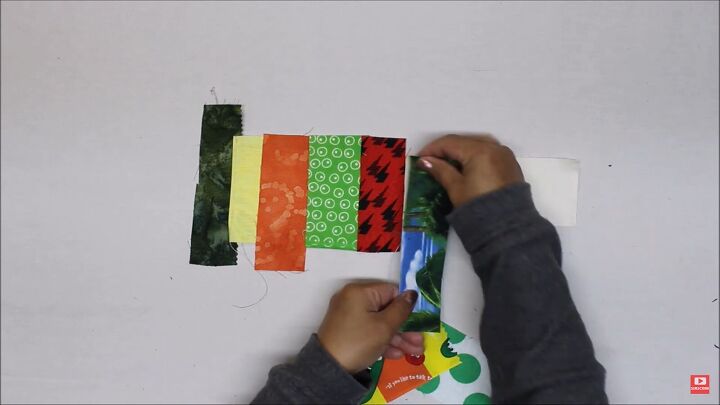
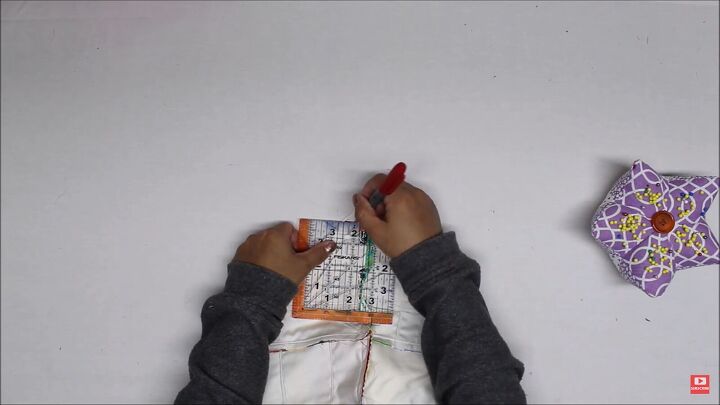
Cut a 2.5-by-14-inch piece of lightweight fabric.
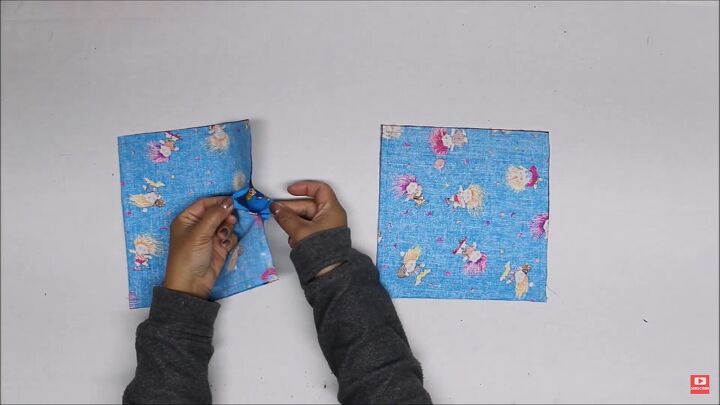
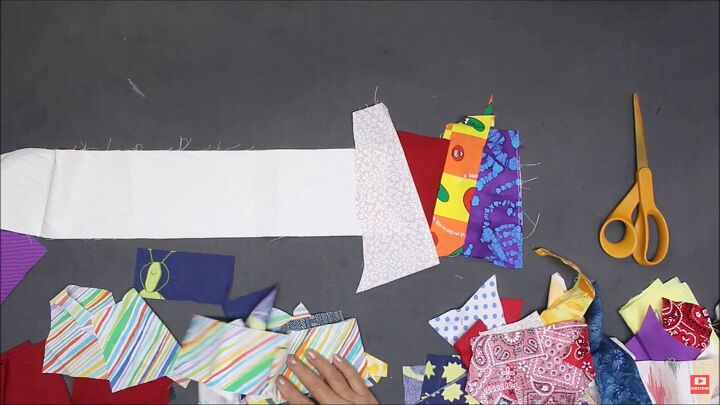
Take your patches and sew them on one at a time with right sides facing in and then flip open and topstitch.

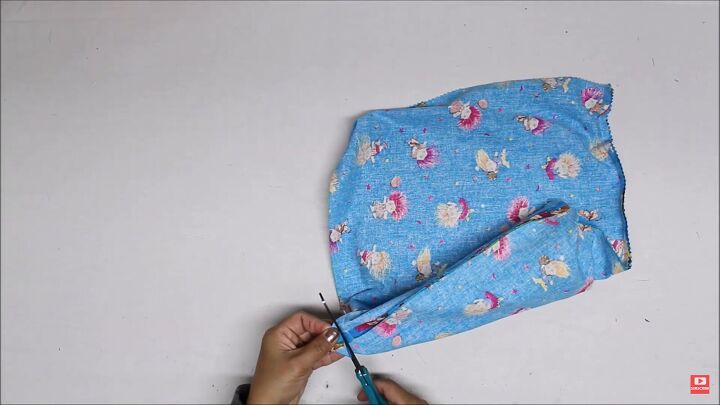
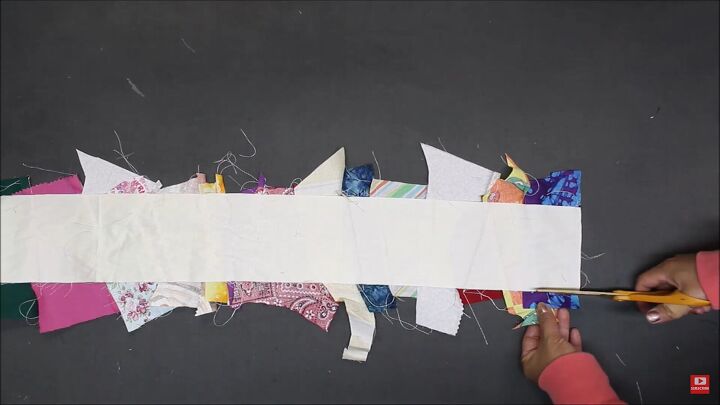
Cut the excess fabric from the sides.
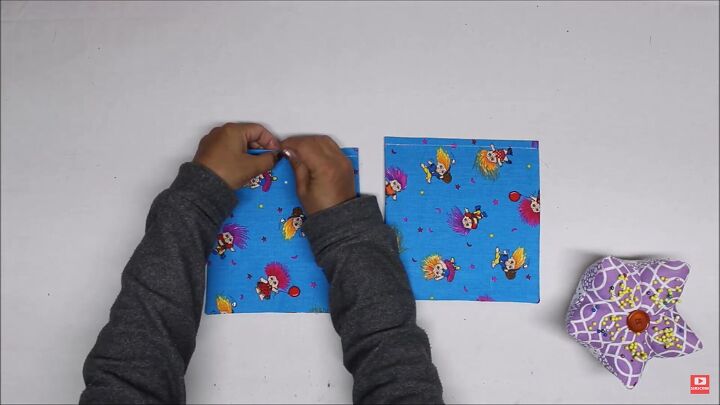
Cut a 4-by-14-inch piece of lightweight fabric, line up your patches, and repeat the above steps.
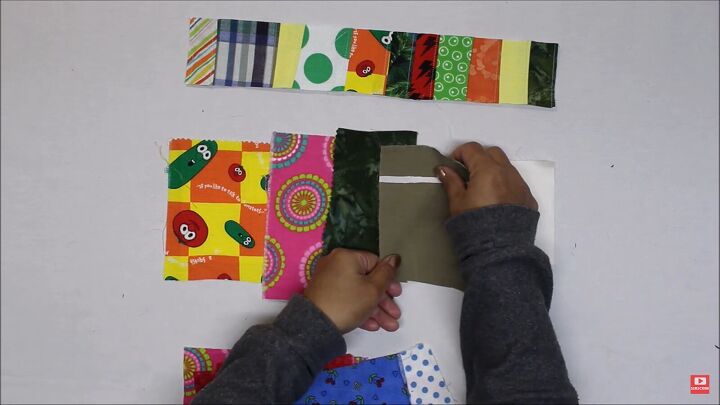
Repeat to make 3 strips of each size.
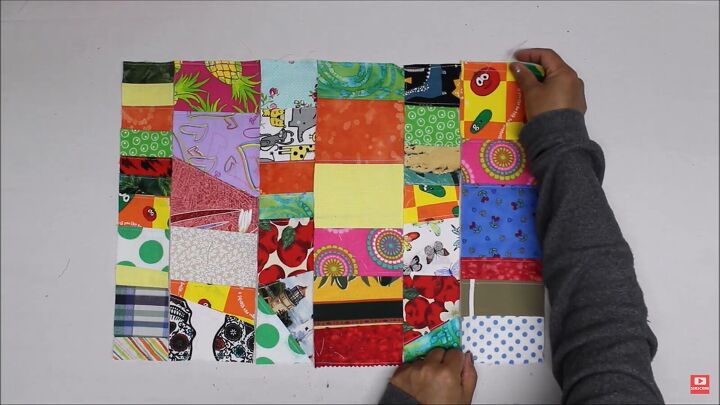
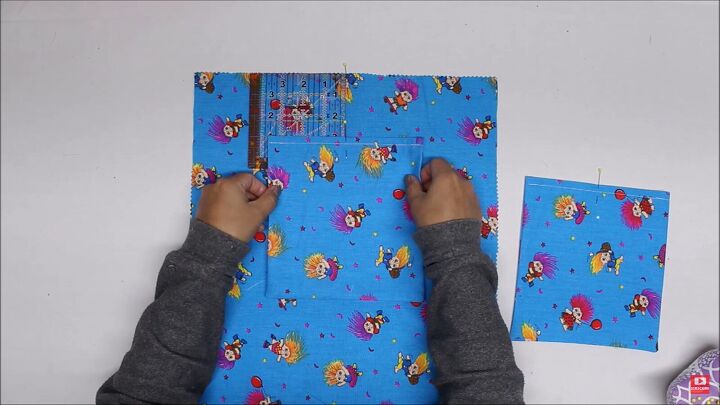
Line up the strips alternating between the larger and smaller sizes.
Sew them together one at a time, first with right sides facing, then opening and topstitching.

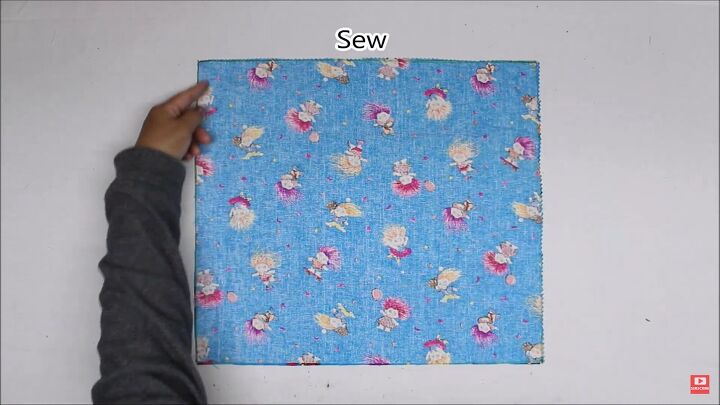
Repeat all the above steps to make the second side of the bag.
2. Lining and inner pockets
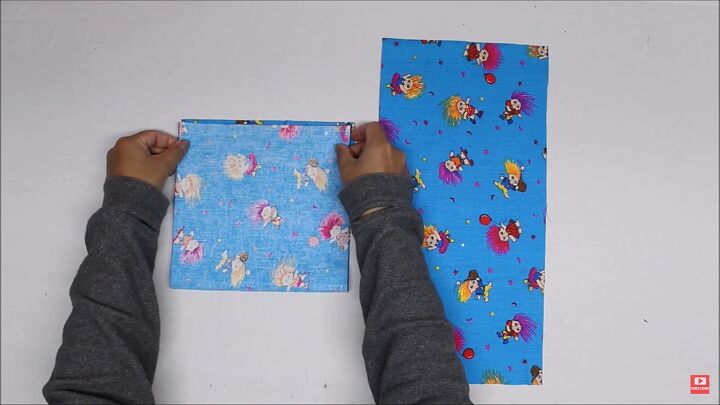
Cut 2 pieces of 14-by-16-inch lining.
Cut 2 pieces of 8-by-16-inch fabric for the inside pockets.
Fold each up, right sides facing, and sew around the edges leaving a 2-inch opening at the tops.
Cut the corners, turn them right side out, and topstitch the side opposite the side with the opening.
Find the centers for each and mark them with a pin.
Find the center of the 14-inch side of the lining.
Measure 3 inches down and align the center of the pocket with the center of the lining.
Pin and sew 1 pocket to each lining.
Place both pieces of lining together with right sides facing in and sew the 14-inch bottom and sides leaving a 4-inch opening on one side.
3. Cutting corners
Place both sides of the bag together with right sides facing in and sew 3 sides leaving one of the 14-inch sides open.
Open and flatten the bottom corner of the bag aligning the seams at the center.
Measure and mark 2.5 inches in from the corner.
Sew along that line and do the same on the opposite corner.
Do the same with the bottom corners of the lining. Then cut off the corners from the lining and bag.
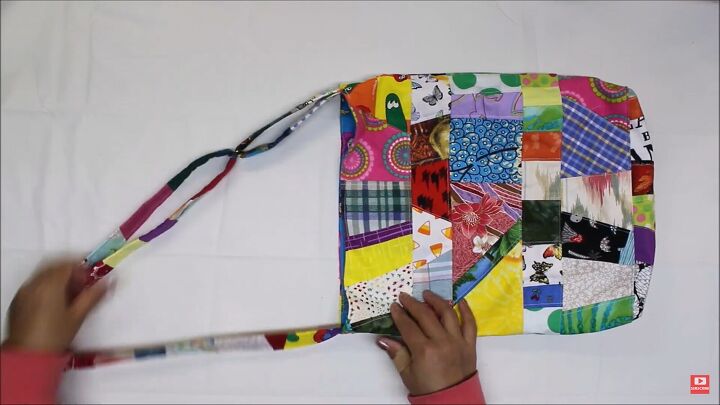
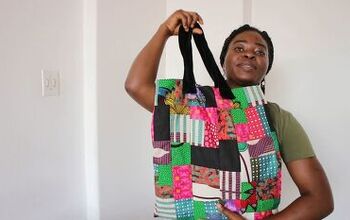
4. Adjustable bag handle
Cut a 4-by-45-inch strip of fabric as the base for the handle.
Sew patches to the handle strip the same way you did the patchwork for the bag.
Sew each patch to the handle right sides facing in, then flip it back and topstitch. Sew the patches on at different angles for a bit of variety.
Cut off all the excess fabric.
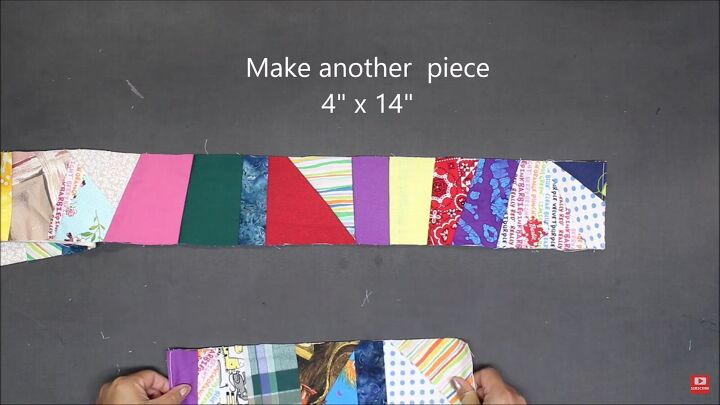
Make another piece that’s 4 by 14 inches with the patchwork.
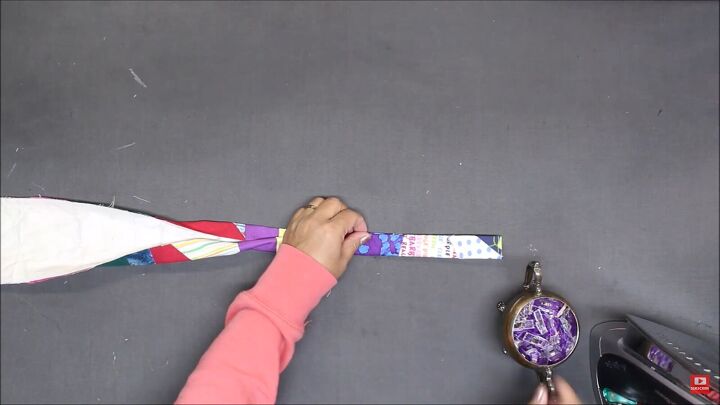
Fold the handle in half, lengthwise. Iron, open, and fold the edges ¼ in lengthwise and iron.
Keep them folded in, then fold it in half again, iron, pin, and sew a row of stitches on each side. Repeat the process on the 4-by-14-inch piece.
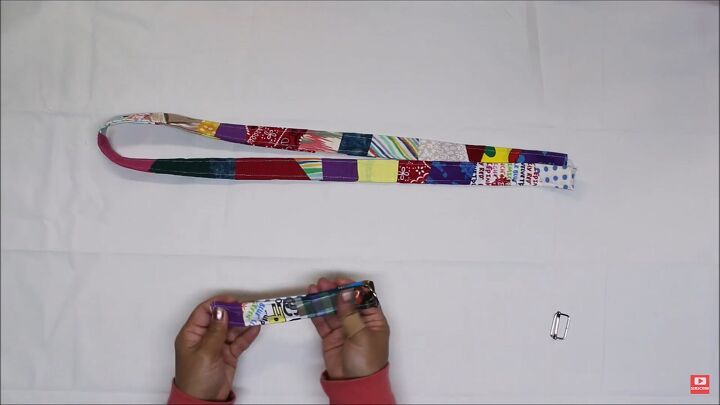
Take a D-ring or rectangular ring, slide it to the center of the smaller strip, and fold the strip in half.
Put an adjustable slider on one end of the handle.
Slide the D-ring onto the handle.
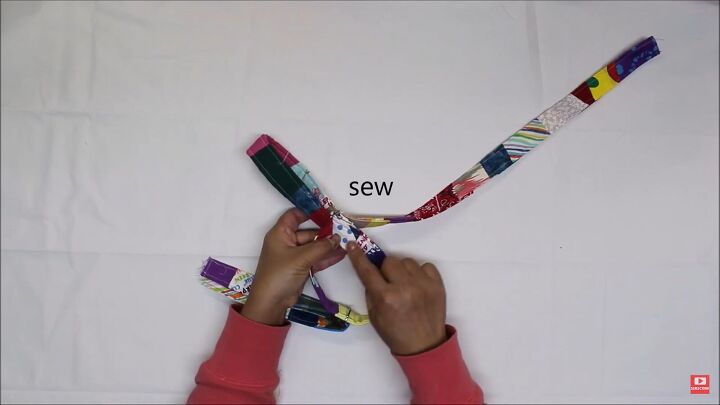
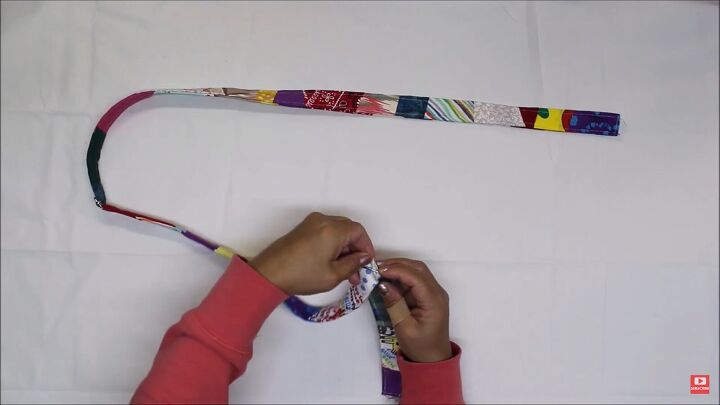
Slide the adjustable slider up the handle, leaving a 6 to 8-inch loop above the slider.
Take the end of the handle and wind it in and out of the inner part of the slider, under and inside the loop.
Fold the edge of the end of the handle up ¼ inch and sew it to the other side.
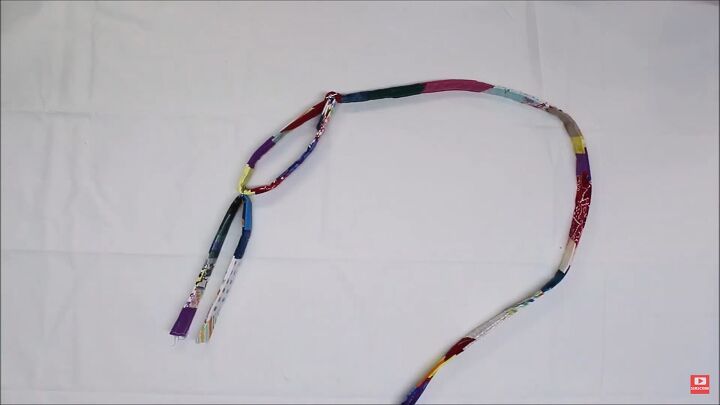
Slide the extra inches of the loop down.
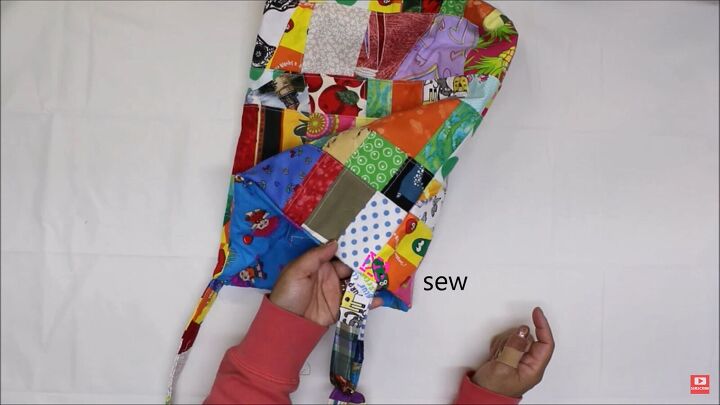
Take the other end of the handle and line it with one side seam of the bag with an extra 1 to 2 inches extending past the edge of the bag.
Pin it in place and do the same with the opposite end of the handle from the strip with the D-ring. Sew both ends to the bag.
5. Finishing touches
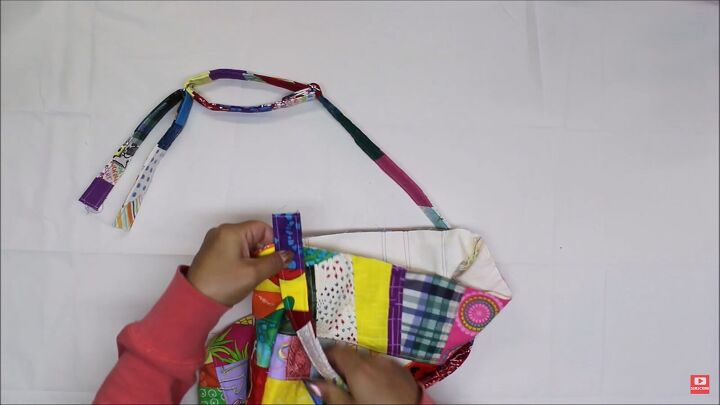
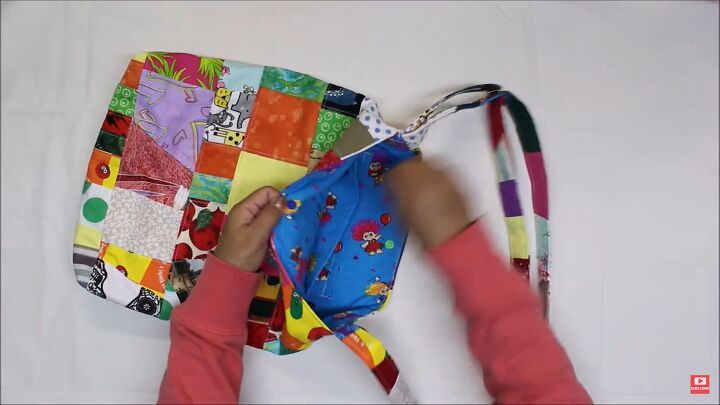
Place the bag right side facing out, into the lining right side facing in.
Pin the opening of the bag to the opening of the lining, and sew all the way around.
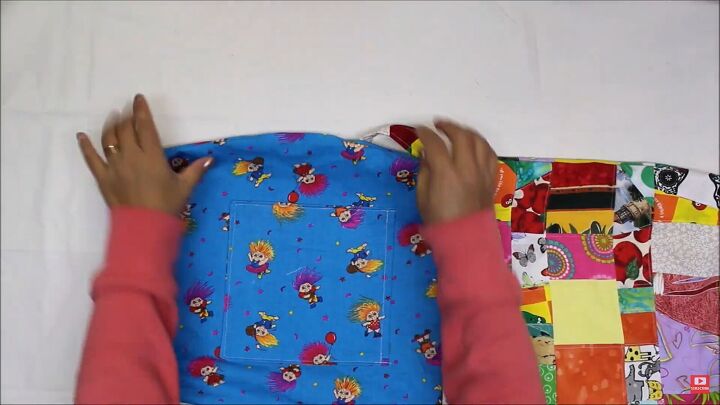
Pull the bag out from the opening in the lining. Sew the opening closed, and tuck the lining into the bag.
Stitch a square with an x where on the extra 1 to 2 inches of the handle that’s tucked in between the bag and the lining. Do this on both sides.

Topstitch around the opening of the bag. Poke holes on either side of the center of the bag and attach snaps.
Adjust the length of the handle according to your preference and you’re done!
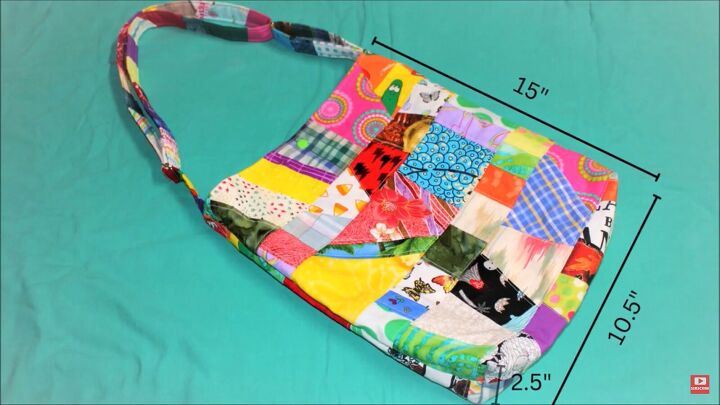
DIY patchwork tote bag
I hope you enjoyed learning this tote bag design DIY. I love that it combines the whimsy of the patchwork style with the thought-out convenience of a ready-made bag.
Do you have any tote bag ideas? Leave me a comment and let me know.
Next, learn How to DIY a Cute Wristlet From a Scrap of Fabric & a Simple Hook.
The author may collect a small share of sales from the links on this page.


Comments
Join the conversation