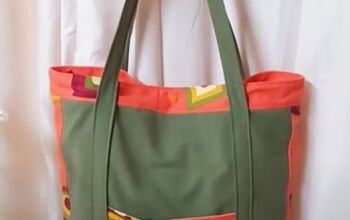
Sustainable Refashion Tutorial: How to Upcycle Pants Into a Cute Tote

I love to upcycle pants into functional items.
Today, I'm thrift flipping three pairs of pants into a DIY tote bag. Work with whatever fabric you have available to put together this easy and quick to make tote.
Tools and materials:
- Old pants
- Interfacing
- Lining fabric
- Snap-on fasteners
- Grosgrain ribbon
- Lace trim (optional)
- Ruler
- Fabric marker
- Pins
- Scissors
- Iron
- Sewing machine
We'll started by creating the front of the bag.
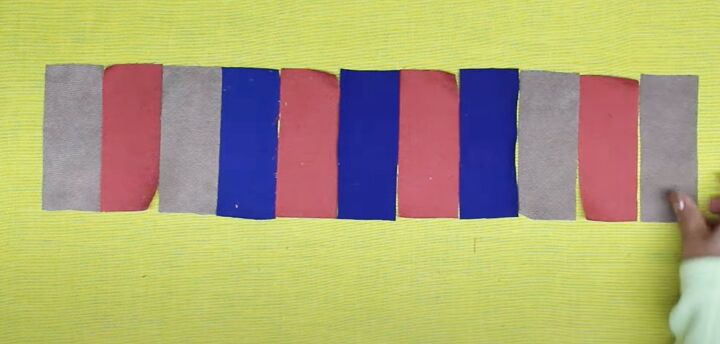
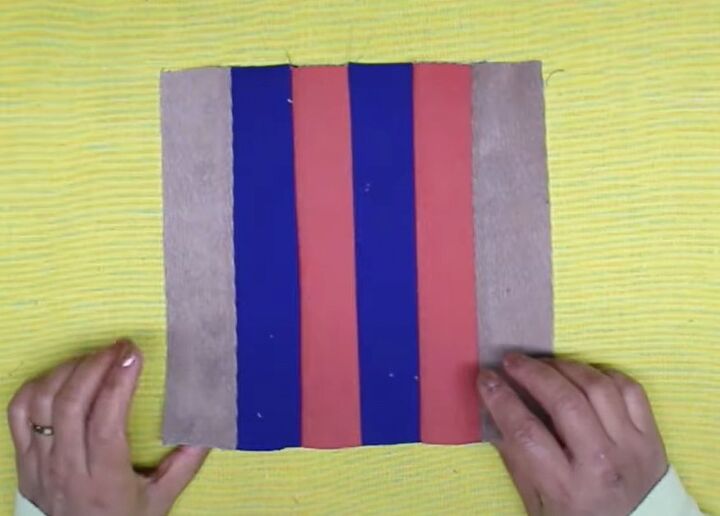
1. Outer bag trim
Cut eleven 2 inch by 5 inch pieces from your fabric.
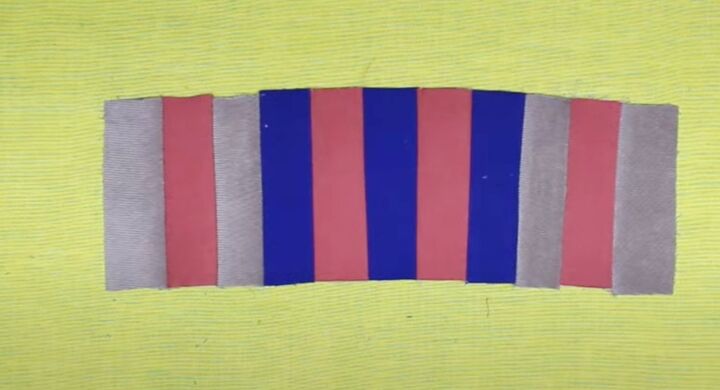
Join each piece to the next along the long edges with the right sides together. Press all the seams open.
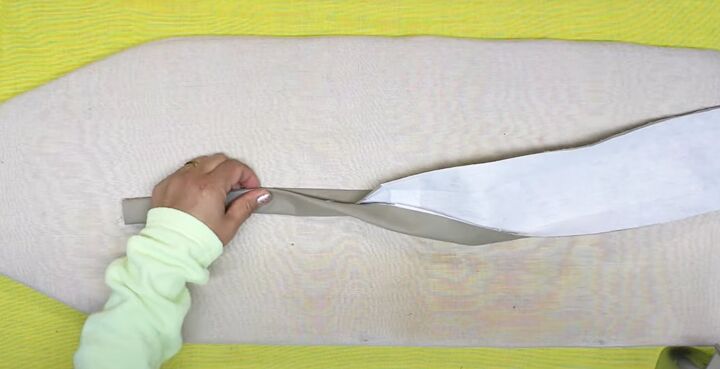
Cut a length of grosgrain ribbon to fit one long edge of the strip.
Fold it in half lengthways and place the long edge of the strip inside the folded ribbon. Sew in place.
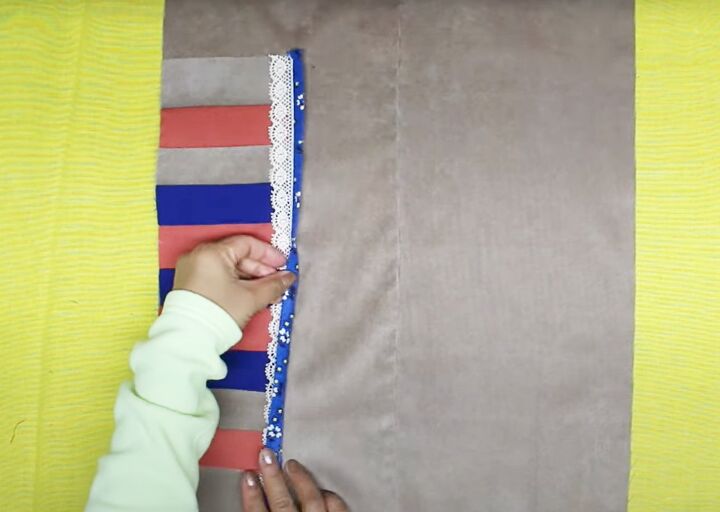
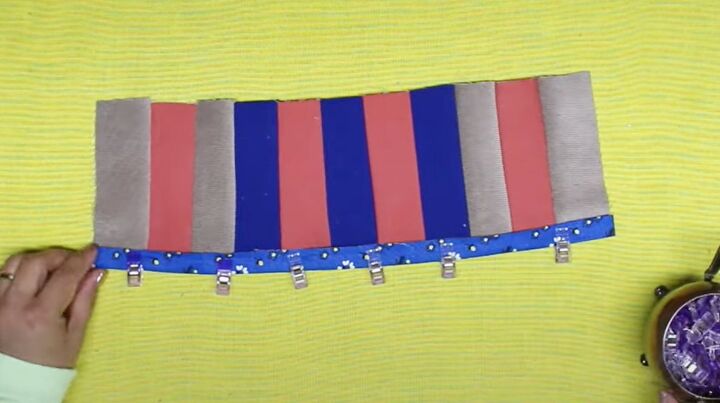
2. Attach trim
Cut a rectangle 16 inches by 18 inches from your main fabric.
Pin the trim to one long edge of the bag on the right side.
Add an optional lace edging inside the ribbon and sew the trim in place.
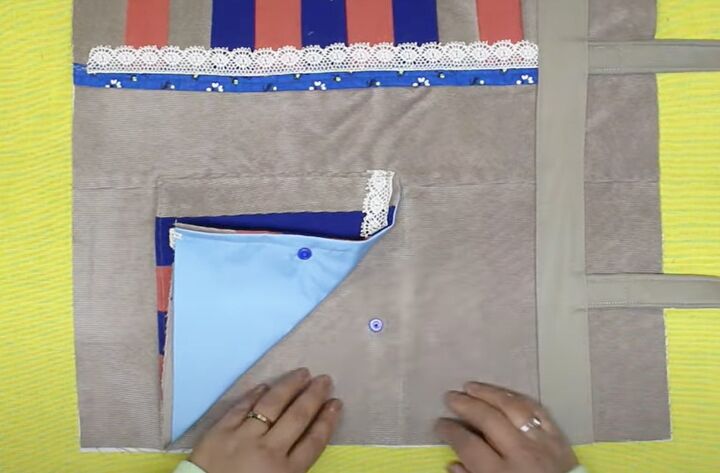
3. Outer pockets
Cut six pieces of fabric, each 2 inches by 8 inches and join them as before.
Cut a piece of lining fabric 8.5 inches by 8 inches and sew it over the right side of the pocket along one short and two long edges.
Snip the lower corners and turn the pocket right side out.
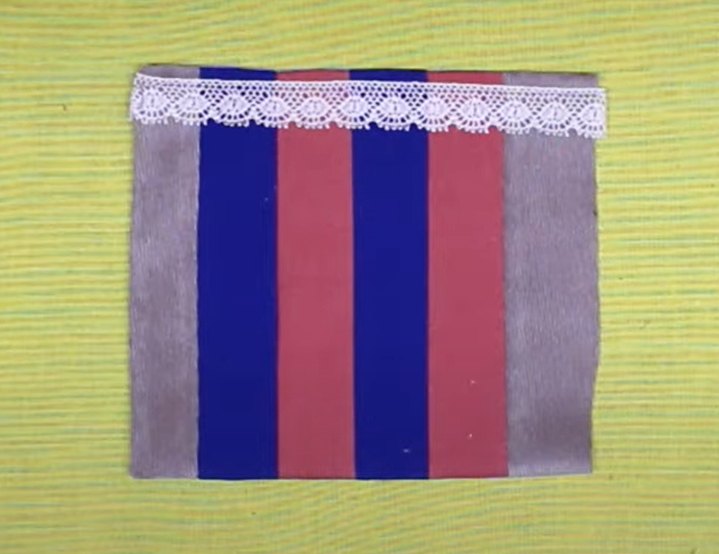
Sew an optional lace trim to the top pocket edge.
Pin the pocket to the other long edge of the bag, 3 inches from the lower edge.
Sew in place along the side and lower edge.
4. Handles
Attach a piece of interfacing 16 inches by 18 inches to the wrong side of the bag.
Cut a strip from your main fabric 30 inches by 4 inches and iron interfacing to the wrong side.
Fold the strip half lengthways with the wrong sides together and press.
Fold the two long edges towards the center and press, then press the folded strip in half and sew both the long edges.
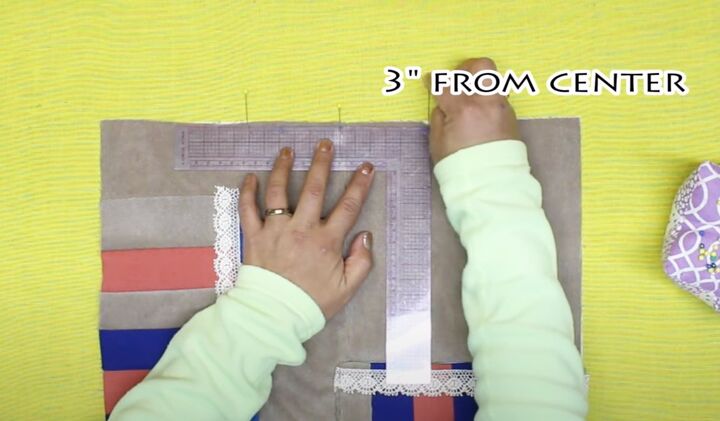
Attach the handle 3 inches either side of the center of the bag, with the ends 3 inches from the top edge.
Sew the handle to the bag 1 inch below the top edge of the bag.
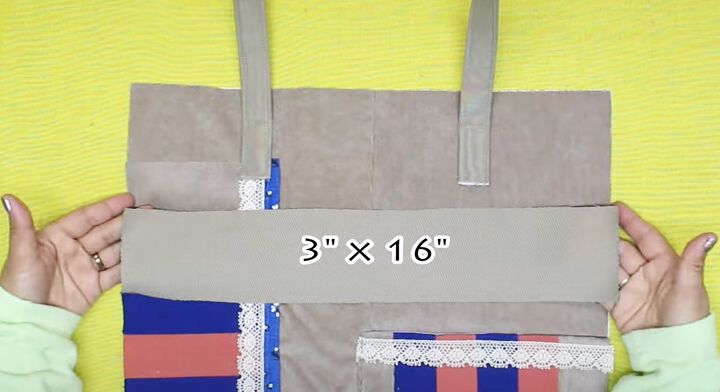
Cut a piece of fabric 16 inches by 3 inches.
Fold and press the long edges towards the center.
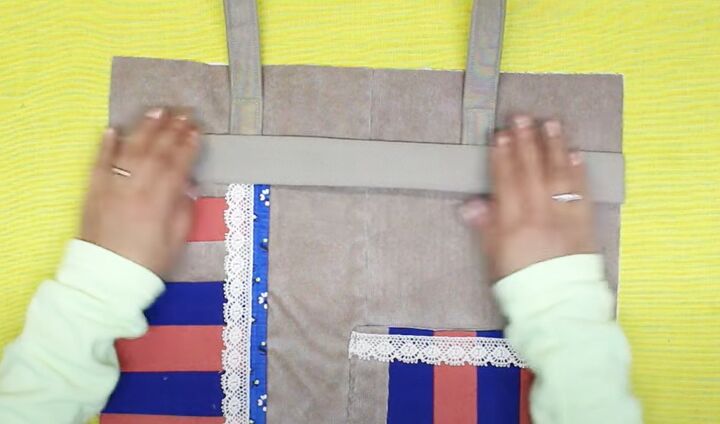
Sew the strip to the bag along both long edges to cover the ends of the handle.
5. Finish bag front
Attach a snap-on fastener to the top edge of the outer pocket.
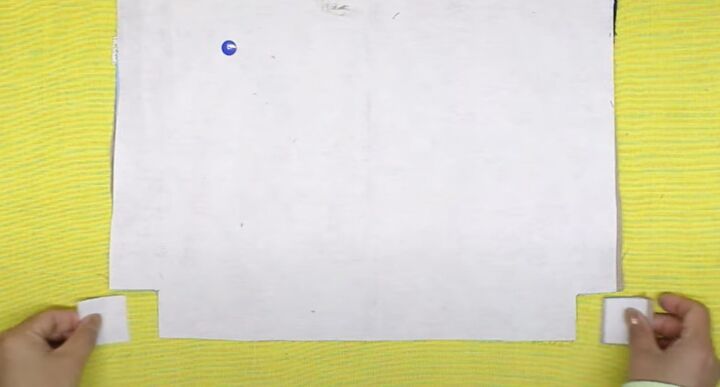
Cut 1.5 inch by 1.5 inch squares from the bottom corners of the bag front.
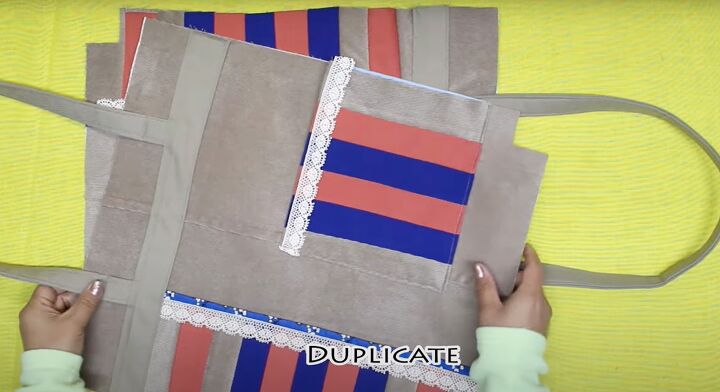
6. Bag back
Create the back section of the bag in the same way as the front.
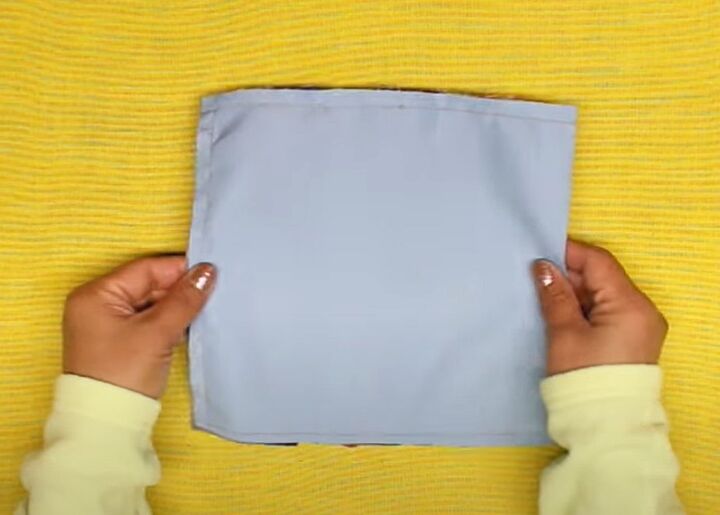
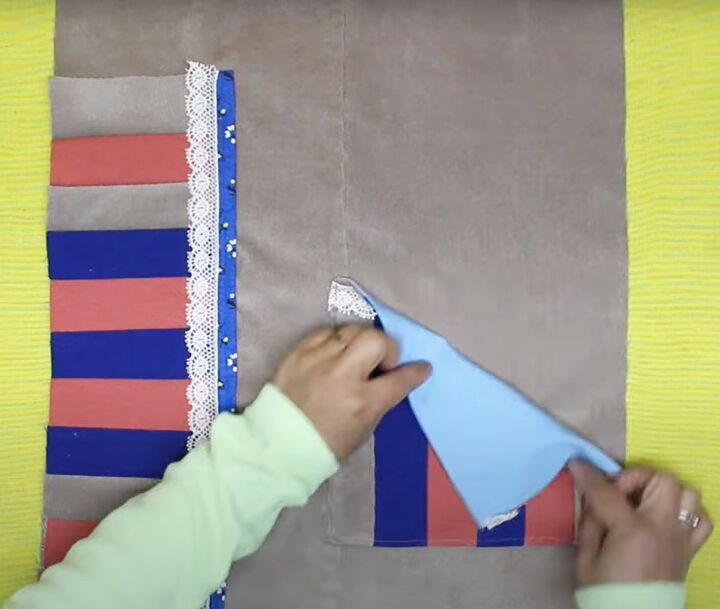
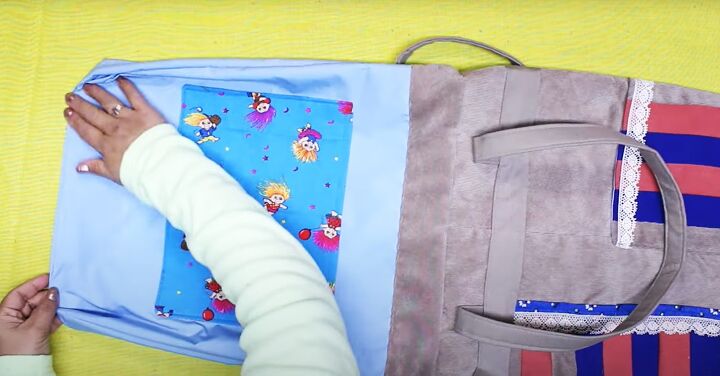
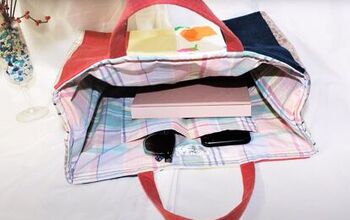
7. Lining and inner pocket
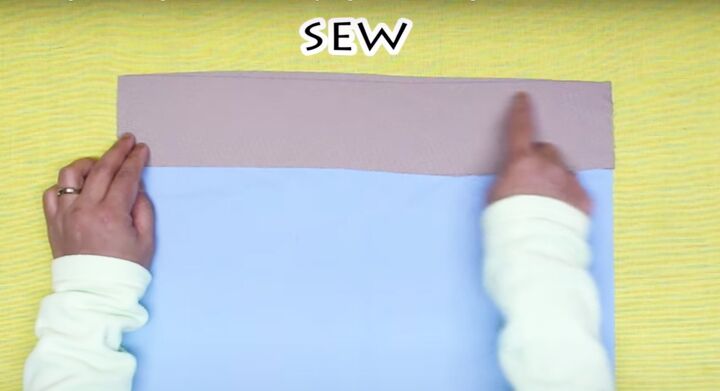
Cut a piece of lining 16 inches square and a strip of main fabric 16 inches by 3 inches.
Sew the top edge of the strip to the top edge of the lining with the right sides together.
Cut a rectangle 11 inches by 16 inches.
Fold the fabric widthways with the right sides together and sew the two short edges. Sew the long edge, leaving a 2 inch gap.
Snip the corners and turn the pocket right side out.
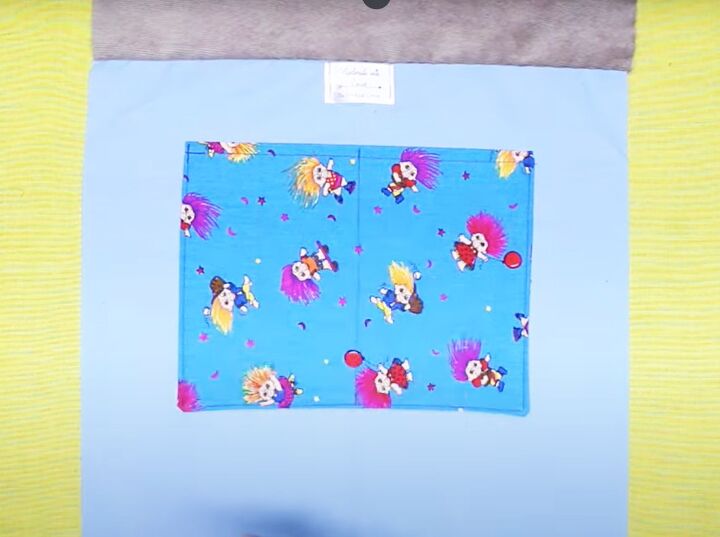
Top stitch the folded edge of the pocket.
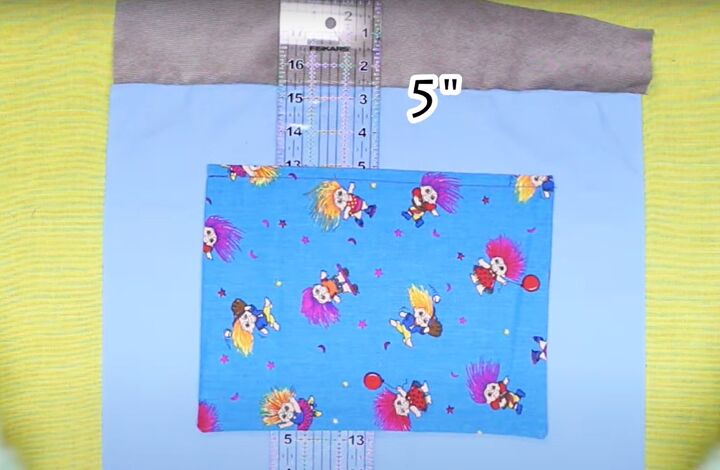
Pin the center of the pocket to the center of the lining, 5 inches from the top edge.
Sew the pocket in place along the three outer edges and up the center.
Cut 1.5 inch by 1.5 inch squares from the bottom corners of the lining.
Assemble a second lining piece in the same way.
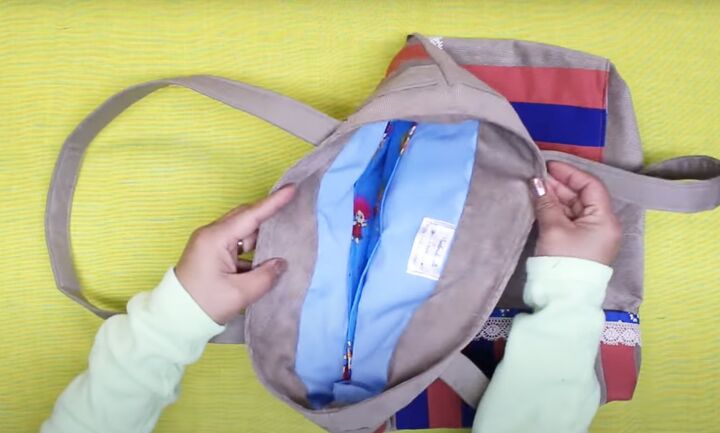
8. Attach the lining
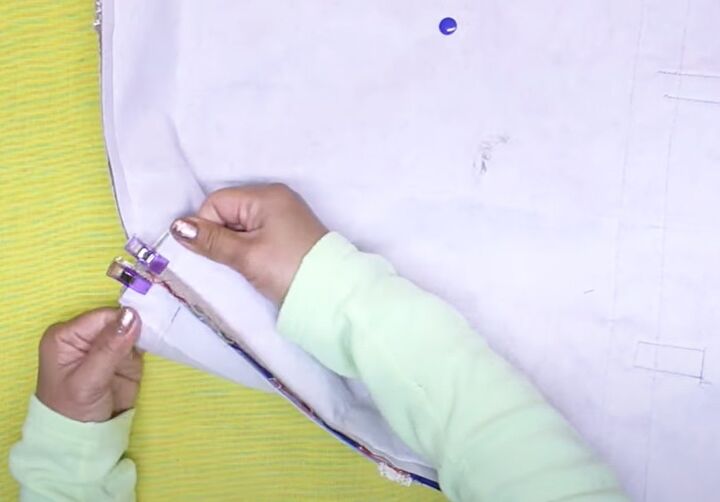
Sew the lining pieces together along the side seams down to the cut-outs, with the right sides facing.
Sew the bottom seam between the cut-outs, leaving a 6 inch opening in the center.
Join the bag pieces in the same way, sewing the bottom seam closed.
Sew the cut-outs closed on the lining and the bag, matching the bottom and side seams.
Turn the bag right side out.
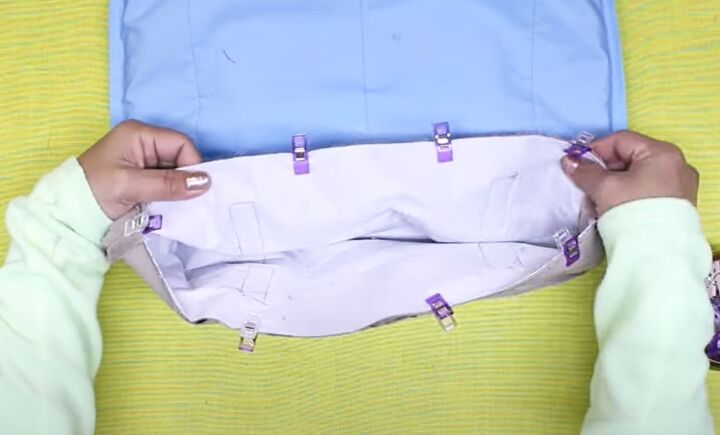
Insert the bag inside the lining and sew around the top edge.
Pull the bag through the opening in the lining and sew the opening closed.
Tuck the lining inside the bag and topstitch two rows around the top edge.
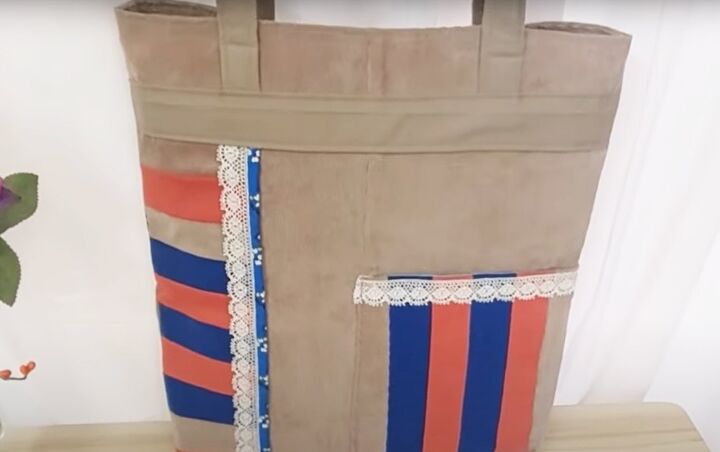
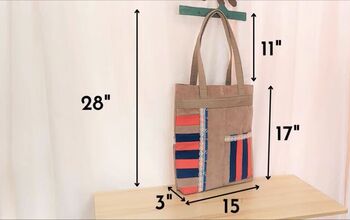
DIY tote bag upcycled from pants
Now you have a stylish, unique and sustainable DIY tote bag!
I hope you enjoyed this easy tutorial and will use it as inspiration for designs of your own.
I'd love to know how you get on and what you think of this project, so please drop me a comment below.
Next, check out my post on How to DIY a Tote Bag From a Shirt.
The author may collect a small share of sales from the links on this page.


Comments
Join the conversation