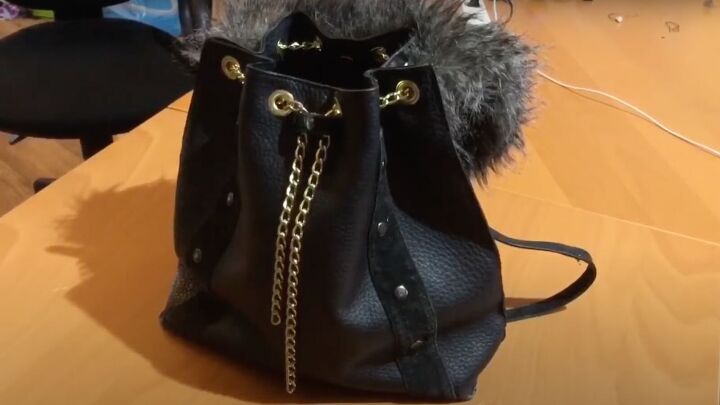
How to Upcycle an Old Tote Bag Into a Cute DIY Backpack

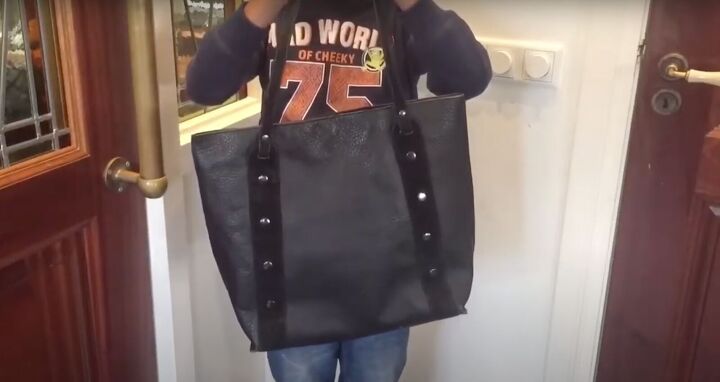
If you’ve got an old tote bag or a new-to-you tote bag that needs a luxury upgrade, this DIY tote bag upcycle is perfect for you. You can customize this bag with any type of faux fur or metal chain to make it totally yours. This version takes the classic tote and turns it into a backpack for a modern chic look. Let’s get started making this beautiful DIY tote bag upcycle.
Tools and materials:
- Tote bag - leather or vegan leather
- Faux fur (about 12-inch x12-inch piece)
- Leather hole punch
- Eyelets/grommets
- Velcro straps
- Metal chain
- Measuring tape
- Chalk
- Pins
- Scissors
- Glue gun/glue
- Sewing needle
- Sewing machine
- Dental floss
- Cotton wool
- CD
- Gold sharpie pen
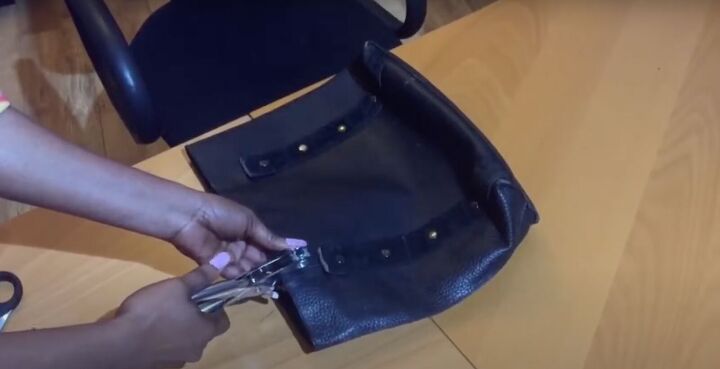
1. Prepare the tote bag
Check your bag straps to make sure they are long enough and can fit your back as a backpack.
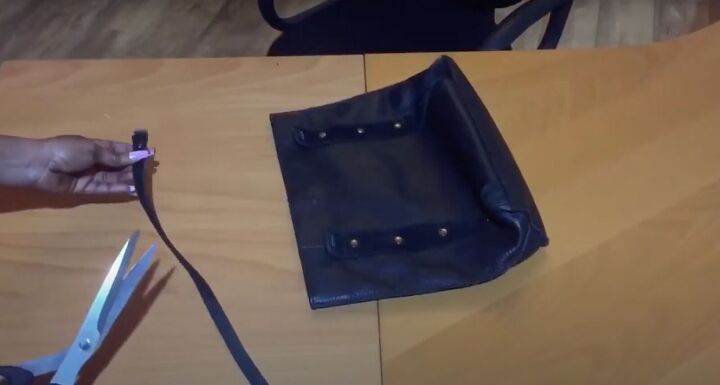
Remove the straps of your tote bag. Reserve them to the side.
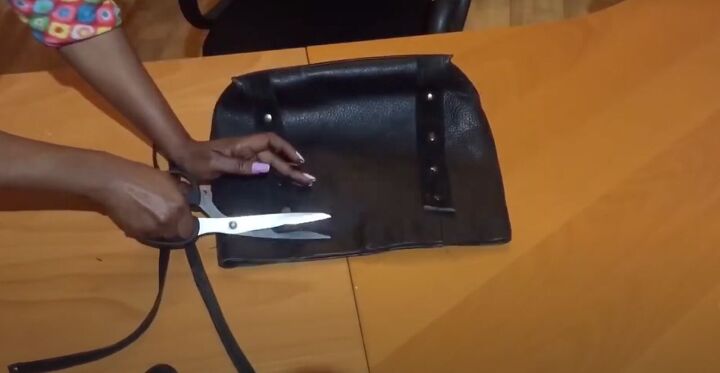
If your tote bag has decorative straps on the body of the bag itself, remove them from the side that will lay on the back.
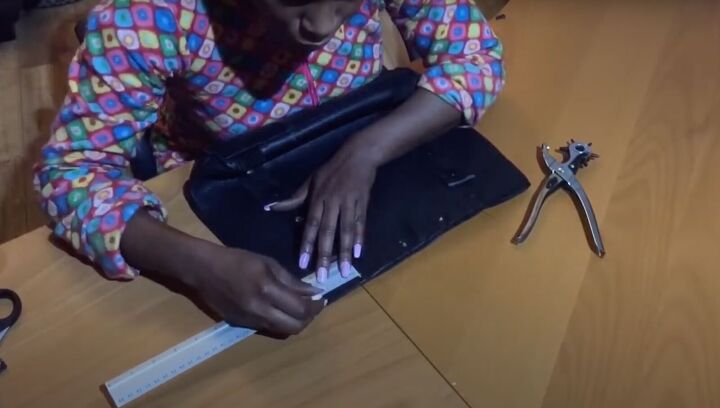
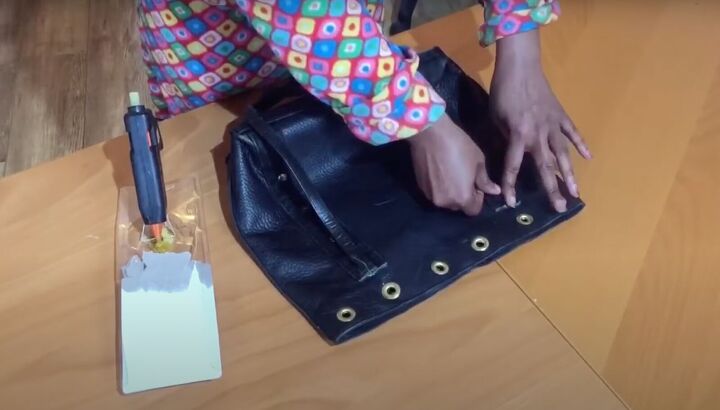
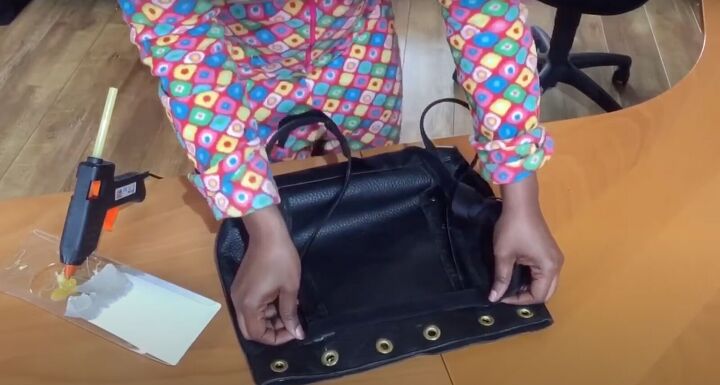
2. Make the holes
Measure and mark across every 2 inches along the top.
Use the leather hole punch at these marks.
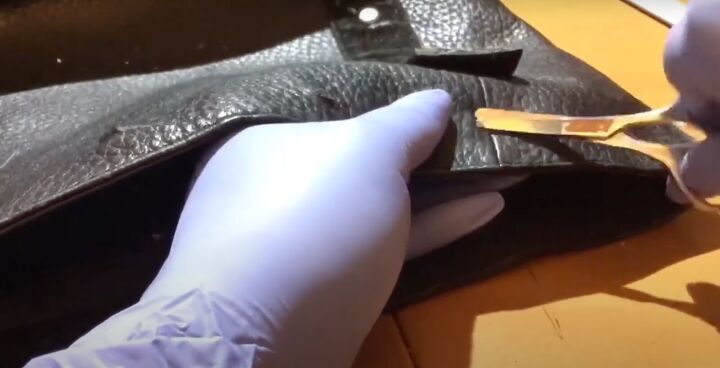
Use a pencil or scissor to enlarge the hole to fit the grommet.
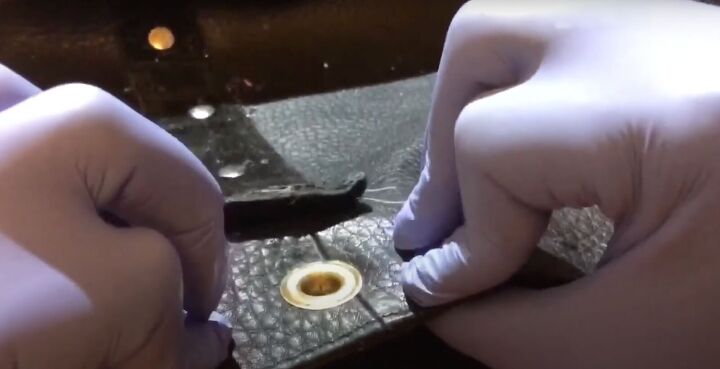
Insert the grommet top on the front side.
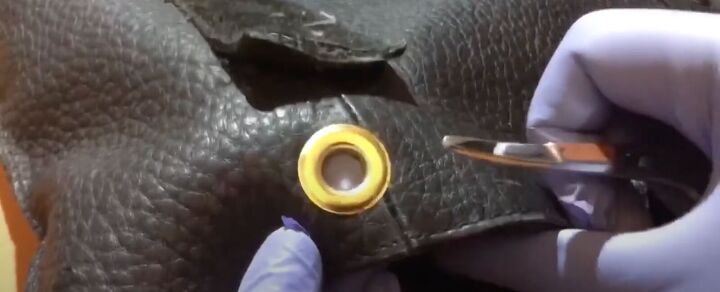
Insert the back part of the grommet and push them to secure.
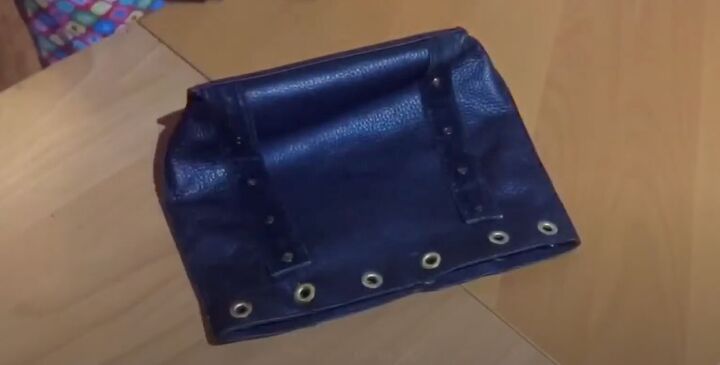
Repeat for all the holes all across the top.
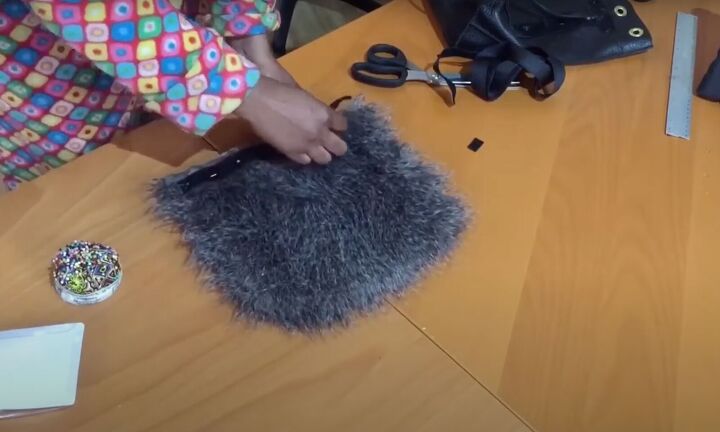
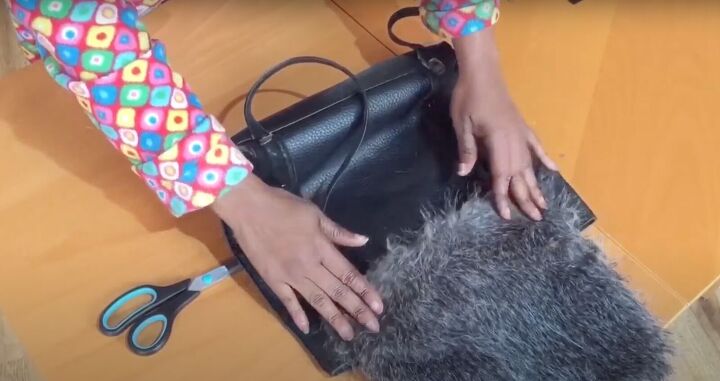
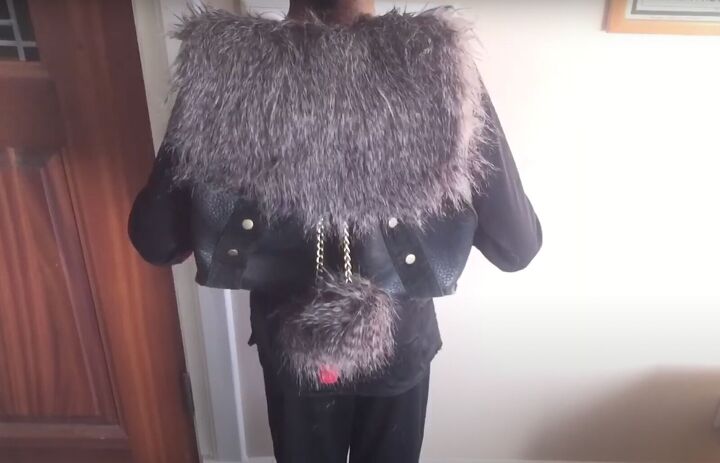
3. Make the fur flap
Measure and mark the center of the bag on the back side leaving about an inch on either side.
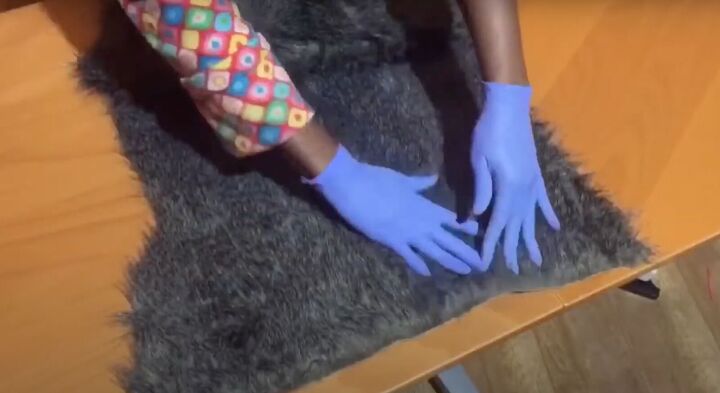
Before marking the fur, make sure the fur lays in the right direction.
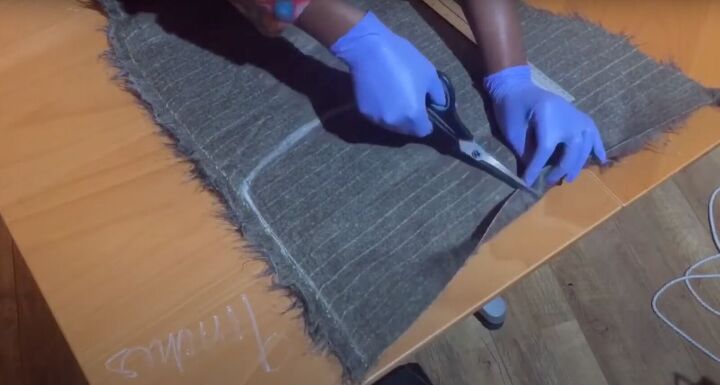
Then flip the fur over. Mark the back of the fur with your desired flap measurements. Cut only through the backing fabric and not the fur itself.
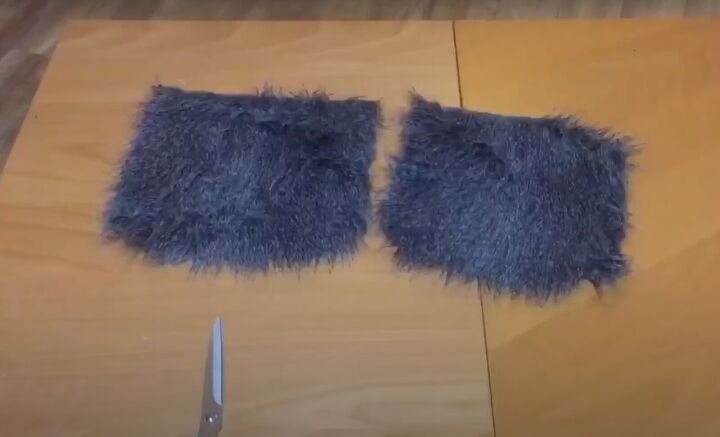
Cut two pieces to match.

Lay the pieces with the fur touching each other. Push the fur inside. Pin in place.
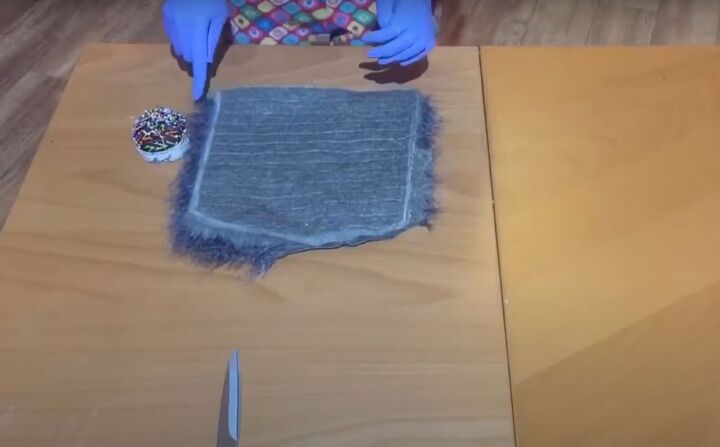
Sew the 3 sides together using a zigzag stitch. Leave the flat top unsewn. Turn the fur flap right side out.
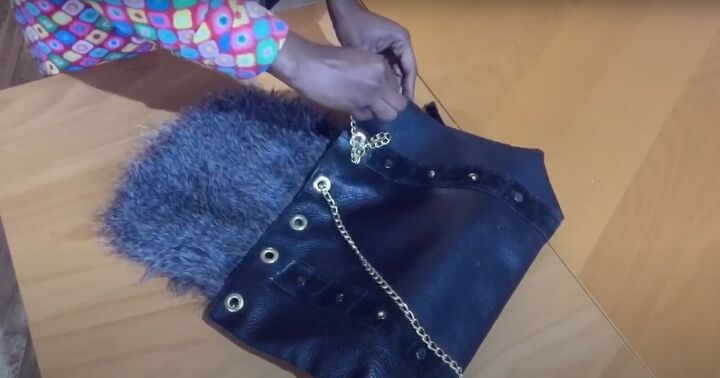
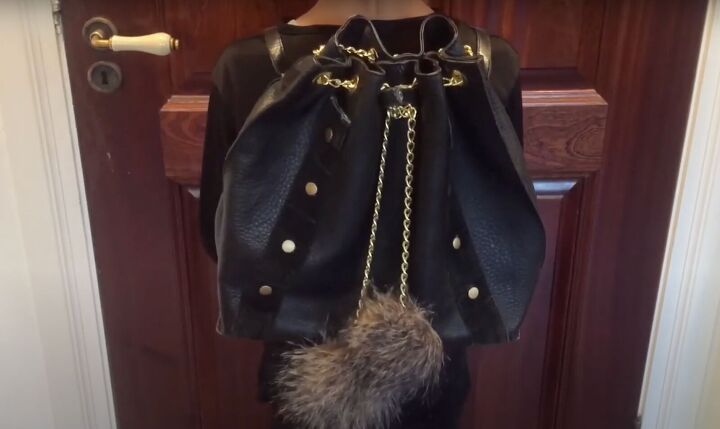
4. Make the backpack
Use the reserved straps and lay them on either side.
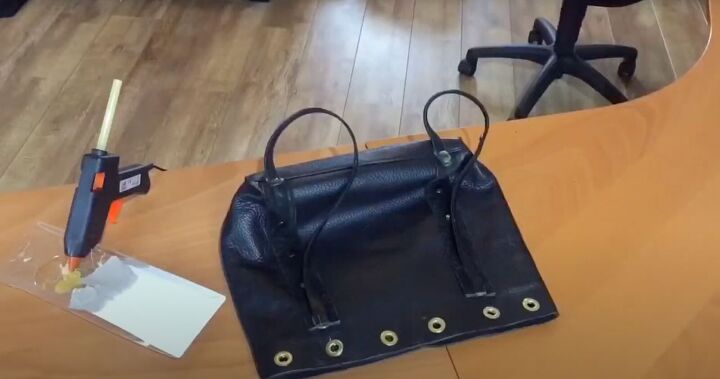
Secure them with the hot glue on the top and bottom. You have just made a backpack.
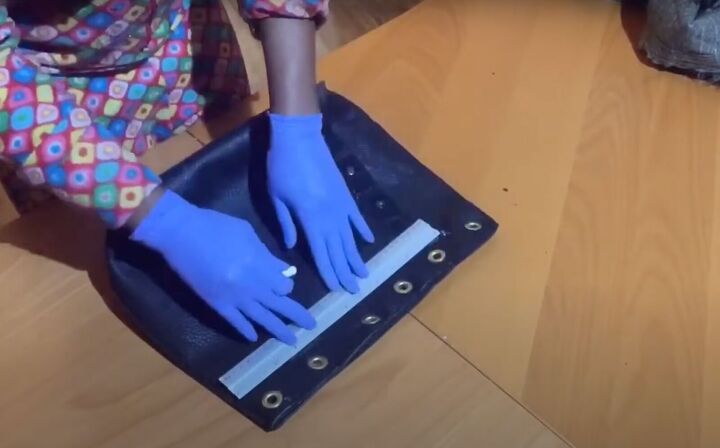
5. Finish the fur flap
Lay the rough side of the velcro tape in between the backpack straps just underneath the grommets. Hot glue into place.
Pin the softer, smoother side of the velcro tape to one side at the top of the fur flap. Sew the tape into position.
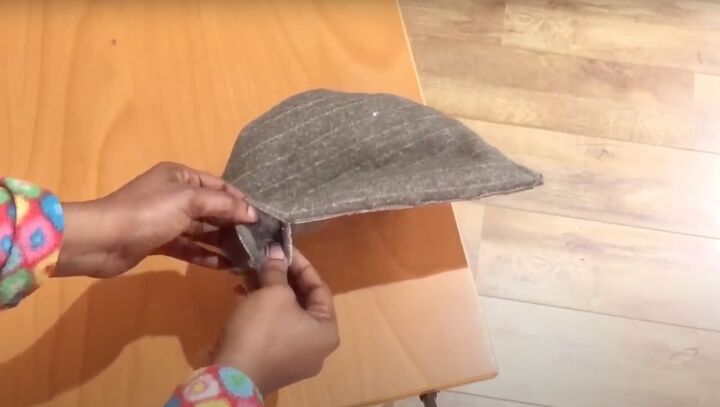
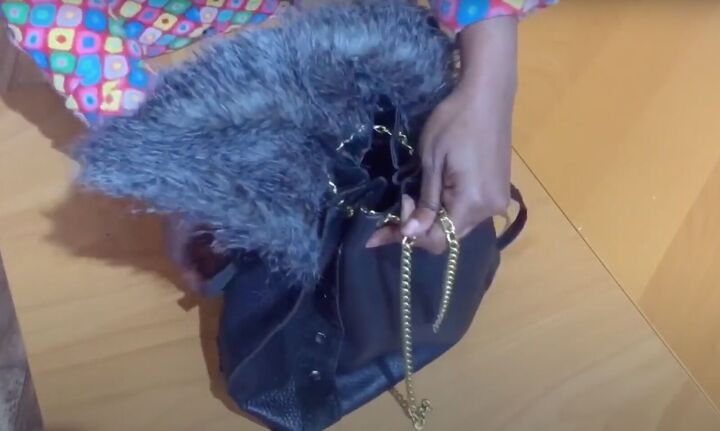
Turn the flap so the fur is in the inside. Sew across the top with a zigzag stitch, leaving a 1 ½ inch space unsewn. Use this space to turn the flap right side out.
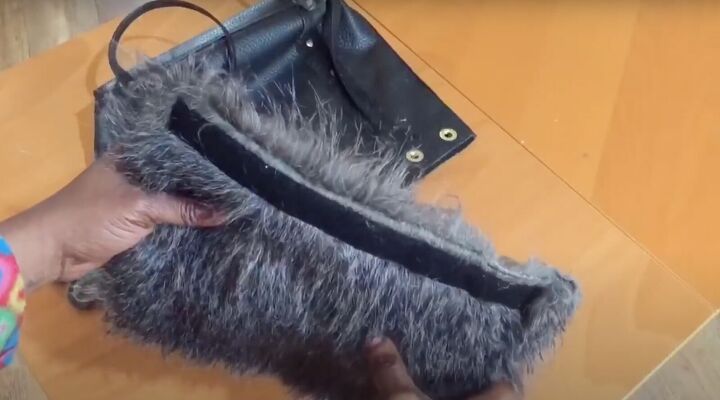
Topstitch the opening closed.
Place the velcro tapes together to secure the fur flap to the tote.
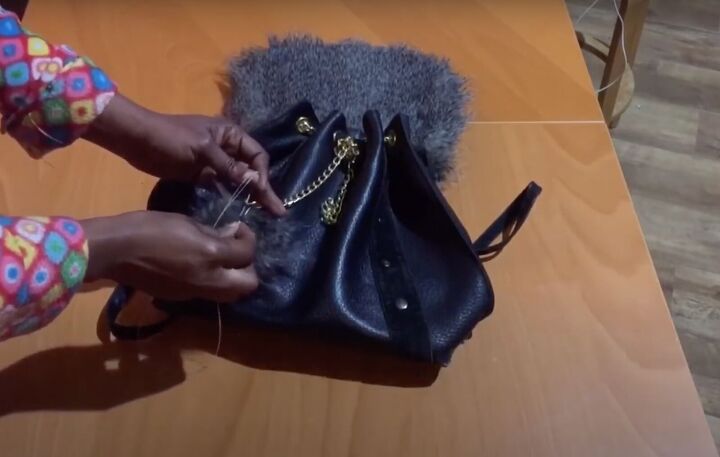
6. Insert the chain
Insert the chain starting from one of the grommets right at the center front. Work the chain around all the grommets, ending at the center.
Pull on the chain to create a bucket effect.
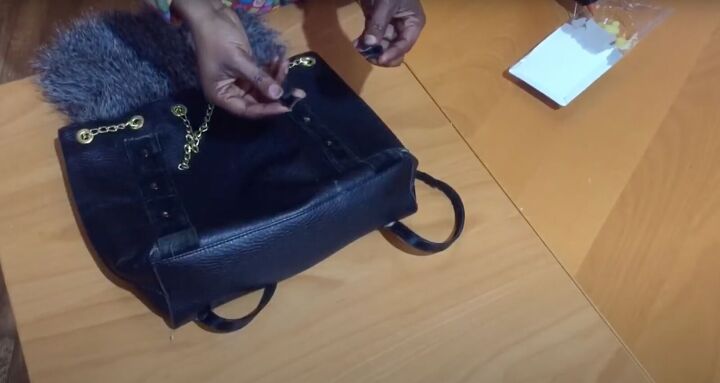
Use any leftover strap material to create a double loop to secure the chain. Measure the width of your chain. Fold in the strap in towards itself using the measurement. Glue the double loop in place.
Once the glue dries, insert the chain into the loops.
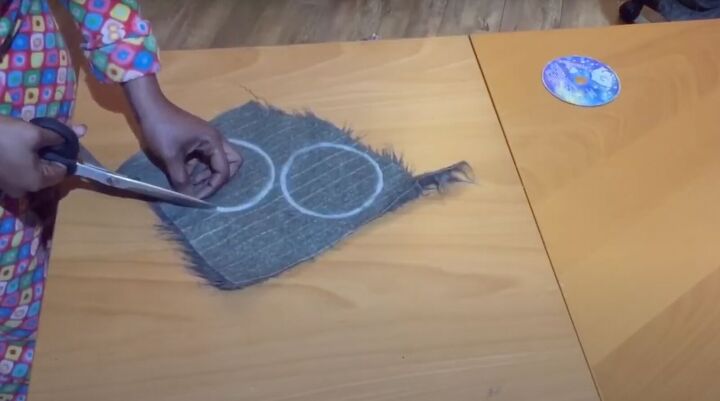
7. Make the pompoms
Lay the faux fur right side down. Use a CD to trace two circles. Cut the circles out. Remember to only cut the top fabric.
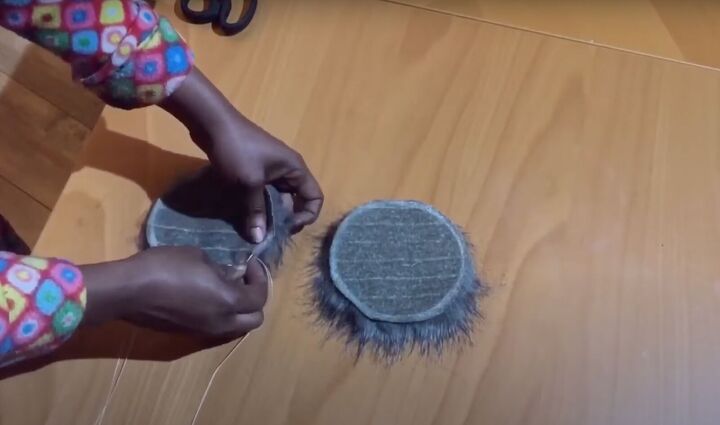
Thread your needle with the dental floss.
Handsew the pompom around at the edge, pulling the floss as you sew.
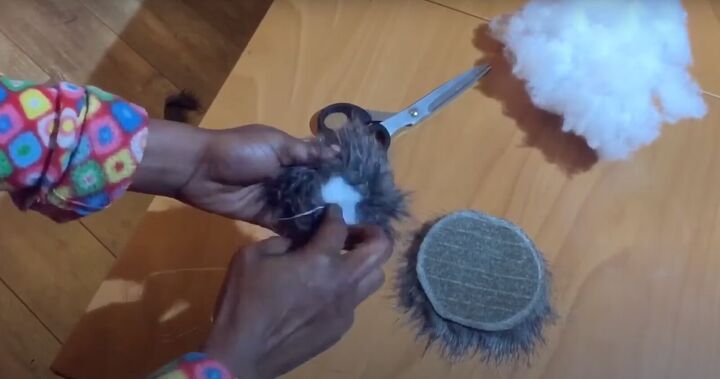
Once it’s fairly rounded, stuff the hole with cotton wool. Fill it as much as you can. Pull on the floss to close and stitch it closed.
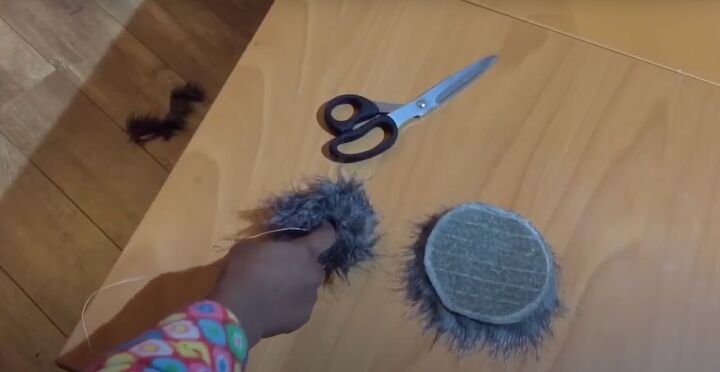
Once it’s secure, thread the floss through the chain holes and sew it to secure. Trim any excess dental floss. Repeat for the second pompom.
Shake the pompoms to fluff the fur.
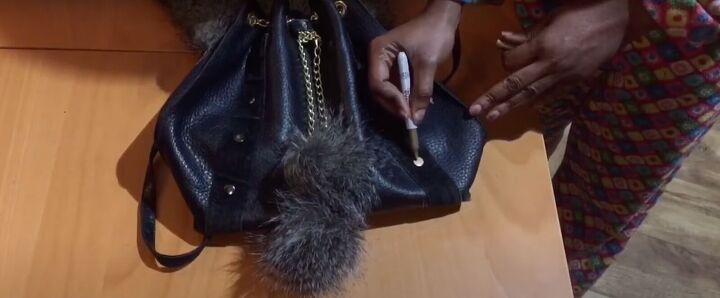
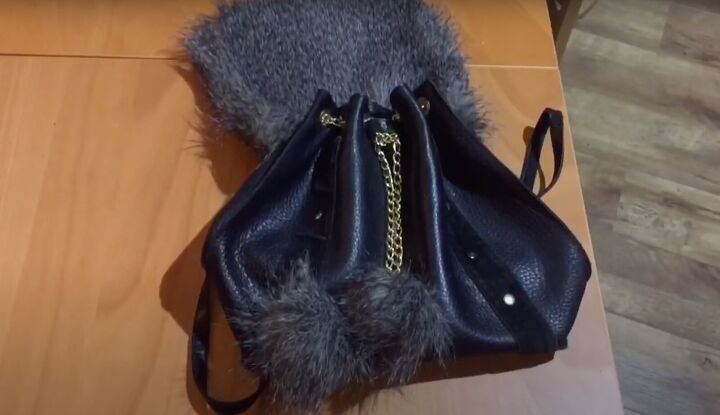
8. Finish the bag
If your bag has gold accents and they are a bit dull, use a gold sharpie pen to brighten them up.
And you’re done!
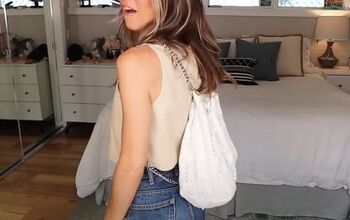
DIY tote bag into backpack upcycle
You can wear the bag with the fur flap.
You can wear the bag without the fur flap. The choice is up to you! Let me know in the comments if I helped you learn how to upcycle and DIY a luxury tote bag.
The author may collect a small share of sales from the links on this page.


Comments
Join the conversation