How to Upcycle a Sweater Into a Cute DIY Vest

Today, I'm going to show you how to upcycle a sweater into a DIY vest.
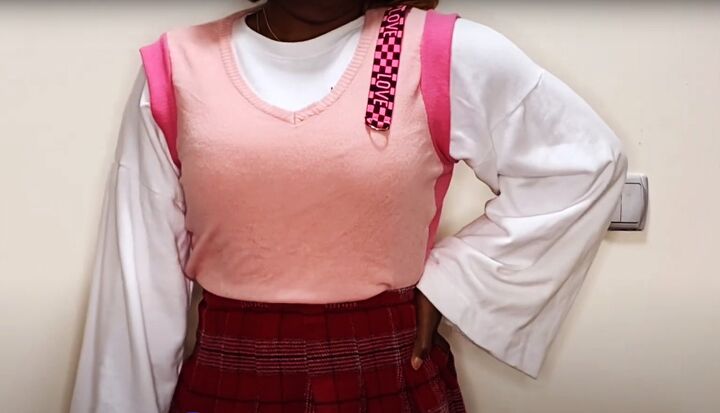
I used an old long-sleeved V-neck sweater I thrifted that was a bit too small. I added the sleeves left over from another project to make a stylish vest top that I really like.
This is another quick and easy make that's perfect for a beginner to work on.
Tools and materials:
- Long sleeve V-neck sweater
- Sleeves from another sweater
- Optional trim or applique
- Measuring tape
- Tailor's chalk
- Pins
- Scissors
- Sewing machine
- Serger (optional)
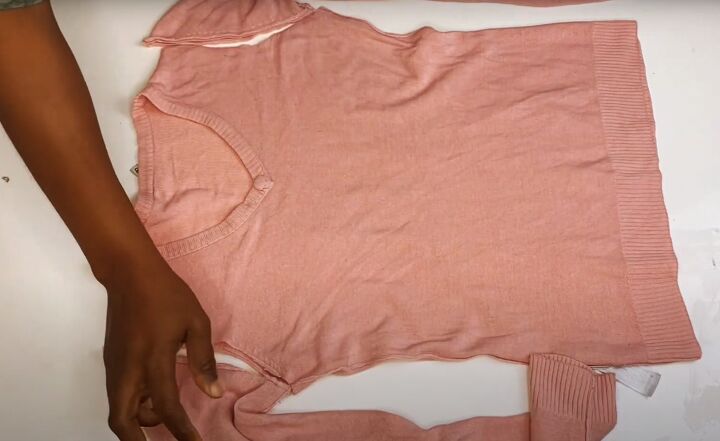
1. Prepare the sweater
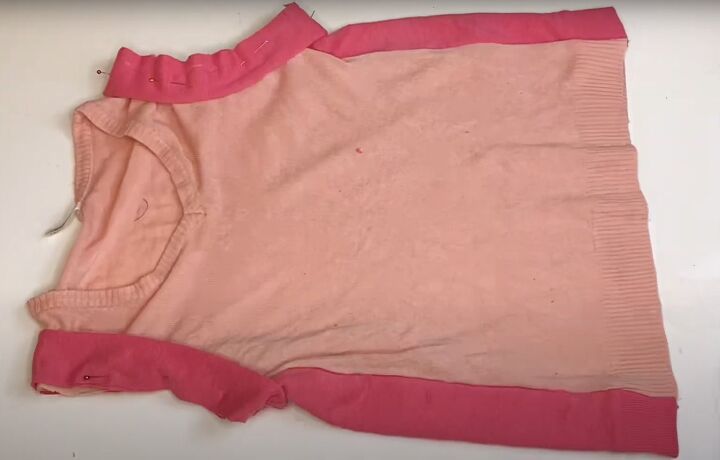
Turn the sweater wrong side out. Cut off the sleeves including the seam to leave the raw edges.
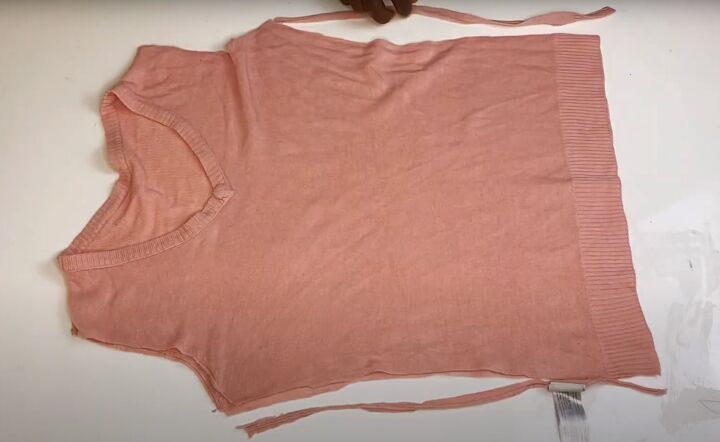
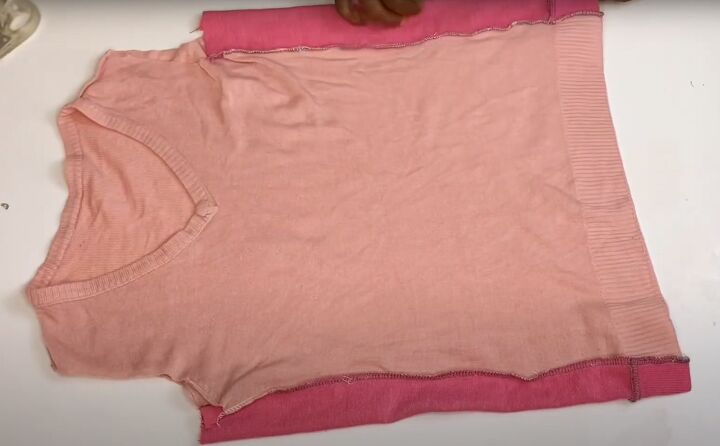
Cut the sweater from hem to underarm either side of the side seams.
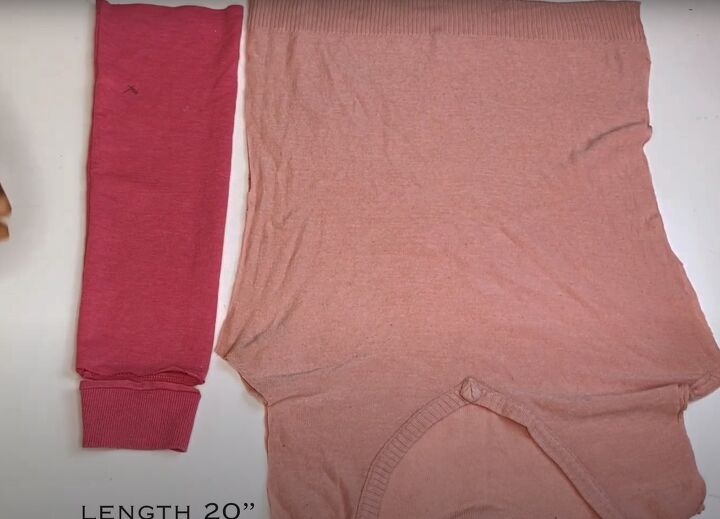
2. Prepare sleeves
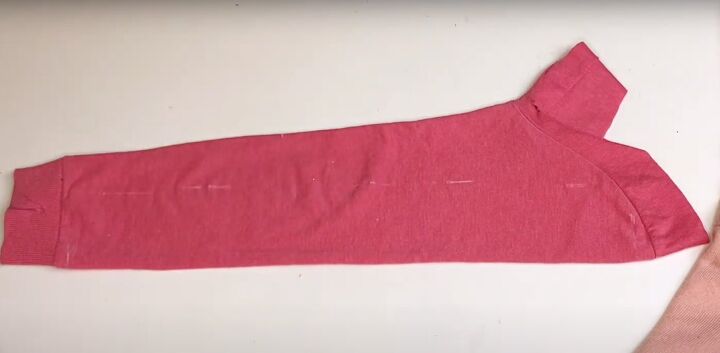
Remove the cuff from one of the sleeves from the second sweater.
Cut the sleeve to 20 inches long, or the length of the vest from the top of the hem ribbing to the armhole.
Cut the sleeves into two strips, each 3 inches wide.
Cut open the cuff along the seam and divide it into two equal lengths.
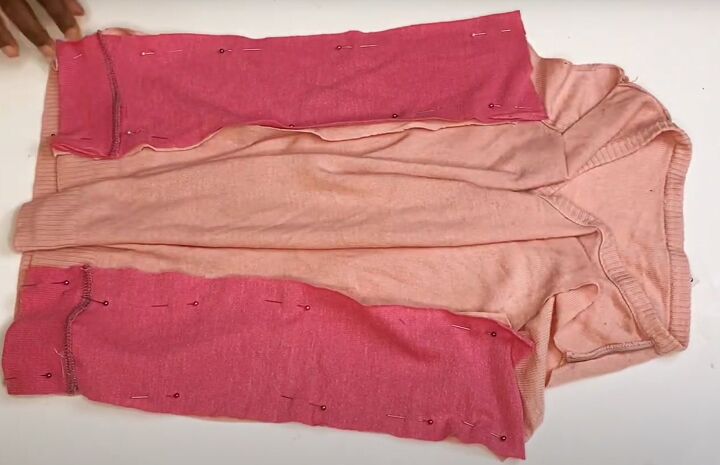
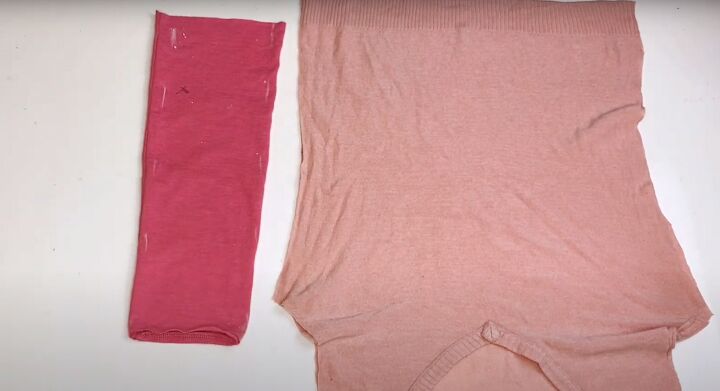
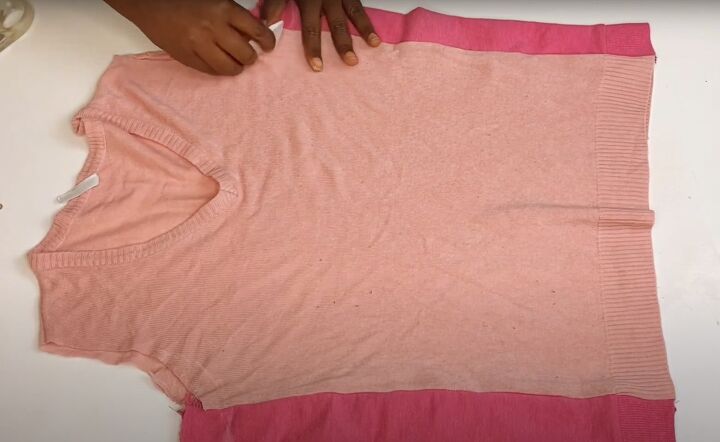
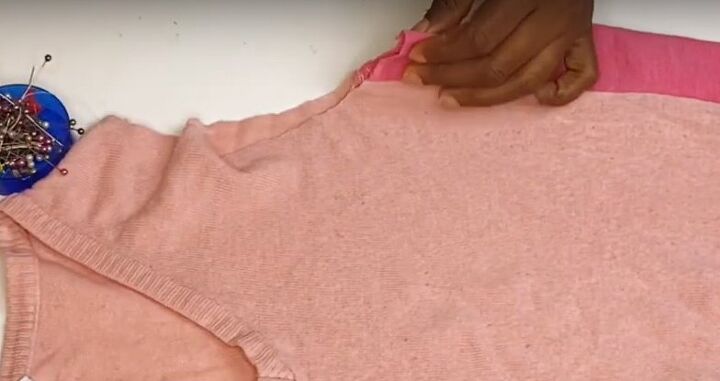
3. Side inserts
Sew each cuff to the short edge of one of the sleeve pieces, with the right sides together.
Pin and sew the inserts to the sides of the vest with the right sides facing, aligning the cuff with the hem ribbing.
Finish the raw seam edges with a serger or overlock stitch.
4. Make the arm bands
Measure and mark 7.5 inches from the shoulder to the side seam at the armhole.
Draw and cut the armhole curve.
Measure around the curve of the armhole and double the measurement.
In my case the armhole circumference was 10 inches x 2 or 20 inches.
Measure and cut two strips from the second sleeve above the cuff, each 20 inches long and 3 inches wide.
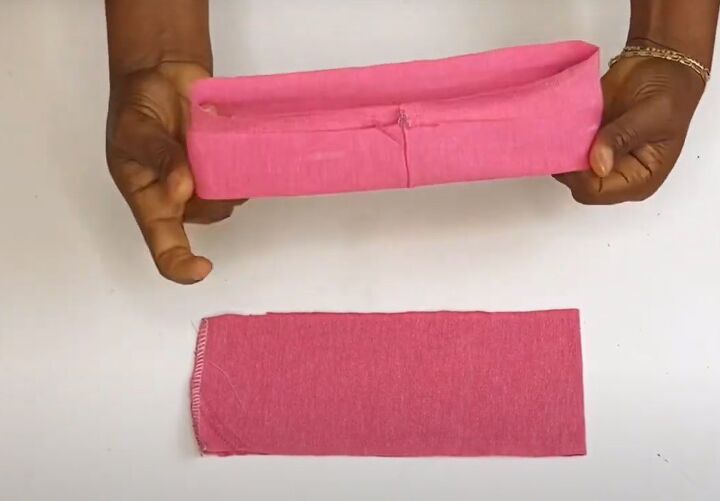
Join the short edges of each strip into a circle, with the right sides together.
Fold each strip in half lengthways with the wrong sides together.
5. Attach the arm bands
Cut a notch at the center of each armhole at the bottom.
Pin the arm band around the armhole with the right sides together, aligning the band seam to the armhole notch.
Sew the bands in place and finish the raw edges.
6. Finishing
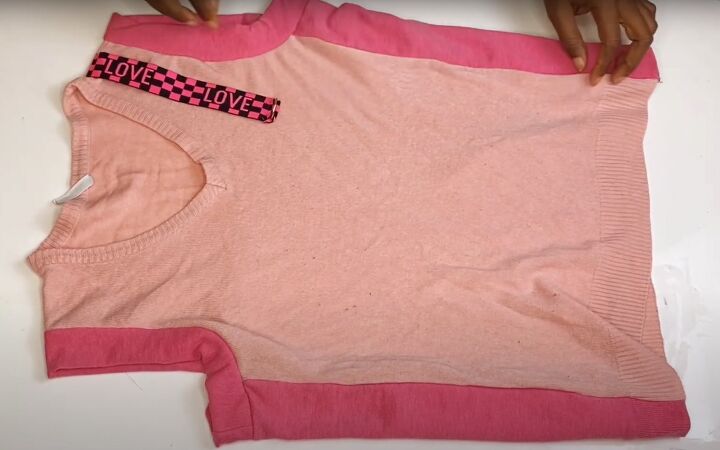
Optionally, attach a trim or applique to the vest.
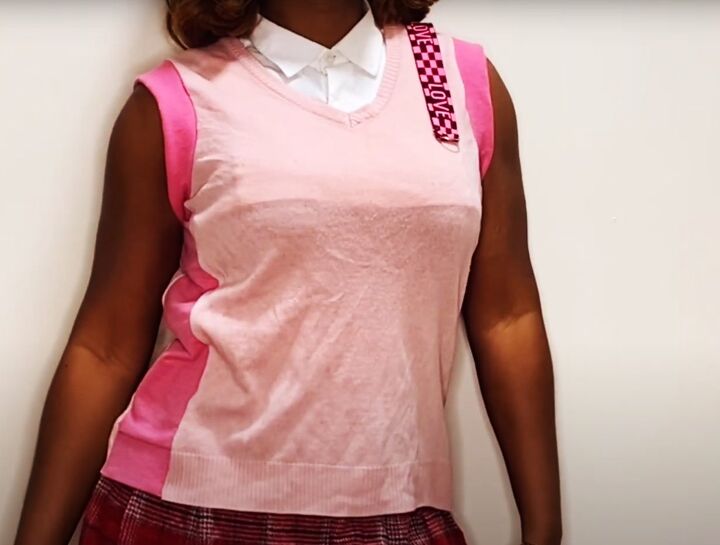
Upcycle a sweater into a DIY vest
Your new V-neck sweater vest can be worn alone or over a long-sleeved top.
I'm really pleased with how mine turned out. It took me less than two hours to do and now I have a versatile top in my favorite colors.
I particularly like the toning color block effect but you could use contrasting fabrics as well and it would still look good.
I'd love to know how you get on with this. Leave a comment down below!
Next, check out my post on How to DIY a Super Trendy Denim Jacket.
The author may collect a small share of sales from the links on this page.


Comments
Join the conversation
How clever of you to do this without a pattern! Love the contrast in shades too.