How to Upcycle a Pillowcase Into a Cute DIY Bucket Bag

Today, I want to show you how to make the perfect summer DIY bucket bag by thrift flipping a pillowcase.
I bought two for $3 and there always seem to be lots to choose from.
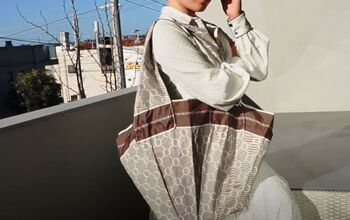
The drawstring bag converts from a shoulder bag to a backpack and back again in seconds.
It's so easy to make, only needing a few straight seams to put together!
Tools and materials:
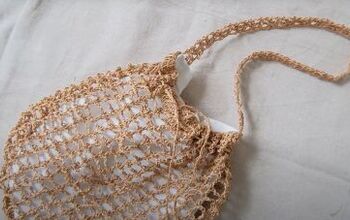
- Lace or crochet pillowcase, or placemat and backing
- 2 large grommets
- 10 - 12 smaller grommets
- Grommet tools
- Hammer
- Drawstring cord
- Straps or chains, 30 inch and 56 inch
- 3 split rings or binder rings
- Pins
- Sewing machine
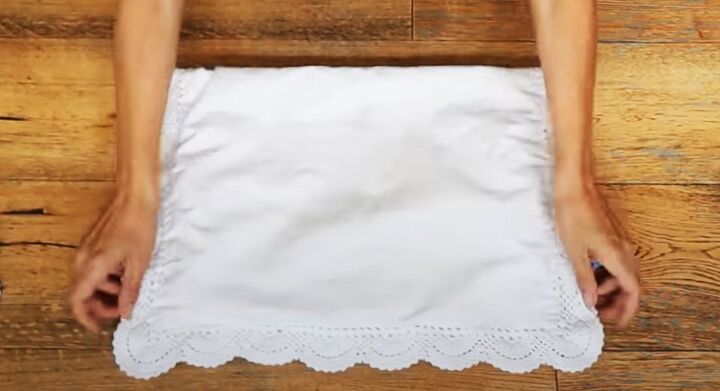
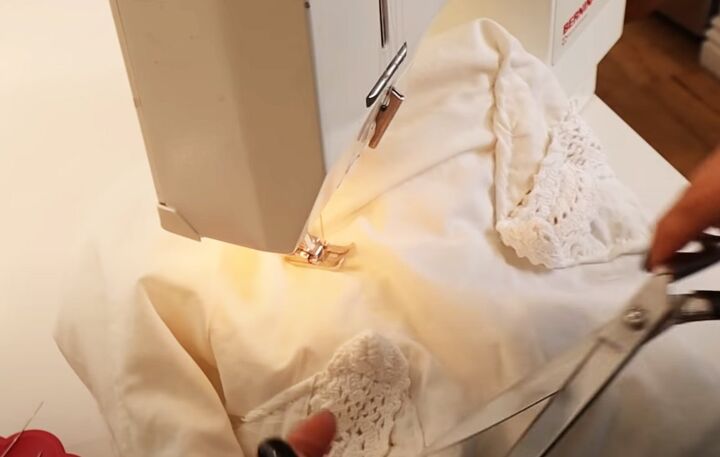
1. Side seams
Because I'm using a pillowcase, it's basically already lined.
If you're using a placemat you probably want to add a backing first, before you start putting the bag together.
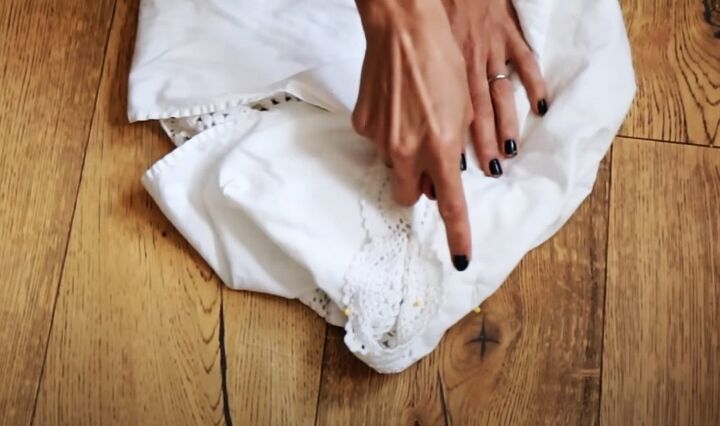
Fold the fabric in half widthways with the right sides together. Match up the lace or scallops at the edges.
Pin and sew the side seams closed, along the edge of the backing fabric.
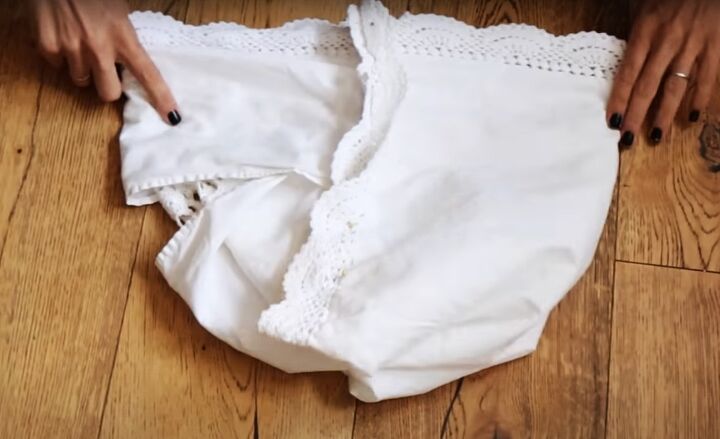
2. Create the gusset
To create a flat base for the bag, refold the bag so the side seams are in the middle.
Sew across the corner of the bag, perpendicular to the side seams.
The higher you make the gusset seam, the more squared-off the base of the bag will be.
Open the side seam flat as you sew across it.
Repeat at the other corner, across the second side seam.
Optionally, sew down the edges of the side seams from the inside.
Stitch down the two triangles at the corners of the gusset so the points face each other, to give more structure to the bottom of the bag.

3. Attach the grommets
Snip one stitch open at the side seam and push the pronged part of the grommet through the hole from the outside.
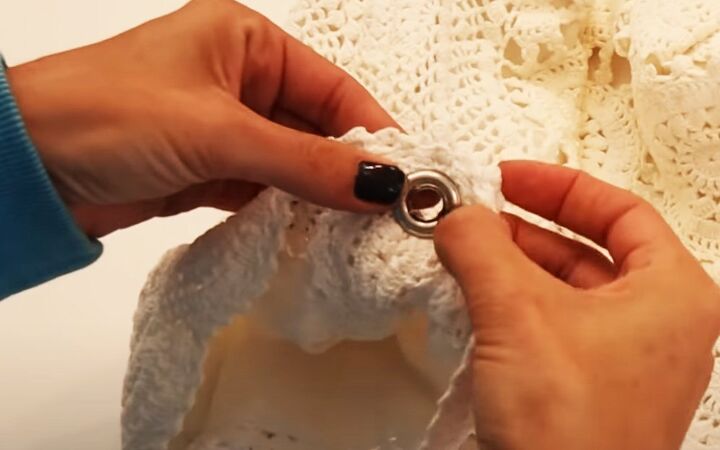
Place the washer over it on the inside.
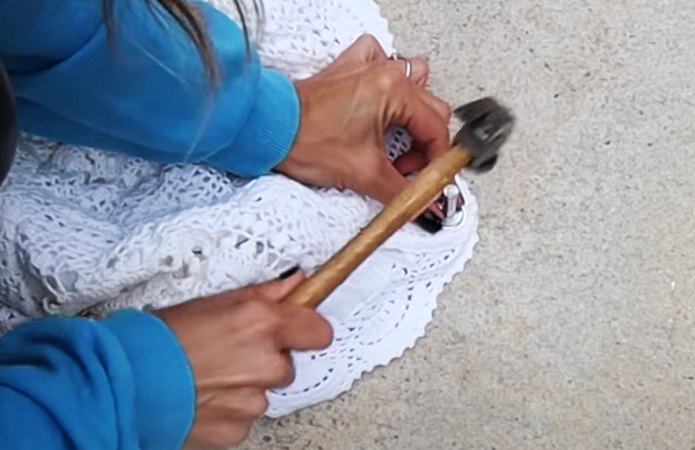
Put the outer section over the anvil tool, and place the setter into the hole on the inside.
Hit the setter with the hammer until the washer snaps into place.
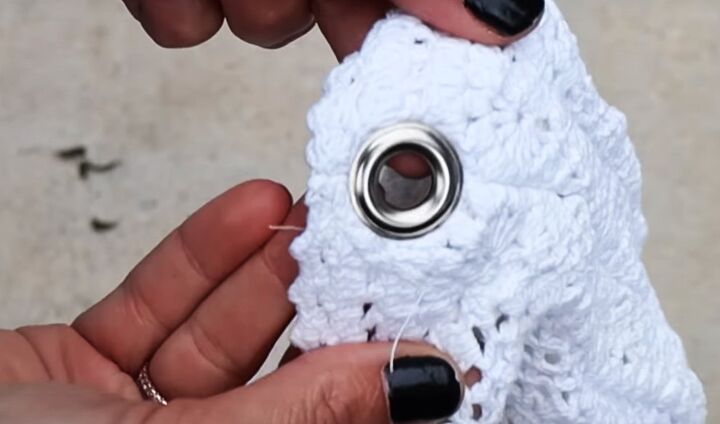
Repeat on the other side seam.
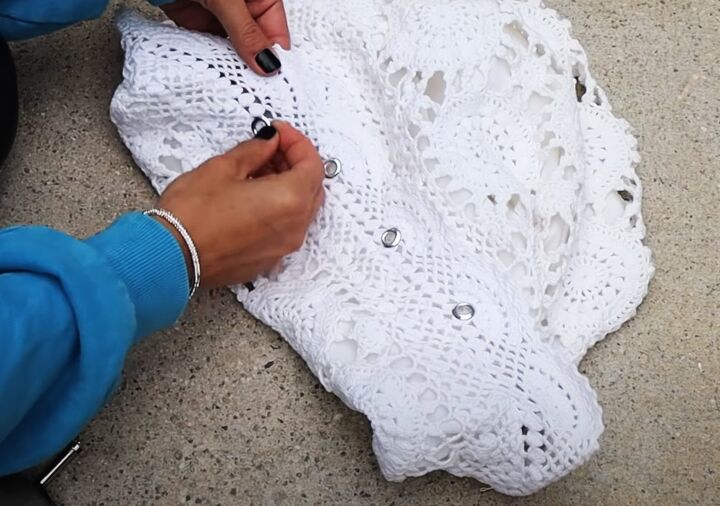
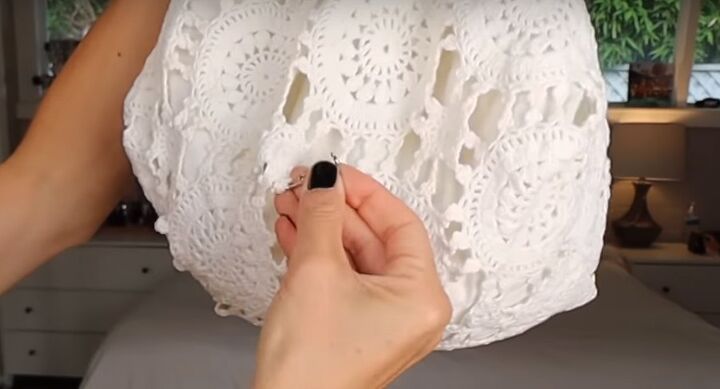
Use the smaller grommets to make the holes for the drawstring. Place them close to the top edge of the bag a few inches apart.
Work with the pattern, placing the grommets through existing holes in the lace so you don't need to cut into the fabric.
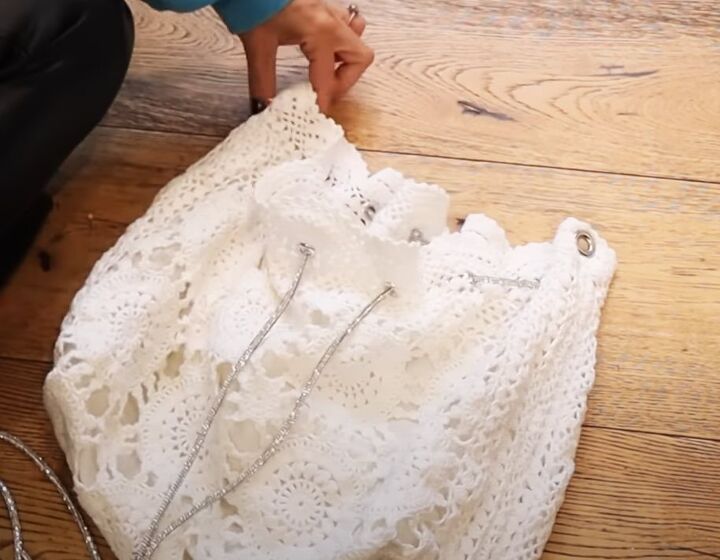
4. Drawstring
Thread your cording through the smaller grommets, working from the center of one side of the bag in both directions.
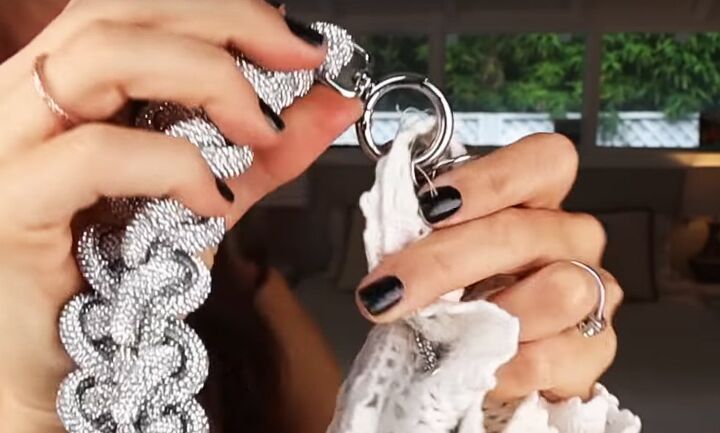
5. Attach the strap
There are two options for attaching the strap.
If your strap has a large clasp, push it directly through the grommets at the side seam.
If the clasp doesn't fit cleanly over the edge of the bag, add a split ring to the grommet first.
I used a binder ring for these, but any type of split ring would work.
Then clip the strap to the split ring.
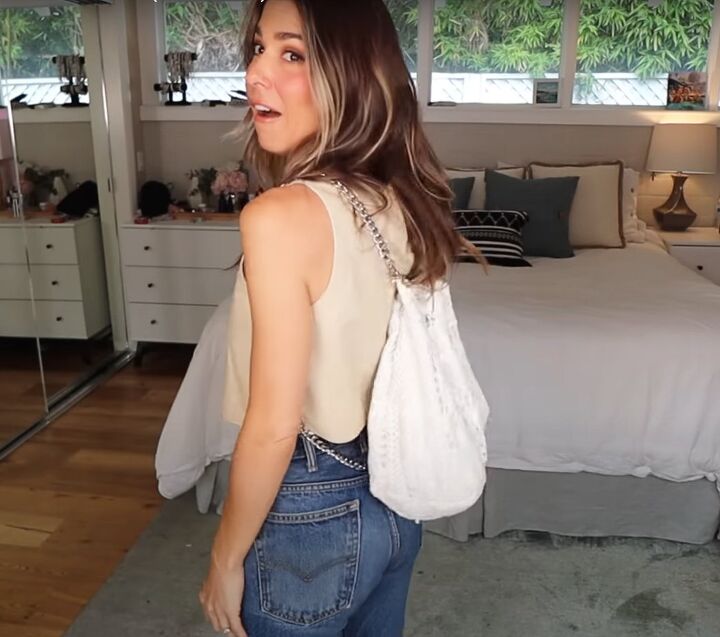
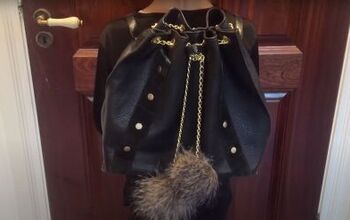
6. Backpack
To transform the shoulder bag into a backpack, push the third split ring through the center back of the bag at the bottom edge.
This ring won't be holding any weight, so you can clip it directly through the lace.
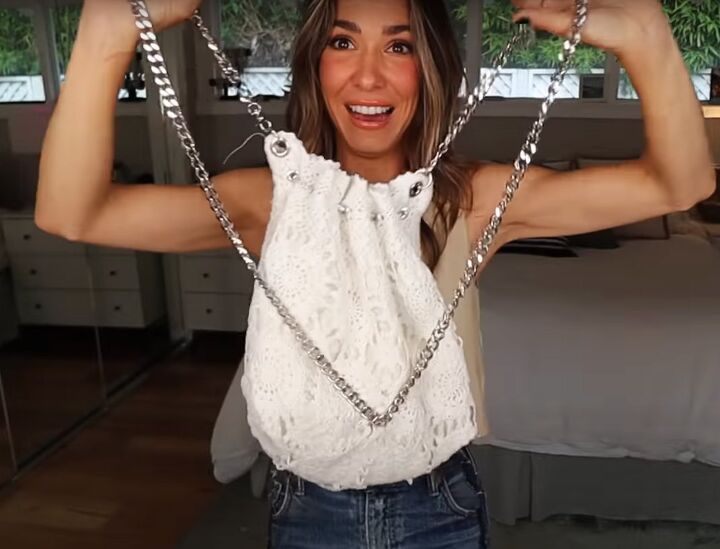
Attach one end of a 56 inch chain or strap to one of the large grommets.
Feed the other end of the chain through the split ring at the bottom of the bag and clip it to the other large grommet.
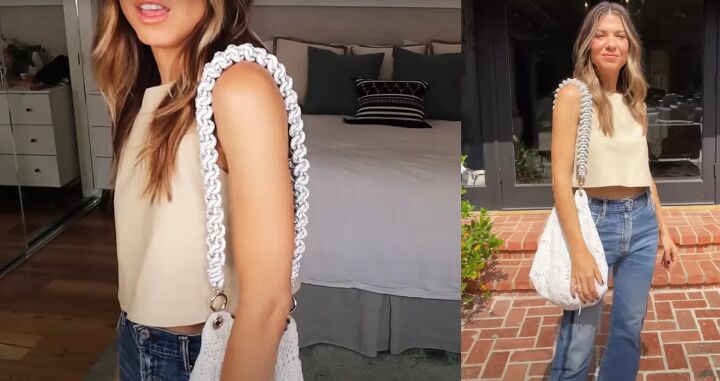
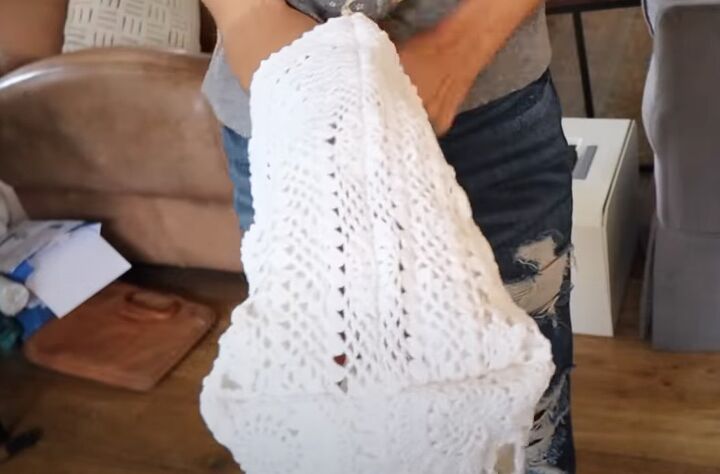
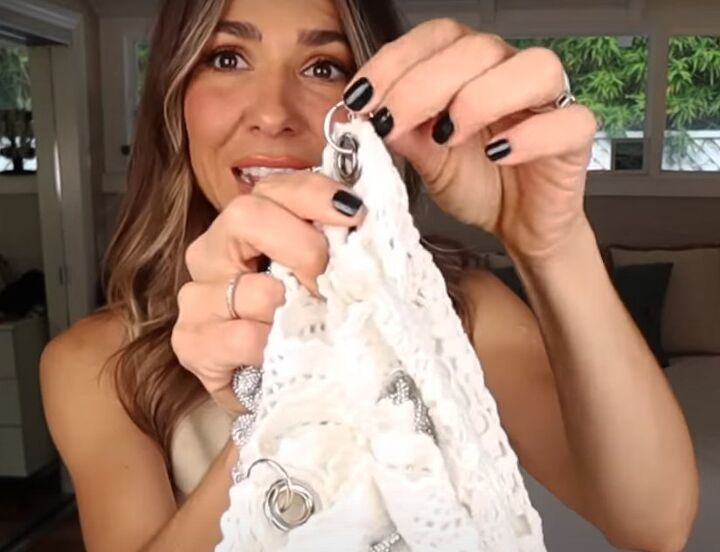
Be creative with the pull cords and straps you choose. They can really transform your design and turn a very simple drawstring bag DIY into something stunning.
I used my own Rocknot pieces, of course, because they suit my style perfectly.
I'd love to see the designs you come up with. Please drop me a link to them in the comments below.
Next, check out my post on How to Create a Crystal Embellished Denim Jacket.
The author may collect a small share of sales from the links on this page.


Comments
Join the conversation
Such an adorable idea and I love the lace!!! Thank you for sharing!!!
I love this !! I have a similar pillowcase from my mom. I can't wait try it. Thanks for the inspiration .