How to DIY a Cute Raffia Bucket Bag

I set out to crochet a lined raffia bucket bag with a yarn I'd never used before. I created the bucket bag crochet pattern as I went, so there was trial and error and some undoing involved.
I kept to simple stitches, like chain, double crochet and slip stitch, so it's a perfect project for a beginner to make.
Tools and materials:
- Raffia yarn
- G7 (4mm) Crochet hook
- Lining fabric
- Needle and thread
- Sewing machine
- Yarn needle
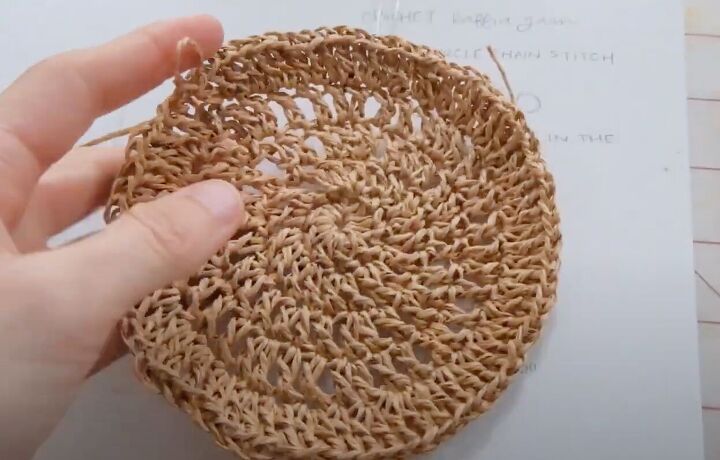
1. Round base
See the video at 1:20, 4:00 and 4:52 for how to chain, slip stitch and double crochet.
Crochet 6 chain (CH) stitches and slip stitch (SL ST) into the first chain to close the round. Insert a safety pin into the first chain to mark where the circle begins.
Make 10 double crochet (DC) into the round and SL ST into the first stitch.
Start each round with 3 CH, which counts as the first DC, and end each round with a SL ST into the first stitch.
For round 2, DC twice into each stitch of the previous round, so you have 20 DC in this round.
In round 3, expand the circle by crocheting two DC into the first stitch and one DC into the second in the next round. Continue this sequence so at the end of the round you have 30 DC.
For round 4, make 2 DC into the first stitch and 1 DC into the next two stitches. Repeat the sequence to make 40 total stitches.
In the final round of the base, make 2 DC into each stitch, so you have a total of 80 stitches.
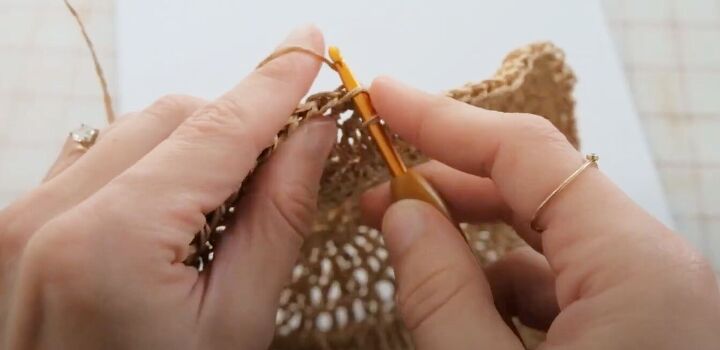
2. Bag sides
Make a single crochet (SC) into the front only of each stitch in the round to start the sides of the bag.
When I did the first version of the sides of the bag, I expanded the number of stitches too quickly and the bag was taking the shape of a basket rather than a bucket.
I had to unravel it back to the base and start again, and the pattern below is my final version.
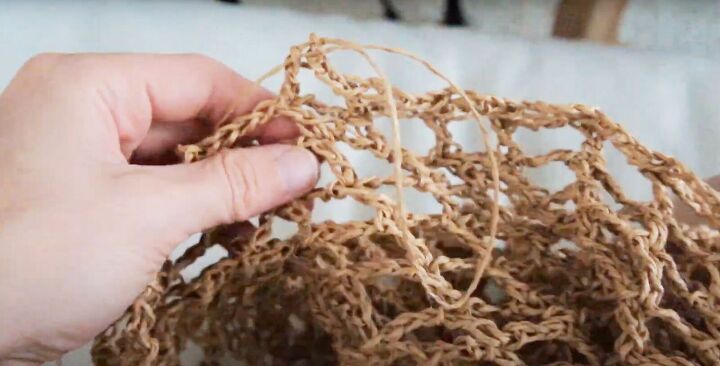
CH 6, skip (SK) 3, DC, CH 3, SK 3, SC - repeat this sequence for the round and join with a SL ST.
Repeat this round for 20 rows in all, or until the bag is the height you want.
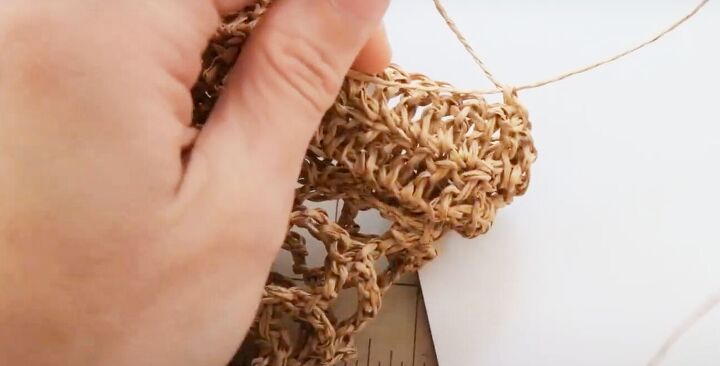
For the top edge, CH 3, DC in every stitch and repeat this row once more.
Cut and tie off the yarn and use a yarn needle to weave in the ends.

3. Make lining
Measure the width and height of the bag and the diameter of the base.
Mark a circle on the lining fabric the same diameter as the base plus a seam allowance and cut it out.
Cut two rectangles to fit the width and slightly more than the height of the bucket.
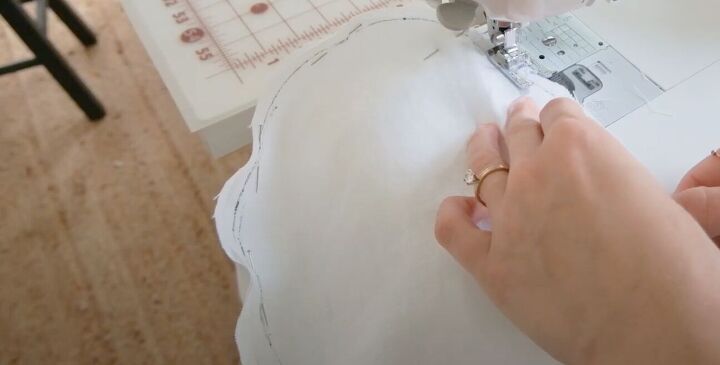
Stitch the side pieces together and join the circle to one end.
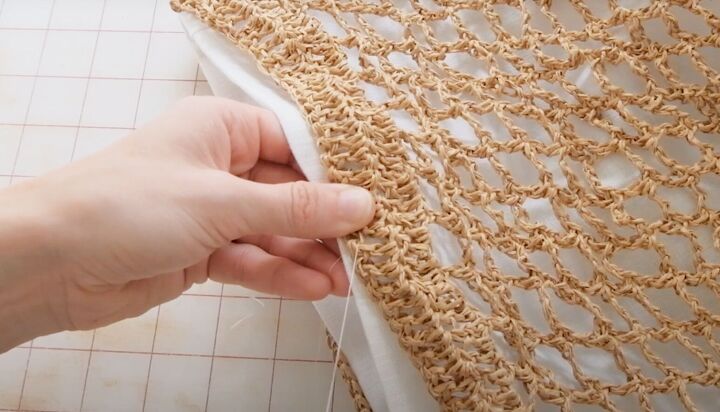
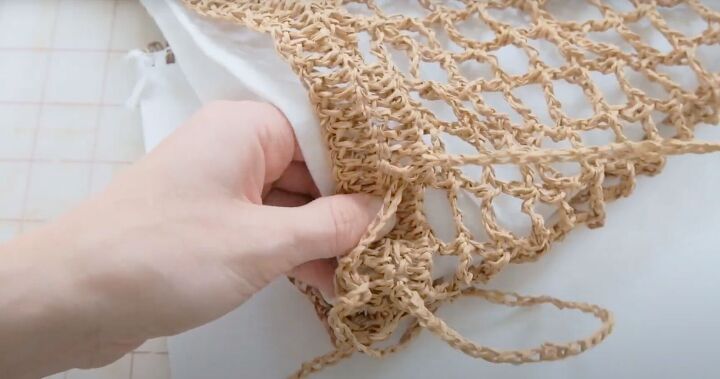
4. Insert lining
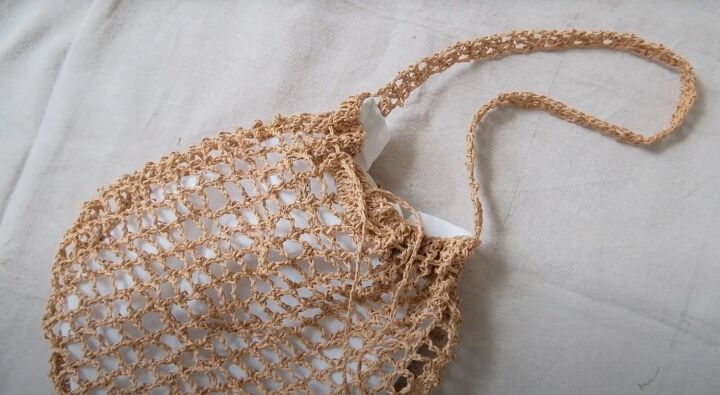
Turn the lining right side out and insert it into the bag, so the seams are on the inside.
Fold over the top edge of the lining to fit inside the bag. Hand sew the lining to the top row of the bag.
5. Drawstring
Make a long chain with the raffia yarn, to fit around the top of the bag.
Use the yarn needle to weave the chain through every fourth or fifth double crochet at the top of the bag.
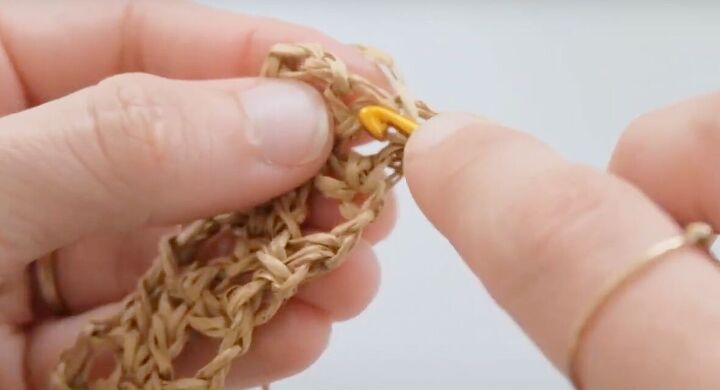
6. Strap
CH 6 and turn. 1 DC into the 4th chain, DC to end (2 DC) and turn.
CH 3 as first DC, 1 DC into each stitch. Repeat for approximately 25 rows.
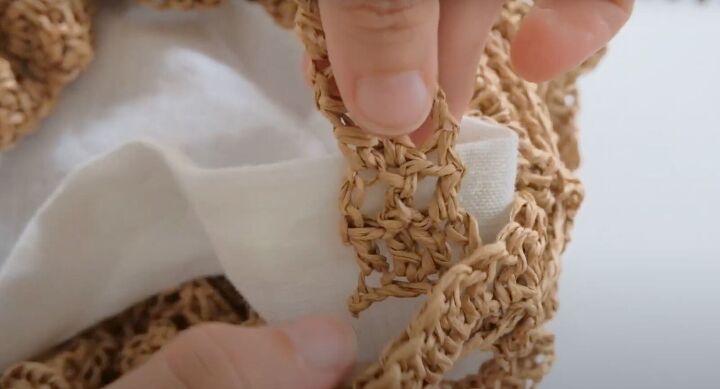
Hand sew the strap between the lining and the bag.
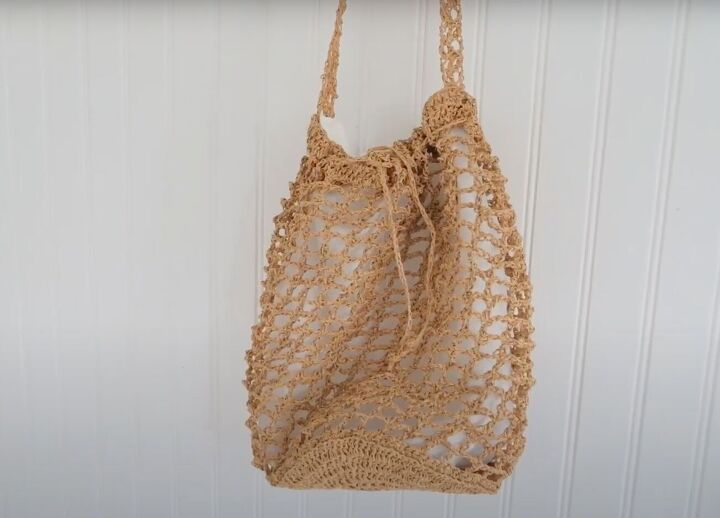
DIY raffia bucket bag
I hadn't crocheted for a long time so I'm really glad I picked it up again.
I had to work through a few mistakes but I think the finished bucket raffia bag is worth it.
You could modify this in lots of ways. It would look great with a brightly colored lining for example.
If you enjoyed following along with me, please let me know in the comments below!
The author may collect a small share of sales from the links on this page.


Comments
Join the conversation