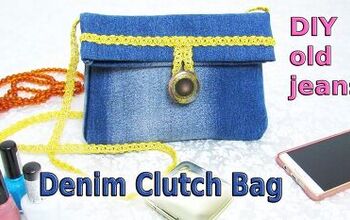
How to DIY a Cute Crossbody Jean Bag

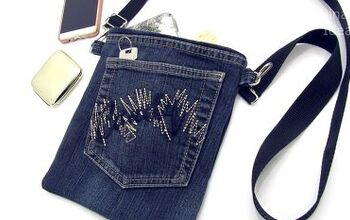
In this tutorial, I will show you how to DIY a small crossbody bag with pockets using upcycled denim. It is roomy enough to carry all your personal belongings while being not too big and heavy. Let’s get started!
Tools and materials:
- Jeans to be upcycled
- Tailor’s chalk
- Ruler
- Fabric scissors
- Straight pins
- Fabric for lining
- Sewing machine or needle and thread
- Iron
- Bag strap with clips on each end
- Magnetic bag clasp or Velcro
- Charm bracelet or other decorations
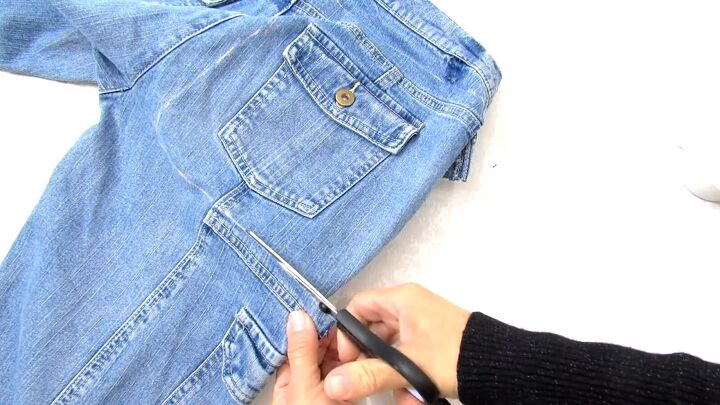
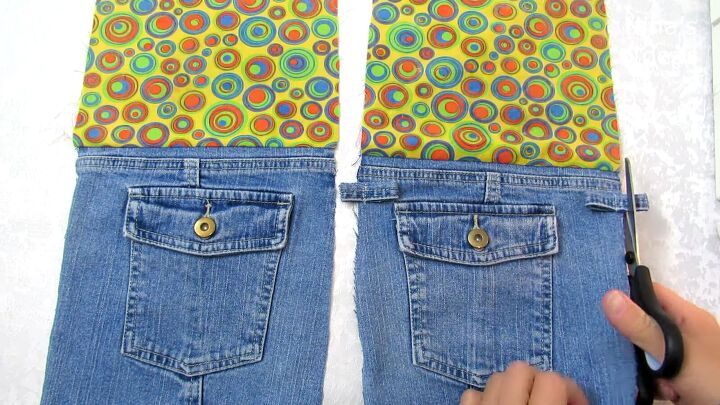
1. Mark and cut main panels from the upcycled denim
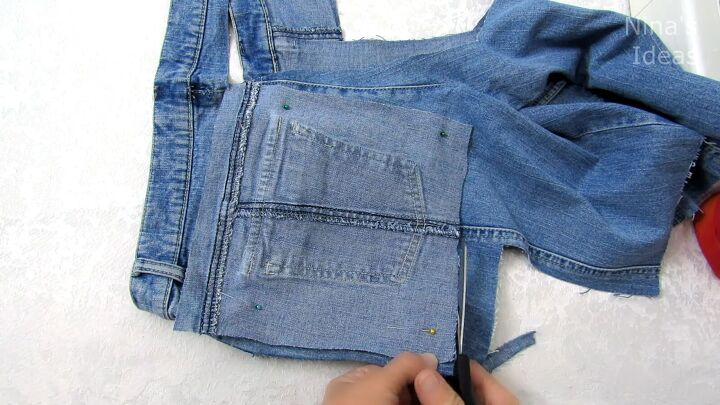
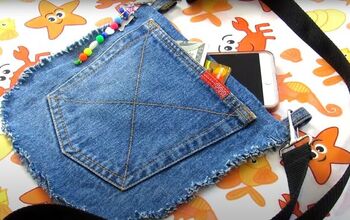
Cut out two rectangles for the main panels of the denim bag, taking the fabric to include the back pants pockets.
After cutting out the first panel, use it as a template to cut out an equal panel from the other side of the jeans. Use pins to hold them in place.
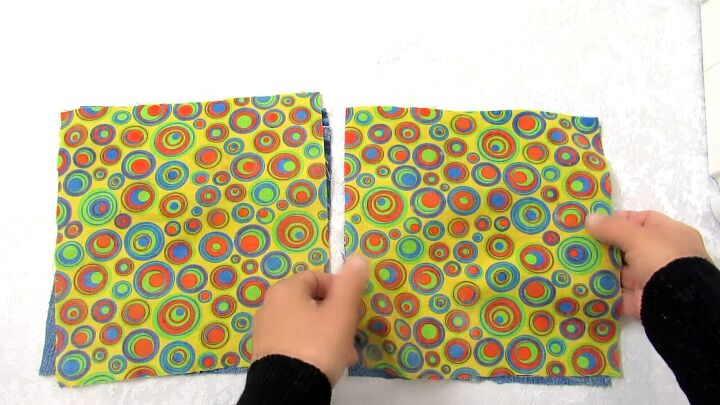
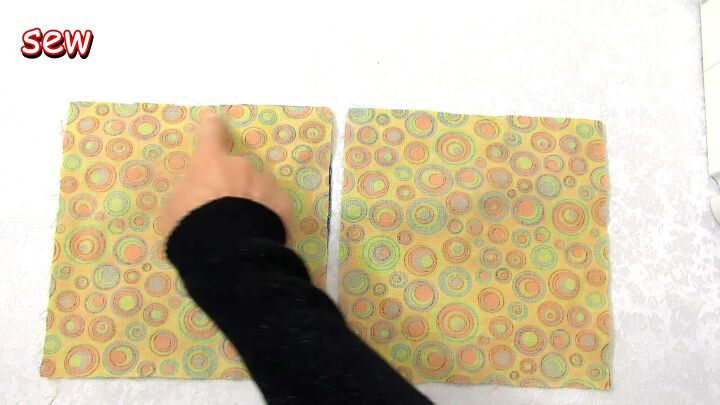
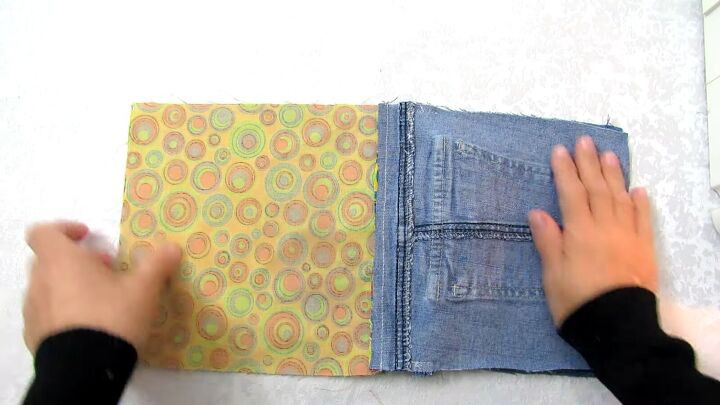
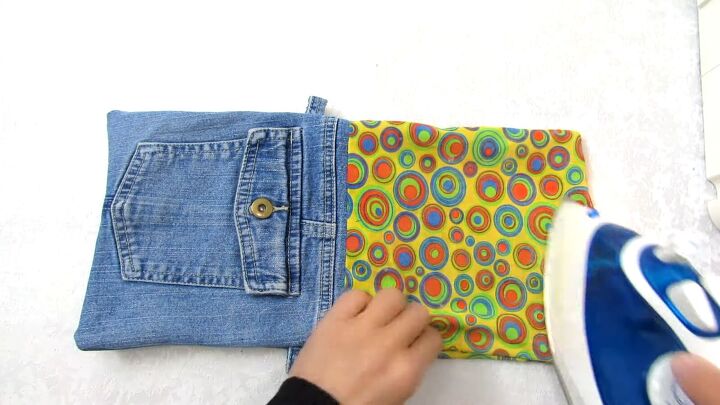
2. Prepare and attach lining for main panels
Cut out 2 rectangles for the lining of the DIY denim bag.
Then place right sides together:
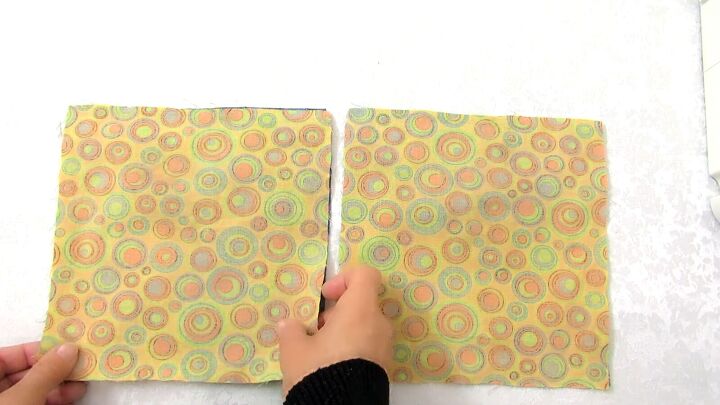
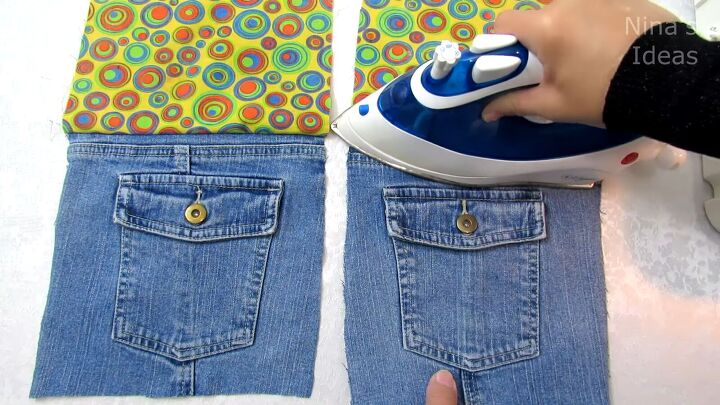
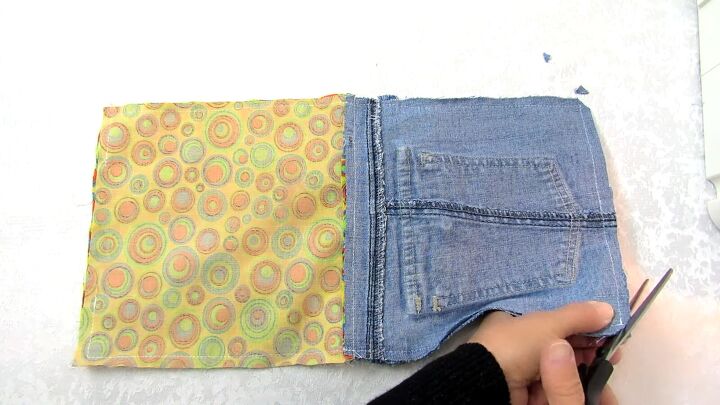
Sew along the top of each panel/lining.
Flip the lining up and iron the connection to be flat.
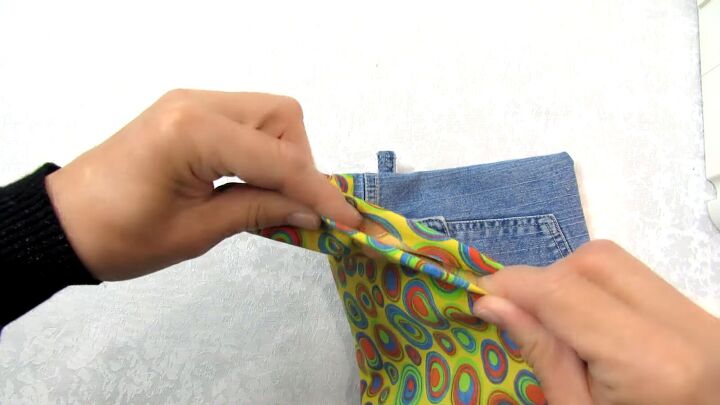
3. Create and attach strap loops
Cut two, equal strips from a thick seam of the scrap denim.
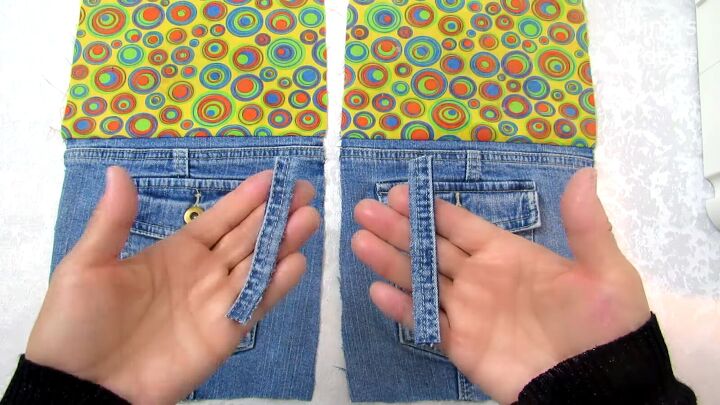
Fold in half and sew, as in the image below:
Cut off the excess from the strips.
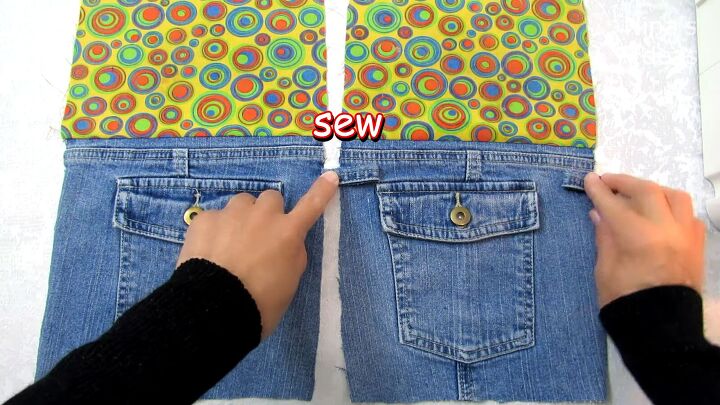
4. Sew the main panels and linings together
Place the right sides together, then sew all around the perimeter, leaving just a 6 cm (2.4”) gap on the liner edge.
Trim off all four of the corners.
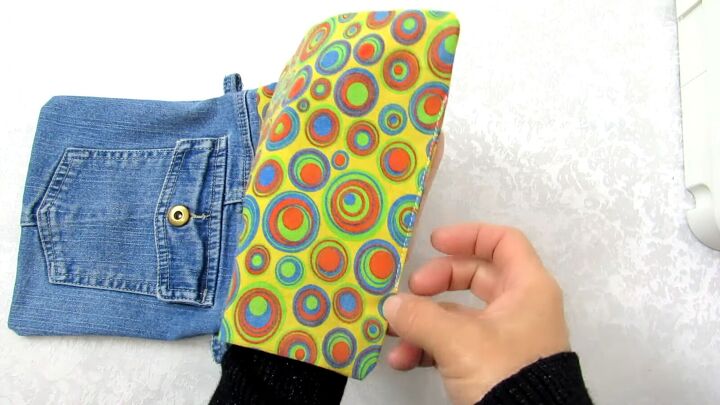
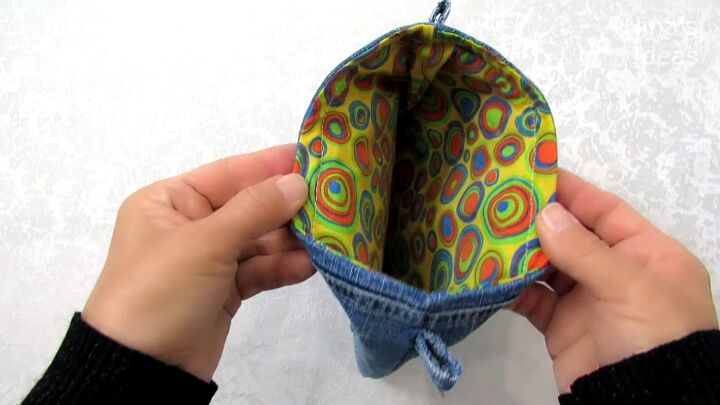
5. Reverse and straighten the corners
Reverse the fabric and poke out the corners by feeding the point of your scissors through the gap, to each corner.
Iron the entire piece.
6. Close the gap
At the gap, fold the exposed fabric inward and sew it closed.
7. Sew down the lining
First, tuck the lining back into the body of the purse.
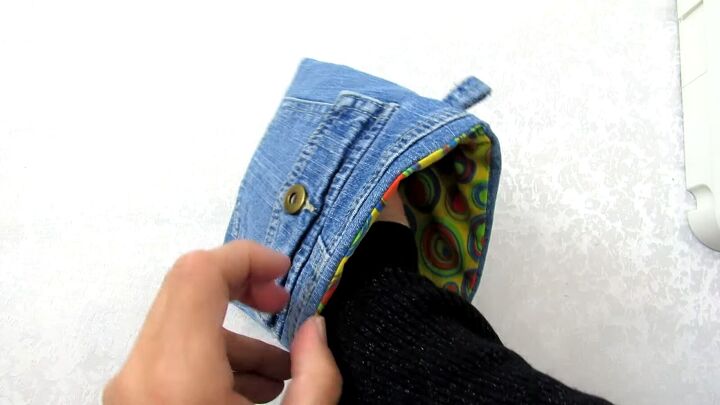
Then, on the inside of the purse, sew the lining down at the top.
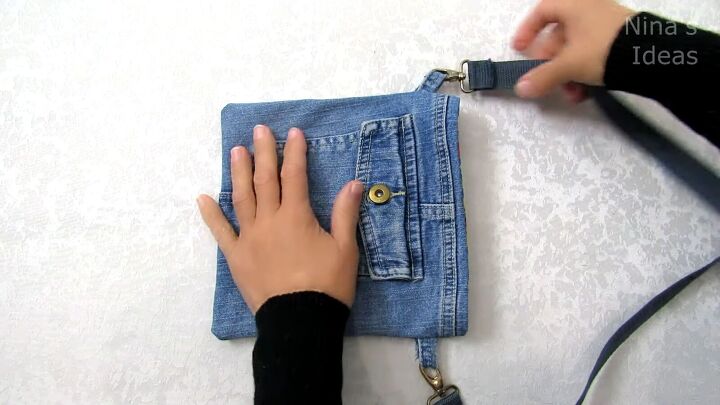
8. Attach straps and the clasp
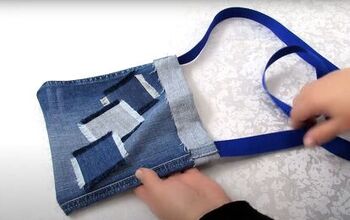
Attach your ready-made strap to the loops.
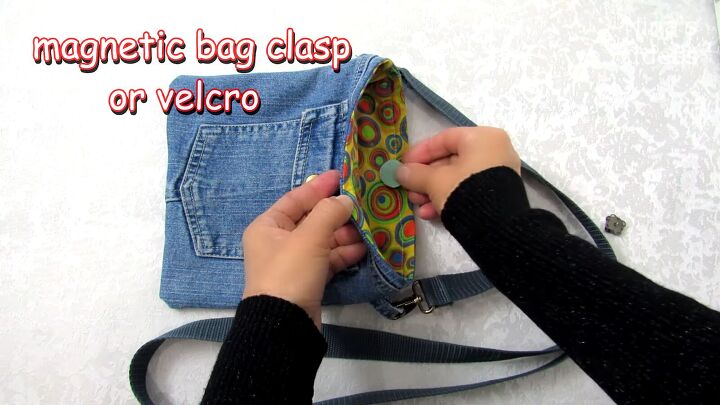
Attach a magnetic bag clasp or Velcro to the inside, top.
9. Decorate
Attach a charm bracelet to one of the pockets for an extra touch of style.
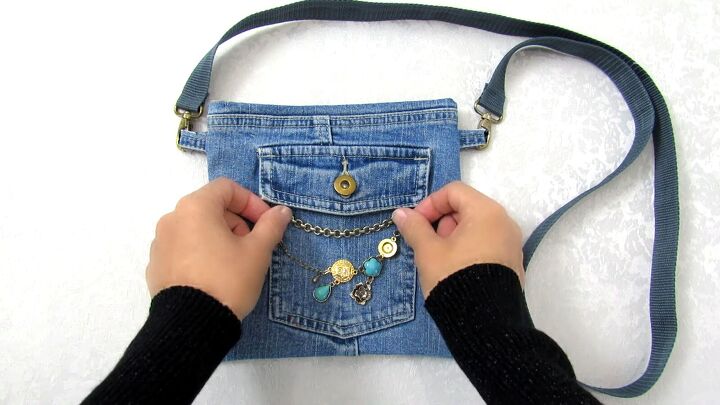
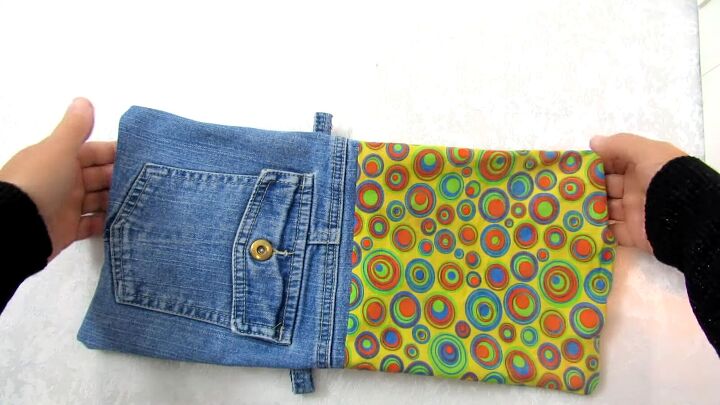
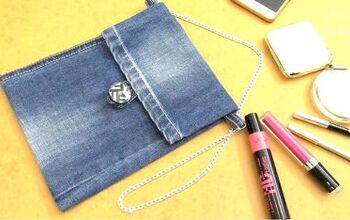
DIY jean bag
Here’s the finished, upcycled denim bag.
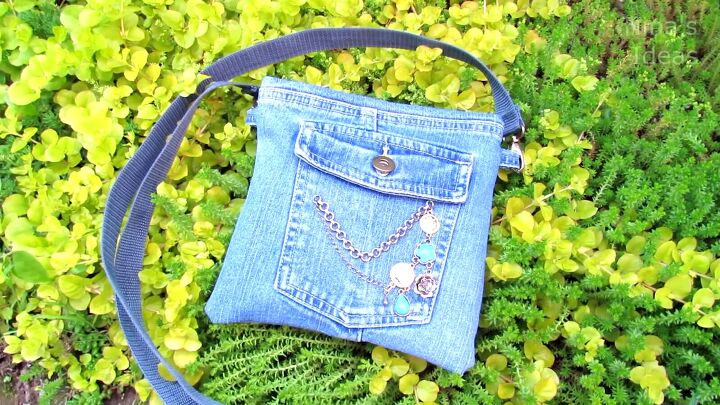
This DIY jean bag is such a simple, beginner friendly project and you get to upcycle your denim!
Plus, you can personalize it to fit your style. Show us your creation in the comments below.
The author may collect a small share of sales from the links on this page.


Comments
Join the conversation
Awe and inspiring project. Love the explanation steps . Thank you
I can't wait to make some of these for myself and granddaughters for Christmas. Thank you so much for sharing such a great project!!🥰