How to DIY a Cute Denim Clutch

Are you looking for denim upcycling ideas?
In this tutorial, I will show you how to make a DIY denim clutch bag or crossbody bag using old jeans in just 10 minutes.
You can use this DIY jean bag for school supplies, as a phone case, a cosmetics bag, glasses case or anything else you like! Let’s get started.
Best fabric scissors!
Tools and materials:
- Old jeans
- Ruler
- Tailor’s chalk
- Fabric scissors
- Hot glue
- Glue gun
- Iron
- Button
- Gold braid
- Pen
- Needle and thread
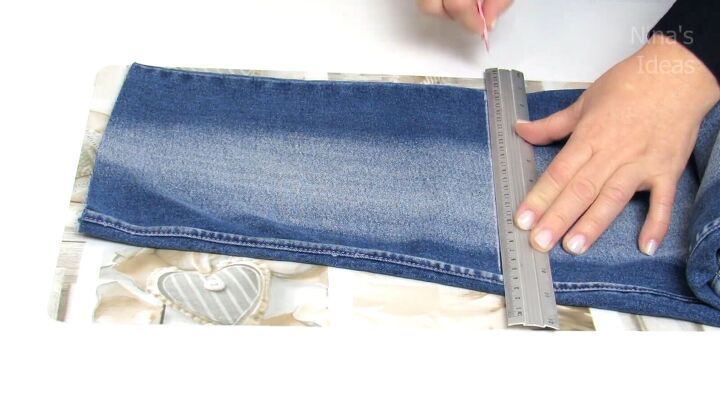
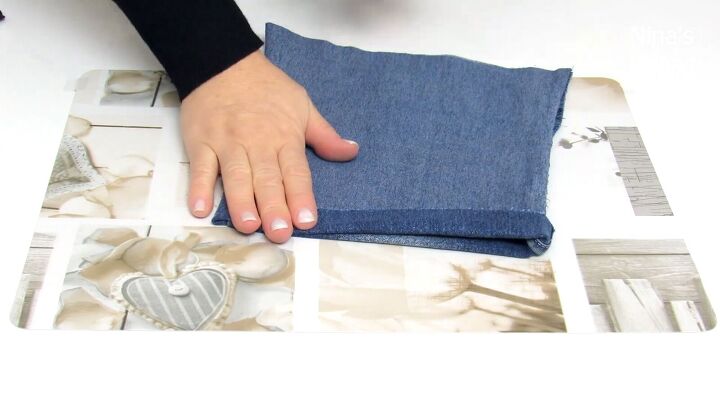
1. Mark the length of the bag
With a ruler and tailor’s chalk, mark the length of the opened bag on one of the legs of your old jeans. Keep in mind that the top of the purse folds over.
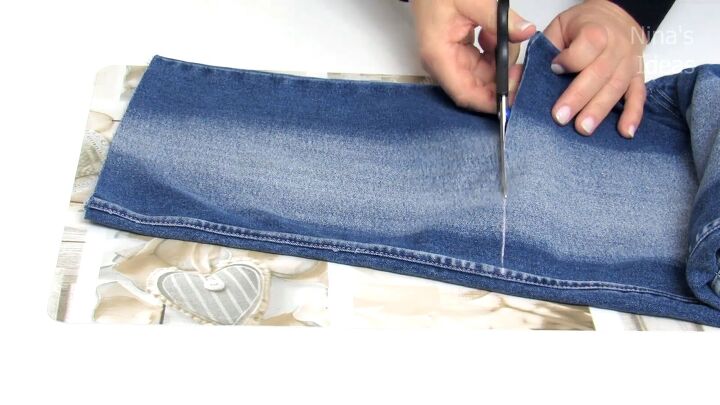
Then, use fabric scissors to cut straight across.
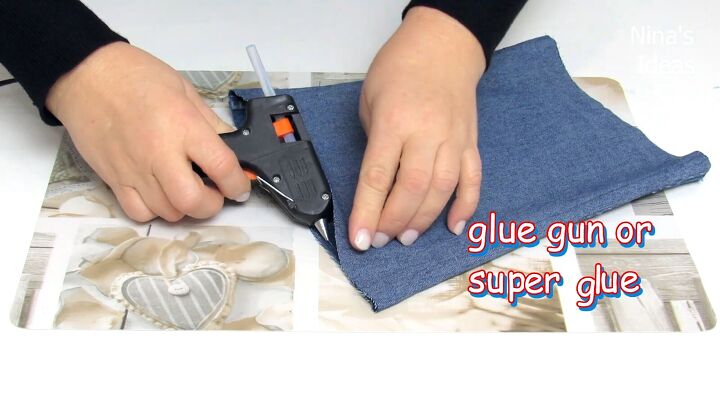
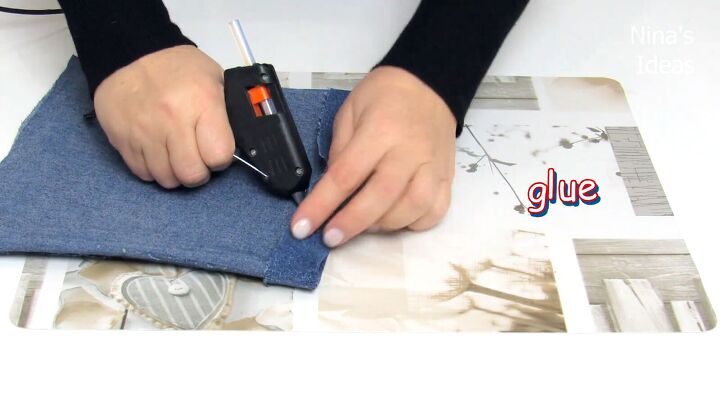
2. Glue the bottom closed
Next, reverse the resulting denim tube.
Now use a hot glue gun (or super glue) to close what will be the bottom of your DIY denim clutch.
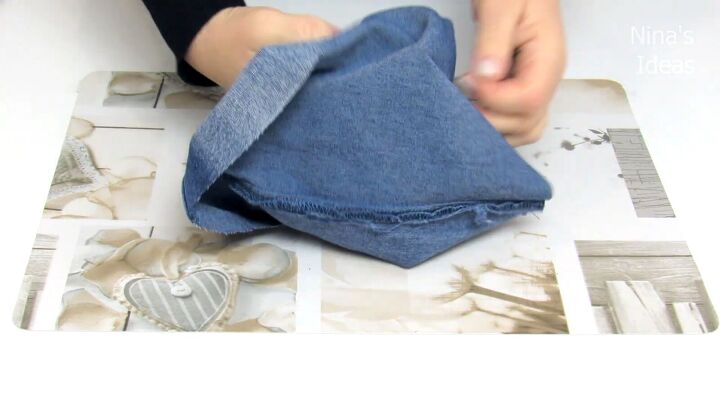
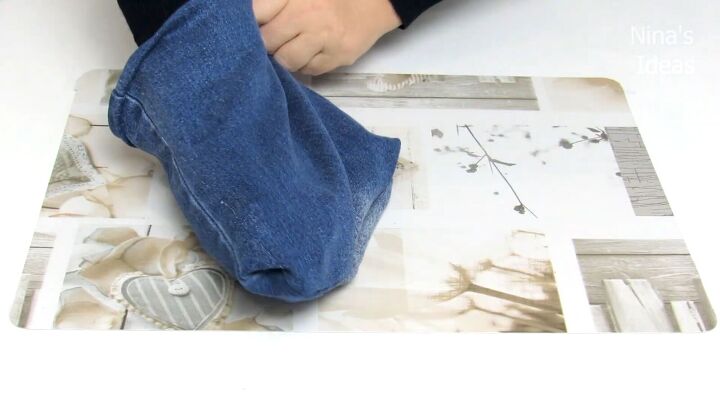
3. Fold and iron
While still reversed, fold over the top of the back, like this:
Then use an iron to flatten the fold all around.

4. Glue under the fold
Glue underneath this fold, all the way around, using the same glue you chose earlier.
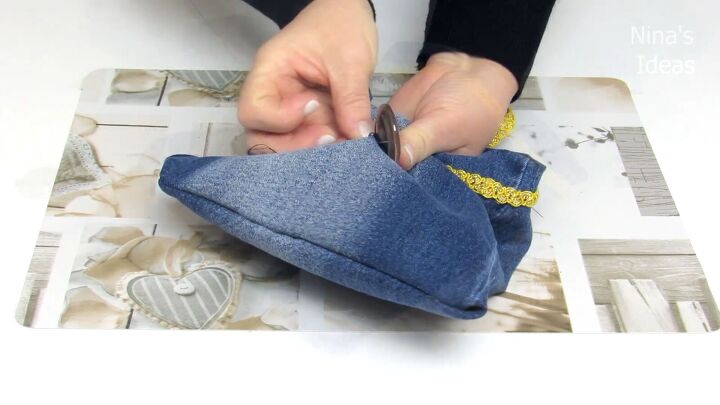
Finally, reverse what is now the body of your denim clutch so that it is right side out and poke out the corners.
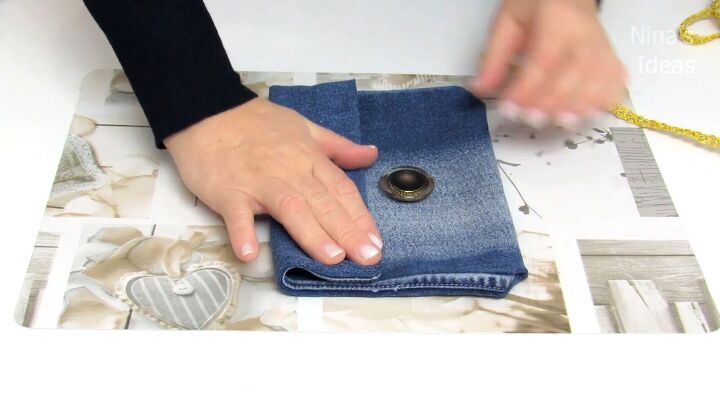
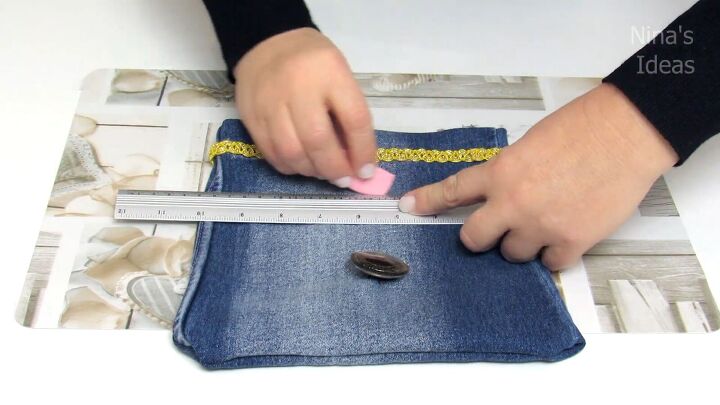
5. Plan the placement
Fold the top of the purse downward and put a button where you plan to make the closure.
Make a loop from the gold braid that will be large enough to fit the button through, but not so much that the bag won’t stay closed.
Keep the end of the gold chain long (do not cut it yet).

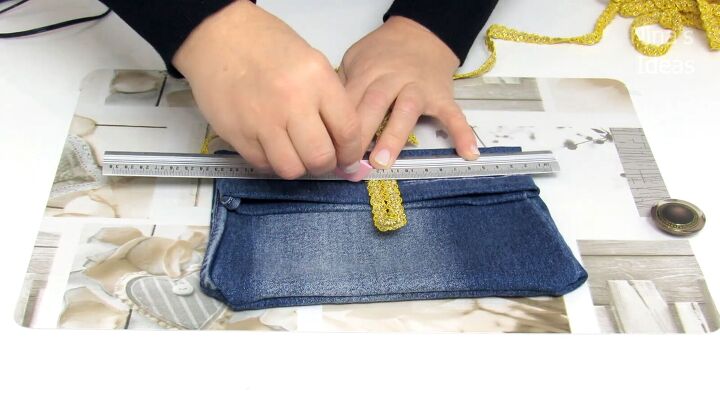
Center the button and mark where the top of the loop and the center of the button should be with the help of a ruler and a pen.
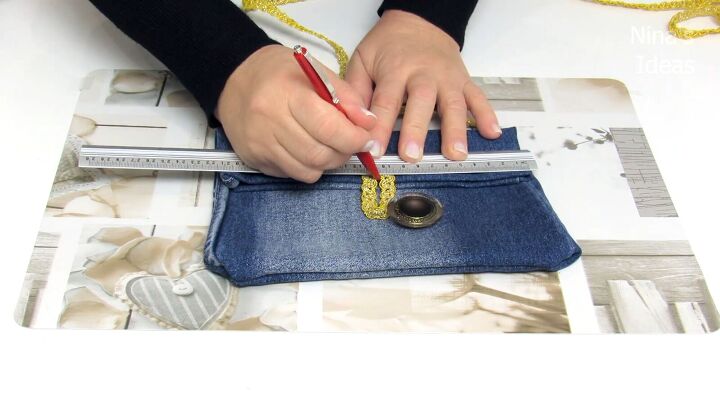
Here are the marks:
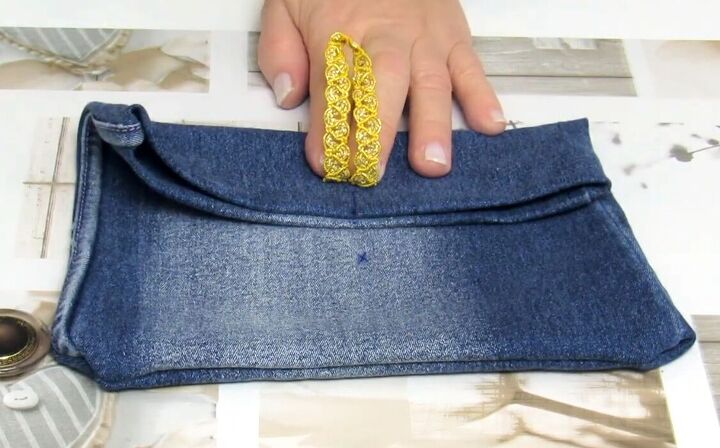
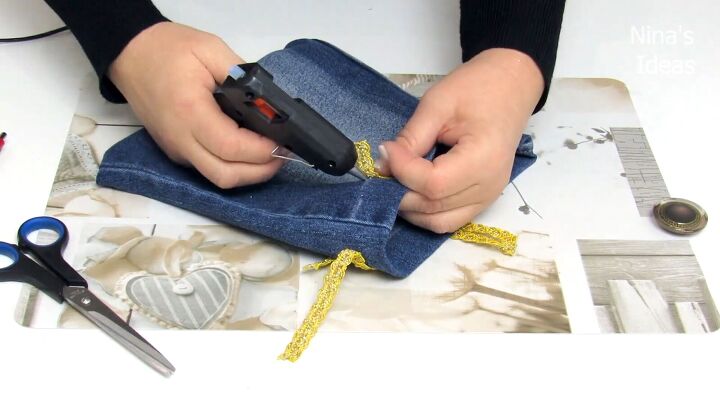
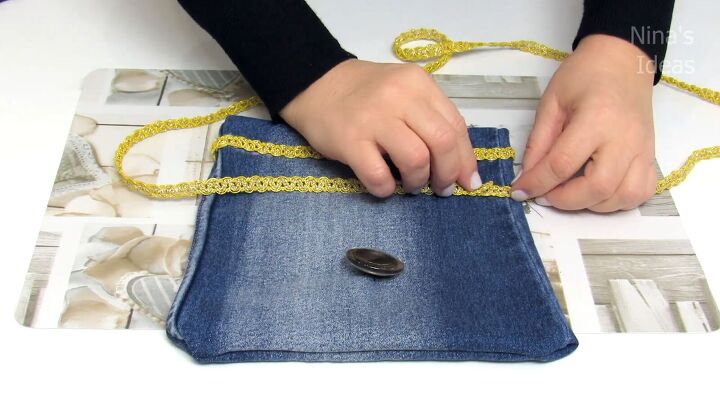
6. Glue down the top of the loop
Still holding the gold chain in place, glue underneath where the top of the chain will be. Then carefully press down to secure it.
Then cut the gold chain so that you have equal tails, each about 3” long.
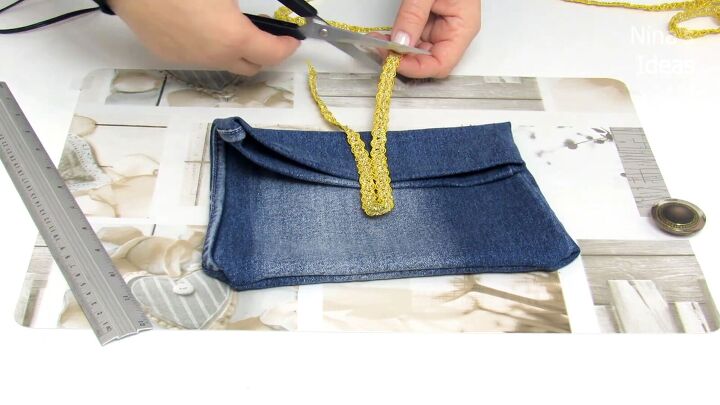
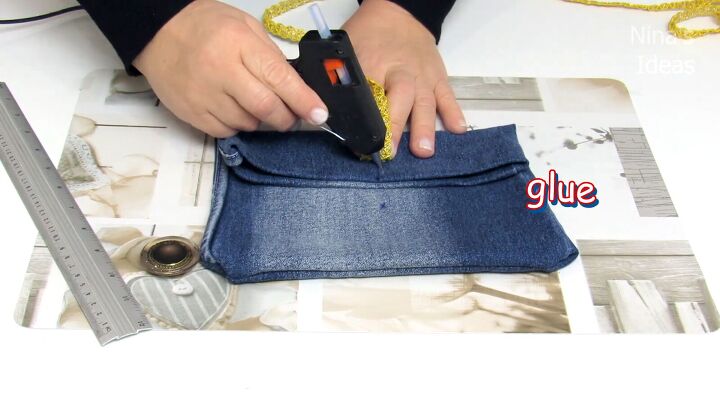
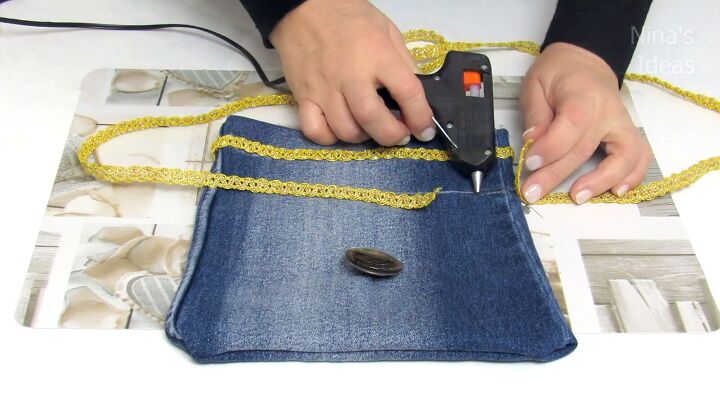
7. Create a gold band
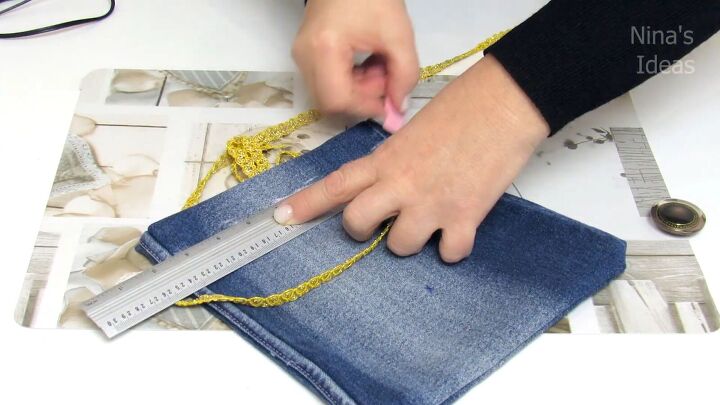
Using a ruler and tailor’s chalk, mark about 1” above the bottom of the flap, going over the loop in a straight line, all the way across.
Then, open up the bag and draw a line underneath, using the same measurement, all the way across.
Add a line of glue to the first marked line and attach more of the gold braid (and don’t cut it yet!).
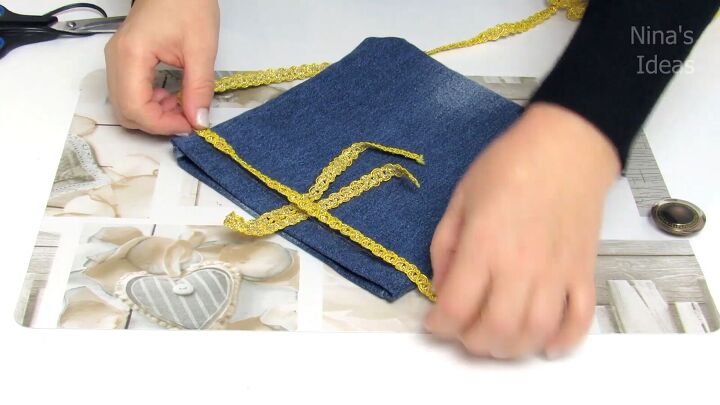
Continue to glue the gold braid all the way around the opening of the bag.
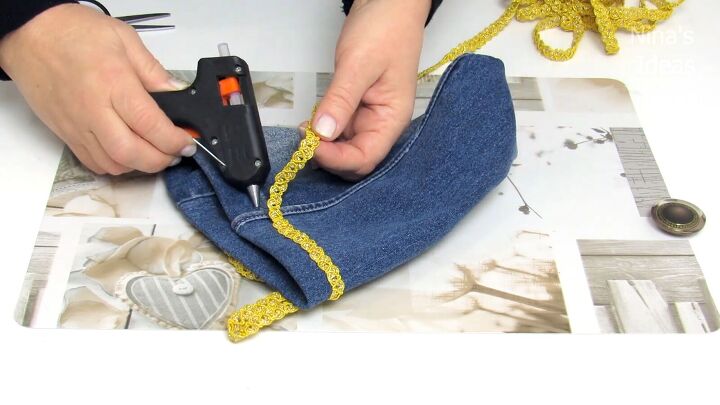
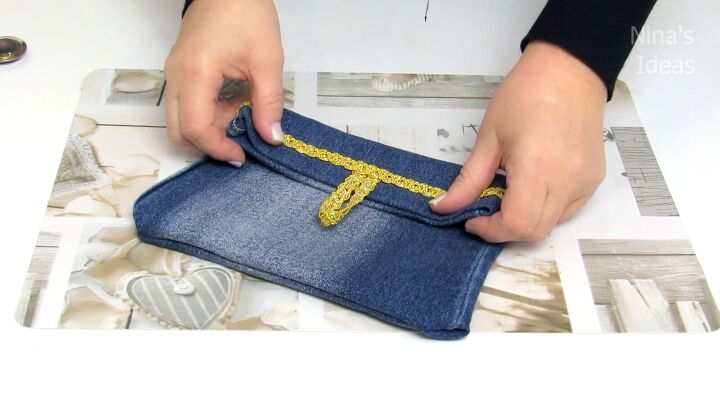
Once the ends of the gold braid are about to meet, cutt off the excess and glue down the ends.
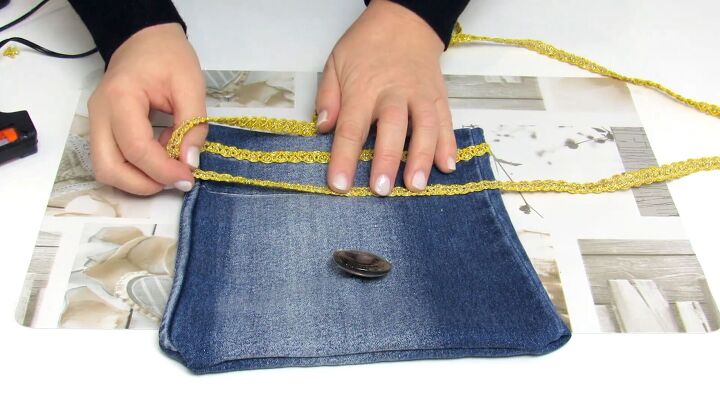
Here’s our DIY denim clutch so far:
8. Sew the button
Center the button on its mark and sew it in place.
Once attached, ensure that the button is secure by twisting some of the excess thread underneath, around the button, and then tying a knot.
Cut off the excess thread with the needle.
9. Mark placement for the strap
Use a pen to mark underneath the fold, on either side of the denim clutch.
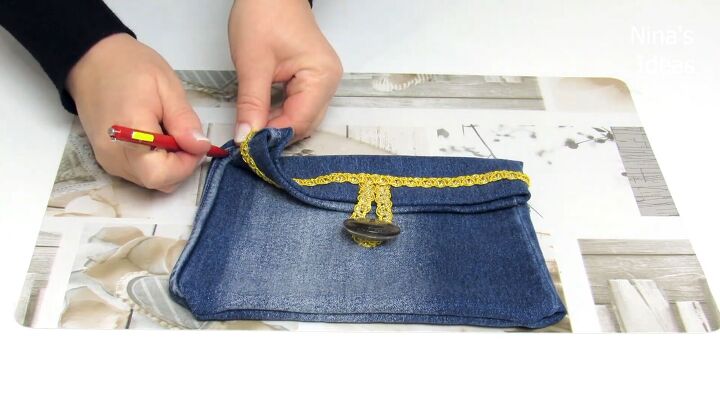
Open up the bag and mark a straight line about 1.5” below the marks, using your ruler and tailor’s chalk.
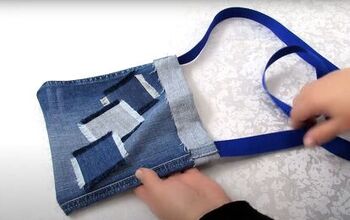
10. Create and attach the strap
Measure a long piece of gold braid that will be a comfortable length for your strap.
Then line up the gold braid on the marked line, making sure the ends meet somewhere under the flap of the clutch.
Glue down the ends first.
Then, glue down the rest of the strap, along the marked line.
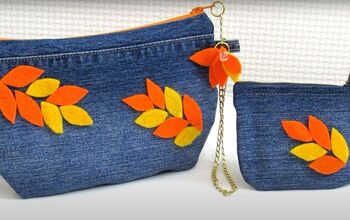
Here is the final result of this DIY denim clutch:

DIY denim clutch
I hope you enjoyed this easy upcycled denim clutch bag tutorial. Please leave a comment if you did!
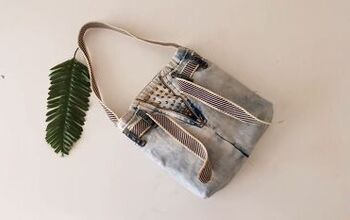
For another fun DIY denim purse, check out my post on How to DIY a Cute and Easy Jean Bag.
The author may collect a small share of sales from the links on this page.


Comments
Join the conversation
Love it ! Know what to do with my denim scraps now! I think my granddaughters would love one !
This upstyle ideas are great! I could be on here all day!