How to DIY a Cute Shoulder Bag

Today, I've made a DIY shoulder bag tutorial for you.
I've provided a free pattern for a shoulder bag and simple steps for you to follow.
If you don't have foam, you can use any material of your choice to give thickness and support to the bag.
So experiment and be creative and make a solid and beautiful bag for yourself!
Tools and materials:
- Main fabric
- Lining fabric
- Thin foam
- Paper for pattern
- Zipper
- Bag chain with split rings
- Pins
- Scissors
- Sewing machine
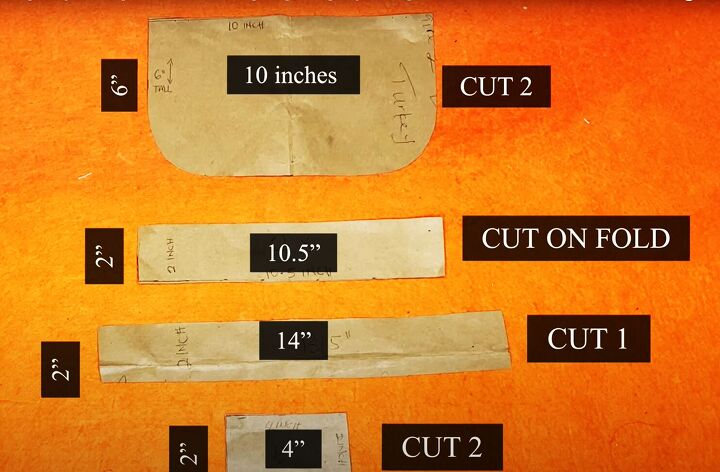
1. Make the pattern for shoulder bag
Draw out the pattern pieces onto paper and cut them out.
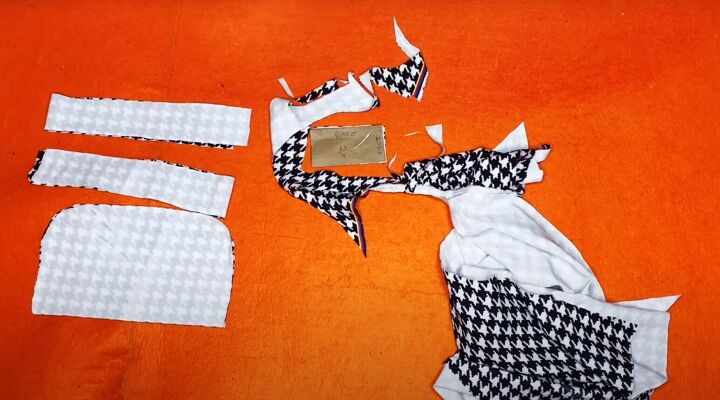
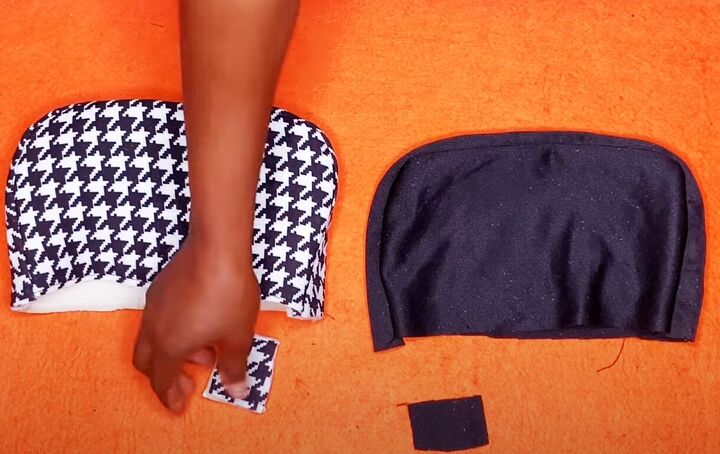
2. Cut the fabric
Cut all the pieces from the main fabric as shown (except for the handle piece if you're using a chain, as I did).
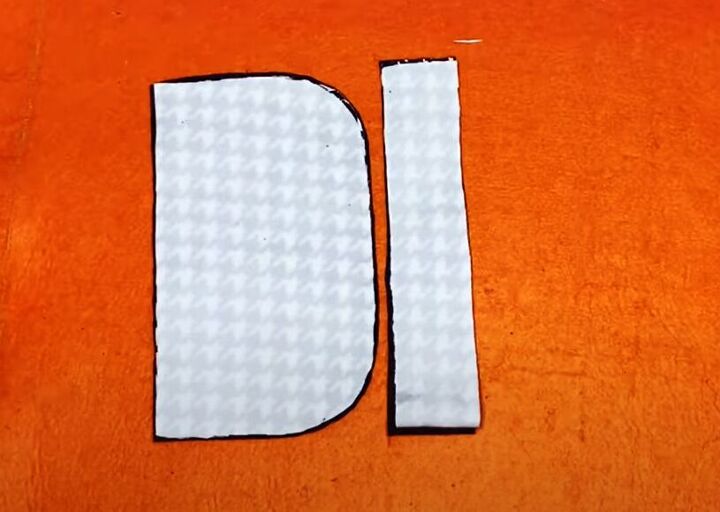
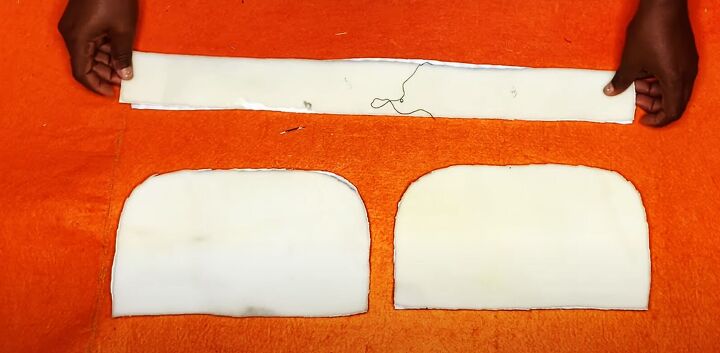
Cut pattern pieces 1 and 2 only from both the lining and the foam.
3. Assemble the bag
Place the foam on to the wrong side of the corresponding main fabric pieces and sew in place, a quarter inch from the edges.
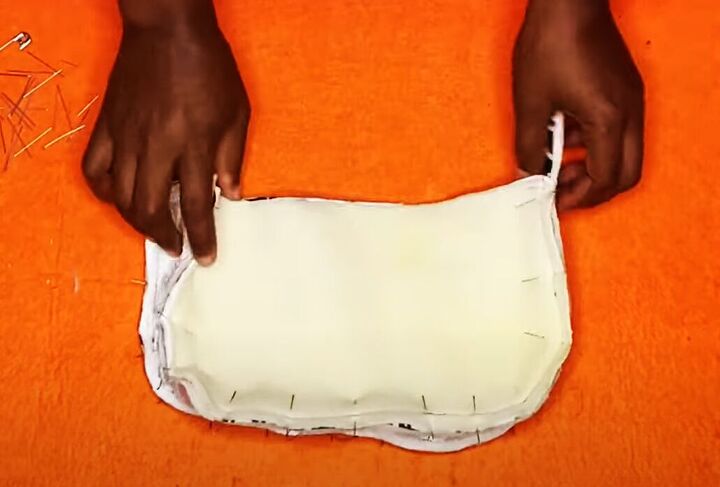
Pin piece 2 to both main pieces along their curved edges, with the right sides together.
Repeat with the lining pieces.
Sew around all four seams.
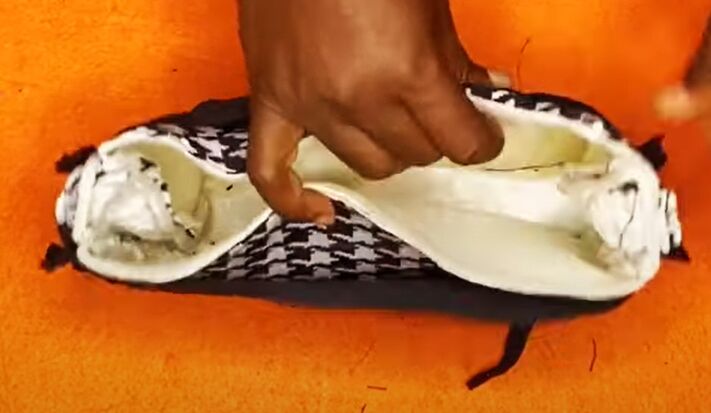
Snip the curves on both sides of the main bag and lining.
Turn the main bag right side out and trim the excess from the gusset tabs, on the lining and the outer.
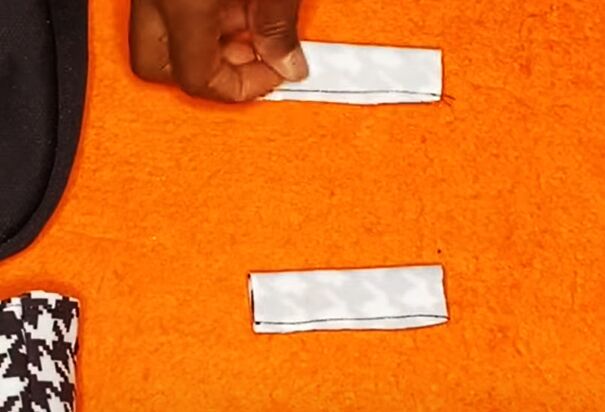
4. Make the handle loops
Fold pattern pieces 4 in half with the wrong sides together and sew the long edge.
Use a blunt object to turn them right side out.
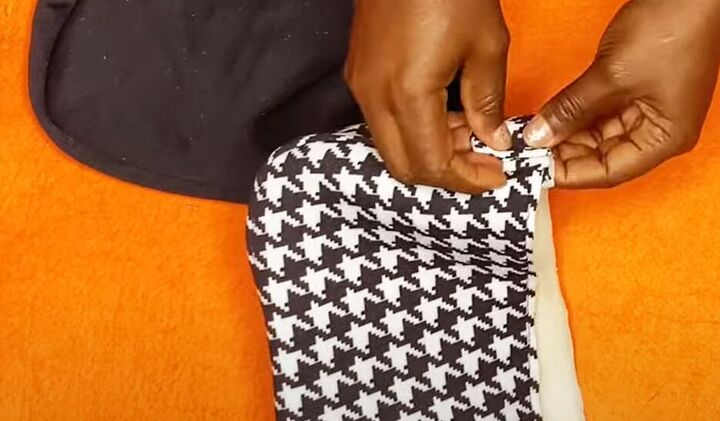
Fold them in half and pin them to the outside edges of the gusset, matching the raw edges.
Sew in place.
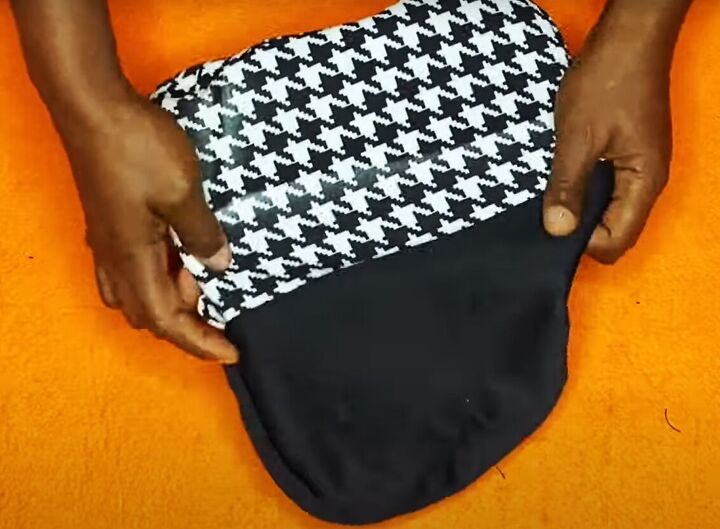
5. Attach the lining
Tuck the main bag, with the right side out, inside the lining.
Pin and sew them together around the top edge, leaving a 3 inch opening in the center of one side.
Make sure the loops are sandwiched between the outer and the lining.
Carefully pull the outer bag through the opening, then tuck the lining back inside it.
Fold in the edges of the opening and pin them together.
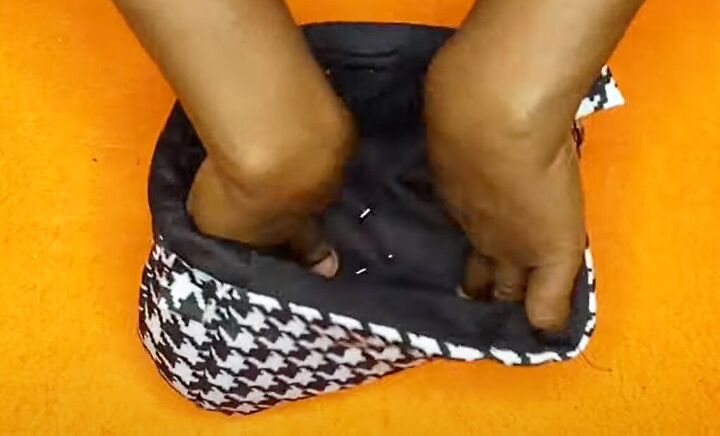
Pin the lining and main fabric together at the base of the bag and sew them in place.
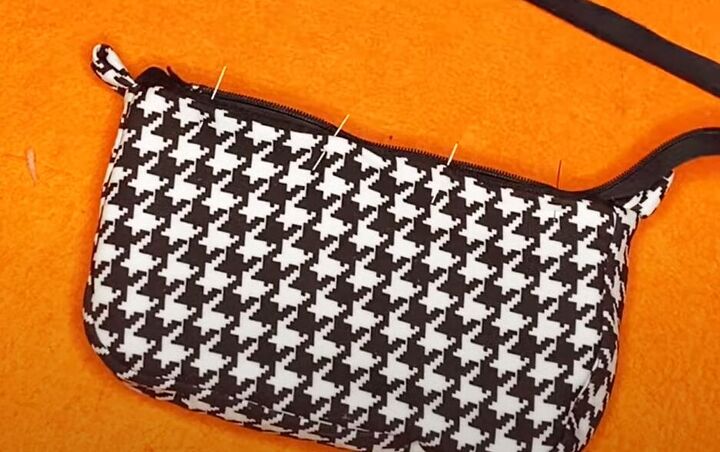
6. Insert the zipper
Pin the zipper tape to the top of the bag on each side, with the teeth just showing above the top edge.
Sew carefully around the top edge.
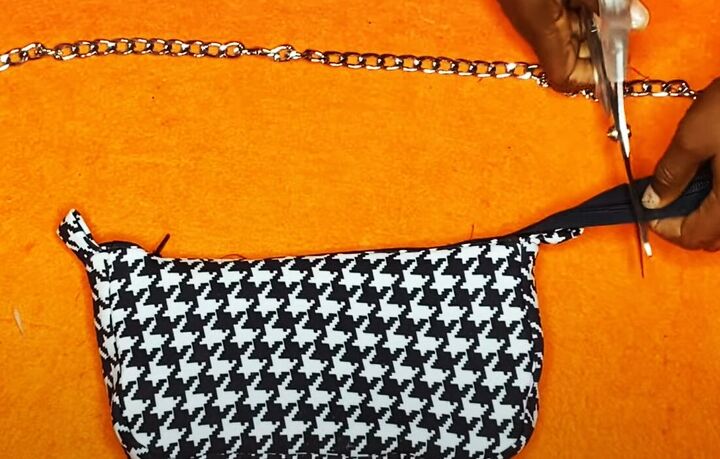
Cut off the excess zipper, leaving approximately a 2 inch tail.
7. Finishing
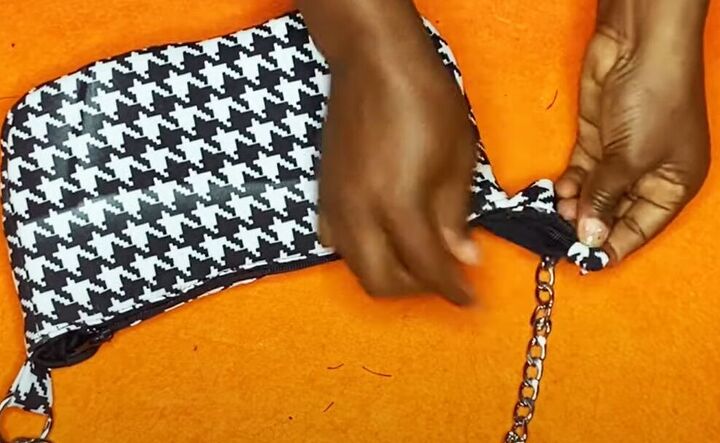
Pass the split rings on the chain through the handle loops.
Cut a piece of main fabric 2 inches by 2 inches to cover the end of the zipper. Fold in the raw edges, wrap it around the tape and sew it in place.


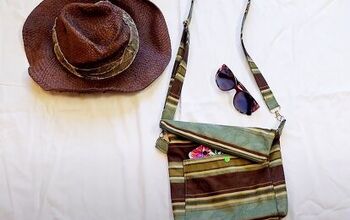
DIY shoulder bag
Wear your DIY shoulder bag as a crossbody bag, by looping the single chain over one shoulder.
Or use the chain double for an elegant shoulder bag.
Either way, you have a versatile and useful bag that took a couple of hours to make. So why not make a few of them, in different fabrics?
I really hope you enjoyed this project and I'd love to see your bags. Leave me a comment below.
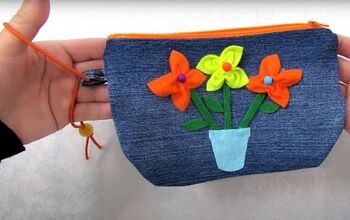
Check out my post on How to DIY a Cute Denim Bag From Old Jeans next.
The author may collect a small share of sales from the links on this page.


Comments
Join the conversation
STELLAR design and tutorial 🙌🙌🙌‼️‼️‼️Where can I find your tutorial for the matching hat 🎩⁉️ Thanks🤗‼️