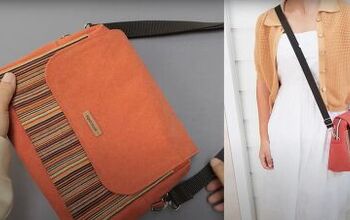
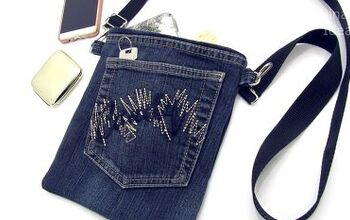
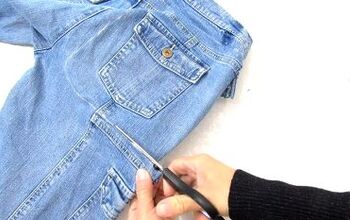
How to DIY a Cute and Easy Crossbody Bag

I really wanted to make a foldover bag for a change, so I came up with the design for this DIY crossbody bag.
It’s made of a collection of rectangles so it doesn’t need a pattern.
It’s very easy to sew and I will show you exactly how to insert the zipper. Even beginners can make this successfully.
Tools and materials:
- Main fabric
- Lining fabric
- Fusible interfacing
- 1 snap-on closure
- Bradawl
- 2 D-rings
- 2 snap hooks
- 1 adjustable slide buckle
- 10.5 inch (27 cm) zipper
- Scissors
- Pins
- Iron
- Sewing machine
1. Cut out bag pieces
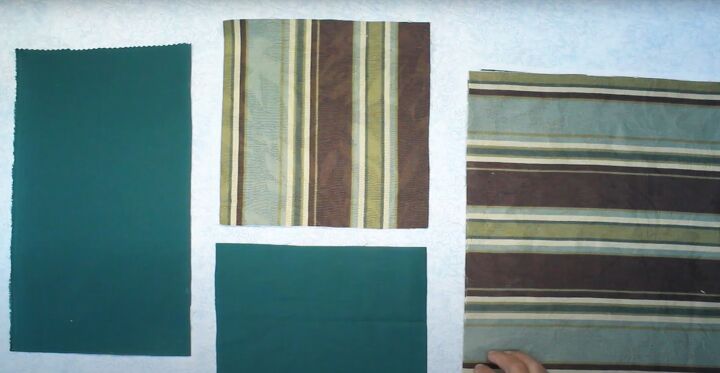
For the main bag, cut two pieces 12 inches by 13.5 inches (30 cm by 34 cm) from the main fabric, lining and interfacing.
The outer pocket needs one 9 inch (23 cm) square from the outer fabric and interfacing and one piece 7 inches by 9 inches (17 cm by 23 cm) from the lining.
For the inside pocket cut one piece 8 inches by 13.5 inches (20 cm by 34 cm) from the lining.
You also need one piece 4 inches by 46 inches (10 cm by 116 cm) for the bag handle and two small pieces each 2.8 by 3.5 inches (7 cm by 9 cm) for the D-ring tabs, all from the main fabric.
2. Outer pocket
Iron the interfacing to the wrong side of the main bag and pocket pieces.
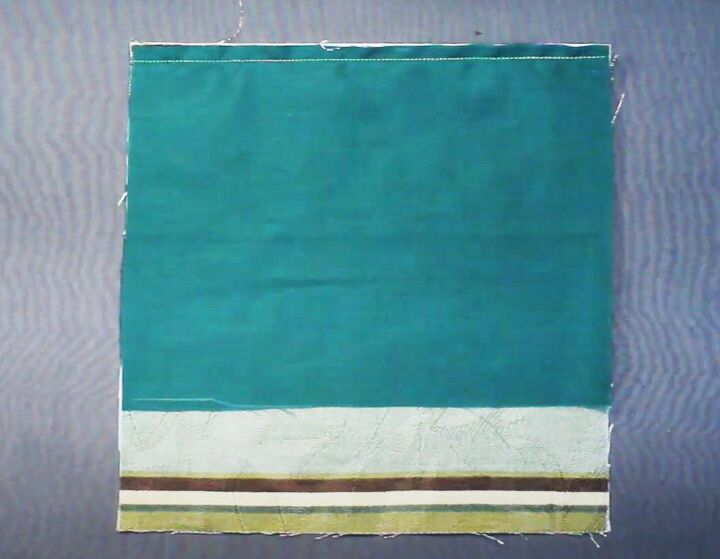
Sew the pocket lining to the pocket along one short edge, with the right sides facing. Press the seam open.

Pin the lining to the other short edge and sew both side seams. Snip the corners and turn the pocket right side out.
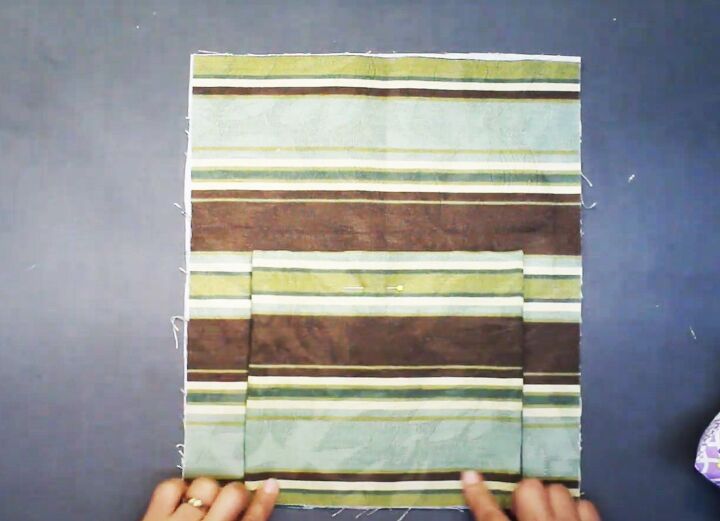
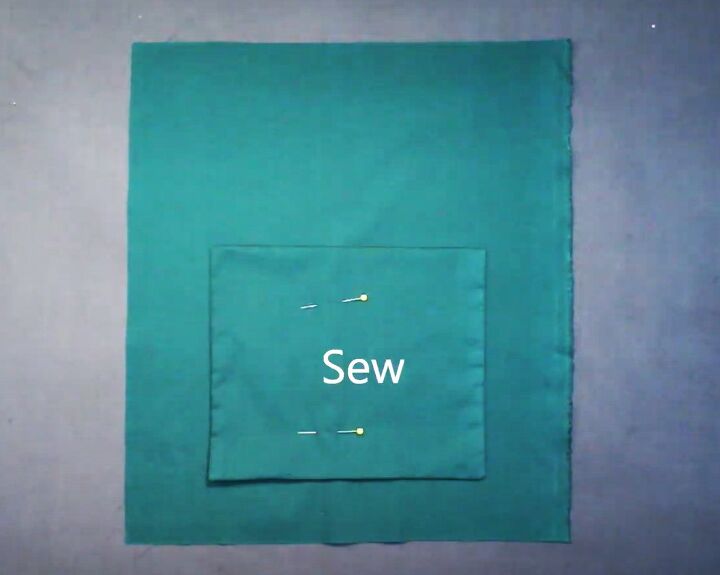
Place the pocket centrally on one of the main bag pieces, lining up the raw edge with the lower edge of the bag.
Sew together along the side seams.
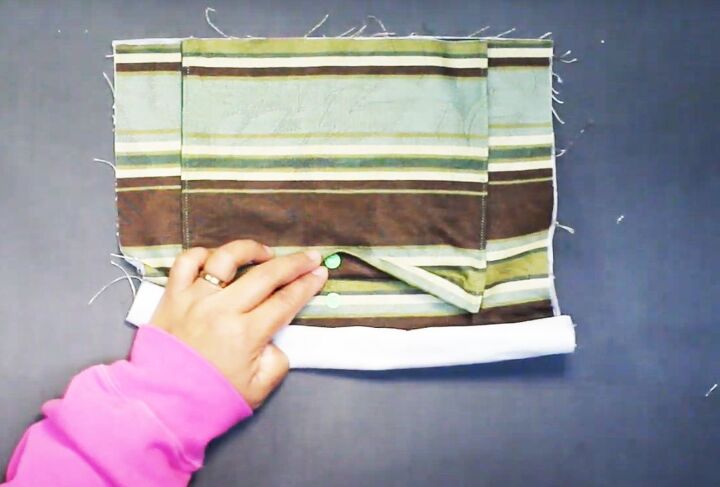
Add a snap-on closure to the center top edge of the pocket.
3. Inside pocket
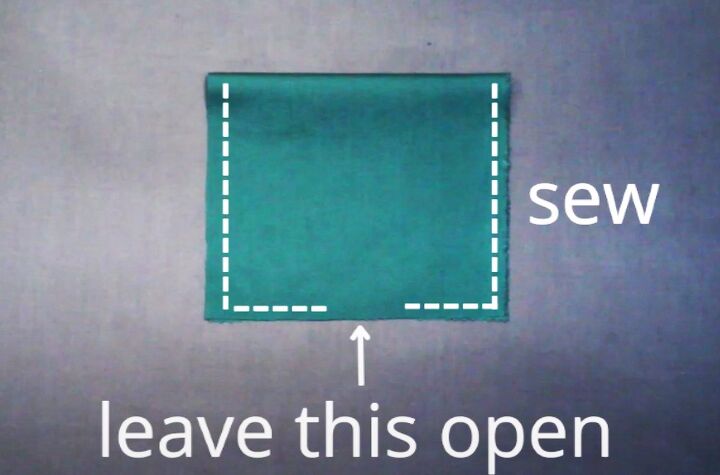
Fold the pocket in half widthways with the right sides together.
Sew together on 3 sides, leaving a small opening at the bottom edge. Snip the corners and turn the pocket right side out.
Pin centrally to one of the bag lining pieces, 5.5 inches (14 cm) from the top edge, with the folded edge at the top.
Sew along the side and bottom edges.
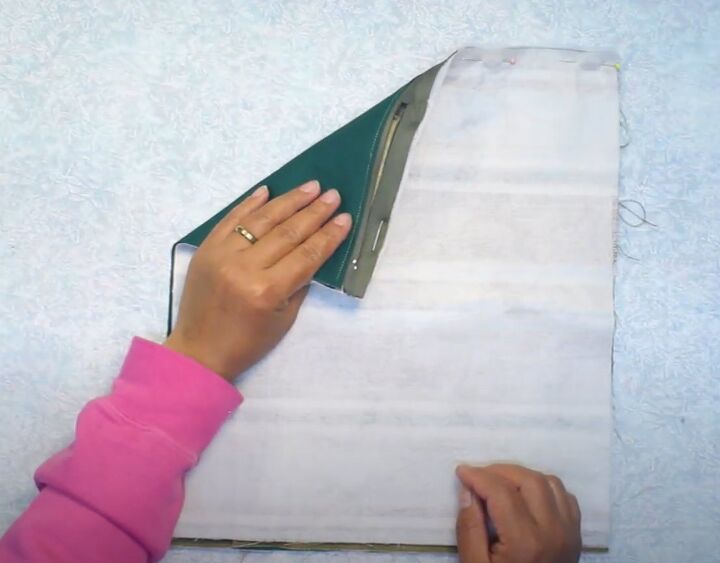
4. Insert zipper
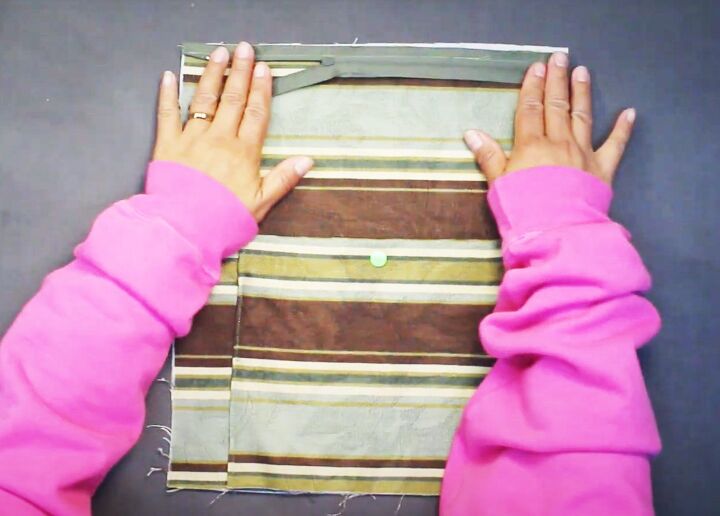
Pin the zipper to the short edge of the bag front, with the right sides together. Sew the top tape in place.
Sew the plain lining piece to the top edge, enclosing the zipper tape.
Fold the lining to the wrong side and top stitch the three layers together.
Pin and sew the other bag piece to the free zipper tape, with the right sides facing.
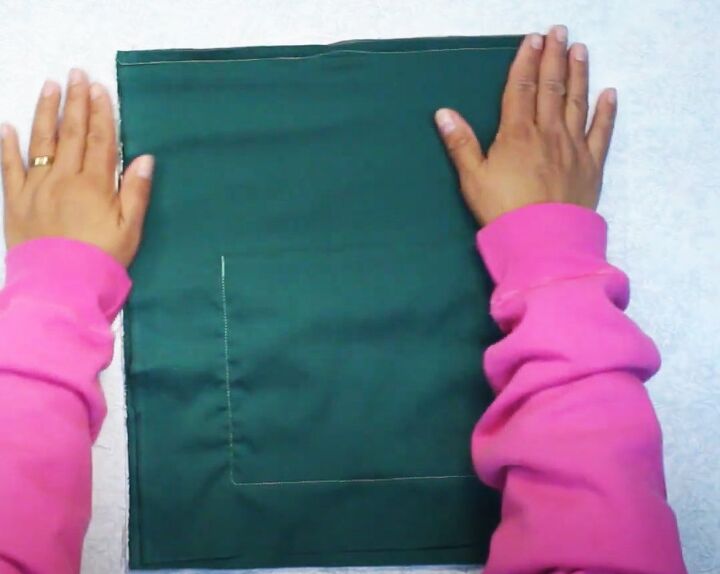
Sew the second lining piece on top of the first along the top edge, with the right sides together. Top stitch on the right side.
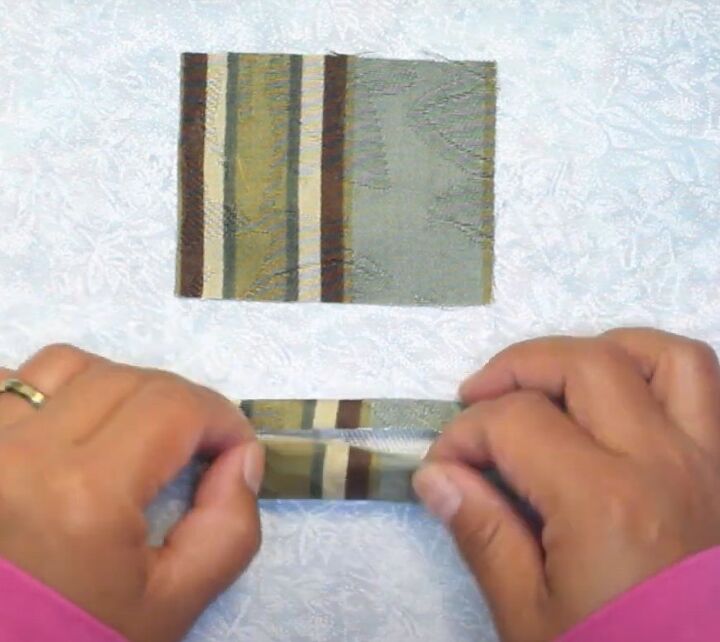
5. D-ring tabs
Turn in half an inch (1 cm) along the long sides of the D-ring tab and fold the tab in half. Sew along both long edges.
Repeat with the second tab.
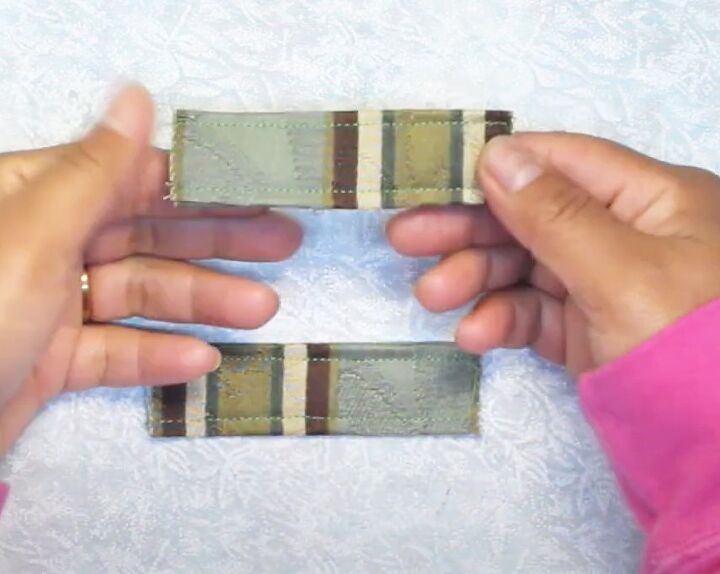
Thread the tabs through the D rings and pin.
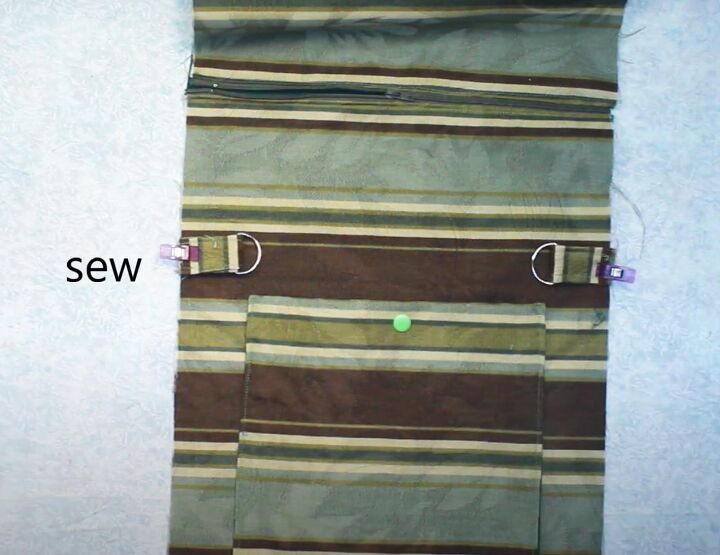
Sew to the side edges of the bag front, 4 inches (10 cm) from the zipper.
6. Assemble the bag
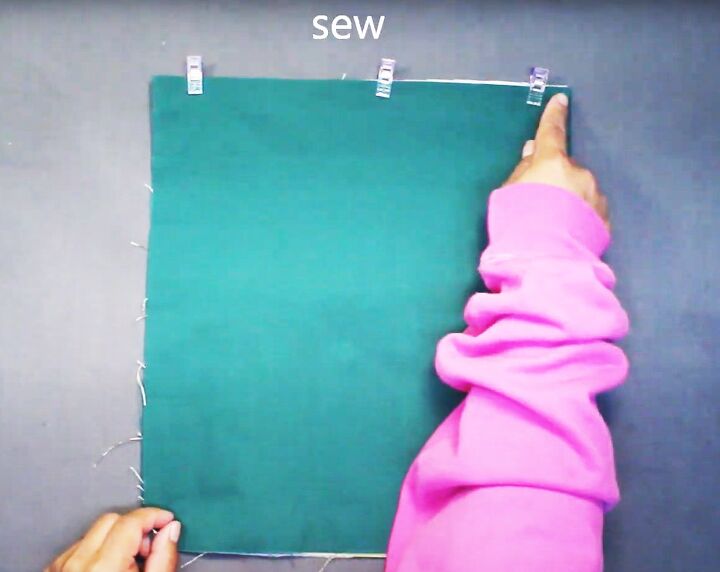
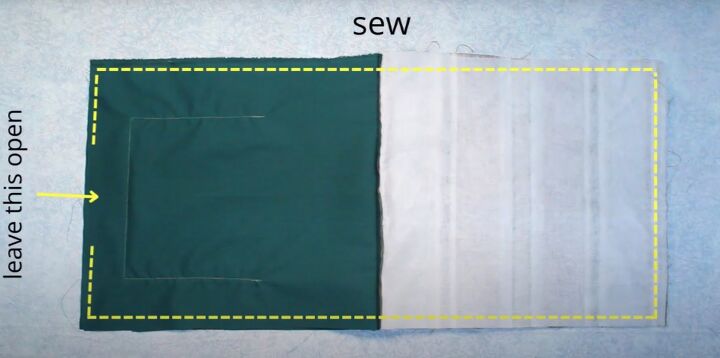
Lay the bag and lining pieces out flat with the right sides together.
Sew all four edges, leaving a small opening at the lower edge of the lining.
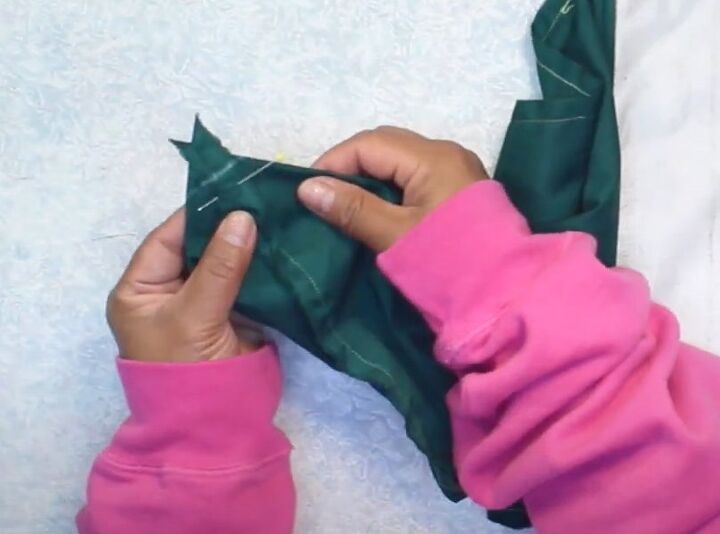
Fold each corner into a point, matching the seams.
Draw a line 1.2 inches (3 cm) long across each point and sew along each line. Snip the excess fabric at the corners.
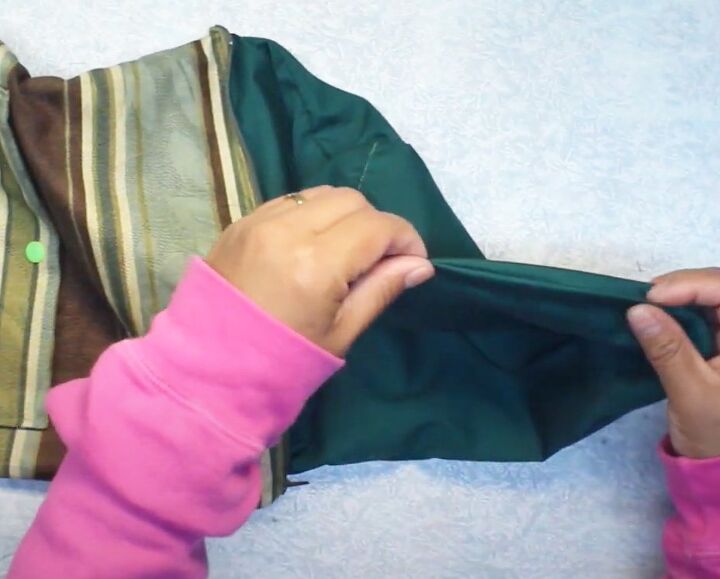
Turn the bag right side out through the opening in the lining.
Sew the opening closed. Tuck the lining inside the bag.
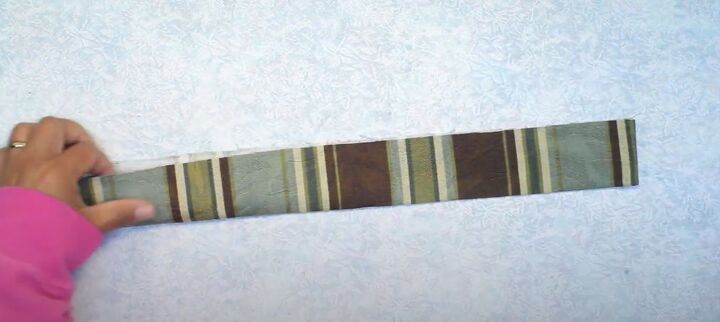
7. Handle
Turn in and press the short edges of the handle.
Fold the handle in half lengthways with the wrong sides facing and press.
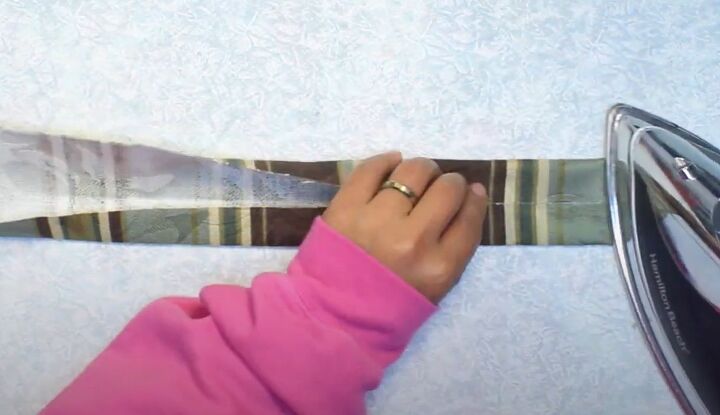
Open the handle out flat and press both long edges to meet at the centerfold.
Fold the handle in half lengthways again and sew around all four edges.
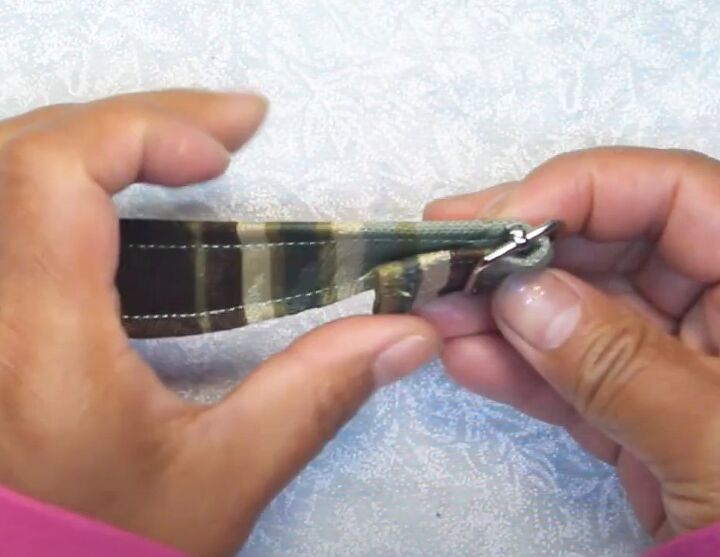
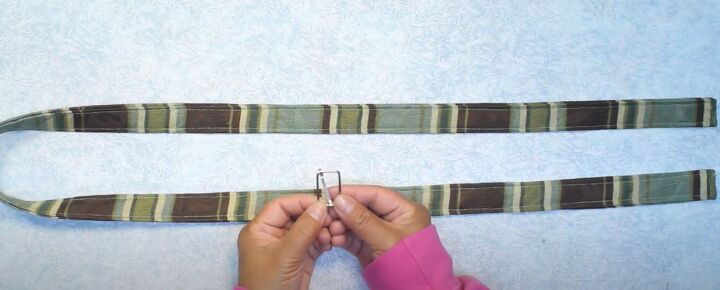
Slide the adjustable buckle on to one end of the handle and sew in place.
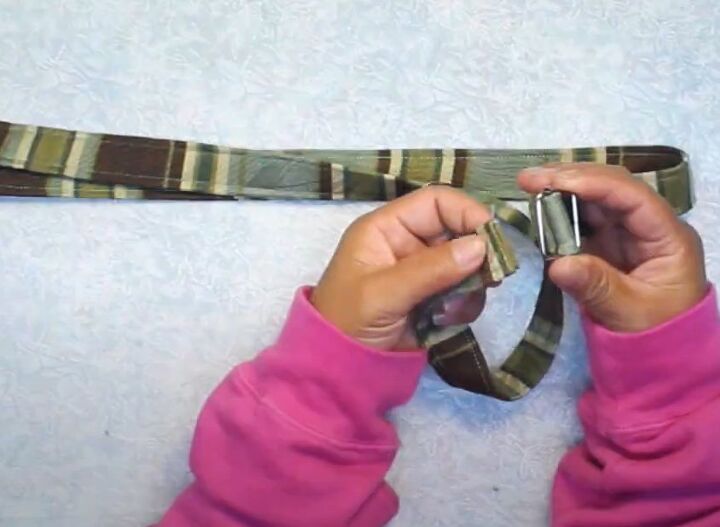
Place one of the snap hooks on to the other end, then thread the free end through both sides of the adjustable buckle.
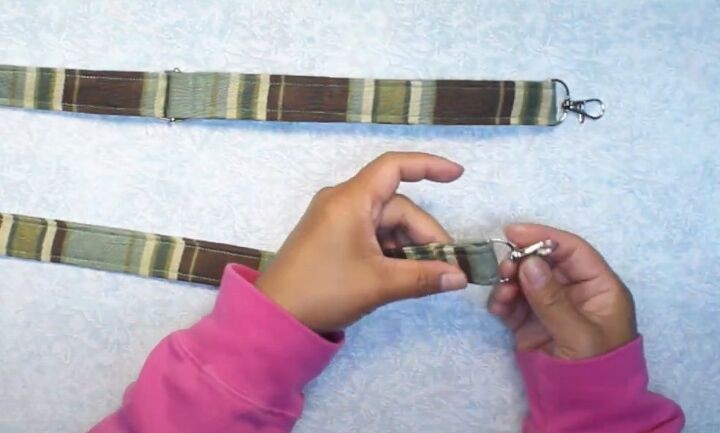
Thread the second snap hook through the other end and sew in place.
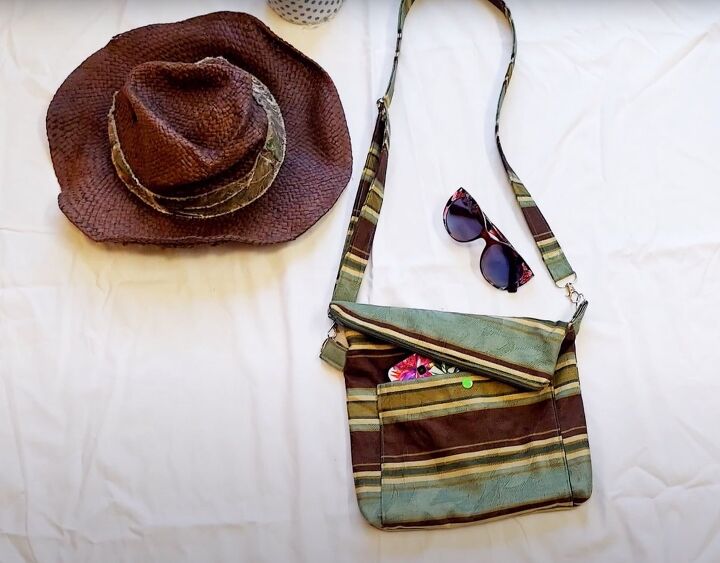
DIY crossbody bag
I love crossbody bags for the safety aspect. You could add a magnetic closure to the bag flap for even more security if you wanted to wear it as a shoulder bag.
I’d love to know what you think of this style in the comments below. I really hope you like it!
Next, check out my Easy Patchwork Tote Bag Pattern Tutorial.
The author may collect a small share of sales from the links on this page.


Comments
Join the conversation
Love it! Thanks for sharing