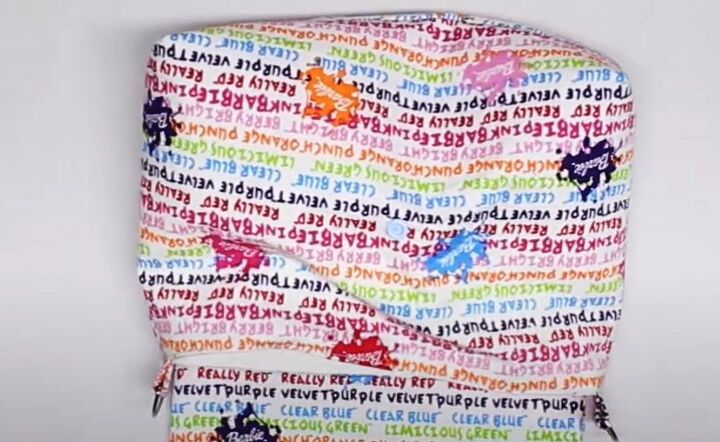
How to DIY a Cute and Easy Crossbody Bag

I wanted a small, neat crossbody or shoulder purse to hold my essential items.
I came up with this DIY crossbody bag sewing pattern that’s just 9 inches wide by 6.5 inches long and 3.5 inches deep.
The strap is adjustable and it looks great worn either way. It’s very straightforward to make, so let’s get started!
Tools and materials:
- Main fabric
- Lining fabric
- Fusible interfacing
- 2 x 1 inch D rings
- 2 swivel clasps
- 1 strap adjuster
- 1 snap button closure
- Paper for pattern
- Ruler
- Pencil
- Fabric marker
- Pins or fabric clips
- Scissors
- Pinking shears (optional)
- Iron
- Sewing machine
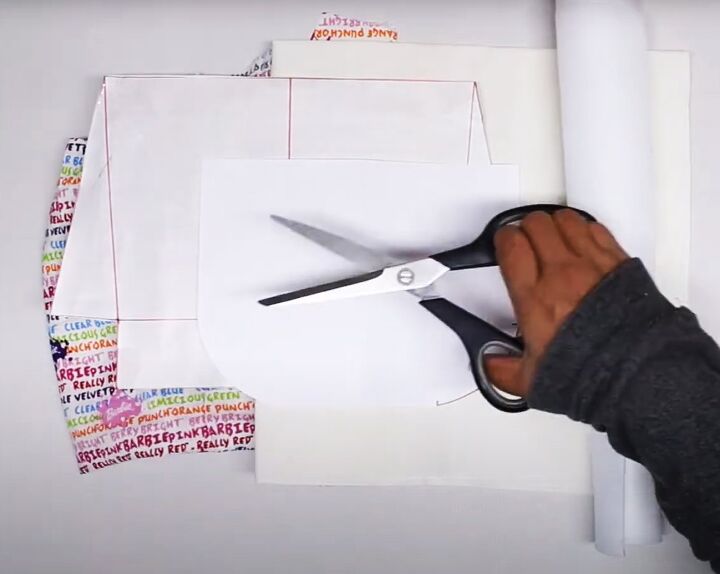
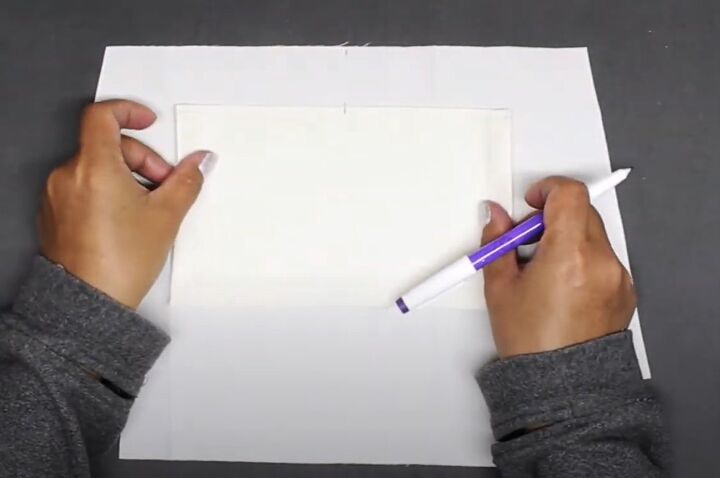
1. Cut out the fabric
Watch the video from 0:56 to 3:01 to see exactly how I draw the two main pattern pieces.
For the outer bag and lining, you’ll need to add a half inch seam allowance all the way around when cutting out the pattern pieces.
Interfacing should always be cut to the size of the pattern.
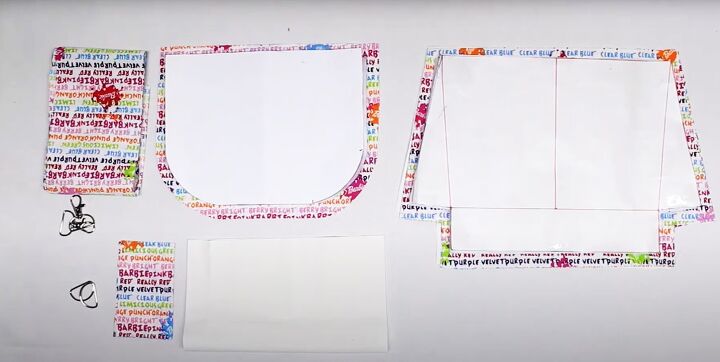
Cut two pieces of interfacing for the bag body and one for the flap.
From the main fabric, you’ll need two pieces for the body and two for the flap.
You also need two handle tabs, each 2.5 by 4 inches, and a handle 4 inches by 48 inches.
From the lining, cut two body pieces and one inside pocket, 8.5 by 10 inches.
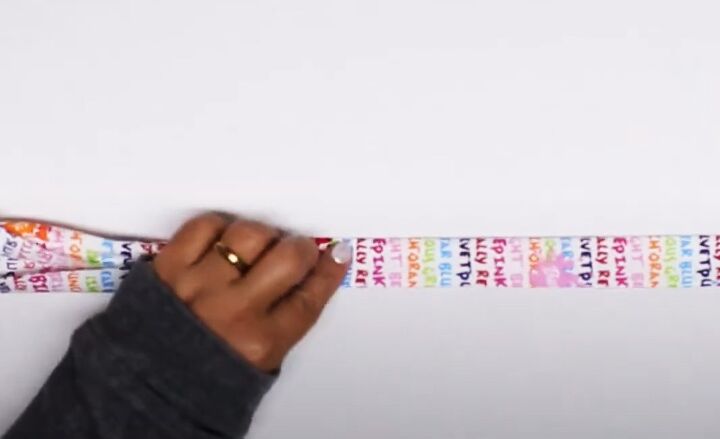
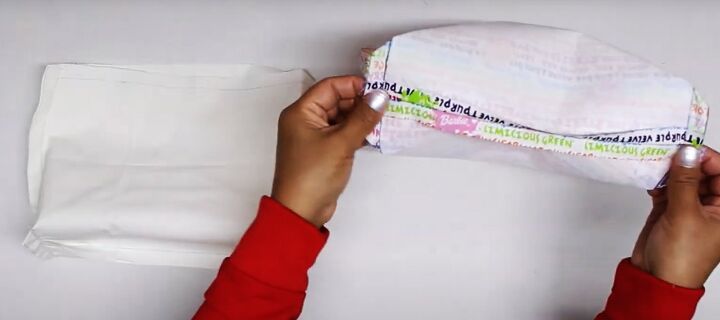
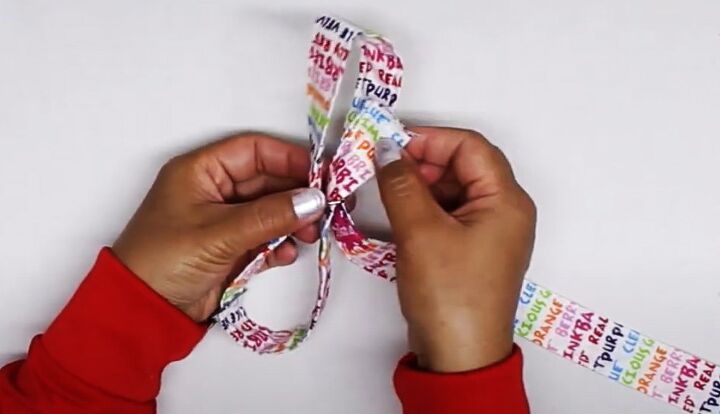
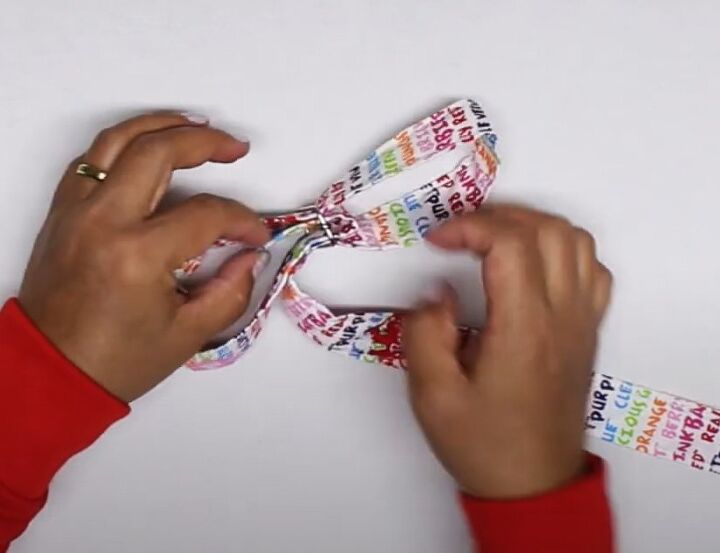
2. Make the handle
Fold the handle strip in half lengthways with the wrong sides together, and press the fold.
Open it out flat and fold the two long edges to the center fold and press. Fold the strip in half lengthways again and press.
Sew along both the long edges.
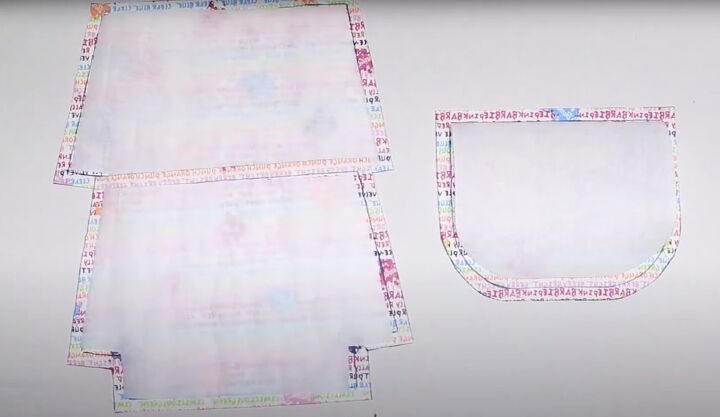
3. Assemble the front flap
Iron the interfacing on to the wrong side of one of the flap pieces and both of the body pieces.
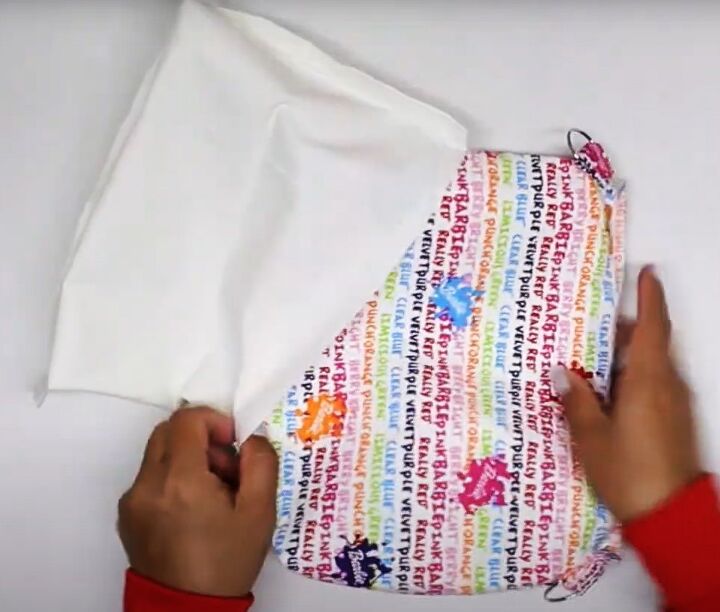
Place the two flap pieces with the right sides together and sew the curved edges.
Snip the curves or trim with pinking shears.
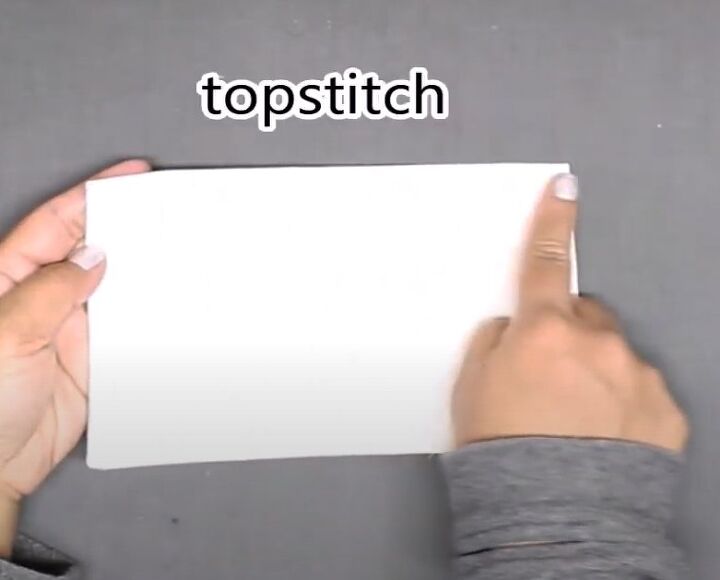
Turn the flap right side out and topstitch around the curved edges.
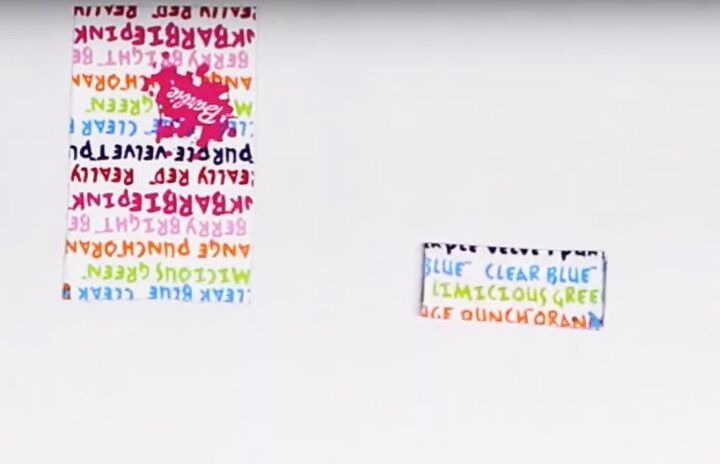
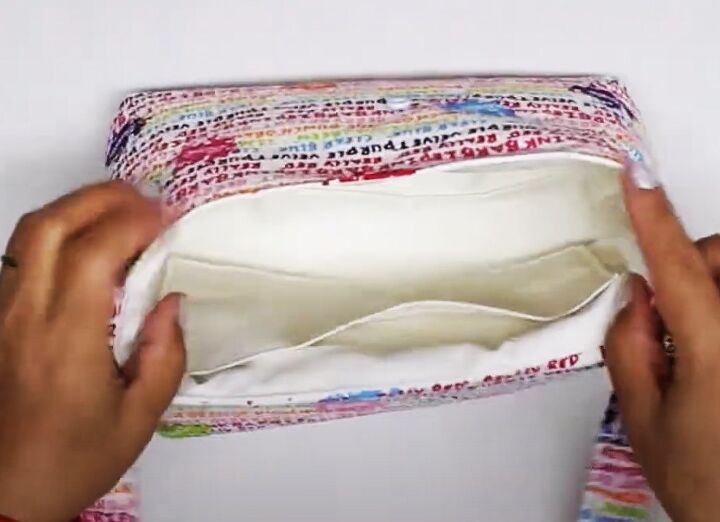
4. Attach the inside pocket
Fold the pocket piece in half widthways with the right sides together. Sew the open edges, leaving an opening in the longer edge.
Snip the corners and turn the pocket right side out.
Topstitch the long folded edge.
Center the pocket on one of the body pieces, 1.75 inches from the top edge.
Sew in place.
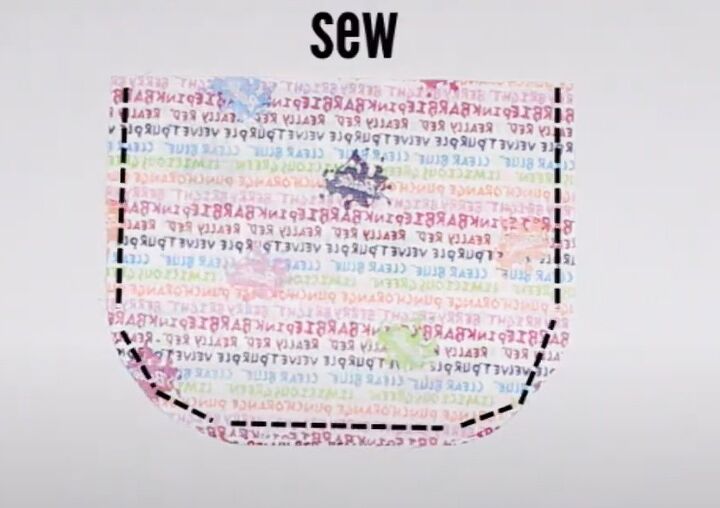
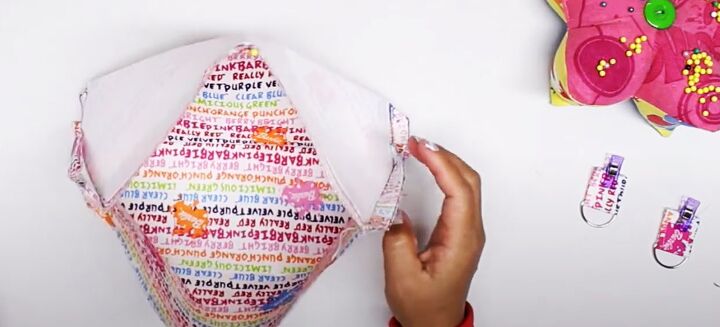
5. Assemble the bag body
Place the two main body pieces with the right sides together. Sew the side and bottom seams.
Repeat for the body lining, leaving an opening in the lower seam.
Matching the side and bottom seams, sew each corner closed on the main fabric and lining.
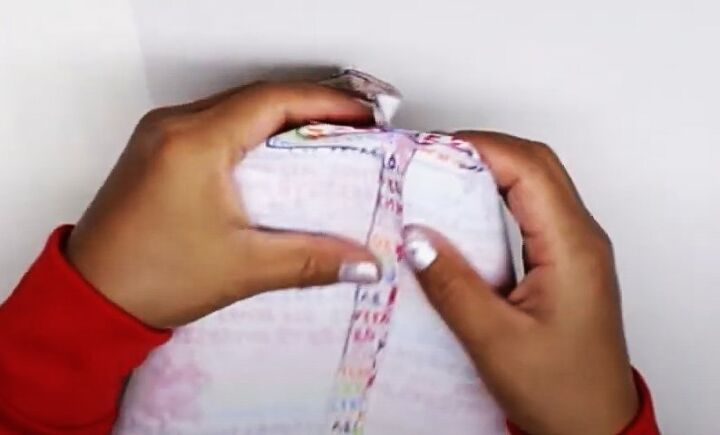
Fold and sew the handle tabs in the same way as the handle.
Place each tab through a D ring.
6. Attach the front flap
Mark the center front of the bag body and the flap.
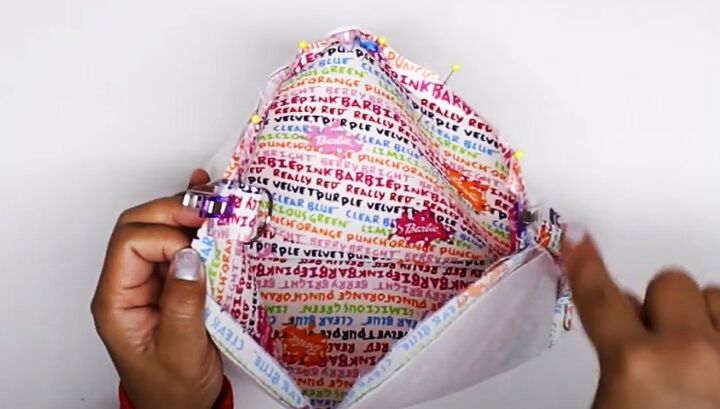
Pin the flap to the bag front with the right sides together.
Pin each handle tab over a side seam and sew the tabs and flap in position.
7. Attach the lining
Turn the bag right side out and push out the corners.
Insert the bag and flap inside the lining so the right sides are touching.
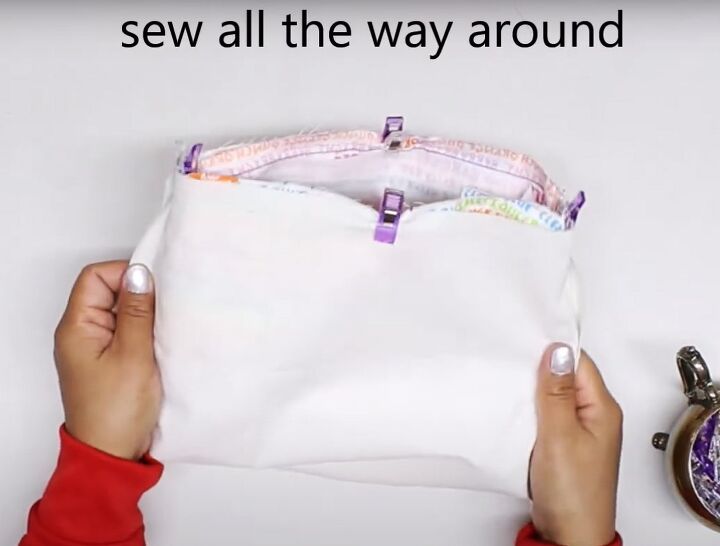
Align the side seams and sew around the top edge.
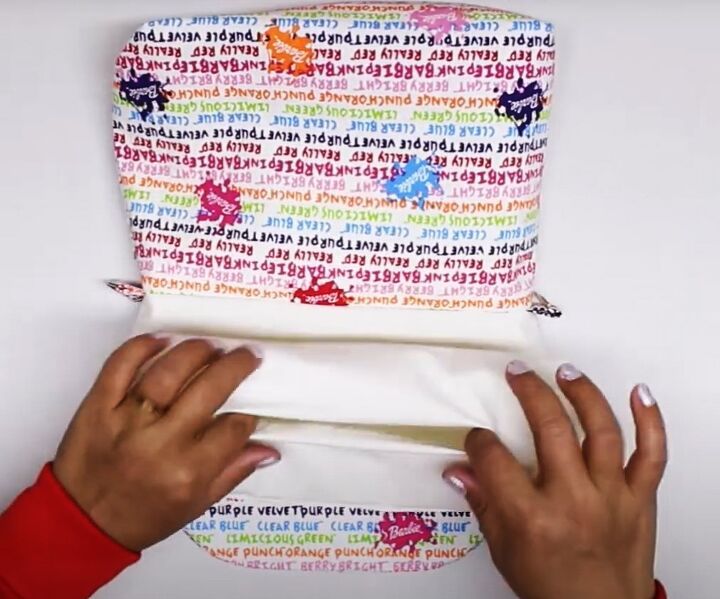
Pull the bag out through the opening in the lining and sew the opening closed.
Tuck the lining inside the bag and topstitch around the top edge.
8. Make the closure
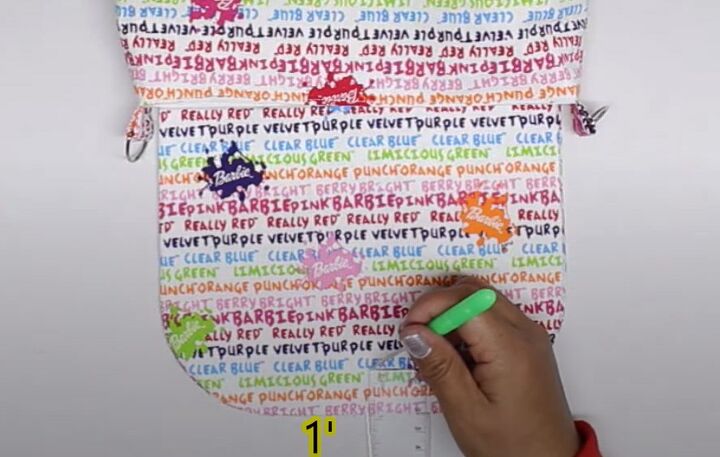
Mark the center of the flap edge.
Attach one half of the snap button 1 inch from the edge.
Attach the other half to the matching position on the bag body.
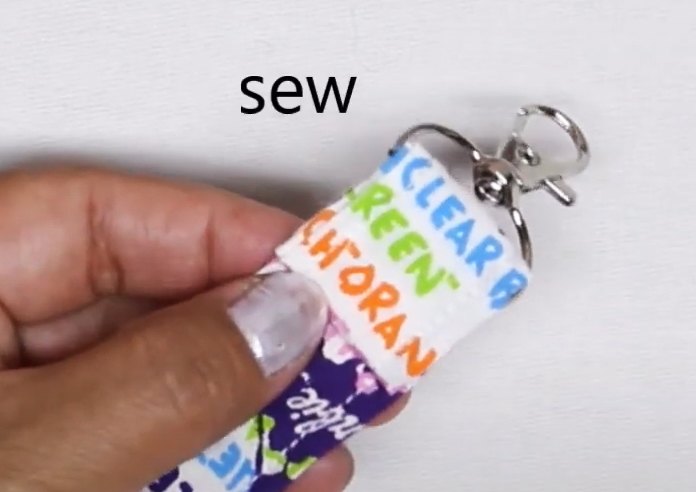
9. Attach the handle
Place a swivel clasp over one end of the handle and sew in place.
Slide the adjuster over the other end of the handle.
Thread the end through the second clasp and through the center of the adjuster.
Take the end back through the side of the adjuster and sew it in place.
Clip the clasps through the D rings on the bag.
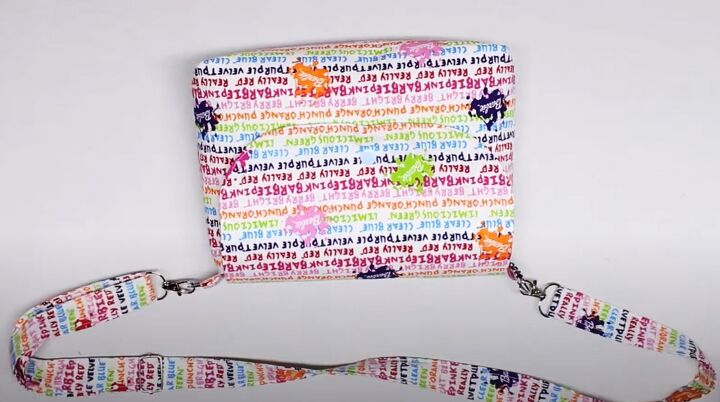
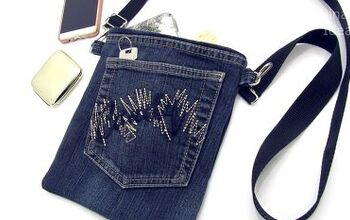
DIY crossbody bag
As you can see, it’s very easy to learn how to sew a crossbody bag. Because of the adjustable strap you can wear it in several ways, even as a regular purse over your arm.
Try making it up in luxury fabrics, for a great evening look.
I’d love to see what you think of it in the comments below and what other bags you’d like to see me make.
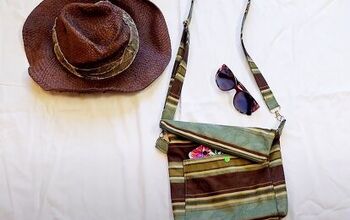
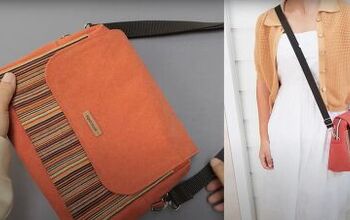
Next, check out my Easy Upcycled Patchwork Tote Bag Tutorial.
The author may collect a small share of sales from the links on this page.


Comments
Join the conversation