How to DIY a Cute and Easy Button Necklace

If you’re like most people, somewhere in your house is a box or drawer full of loose buttons. Are you looking for a way to put some of those loose buttons to good use?
Buttons make great substitutes for beads in jewelry-making projects, so here is a DIY button necklace tutorial that you’ll love!
And if you don’t happen to have spare buttons, you can always use the same button necklace technique with beads.
Tools and materials:
- Assorted buttons (or beads)
- Chain
- Clasp
- Jump rings
- 20-gauge half-hard round wire
- Wire cutters
- Chain nose pliers
- Round nose pliers
- Bent nose pliers
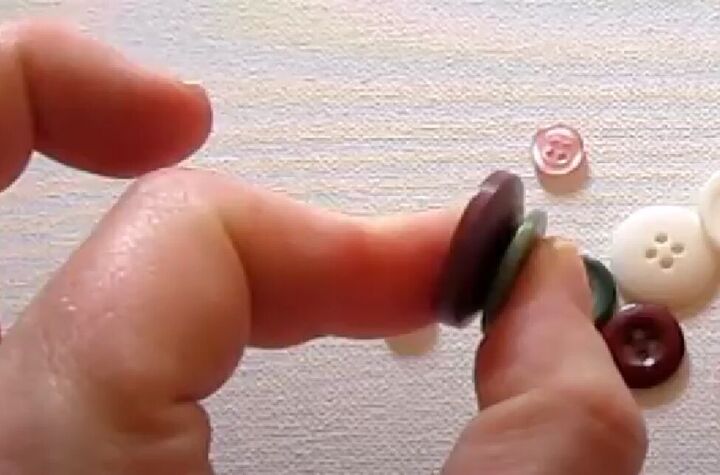
1. Choose your buttons
You can use buttons in assorted colors and sizes, or you can choose all one color, with varied sizes.
Keep in mind, when you are choosing your buttons, that once your necklace is complete, it will be the sides of the buttons, not the fronts, that are visible.
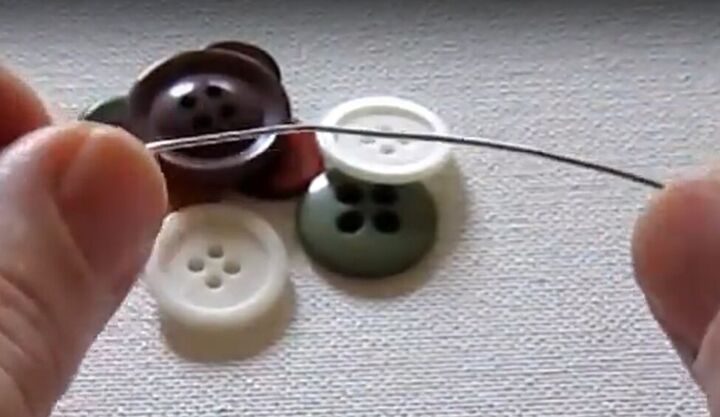
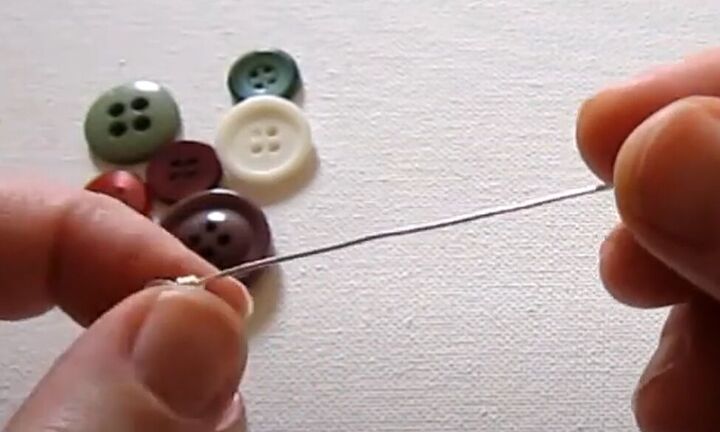
2. Cut the wire
With wire cutters, cut a piece of wire that is a few inches longer than all of your beads, when they are stacked together.
If you’re unsure of the length, err on the side of cutting the wire too long, rather than too short.
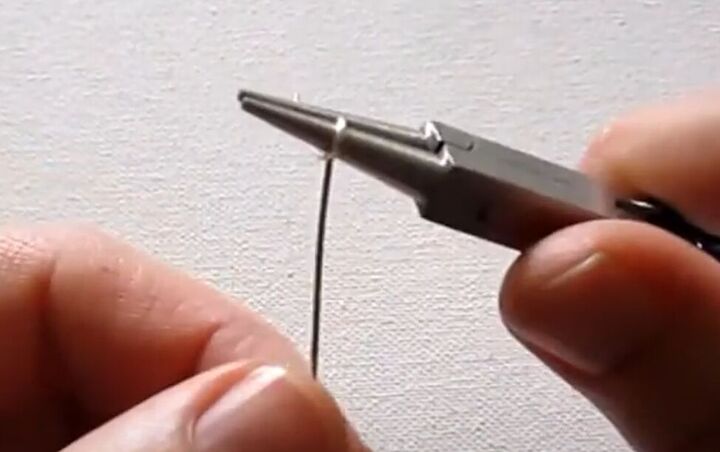
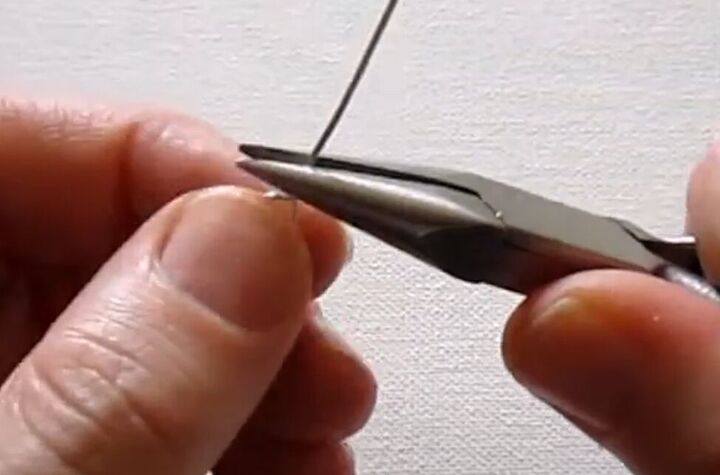
3. Make a wire-wrapped loop
Hold the wire about 1¼ inches from the top and wrap it around your round nose pliers.
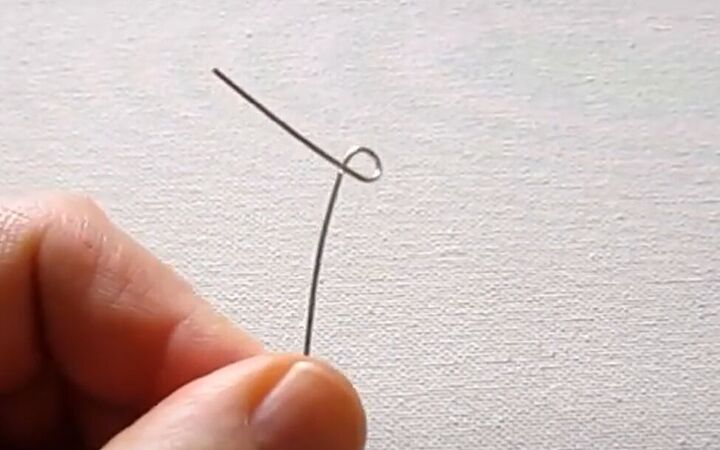
Now you have a loop.
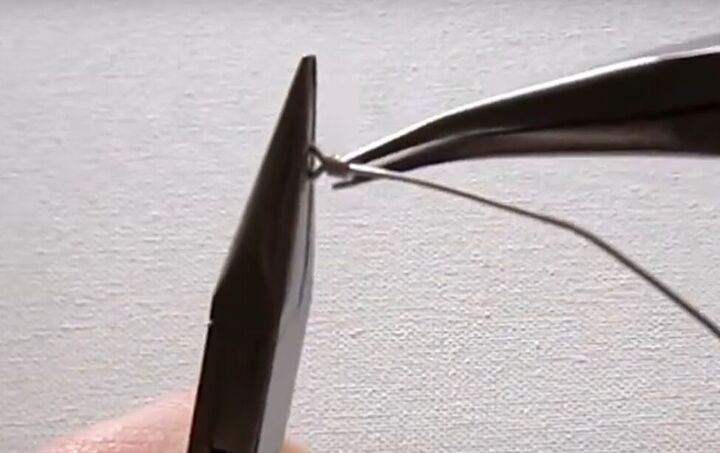
Hold the loop with chain nose pliers. With your bent nose pliers, wrap the end of the wire around the bottom of the loop three times.
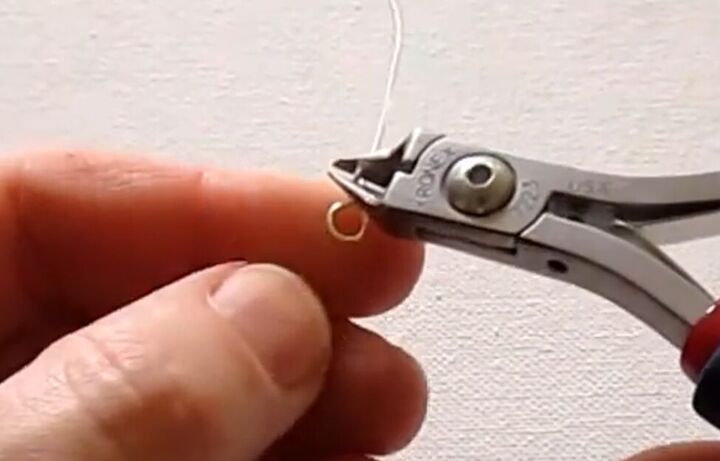
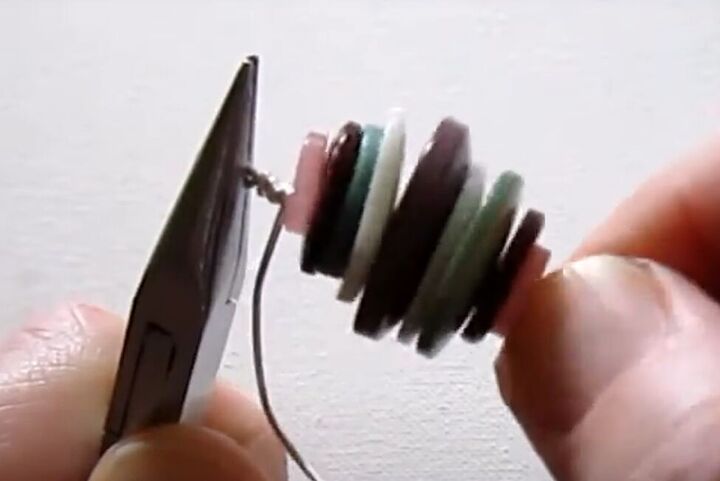
Using the back of your wire cutters, flush-cut any excess wire off of the wire wrap.
Use your chain nose pliers to make sure the cut end of the wire isn’t poking out.
Gently straighten the wire if it became bent during the wrapping or cutting.
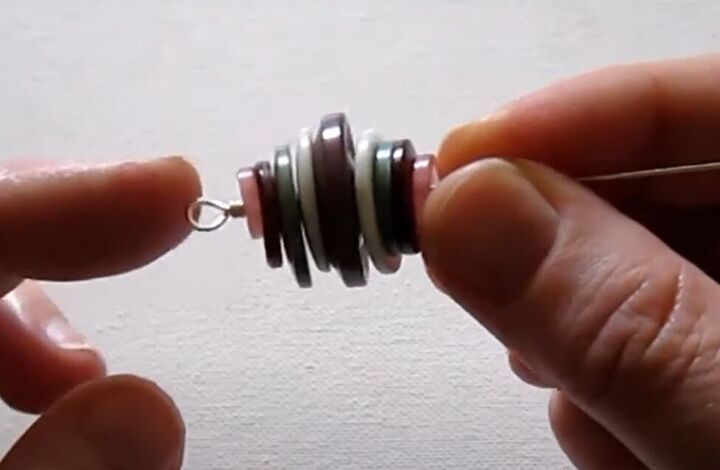
4. Thread your buttons
Decide on the pattern that you want your buttons to be in your necklace and slide them onto the wire in that order.
My buttons start small, then go to the largest button in the middle and back down to small.
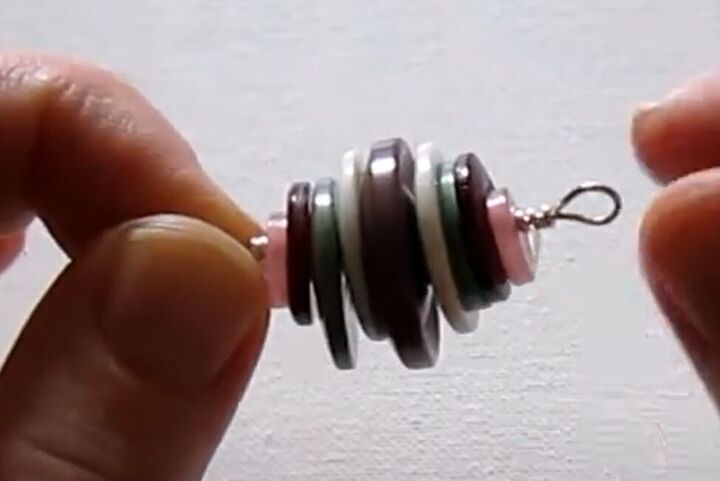
5. Make another wire-wrapped loop
Starting about ¼ of an inch above the last button, make another wire-wrapped loop using the same technique as in step 3.
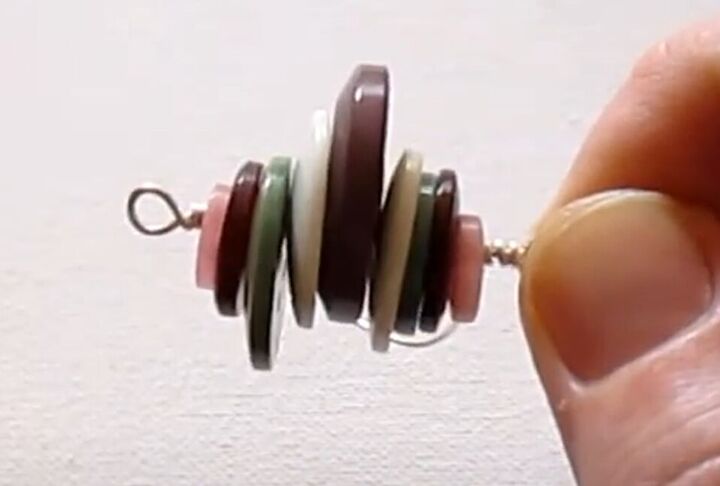
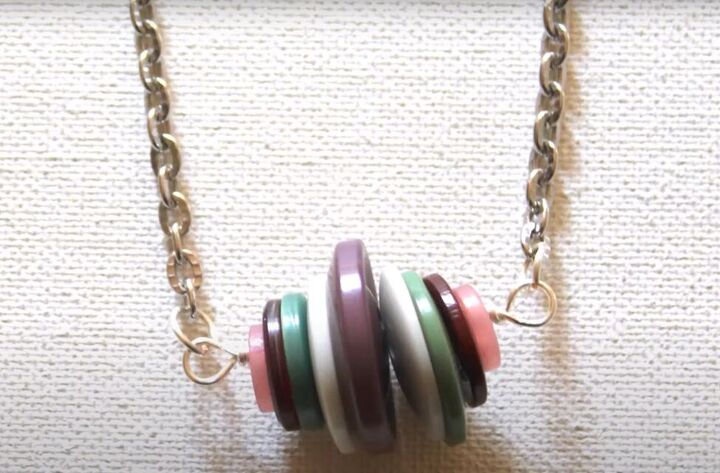
6. Align your buttons
If your buttons are sitting awkwardly on the wire after making the second loop, just spin them into position so they are better aligned.
That looks better!

5. Attach the chain
Place a jump ring on each wire-wrapped loop and add an equal length of chain to each side.
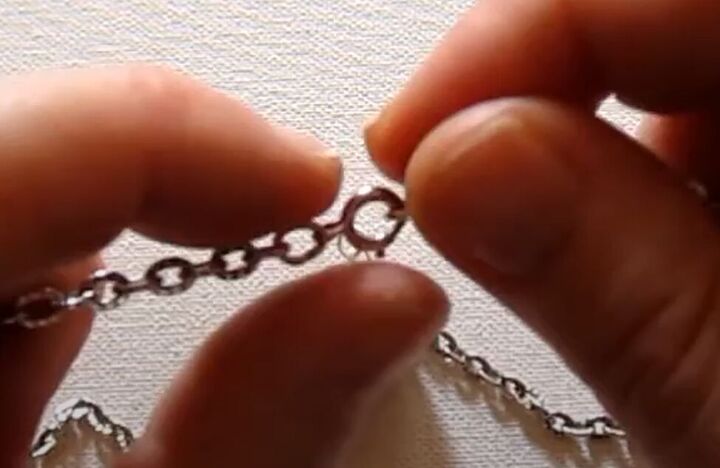
Add a clasp if your chain doesn’t already have one.
Making a DIY button necklace is really as simple as that! This is a great project to do with kids on a rainy day. You can make necklaces or bracelets with the same technique, using buttons or beads – whichever you have around!
Leave a comment to let me know how your DIY button jewelry turned out.
The author may collect a small share of sales from the links on this page.


Comments
Join the conversation
i have a huge tin of buttons so this is a wonderful way to use some of them . Thanks for
👎🏻