How to DIY a Cute and Easy Denim Pouch

Hello everyone! Today, I’m going to show you how to make a denim pouch that you can use for your phone, keys, wallet and whatever other essentials you need.
We’re going to be using an old pair of jeans and giving them a new purpose. I love upcycling old clothes to make new things. Let’s get started!
Tools and materials:
- Old jeans
- Fabric for lining
- Bag strap
- Sewing chalk
- Scissors
- Hot glue gun or sewing machine
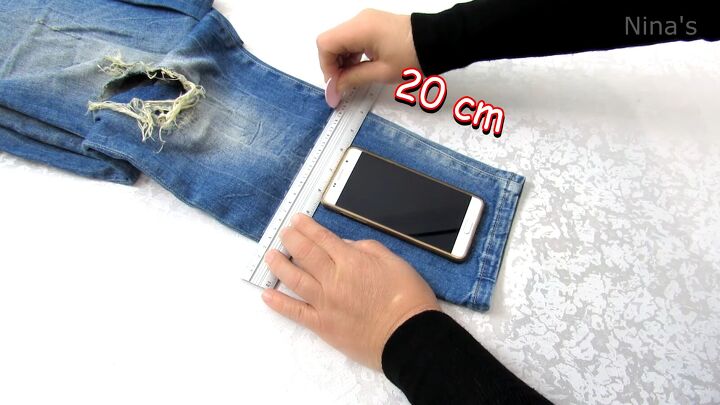
1. Measure and cut for the bag
First, take a pair of old jeans and use one of the pant legs.
Measure 20 centimeters (8 inches) up from the bottom. Mark it with chalk and cut along the marked line.
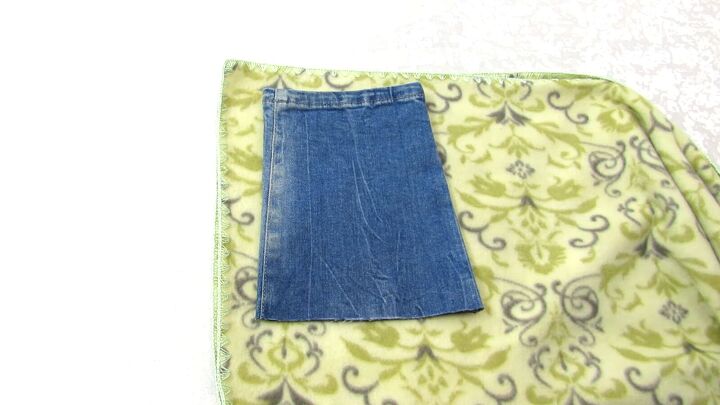
2. Measure and cut lining
For the lining you can use fleece, or felt. I’m using a piece of an old blanket.
Fold the fabric in half. Place the scrap you cut out for the bag on top of the fabric to measure and cut the fabric to fit the bag.
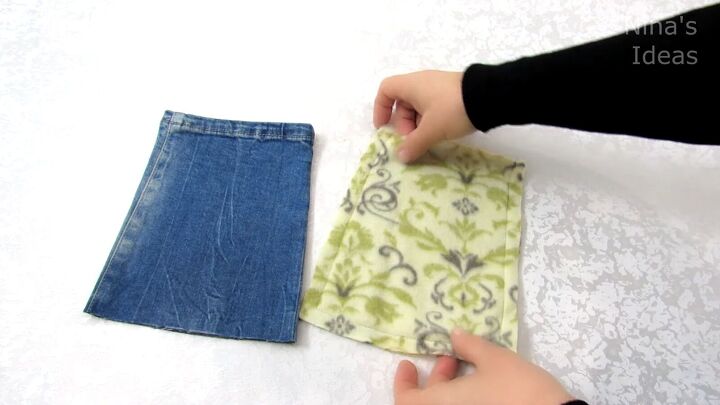
3. Sew the lining
Take the two pieces of fabric you just cut and place the right sides of the fabric together.
Then sew the lining around the edges, leaving the top open.
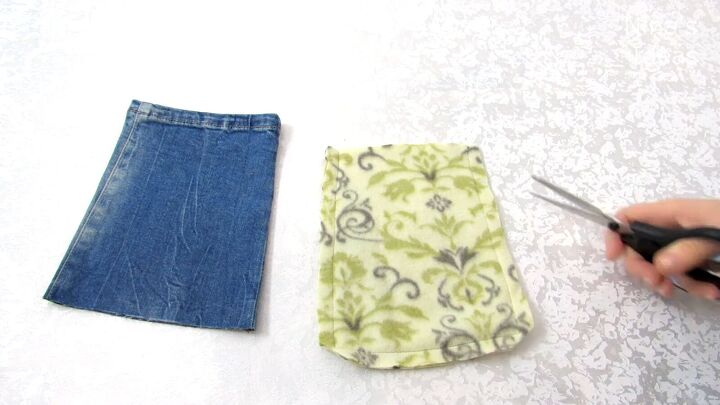
Once sewn, cut the corners off the lining so they don’t bunch and gather when it’s inside the bag.

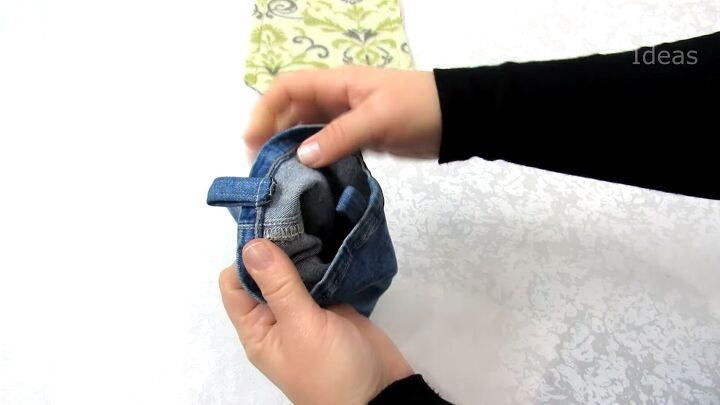
4. Hem the bottom of the bag
Take the jeans cut out, turn it inside out, and sew along the cut edge, closing what will be the bottom of the bag.
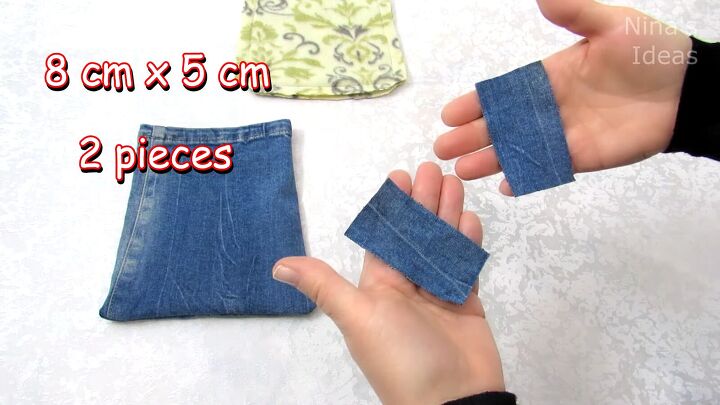
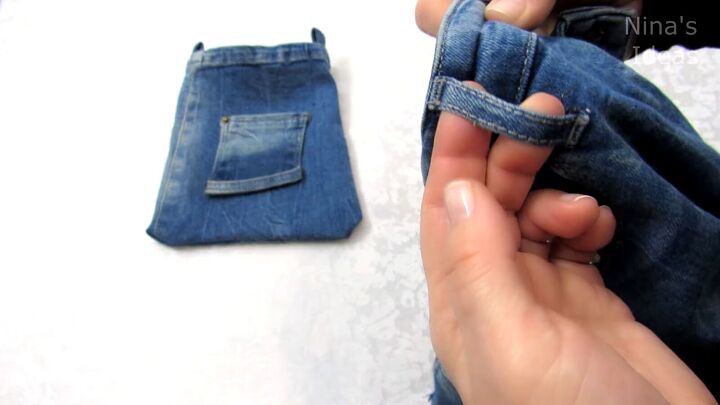
5. Create strap loops
Go back to the jeans and cut two pieces of denim measuring 8 by 5 centimeters (3.1 by 2 inches).
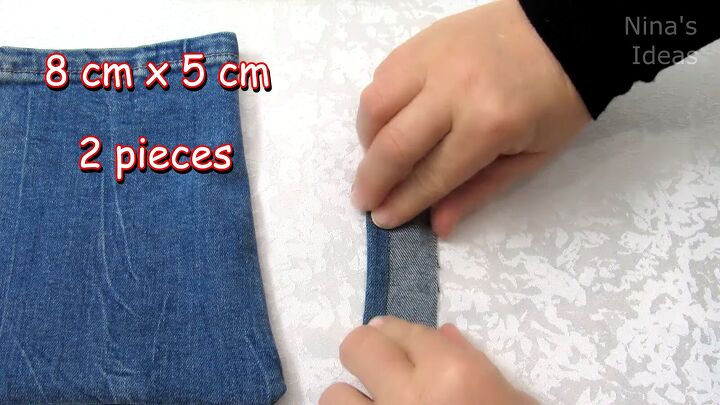
Take one of those two patches of denim and fold lengthwise in once from either side and then fold it in the middle.

Iron it to hold the folds and then sew a line stitch on both sides lengthwise.
Repeat these steps on the other patch. These are going to be the loops for the strap.
Fold them in half to create the loops and pin one to the top of each side of the bag and sew them in place.
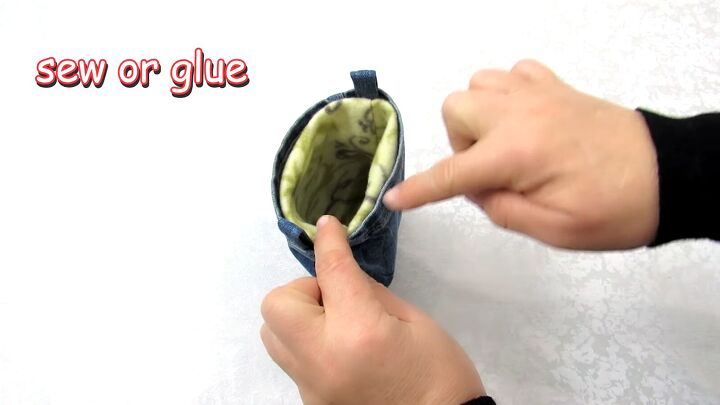
6. Sew in the lining
Now go back to the lining and keep it turned inside out. Then fold about 1.5 centimeters (.6 inch) down from the top.
Place the lining in the bag and sew or glue the lining to the bag at the top of the bag.
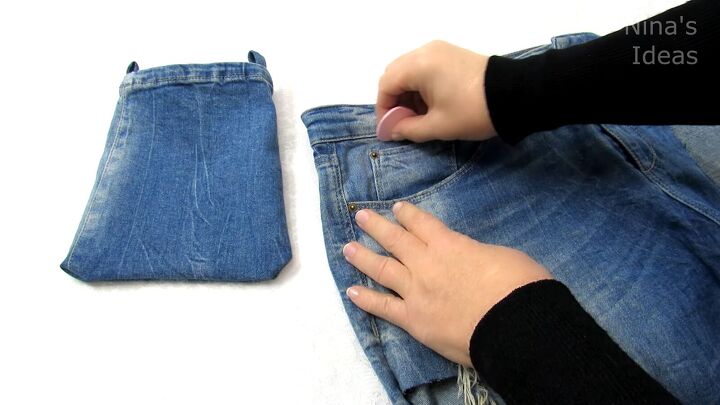
7. Pocket and key holder hook
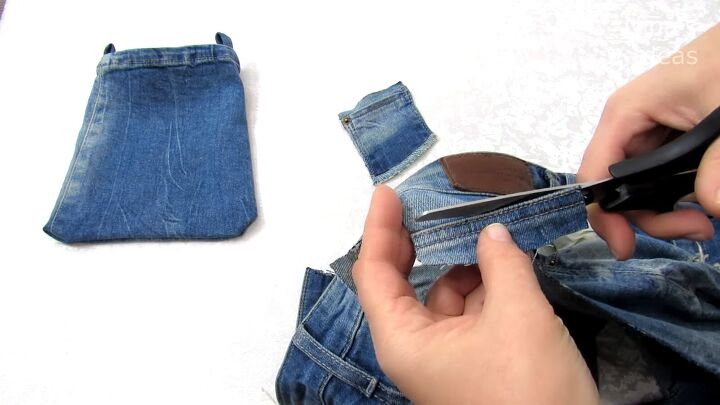
Go back to the jeans again and cut out the piece with the tiny pocket inside one of the front pockets.
Sew or glue the frayed edge connected to the top of the pocket back so it looks nice and clean.
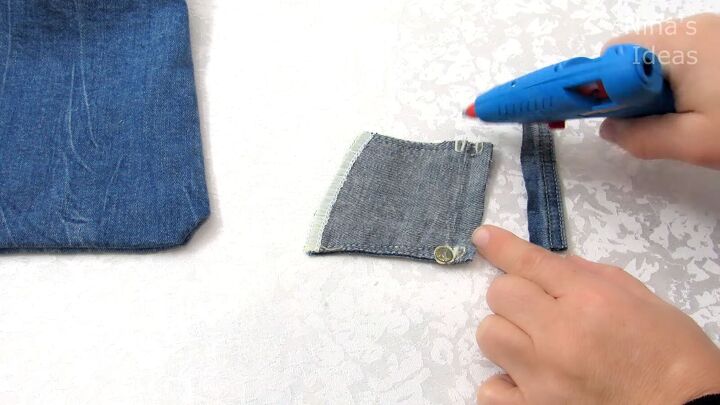
Along the jeans, just under the waist cut off a patch of a folded denim seam to use to cover the stitches at the bottom of the tiny pocket.
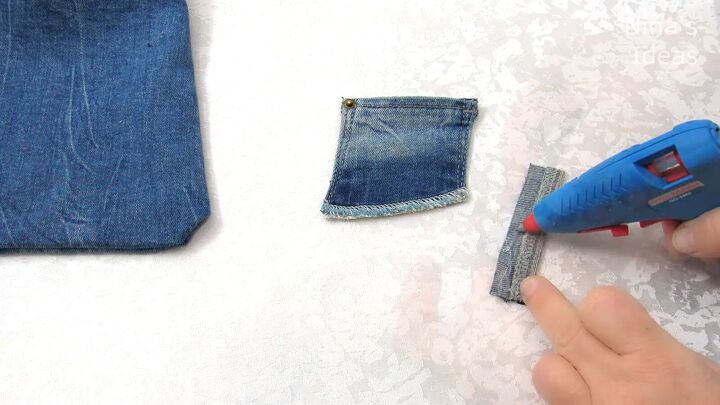
Fold and sew or glue the frayed edge back to make a clean look.
Then sew or glue this strip of fabric to the bottom of the pocket. Sew the pocket to the bag.
Take two belt loops from the jeans and cross them over each other creating an X.
Sew or glue the X to the bag. This decorative X can also function as a place to clip your keychain.
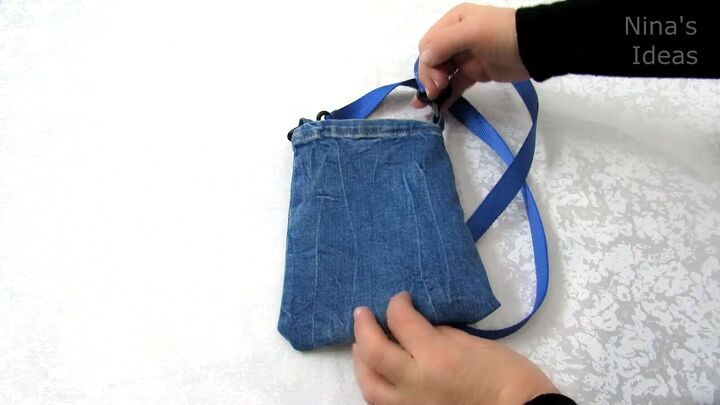
8. Attach the straps
Now clip on the straps if you’re using clip-on ready-made straps.
If you don’t have ready made straps you can use some ribbon or rope to create the strap.
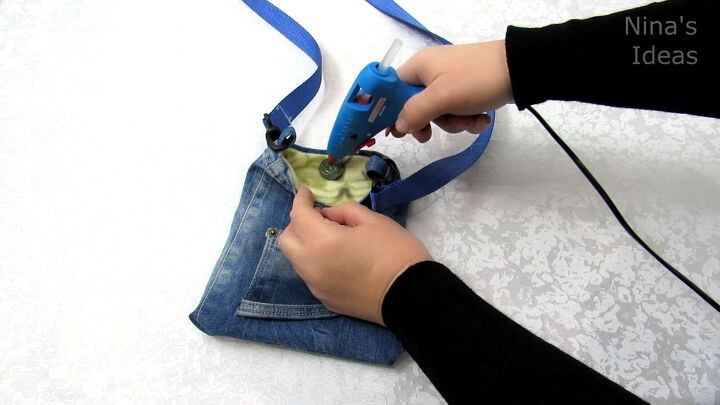
9. Insert Velcro closure
To create a closure, take a circle of Velcro and sew or glue one piece to either side of the bag.
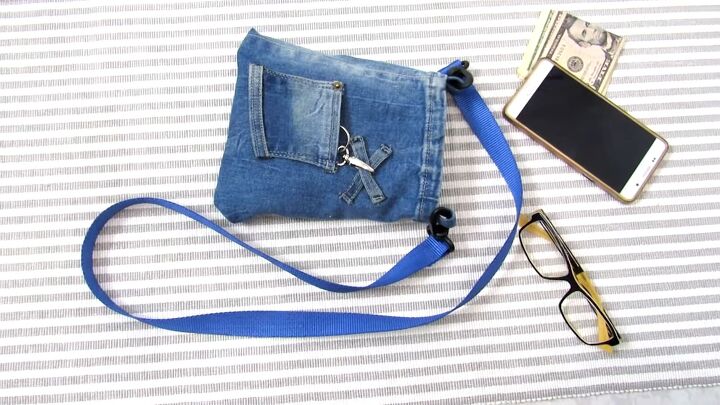
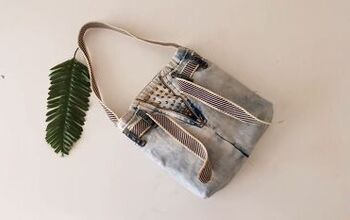
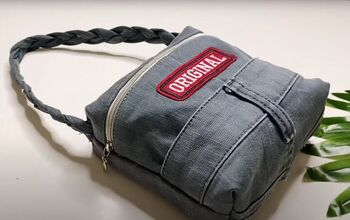
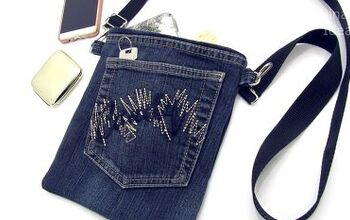
DIY denim pouch
That’s it! I love that this bag is so easy to make and that I was able to use upcycled materials to create it.
Not only is it extremely cute and stylish. It’s also super functional.
How did your denim pouch come out? Tell me in the comments.
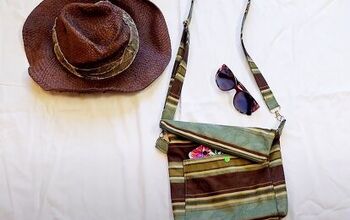
For more DIY bag ideas, check out my post on How to DIY Cute Ribbon Jean Bag.
The author may collect a small share of sales from the links on this page.


Comments
Join the conversation
Very practical! Thank you for the clear directions!