How to DIY a Cute and Easy Upcycled Denim Bag

You can never have too many bags, so to help you out, here’s a great DIY denim bag for you to make. This is a great denim jeans upcycle!
Tools and materials:
- Old jeans
- Lining/underlay fabric
- Ruler
- Measuring tape
- Scissors
- Fabric marker
- Thread
- Sewing machine
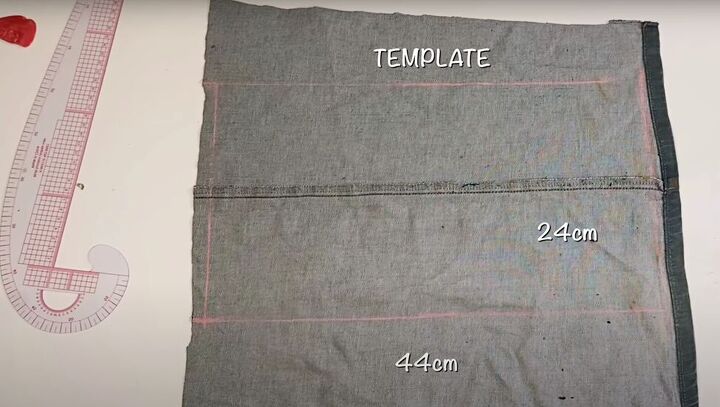
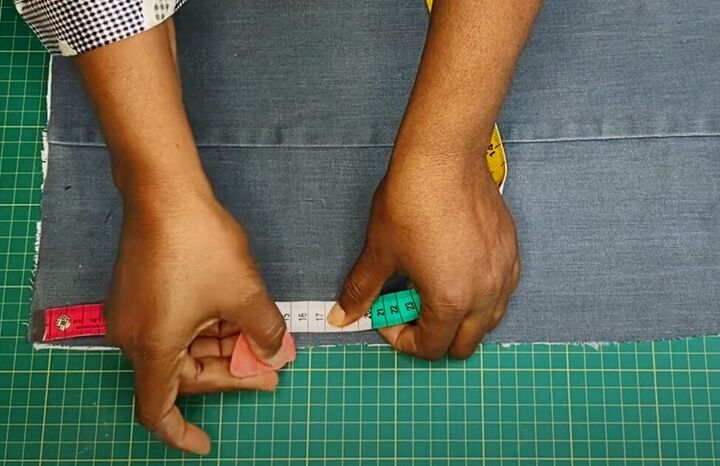
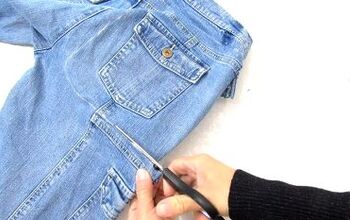
1. Measure your denim
Start by cutting off one pant leg below the crotch and opening the seam of your jeans pant leg.
Lay the denim with the inside of the fabric facing up.
Mark out a template for your denim bag, measuring 24 x 44 centimeters (9.45 x 17.32 inches).
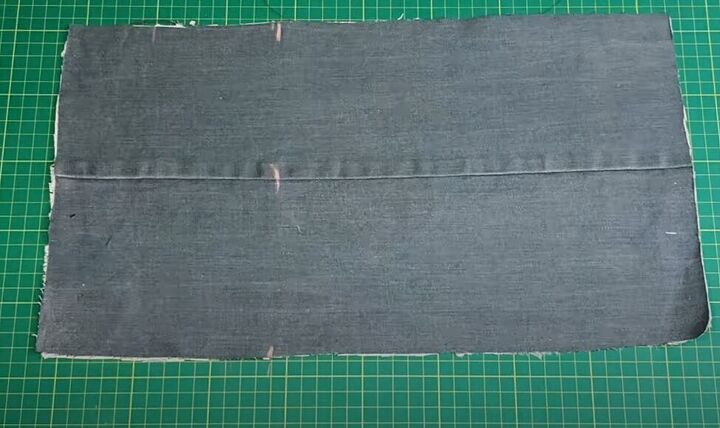
2. Cut the denim
Cut out your template and save the rest of the denim for another step.

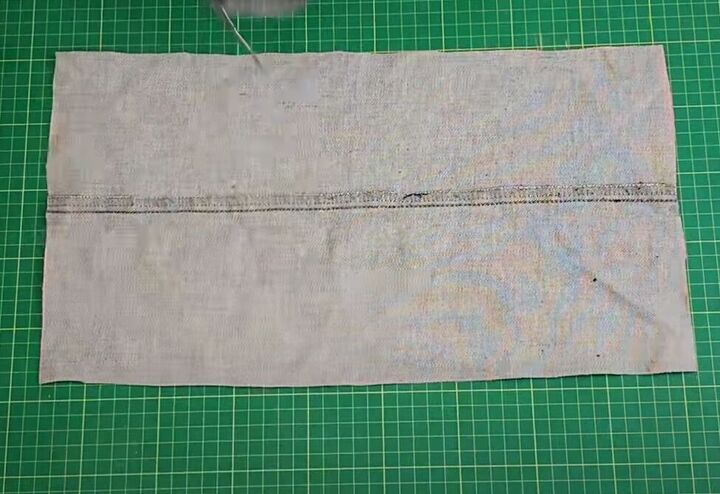
3. Cut lining and underlay
Cut your underlay and your lining fabric to match the size of your denim.
One layer of underlay is enough, but you may choose to use two layers.
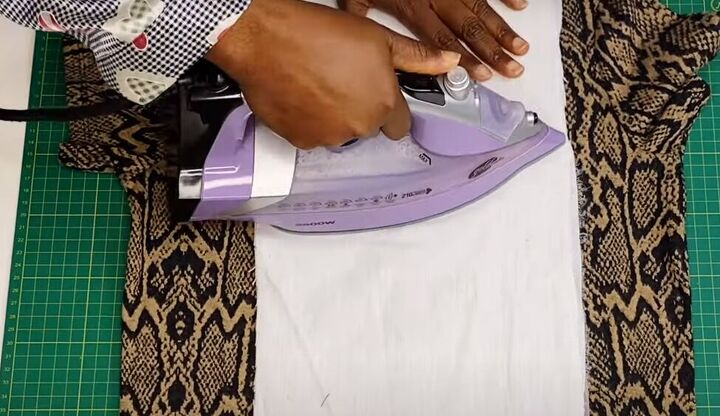
4. Iron the fabric
Press your underlay fabric to your denim with an iron.
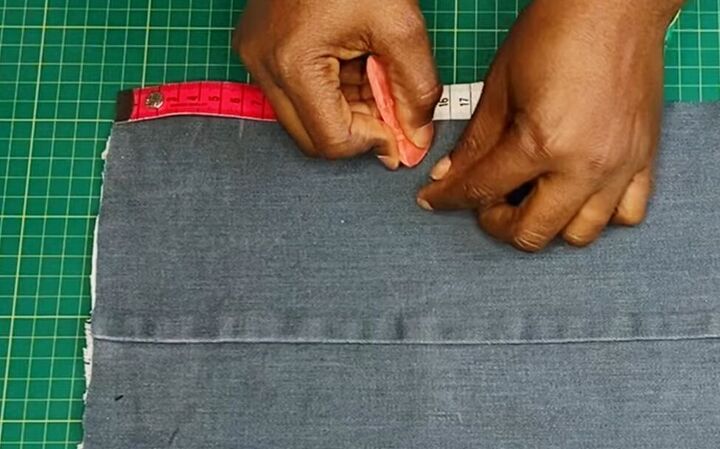
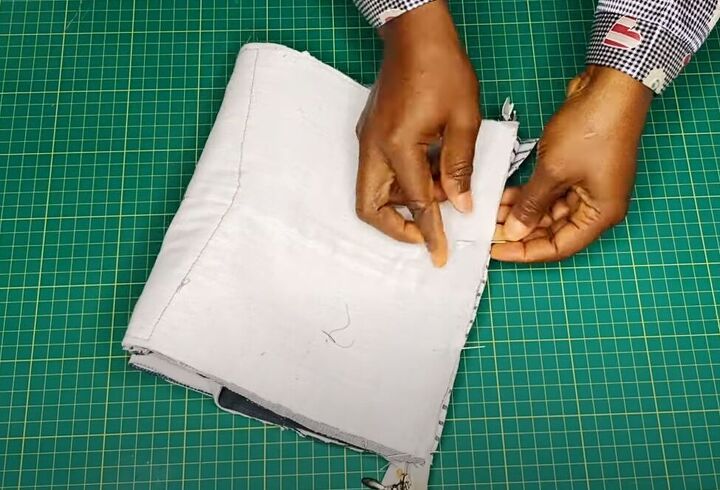
5. Assemble your bag
Turn your stack of fabric so the denim is facing out on the top.
On the top long side of your fabric, measure and mark 15 centimeters (6 inches) in from the top left-hand corner.
Measure and mark the same distance from the bottom left corner.
And add one more mark along the center line.
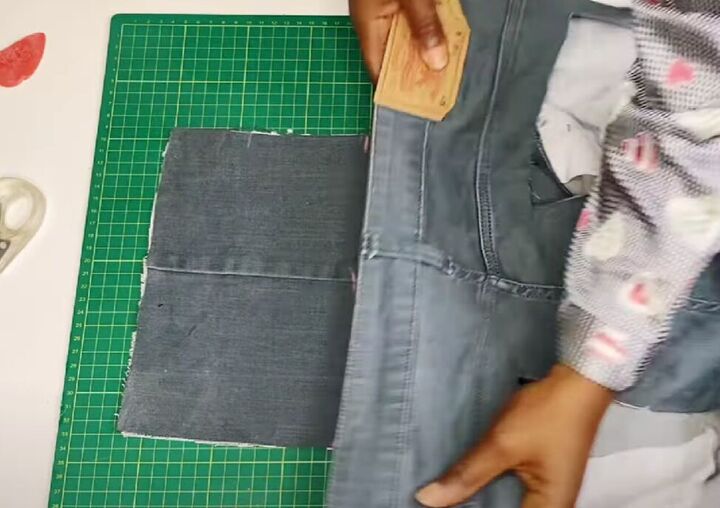
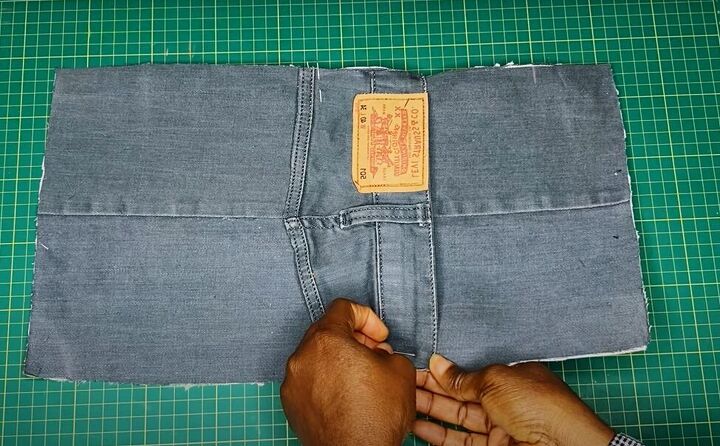
Lay your saved denim on top of your bag template, lining up the top of the waistband with the lines you just marked.
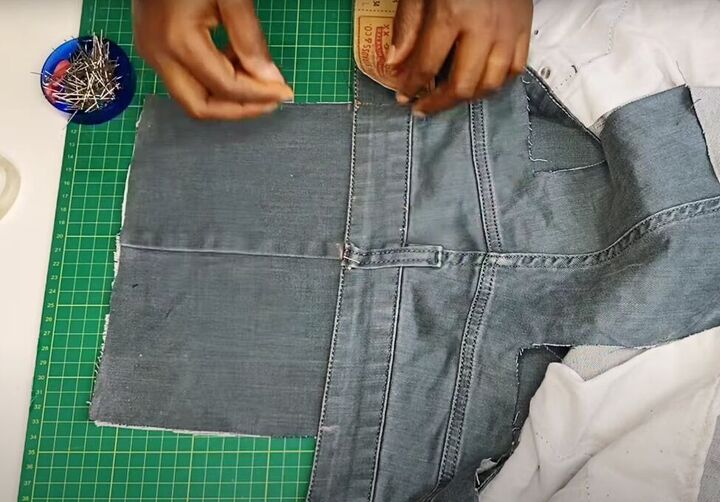
Pin the waistband in place, and mark the waistband at the outside edges and the center.
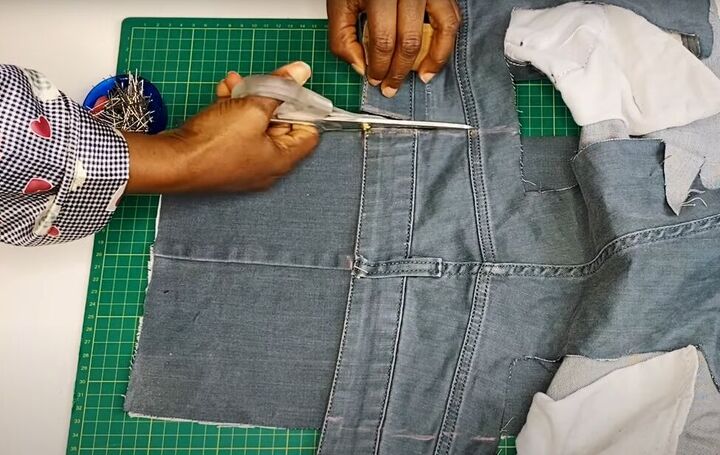
Now cut the jeans from the top of the waist to the top of the pocket line along both outside edges.
Note that the jeans pockets have already been removed.
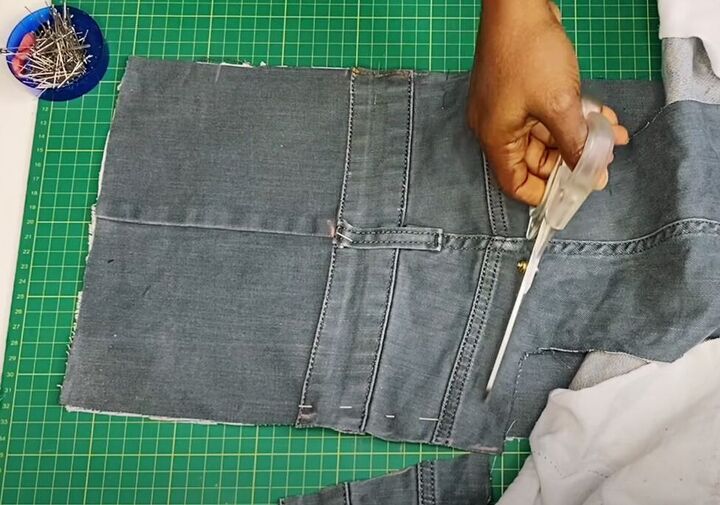
Cut the top layer of denim along the stitch seam that is above the pockets, and save the extra denim for later.
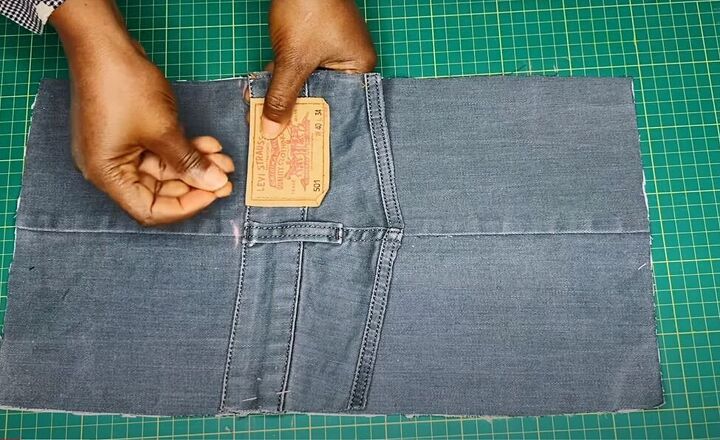
For an added decorative touch to your bag, remove the brand tag from your jeans and pin it to your bag at the top of the waistline piece.
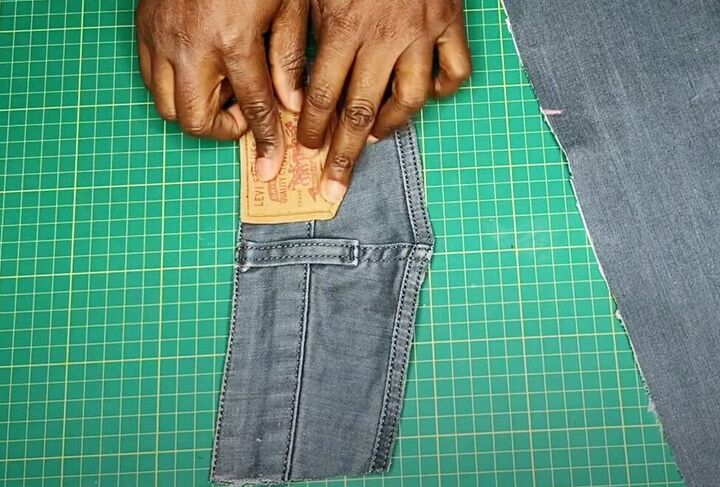
With the waistline piece separated from the template piece, sew the tag in place on all four sides.
Then re-pin the waistline piece to the template along the marked line, as it was before.
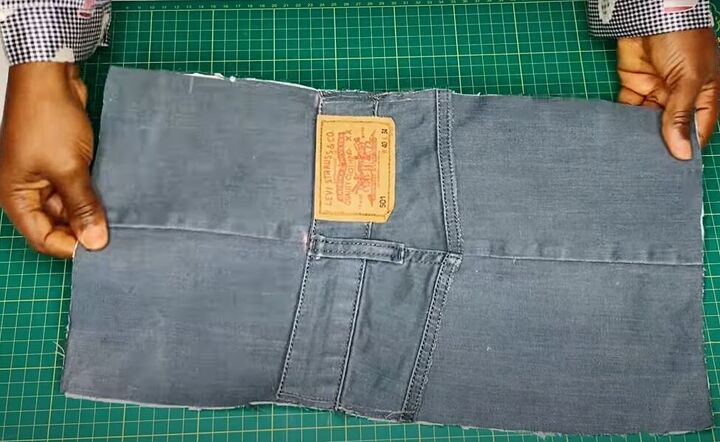
With the right sides facing up, sew the waistline piece to your template along all four sides of the waistline piece
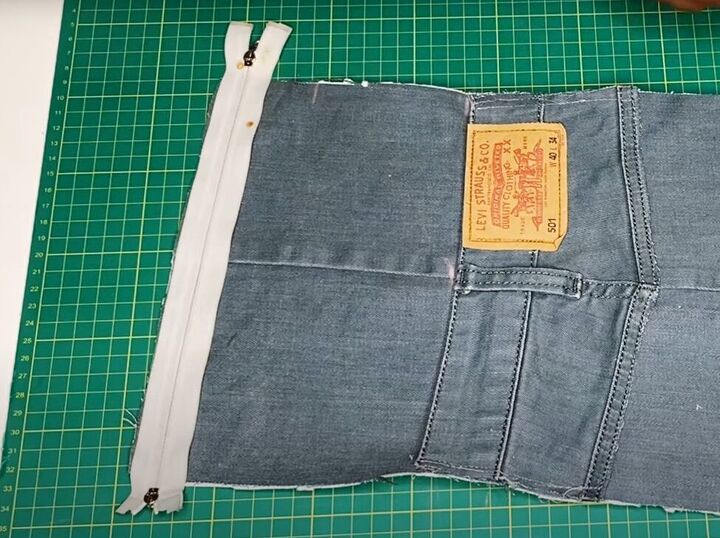
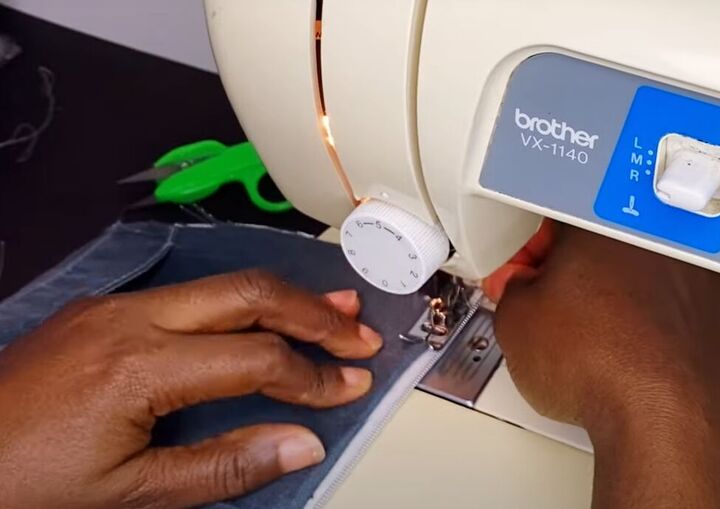
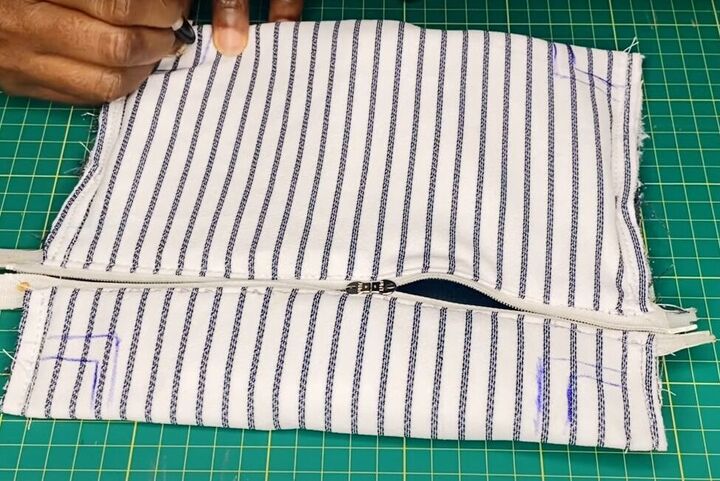
6. Add a zipper
Lay your zipper on the front of the fabric along the top short edge.
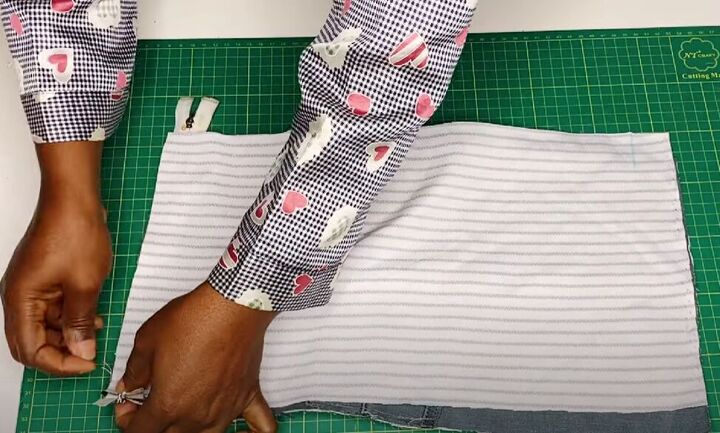
Now, with right sides facing, place your lining piece on top of the bag fabric, sandwiching the zipper between the denim and the lining.
Pin the lining in place.
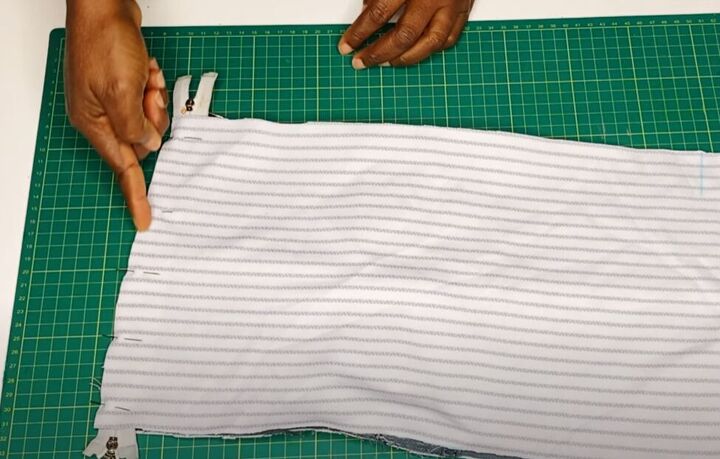
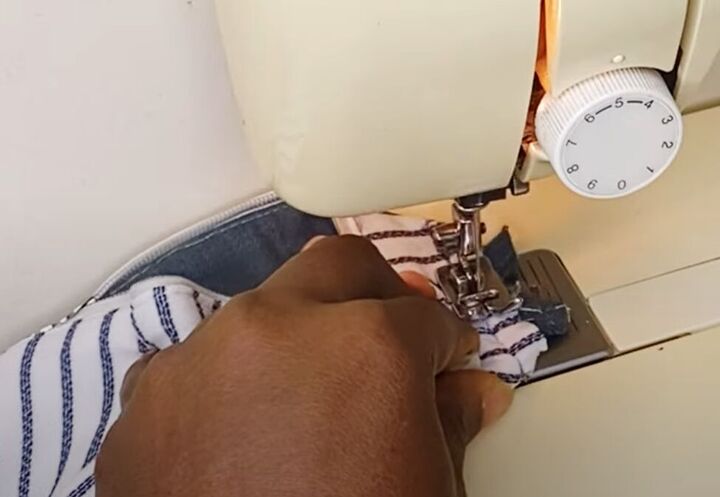
Sew along the edge to secure the zipper in place.
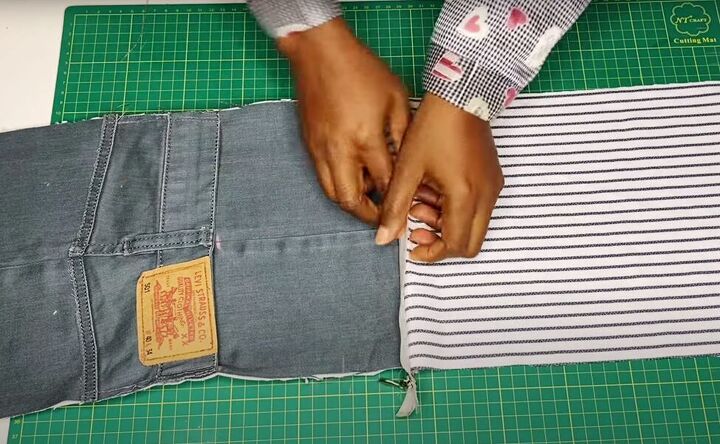
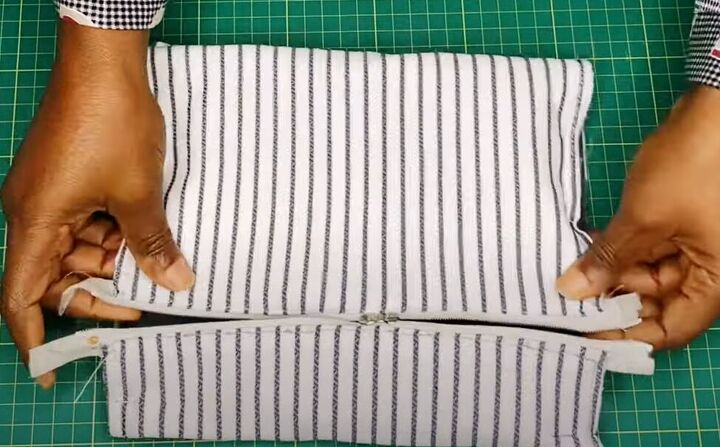
Open the fabric so the denim and the lining are lying flat, right side up.
Fold the denim side up so the edge of the fabric meets the edge of the zipper.
Then fold the lining fabric up so it also meets the edge of the zipper.
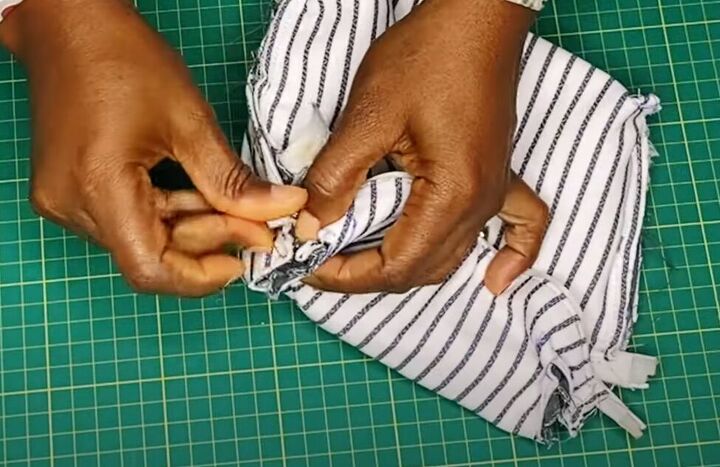
Pin all the zipper edges together.

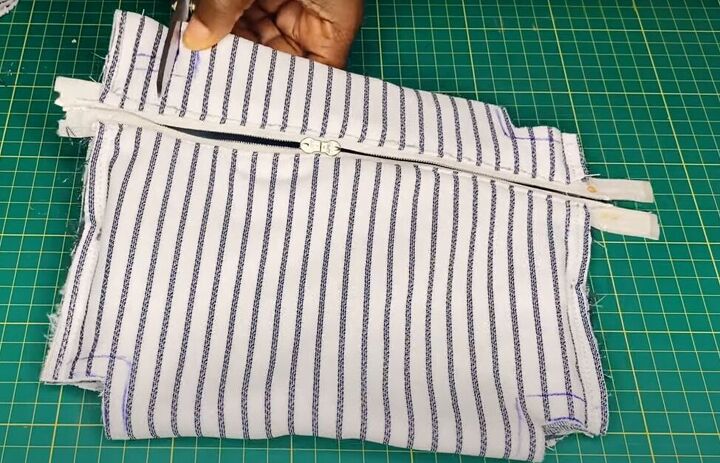
Sew the zipper edge to the denim and underlay side.
Then flip over your bag and sew the zipper to the edge of the denim.
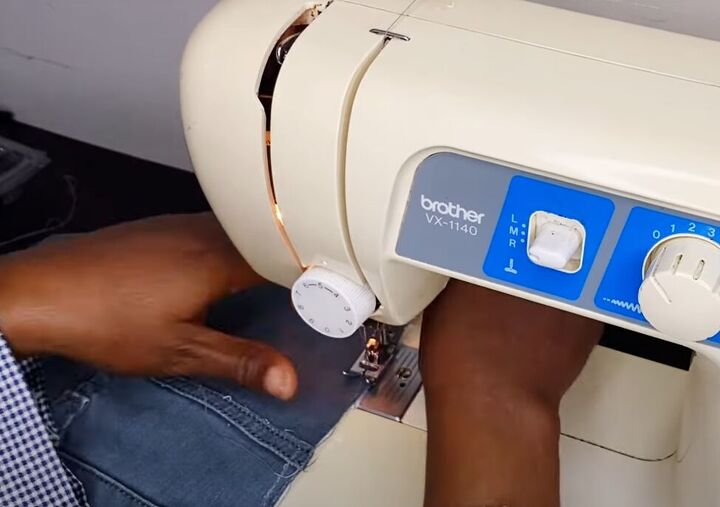
Finally, sew down both sides of the bag to keep the edges from fraying.
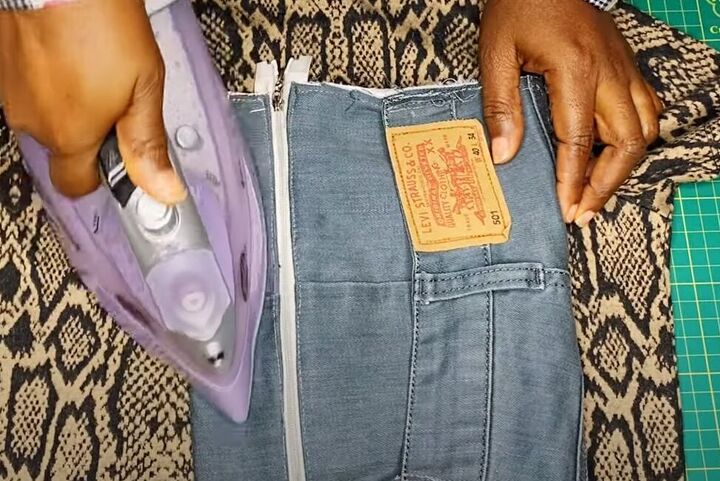
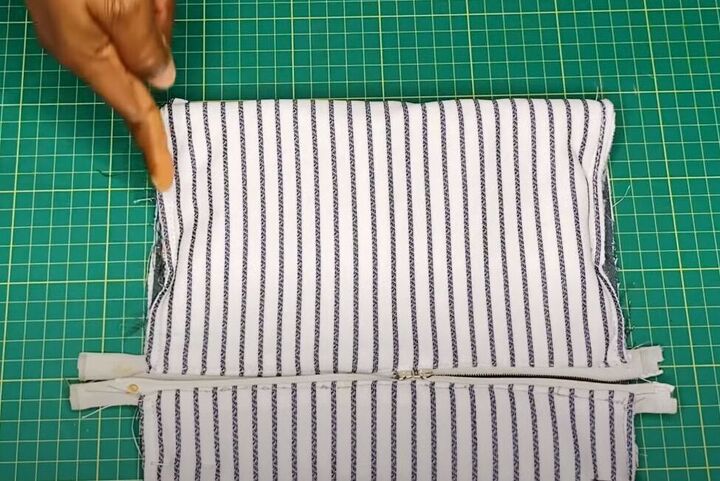
Lay your bag so the zipper is a couple of inches below the top, on the front, and iron the bag.
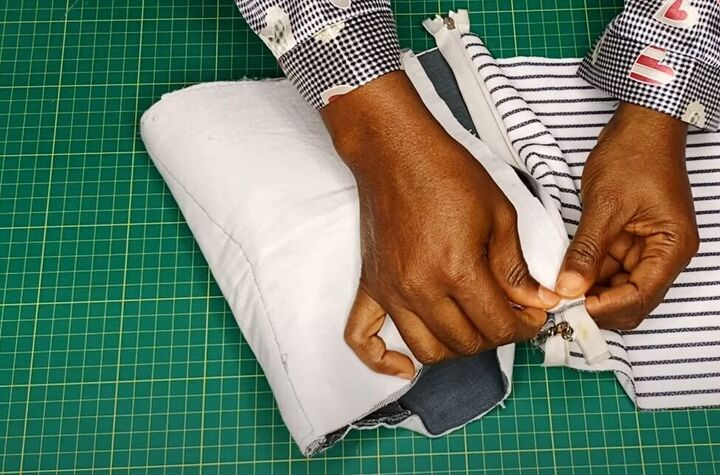
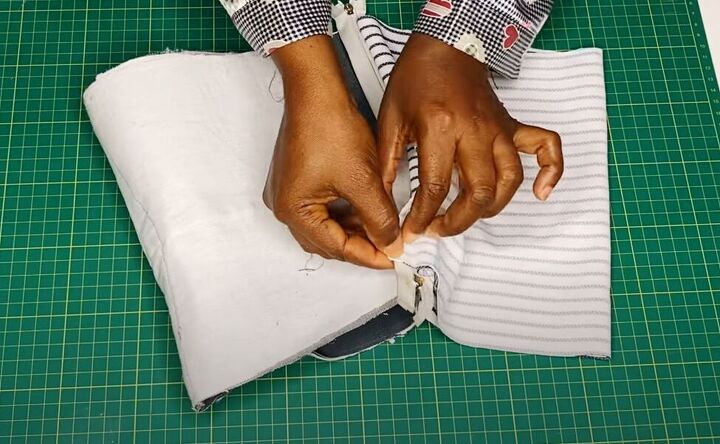
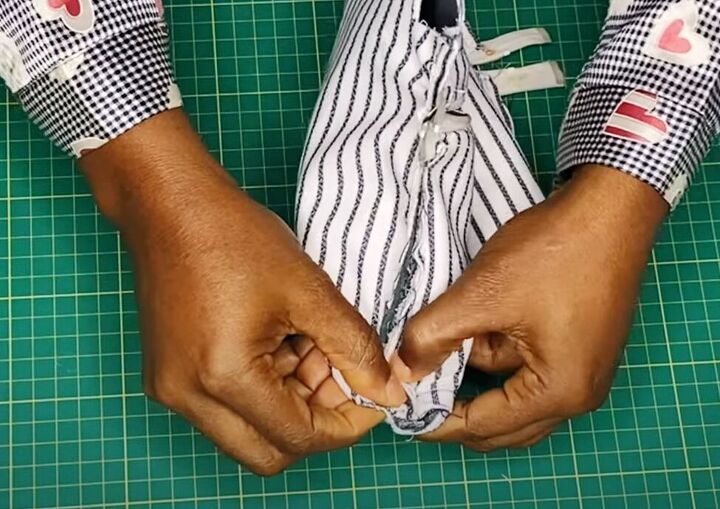
7. Sew side seams
Your bag is now a tube shape.
Turn the bag inside-out and open both ends of the zipper to the middle of the bag.
Now, sew both side seams closed.
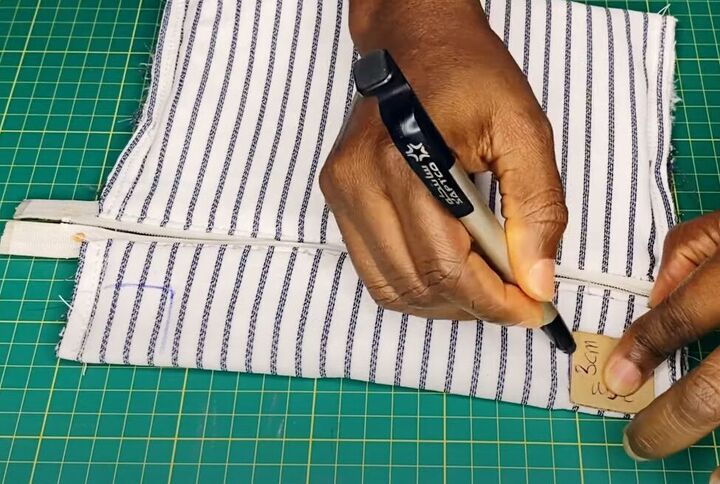
8. Make a box-bottom
Mark two 3x3-centimeter (1.2-inch) squares along the top corners of your bag, aligned with your seam lines.
Make the same marks along the bottom edge of your bag.
Mark 2x2-centimeter (0.78-inch) squares inside the larger squares, lining up the outer corners.
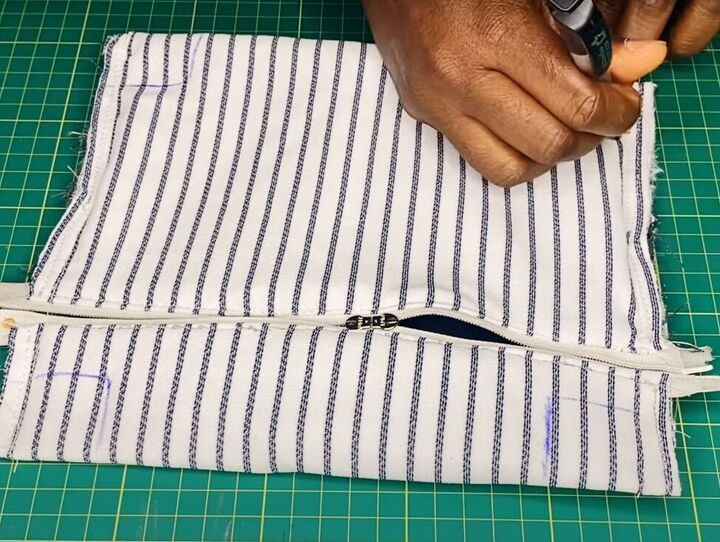
Cut out all of the smaller squares.
Line up the bottom corner edges and sew them together to create a box-bottom for your bag.
Repeat for the other bottom corner.
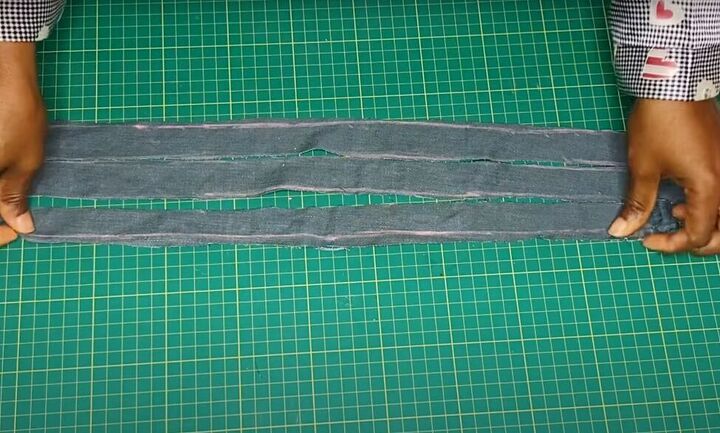
9. Make straps
From your leftover denim, cut three 20 x 1.5-inch straps.
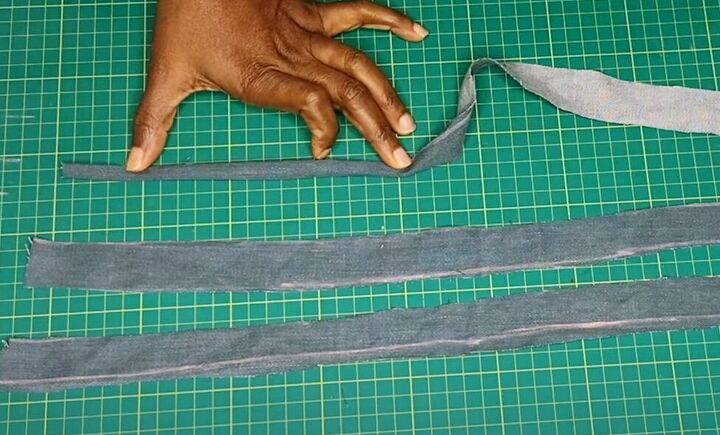
Fold the long edges of each strap into the center, then fold in half and top stitch along the long open edge.
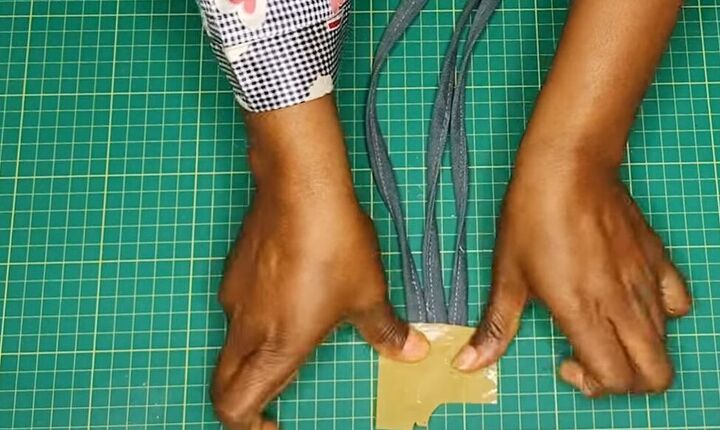
Lay the strips together and tape down one end.
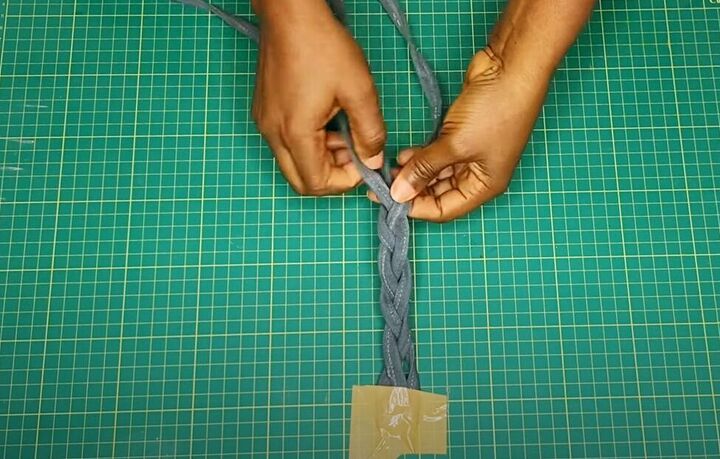
Braid the strips into a single braided strap.
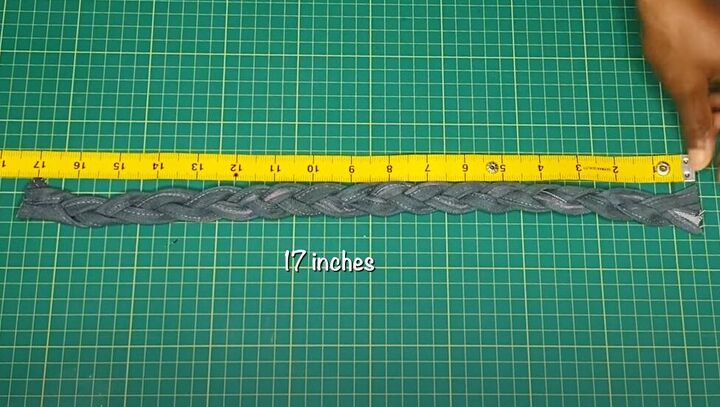
Cut the ends of the braid to measure a 17-inch length of strap.
With the bag inside-out, pin each end of the strap between an upper corner layer of the bag.
Sew the upper corners.
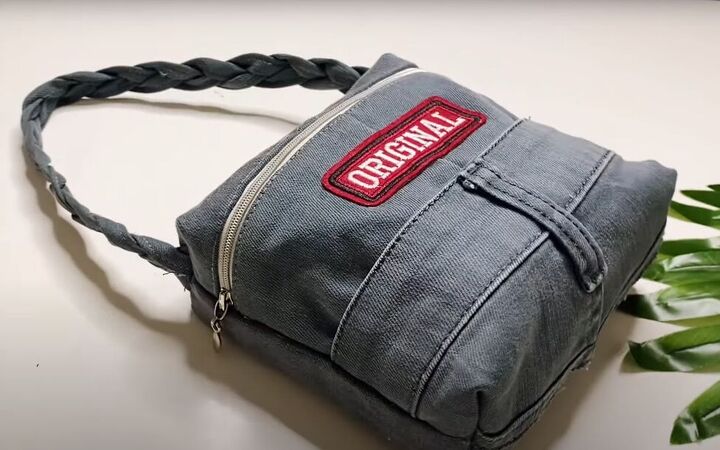
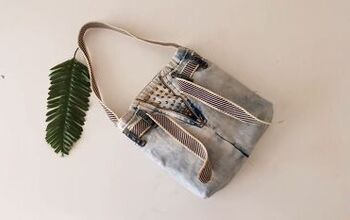
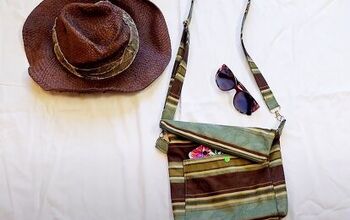
Upcycled denim bag
Turn your bag right-side out, glue on any other decorative elements you like, and you’re done!
If you make this, leave a comment to let me know how it turned out.
Next, learn How to DIY a Color Block Turtleneck Sweater.
The author may collect a small share of sales from the links on this page.


Comments
Join the conversation
Honestly, the best upcycled bag I have ever seen! I love it!