How to DIY a Cute and Easy Upcycled Denim Bag

Here’s how to make a large, soft lined tote bag from upcycled denim scraps.
I used different colors of denim for interest but you could make the bag from one pair of old jeans if you prefer.
This is a quick and easy project that’s perfect for beginners.
I’d suggest you use a jeans sewing needle in your sewing machine to avoid breaking your regular needle!
Best fabric scissors!
Tools and materials:
- Denim scraps
- 2 jeans pockets
- Cotton lining fabric
- Ruler
- Fabric marker
- Scissors
- Pins
- Iron
- Sewing machine
1. Cut the denim
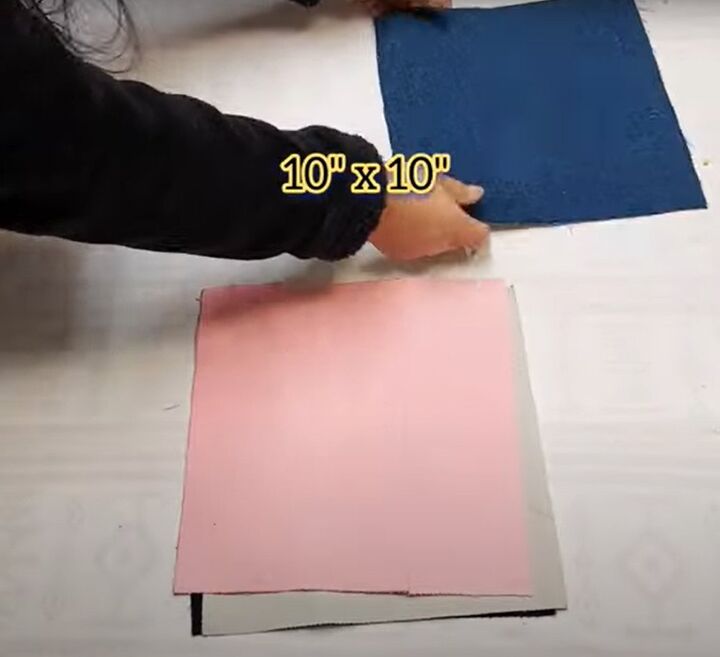
You can make the bag any size you like. I used four squares, each 10 inches by 10 inches (25 cm by 25 cm) for each of the front and back panels.
You also need two jeans pockets and two strips of denim each 4 inches (10 cm) wide by 20 inches (50 cm) long for the handles.
2. Sew the main panels
With the right sides facing, join the squares in pairs.
Join two of the pairs along the long sides to make a large square panel.
Topstitch either side of both of the long seams.
Place the pocket in the center of the large panel and sew in place around the side and bottom edges.
3. Make and attach the handles
Fold the long strip of fabric in half lengthways with the wrong side inside and press.
Open out the strip and press the top and bottom edges to meet at the center crease.
Fold the strip in half again lengthways and press, then sew both the long edges.
Pin the handle in place at the top of the bag on the right side, with the ends extending 1 inch (2.5 cm) above the edge.
Sew the handles in place.
Cut out a 2 inch (5 cm) square from the bottom corners of the panel.
Make a second panel to match.
4. Make the inside pocket and lining
Cut a piece of lining fabric 14 inches (35 cm) wide by 16 inches (40 cm) long.
Fold it in half widthways with the right side inside.
Sew around the three open sides, leaving a 2 inch (5 cm) gap on the long edge.
Snip the corners and turn the pocket right side out through the gap.
Press the pocket and topstitch along the folded edge.
Cut a piece of lining fabric the same size as the main panel.
Place the pocket centrally on the lining with the folded edge at the top.
Sew in place around the side and lower edges and up the center of the pocket.
Repeat to make a second lining and pocket.
5. Line the panels
Place the lining over the main panel with the right sides facing and sew together along the top edge.
Repeat for the second panel and lining.
Open out the two parts and place them together with the right sides facing.
Matching the top seam, pin and sew the denim panels together along the side and bottom edges, excluding the cut outs.
Repeat for the lining panels, leaving an opening in the bottom edge of the lining.
Pin and sew the sides of each of the four cut outs, lining up the side and bottom seams.
Pin and sew the corner of the lining to the corner of the denim panel on each long side.
6. Finishing
Pull the bag through the opening in the lining and sew the opening closed.
Turn the bag right side out and tuck the lining inside it.
Finger press the top edge and topstitch one or two rows around it.
Upcycled denim bag
As you see, this makes a fairly large tote bag that can hold quite a lot.
You can use these instructions to make a bag of any size from upcycled denim or any firm weave fabric.
To make it more secure, you could add a magnetic closure to the top edge and the outer pockets.
Do you like it? I’d love to hear what you think of it in the comments below.
Next, check out my Quick and Easy DIY Hair Scrunchie Tutorial.
Enjoyed the project?
Suggested materials:
- Denim scraps
- 2 jeans pockets
- Cotton lining fabric
- Ruler
- Fabric marker
- Scissors
- Pins
- Iron
- Sewing machine
The author may collect a small share of sales from the links on this page.





Comments
Join the conversation