Quick and Easy DIY Hair Scrunchie Tutorial

Making your own DIY hair scrunchies pretty much guarantees you’ll always have one to match what you’re wearing.
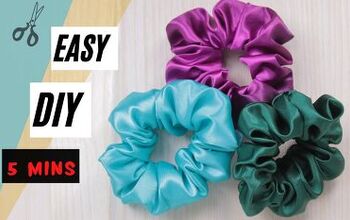
This method of how to make scrunchies is probably the easiest one you’ll ever see.
It takes just a few minutes and you could even hand sew the whole thing, if you wanted to.
Tools and materials:
- Non-stretch fabric
- Ruler
- Scissors
- Iron
- 2 safety pins
- Narrow elastic
- Hand sewing needle and thread
- Sewing machine

1. Cut your fabric
Cut a strip of cotton or similar fabric 20 inches long by 4.5 inches wide.
Lay it flat with the right side uppermost.
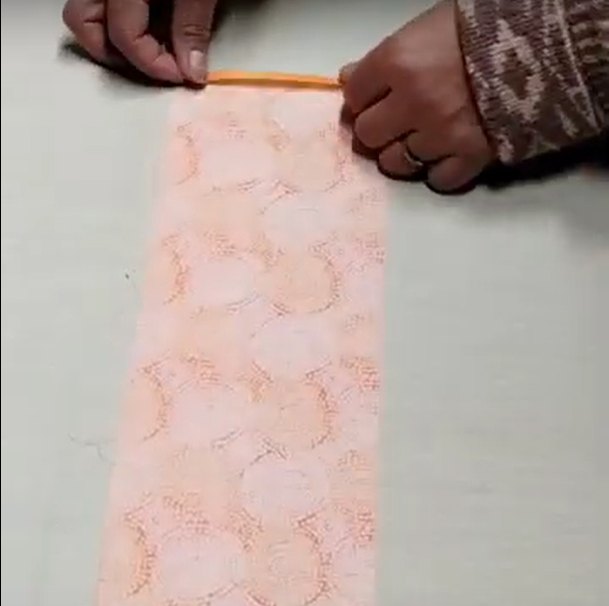
2. Fold and sew the strip
Fold in one of the short ends by about a quarter inch and press it to the wrong side.

Turn the strip over so the right side is uppermost.
Fold it in half lengthways with the right side inside and press it.
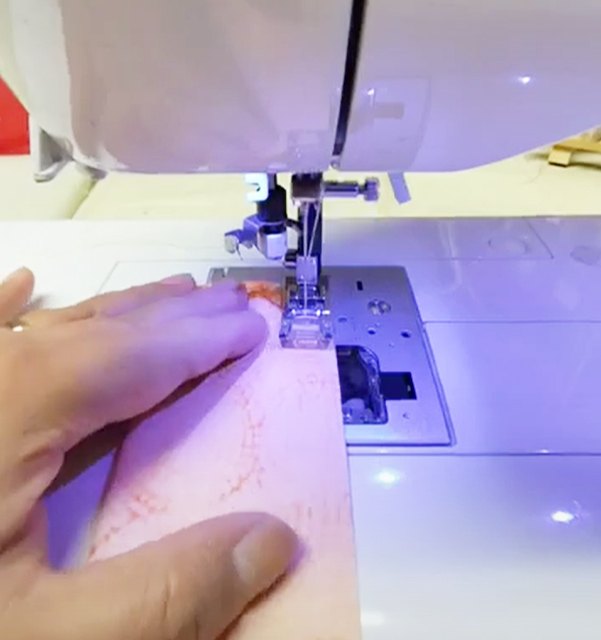
Sew the long edges together, stitching down the turned-in edge as you do so but leaving the short ends open.
3. Turn right side out
Attach a safety pin to one side of the open hemmed edge.
Push the pin inside the tube of fabric and feed it through to the other end.
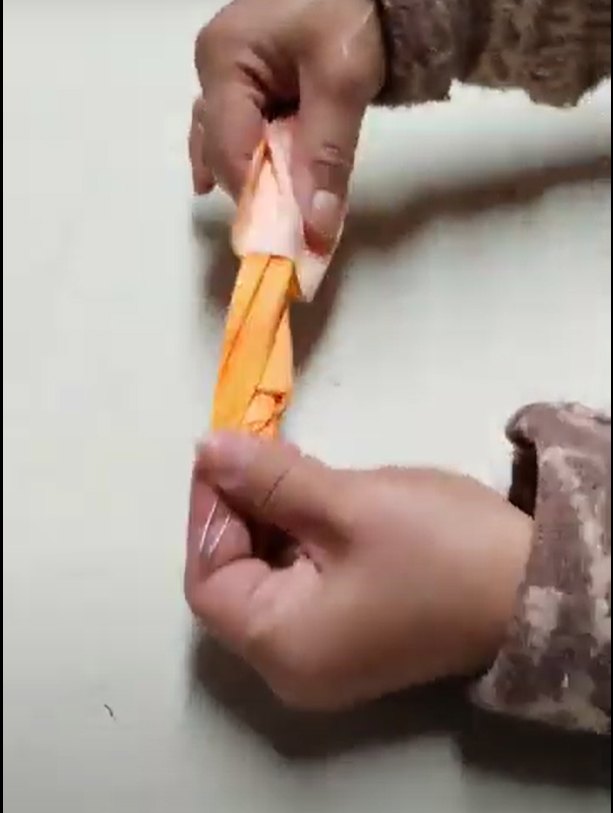
Pull it all the way out and your scrunchie will be the right side out.

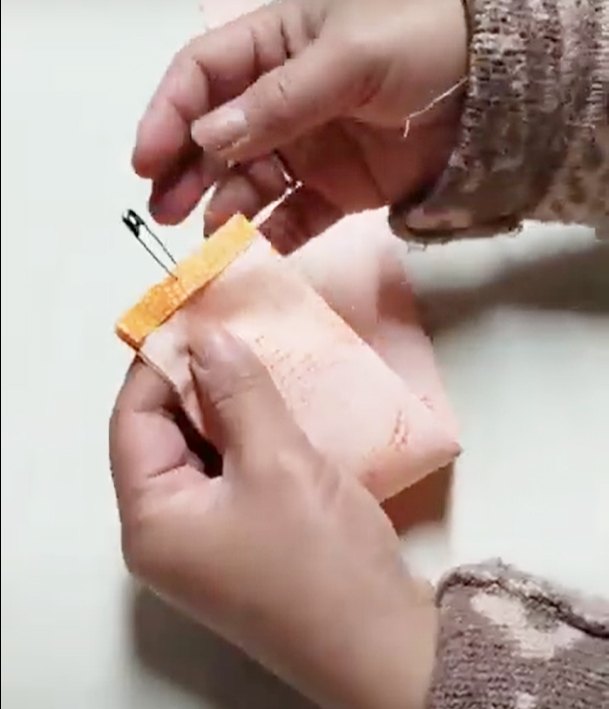
4. Insert the elastic
Cut the elastic to 9 inches in length.
Attach one safety pin to the end of the elastic and pin it to the short hemmed edge to secure it.
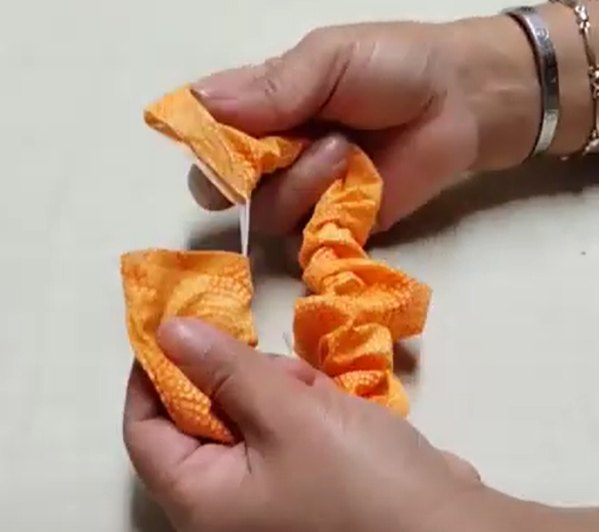
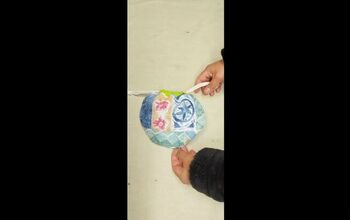
Attach the second safety pin to the other end of the elastic and feed it through the scrunchie.
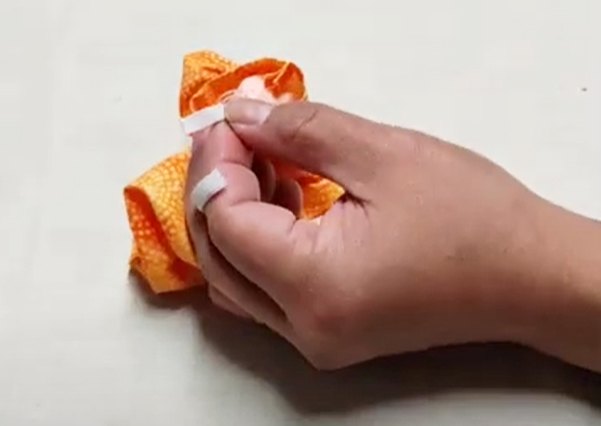
Unpin both ends of the elastic and knot them securely together.
5. Close the scrunchie
Bring the two ends of the scrunchie together.
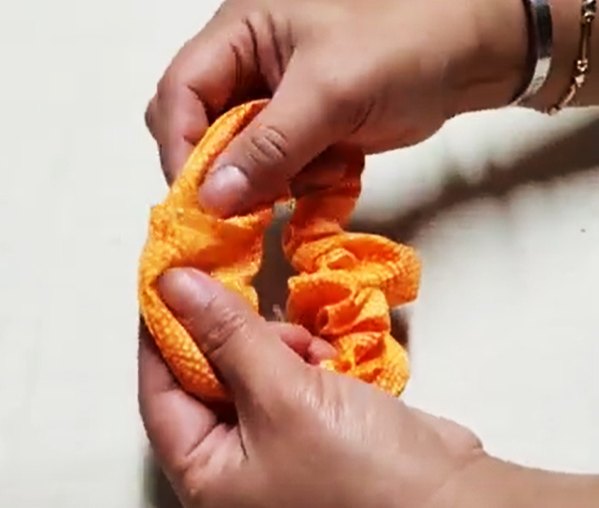
Slide the raw edge inside the folded edge by about half an inch.
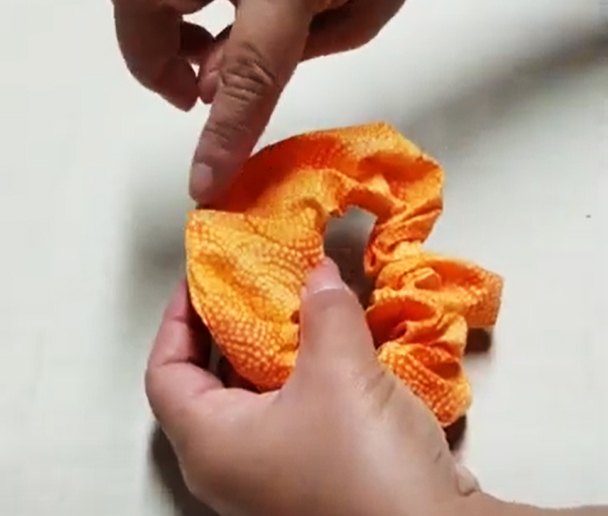
Hand sew the two parts of the scrunchie together using a hemming or ladder stitch all around the folded edge.
Make your stitches as small and invisible as you can.
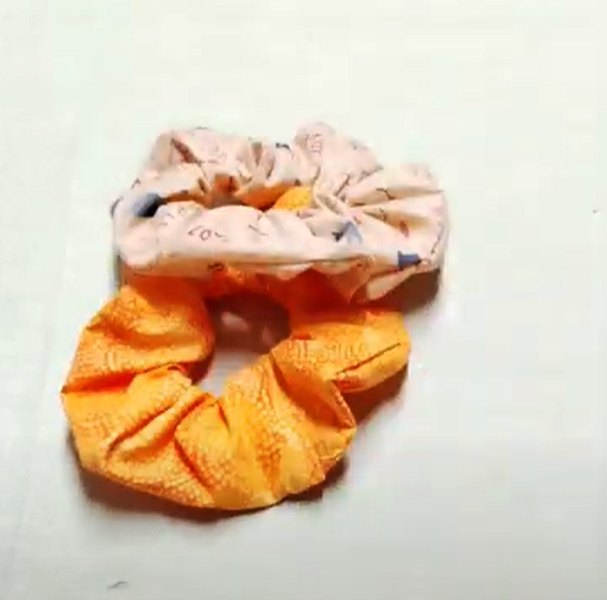
DIY hair scrunchies
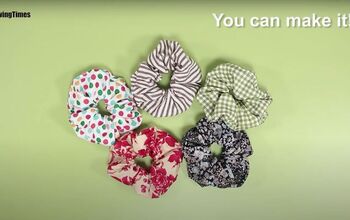
Make several scrunchies in toning fabrics and wear them in your hair or around your wrist. They make a pretty and unique accessory.
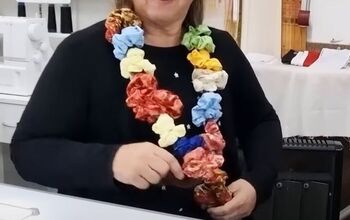
You can make several in an hour, just using scraps of fabric. You could even join several shorter strips together to make a multi-color scrunchie!
If you enjoyed this hair scrunchie DIY tutorial, I’d love to hear from you. Please drop me a comment below.
Next, learn How to Thrift Flip Pillowcases Into a Cute DIY Tote Bag.
The author may collect a small share of sales from the links on this page.


Comments
Join the conversation