Quick and Easy DIY Scrunchie Tutorial

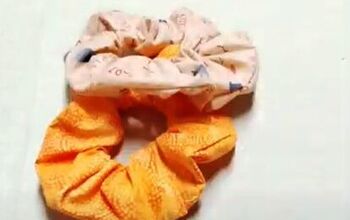
A DIY scrunchie isn't just a brilliant way to use up scrap fabric.
It’s also a great project for beginner sewists to learn and practice sewing techniques, while making something useful.
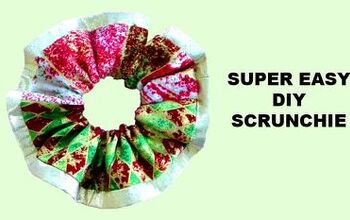
I’m using the “burrito roll” method today, which is the quickest way I’ve found for how to sew a scrunchie.
Tools and materials:
- Scrap fabric
- 1/4 inch (13 cm) wide elastic or elastic hair ties
- Scissors
- Measuring tape
- Sewing machine
1. Prepare your materials
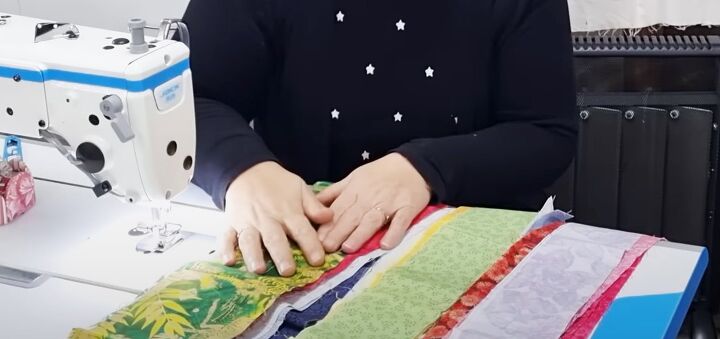
Your scrap fabric should be at least 20 inches (50 cm) long, up to 42 inches (105 cm) and 3 to 5 inches (8 to 13 cm) wide.
A fat quarter of fabric, which is 18 by 22 inches (45 by 55 cm) in the US, will make four or five scrunchies if your scraps aren’t large enough.
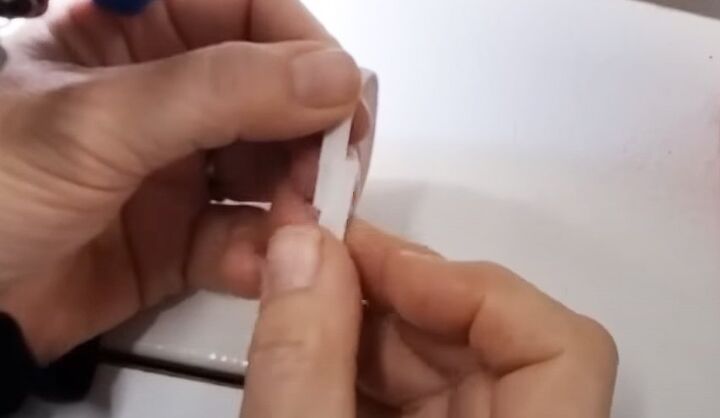
Cut your elastic into 6 to 8 inch (15 to 20 cm) strips.
Join each piece of elastic into a circle by overlapping the ends and stitching them on the machine.
2. Join the fabric
Sew the short ends of the fabric together with the right sides facing and taking a 1/4 inch (13 cm) seam.
Finger press the seam open.
3. Fold the fabric
Keep your circle of fabric with the right sides together.
Lay it flat with the seam centered and facing downwards.
Fold one edge of the top layer towards the center.
Fold the other edge of the top layer up to overlap it to make an inner roll or tunnel.
Bring the two edges of the bottom layer together, enclosing the inner roll.
Place a single piece of your elastic between the two outer layers and clear of the stitching line.
Bring the edges of the outer layer back together over the elastic.
Your burrito roll is ready!
4. Sew the scrunchie
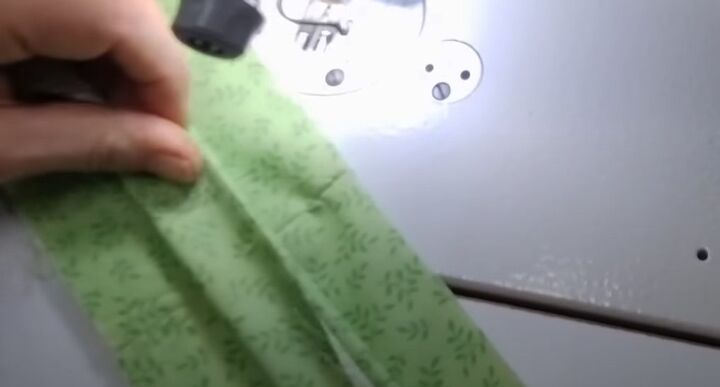
We’re going to sew the outer edges together with a quarter inch (13 cm) seam allowance, being careful not to stitch through the elastic at any point.
To do this, we need to work in short sections.
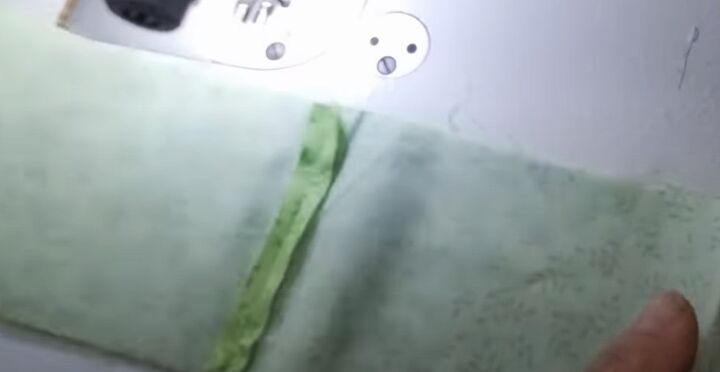
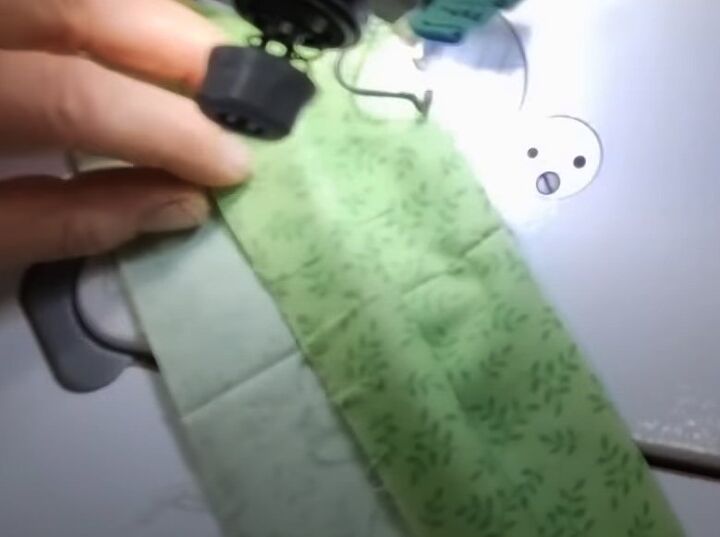
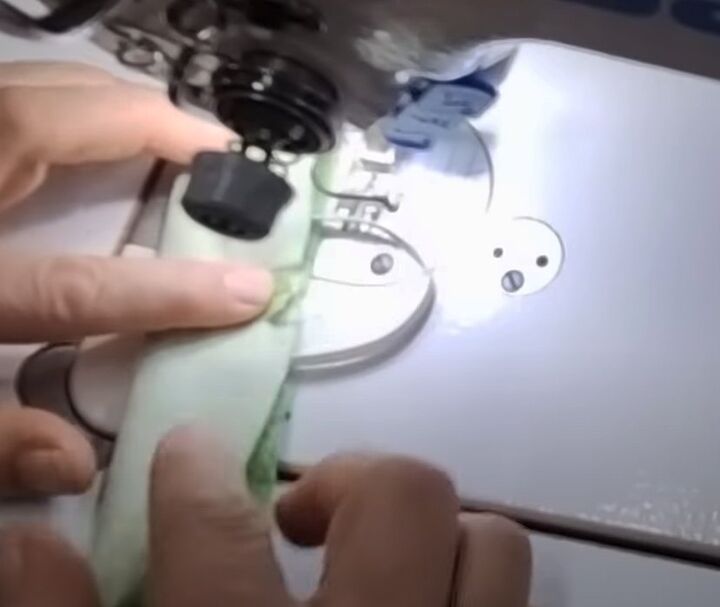
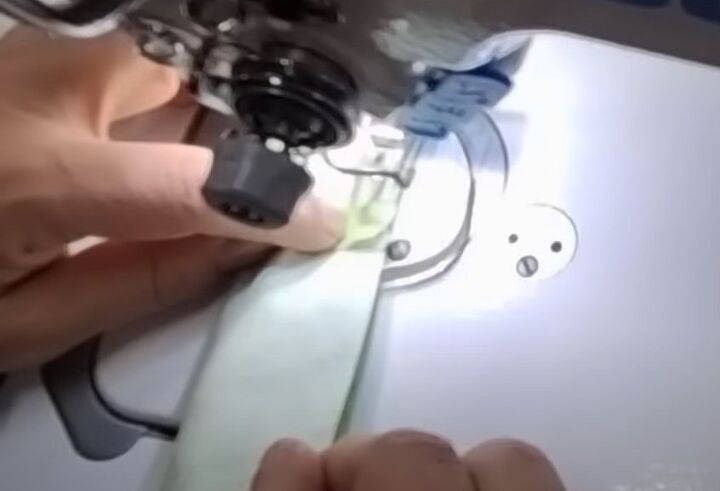
Start sewing about 1 inch (2.5 cm) from the seam. Keep the elastic around the presser foot to stop it getting caught up in the stitching and pull it taut as you sew.
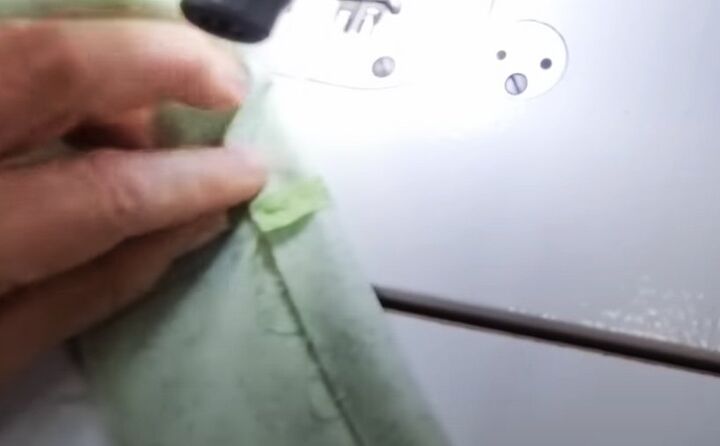
When you can’t sew any further, put your needle in the down position.
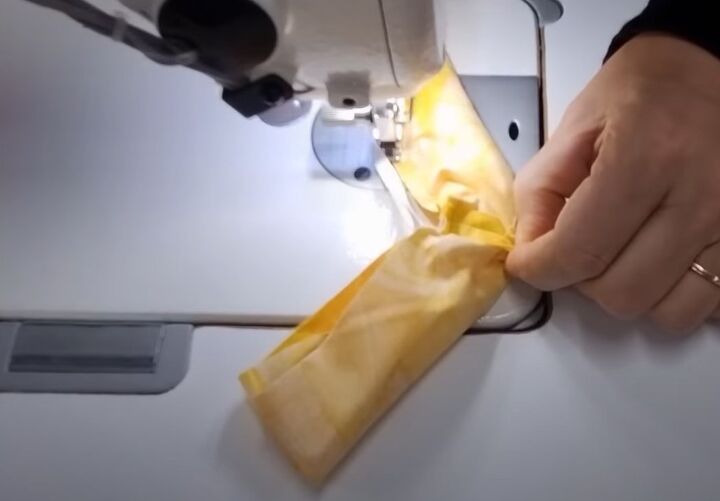
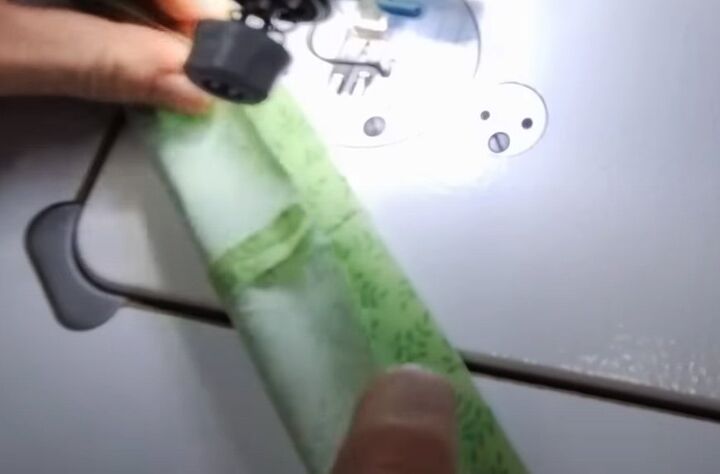
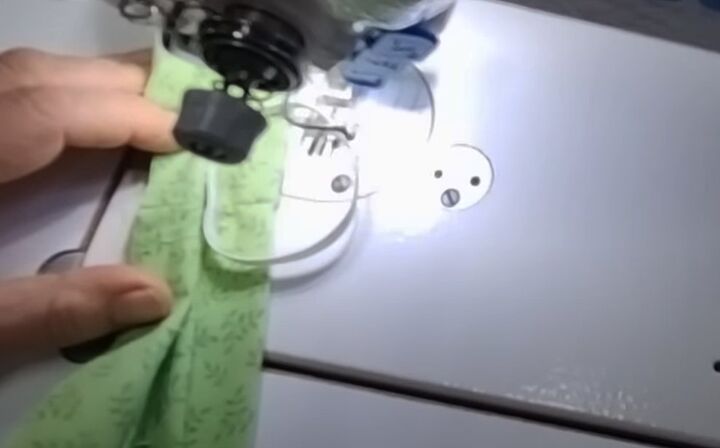
Reach behind the presser foot and hold the outer layer of fabric with one hand (this view is taken from behind the machine).

With the other hand, pull the fabric of the inner roll out.
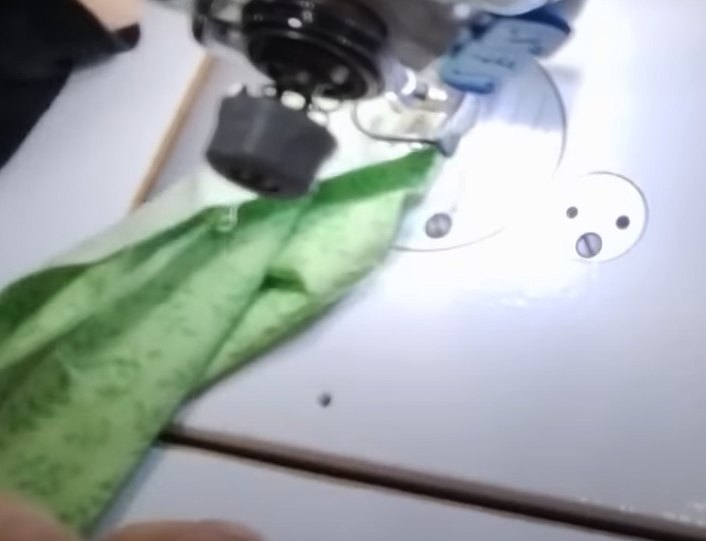
This frees up more of the outer layer to sew.
The narrower the fabric you’re using, the more fiddly this part is.
For practice, I’d definitely advise using 4 or 5 inch (10 or 13 cm) width fabric.
Continue sewing, pulling the inner roll through as you need to, until you’re about 1.5 inches (4 cm) short of where you started. Fasten off.
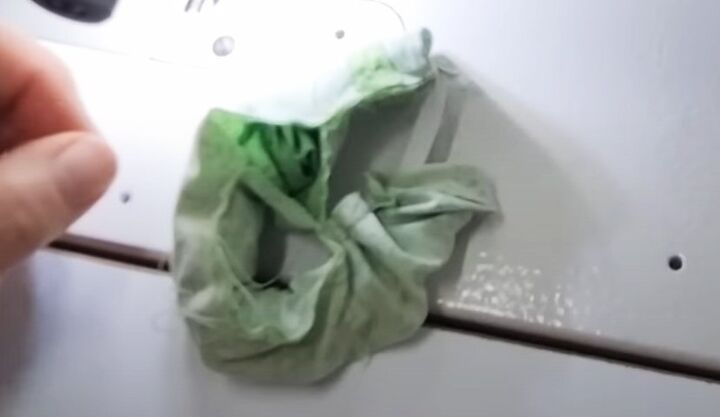
5. Turn the scrunchie
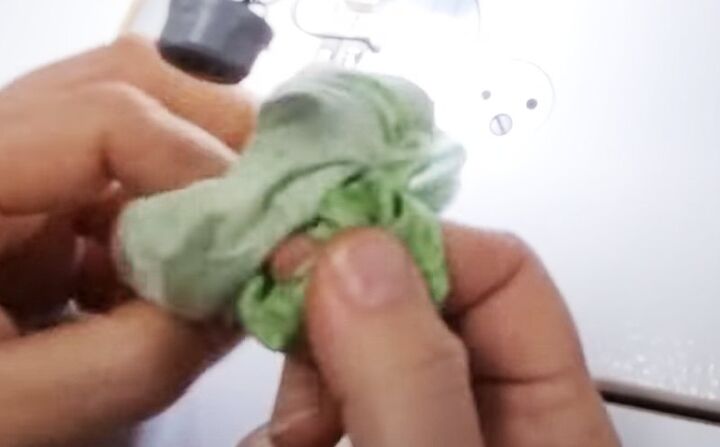
Reach into the opening and pull the inner roll out through it, to turn the scrunchie right side out.
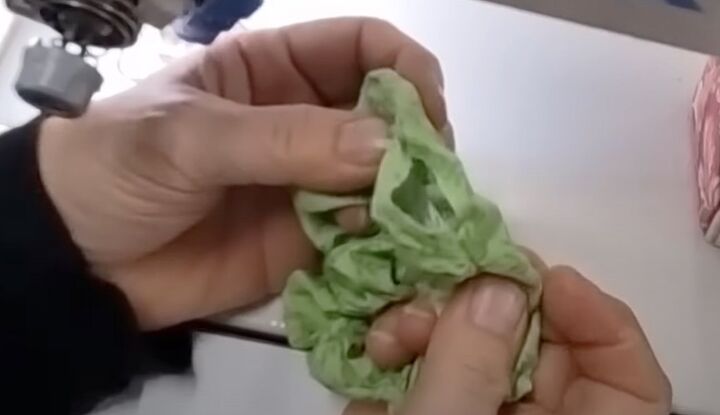
Fold the edges of the opening to the inside and sew them together.
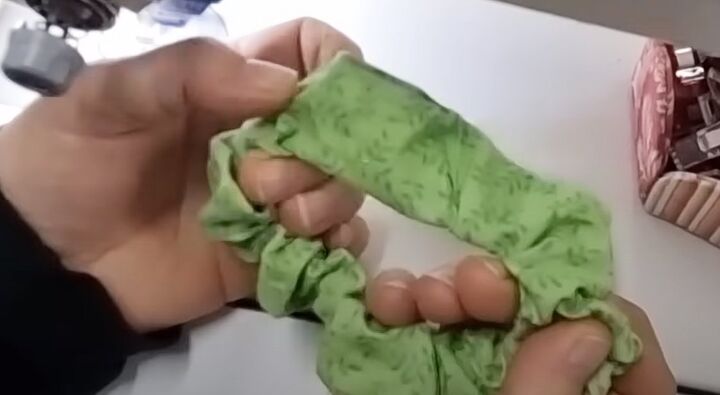
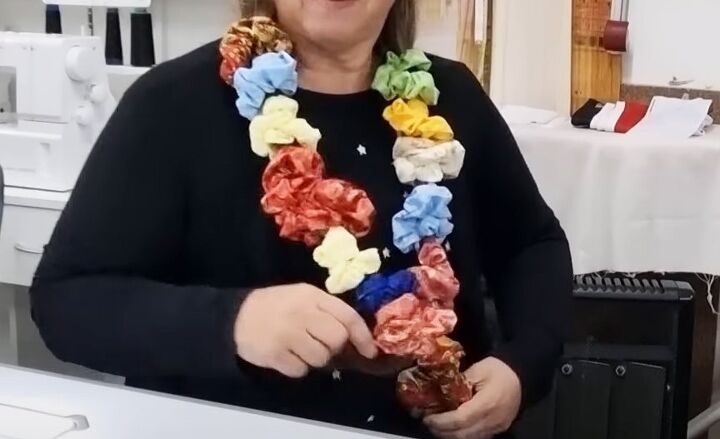
DIY scrunchies
Even as a beginner, you can make DIY scrunchies in bulk for sale. As a guide, once I’ve cut my fabric to size, I can comfortably make 12 scrunchies an hour.
People buy them by color, they don’t usually care what size or width they are.
You could make some jumbo-sized ones for people with very thick hair, but I generally make all mine in a similar size.
I hope you enjoyed watching this and I’m always happy to read your thoughts or answer any questions you may have in the comments below.
Next, check out my Easy Drawstring Coin Pouch Pattern Tutorial.
The author may collect a small share of sales from the links on this page.


Comments
Join the conversation