Easy Drawstring Coin Pouch Pattern Tutorial

A customer in my store took his coins from a pouch and I liked it so much I had to make it myself.
I made this coin pouch pattern from the photos he kindly let me take.
I used a very soft quilted vinyl for the outer side of my DIY coin pouch and a contrasting cotton for the lining.
Tools and materials:
- 2 x 11 inch squares of contrasting fabrics
- Ribbon or cord
- Cord toggle
- 16 small eyelets
- Small block of wood
- Eyelet punch
- Hammer
- Eyelet press
- Tailor’s chalk
- Fabric marker
- Ruler
- Fabric clips
- Scissors
- Sewing machine
1. Cut out the circles
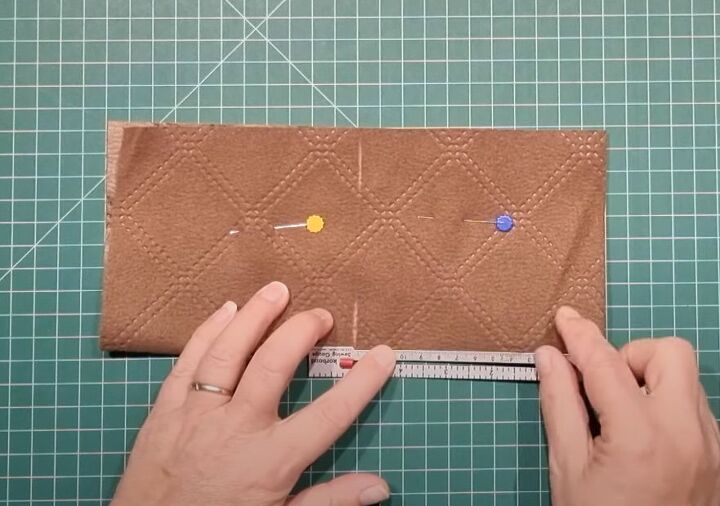
Fold your outer square in half with the right side inside and mark the center line.
Fold it in half in the other direction.
Place the 5 inch mark of your ruler on the folded edge at the center line.
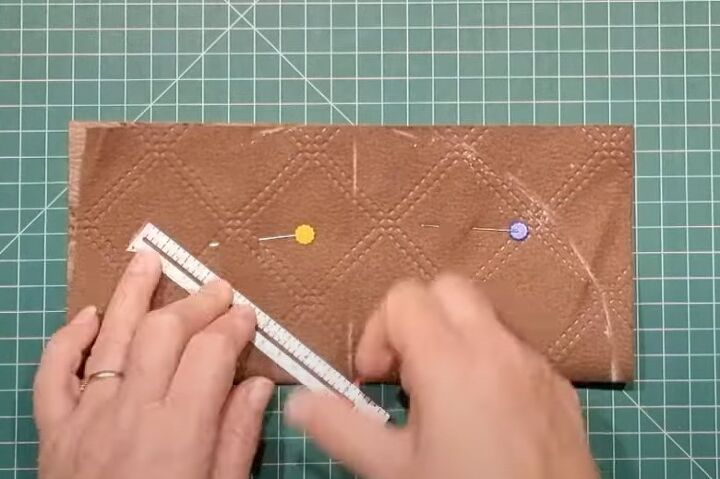
Mark a semicircle with a 5 inch radius around the center point.
Fold the lining fabric in half and place it under the outer piece.
Cut through all four layers.
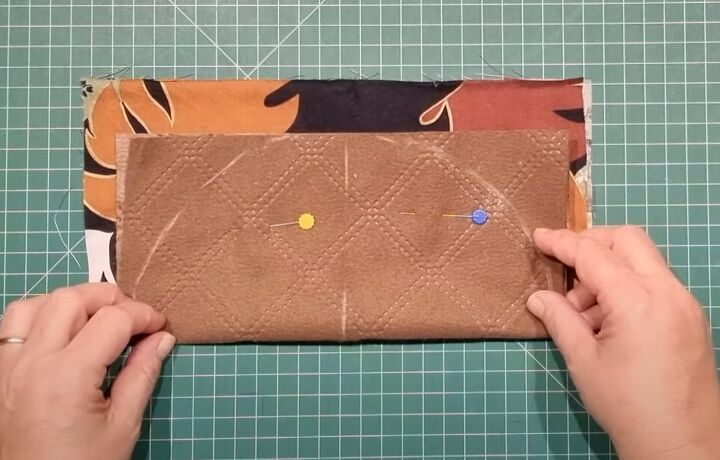
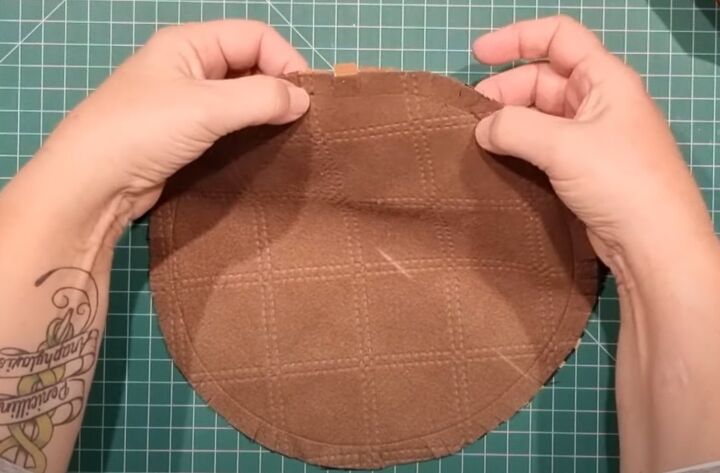
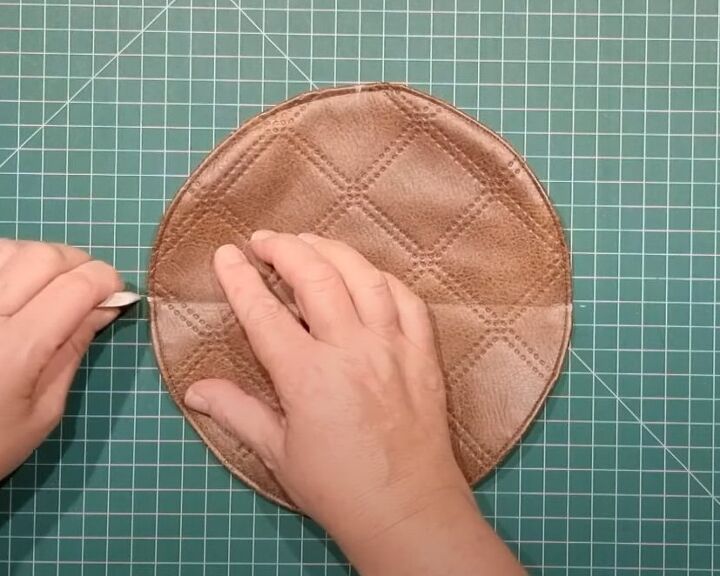
2. Join the outer and lining fabric
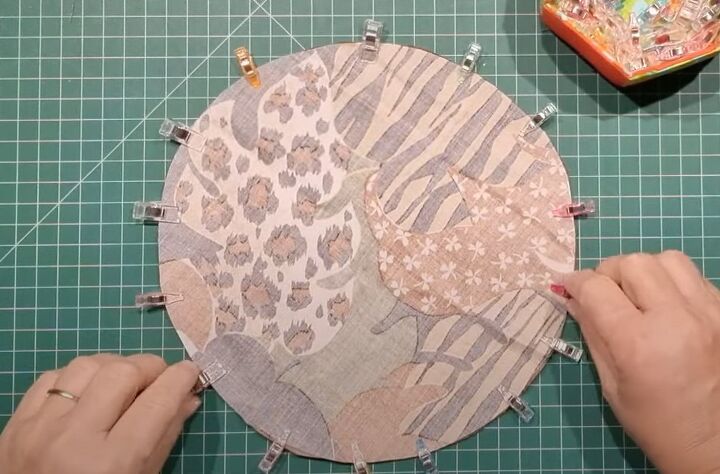
Place the two circles with the right sides together and hold them with fabric clips.
Instead of leaving an opening when you join them, backstitch as normal at the beginning.
Then sew around the circle taking a half inch seam allowance and backstitch again about 2 inches from where you started.
Then continue sewing to close the circle.
Clip the curve around the entire circle.
Remove the stitches from the section between the backstitching.
Finger press the seam allowance open across the gap to mark the sewing line.
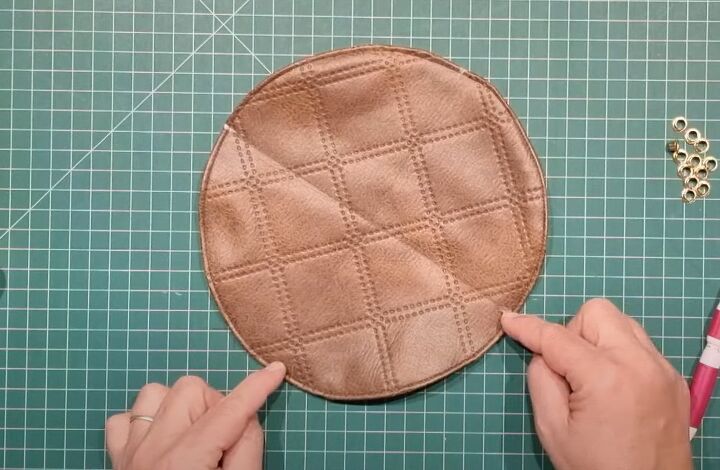
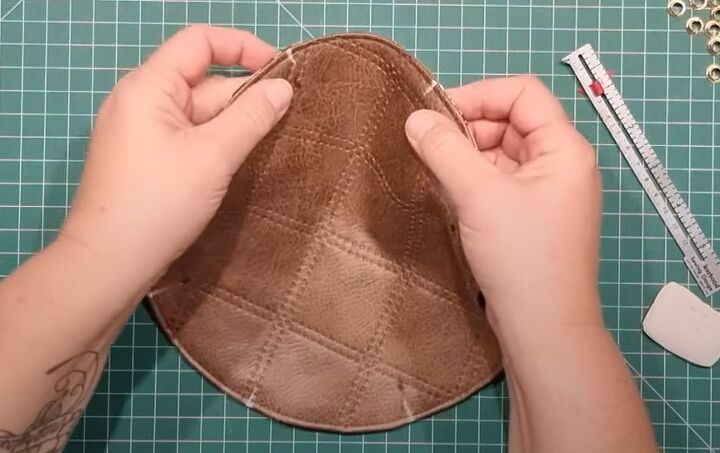
Turn the pouch right side out and push out the edges of the fabric with your fingers.
Manipulate the edges so the lining doesn’t show on the right side.
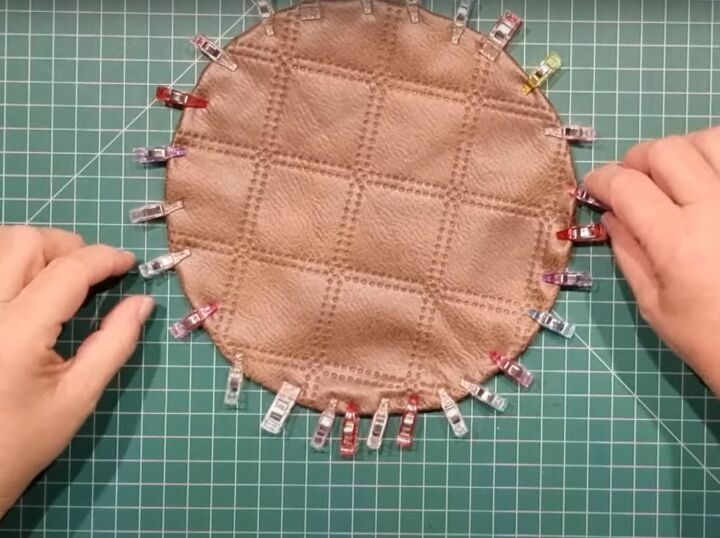
Clip the circles in place, folding in the edges of the opening along the sewing lines.
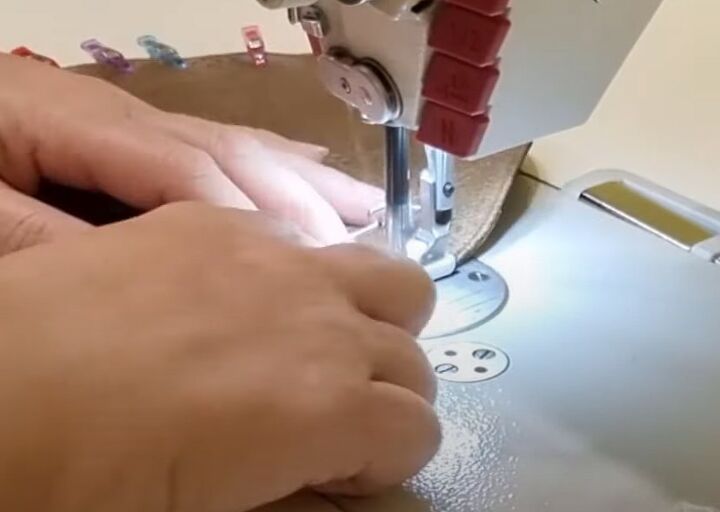
Topstitch around the circle from the right side, close to the edge.
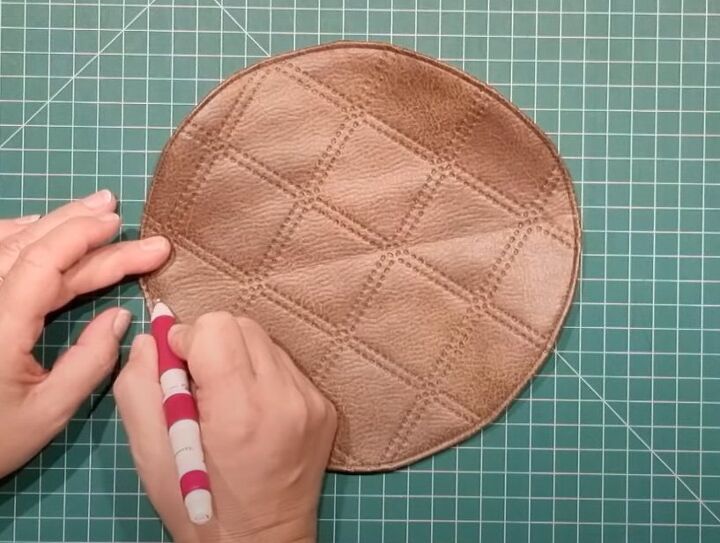
3. Mark the position of the eyelets
Fold the circle in half with the right side inside to make the central crease.
Place marks on the outer edge at the crease line with tailor’s chalk.
Fold the fabric in half in the other direction, lining up the two previous marks, and mark either side of the new crease line.
You should now have quartered the circle, with marks at the 12, 3, 6 and 9 positions.
Bring the four marks together in pairs diagonally and place marks at the new center line.
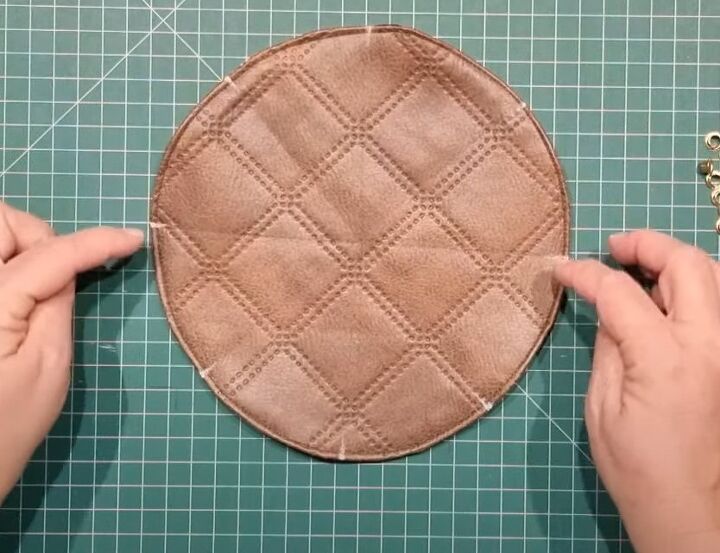
Repeat with the two remaining large sections, so you’ve divided the circle into eight slices.
Bring the adjacent chalk marks together in pairs around the circle and chalk the center point between them, giving you 16 marks in total.
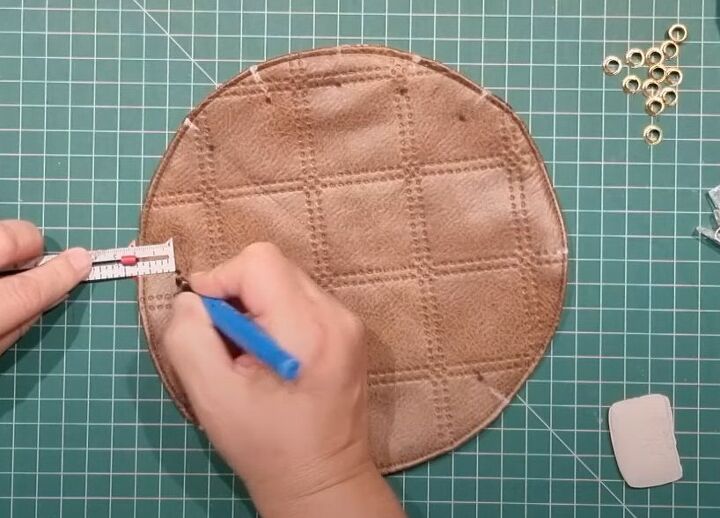
Measure 0.75 inches in from the outside edge at each of the marks and make a dot with the fabric marker for the position of the eyelets.

4. Insert the eyelets
Place the pouch on a block of wood, with the outside uppermost.
Use the correct size eyelet punch to make a hole through both the layers at each mark.
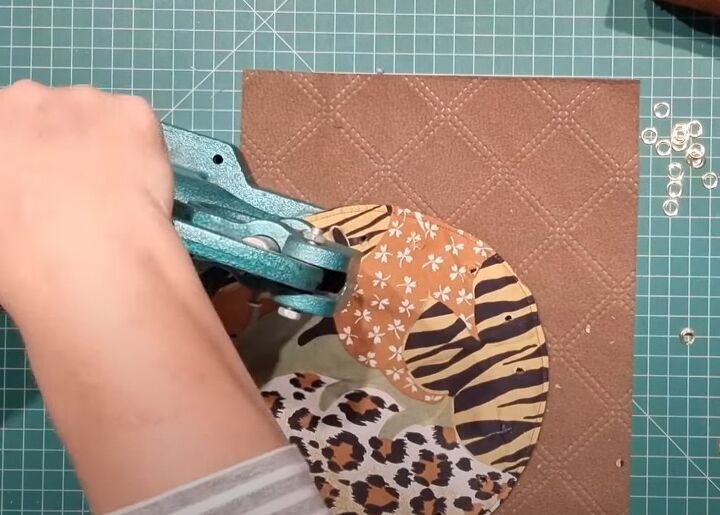
Place the “hat” section of the first eyelet on to the lower section of your eyelet press.
Turn the fabric lining uppermost and place the hole over the eyelet.
Put the eyelet washer over the hole and press down with the tool.
Continue around the circle, placing an eyelet over each hole.
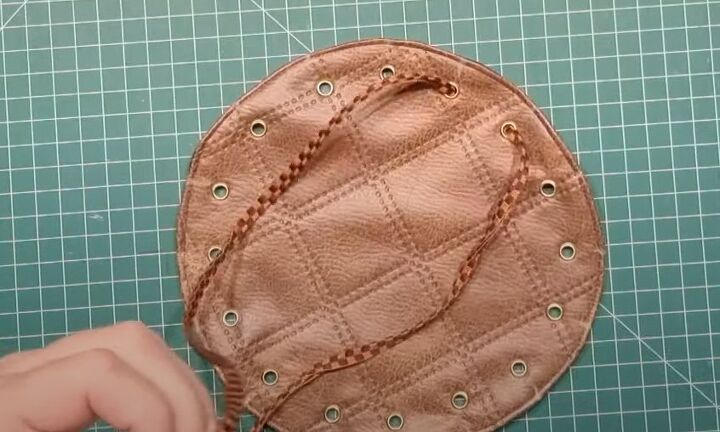
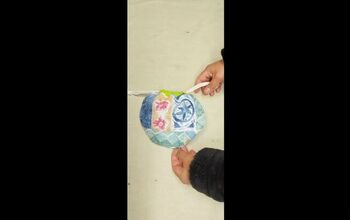
5. Attach the cord
Thread the cord through the eyelets, starting by threading it down from the outside at the first hole.
When you’ve finished, both ends of the cord should be on the outside.
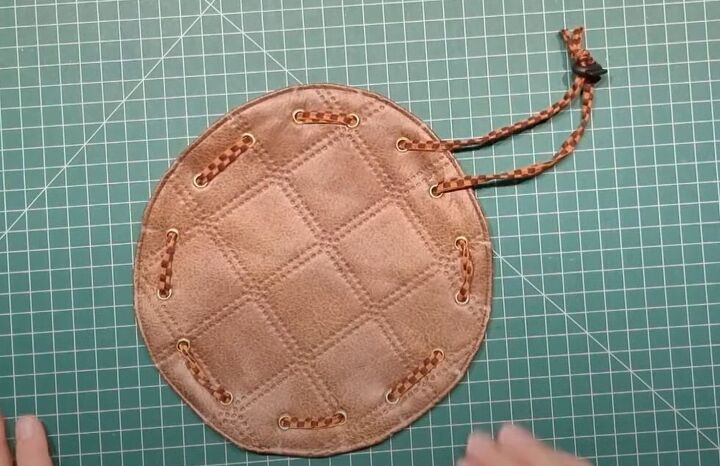
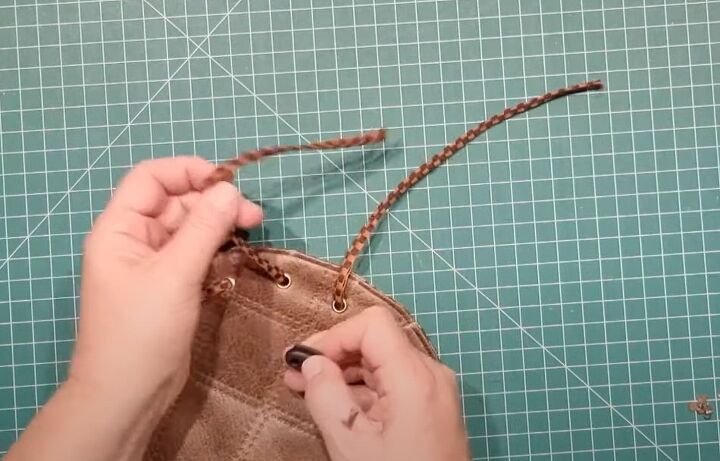
Thread both ends through the toggle and knot them together.

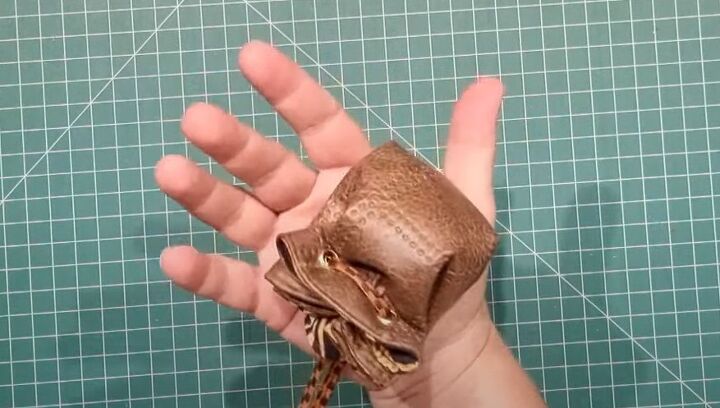
Place your coins on the inside and draw up the cord to close the pouch.

DIY coin pouch
This DIY coin pouch is a really easy project to put together. It makes a great gift!
You can use the pouch for all kinds of things around the home as well or pop it in your suitcase as a traveling jewelry case.
Let me know what you’re going to use it for.
The author may collect a small share of sales from the links on this page.


Comments
Join the conversation