Quick and Easy Zipper Pouch Pattern Tutorial

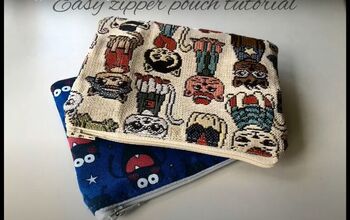
Hello, everyone! I'm excited to show you a quick and easy way to create stylish zippered pouches using designer fabric sample books.
I'm thrilled to share the zipper pouch pattern and the instructions with you.
Let's get started!
Tools and materials:
- Designer fabric sample squares (from books)
- Bargain zippers (2 inches shorter than the fabric piece)
- Scissors
- Iron
- Paper backing from fabric squares
- Fabric strips for zipper tabs
- Thread
- Sewing machine (zipper foot and serger optional)
1. Select and prepare fabric
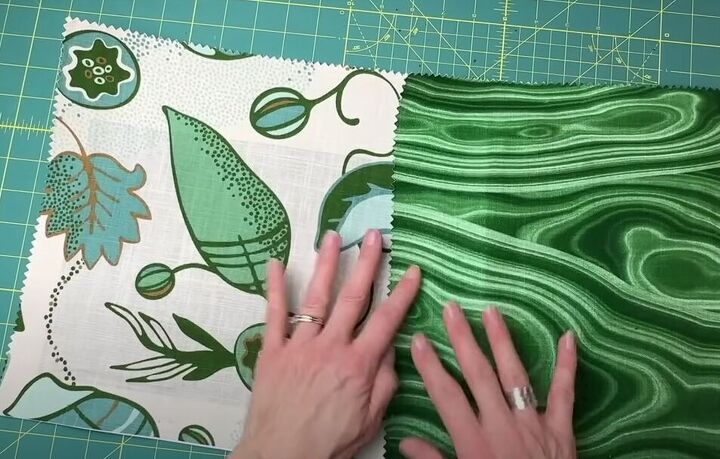
Choose two squares that look nice together from your designer fabric sample books.
Place the squares right side together without removing the paper backing.
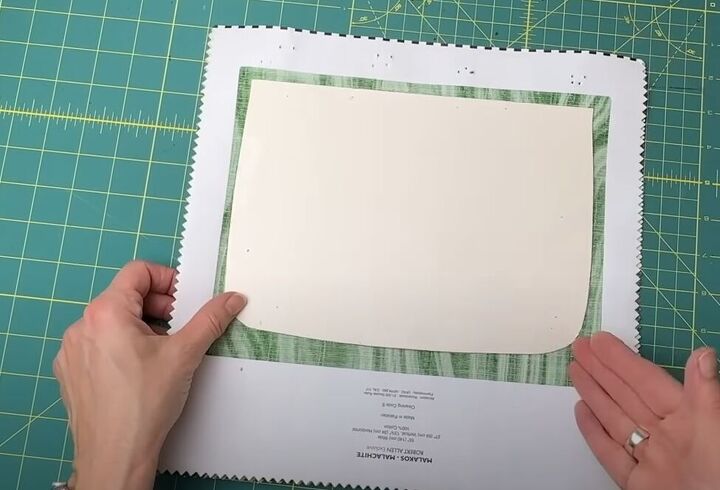
Create a pattern piece by tracing around the squares, making a rectangle about 9.5 inches wide and 7 inches deep. Round the corners.
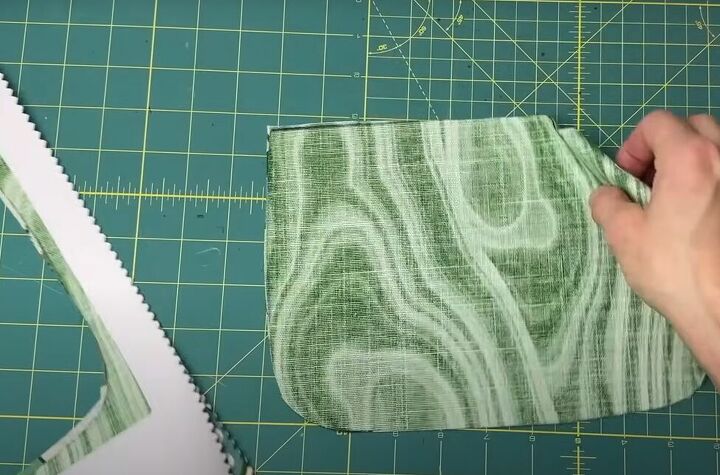
Cut along the traced lines to get your fabric pieces.
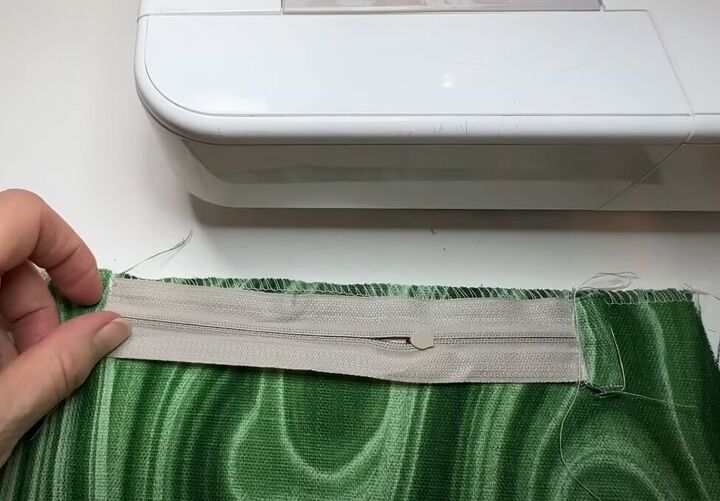
2. Prepare zipper tabs
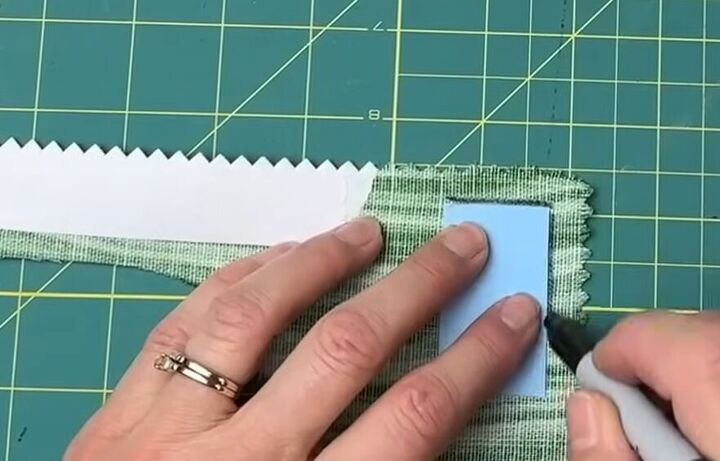
Cut two strips from any fabric, each measuring the width of the zipper and about 2 inches in length.
Serge across the top edges of both fabric pouch pieces.
Cut the zipper to be 2 inches shorter than the fabric piece.
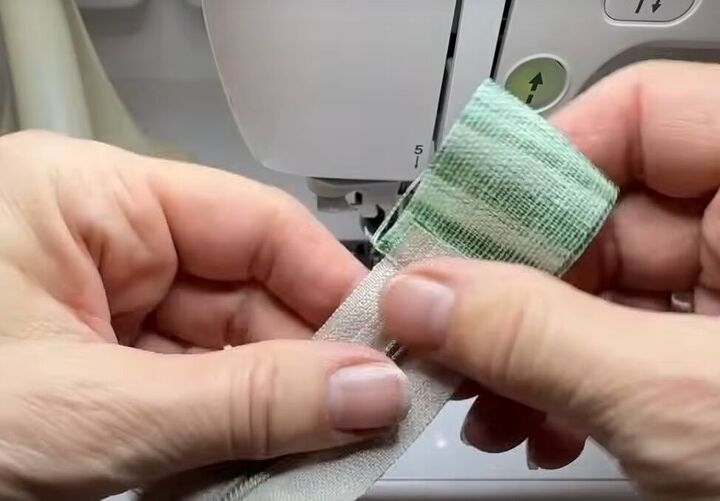
Attach the fabric strips to either end of the zipper placing the right side of the fabric tab to the wrong side of the zipper. Sew across the end

Fold the tab down so the end is just touching the zipper.
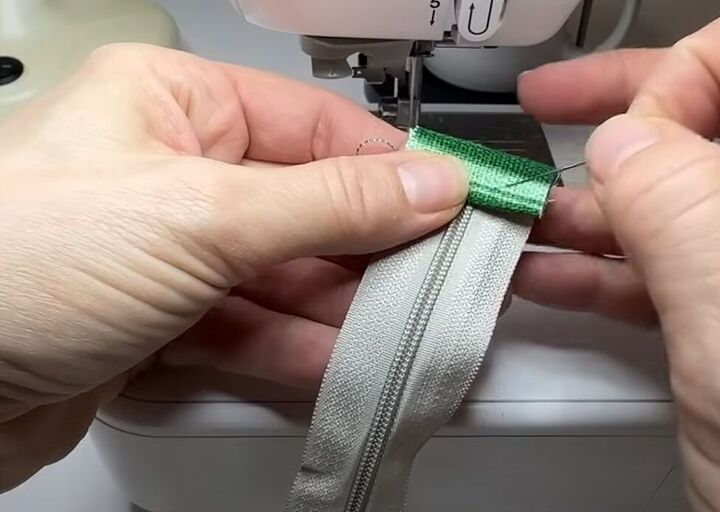
Then fold the tab down again and stitch it in place.
3, Attach the zipper
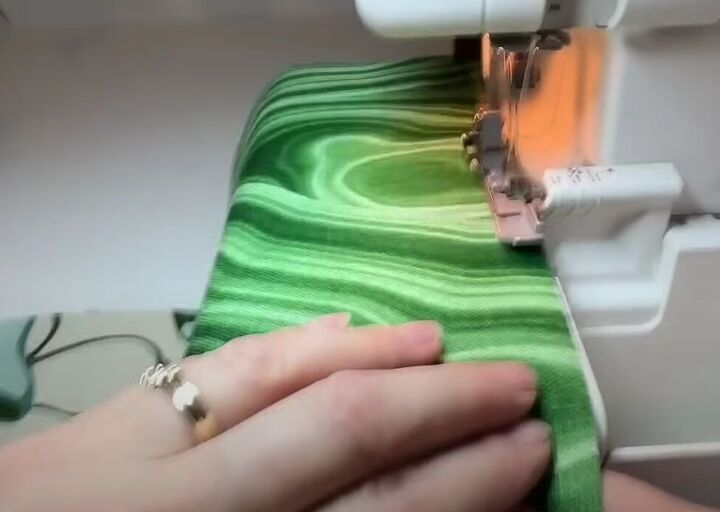
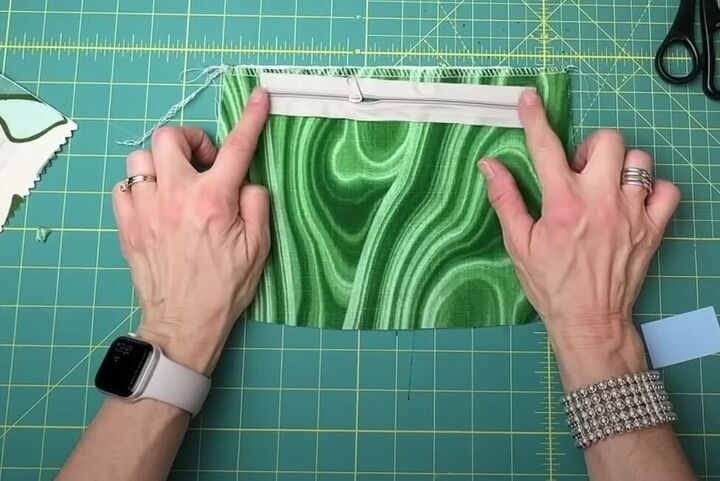
With right sides together, center the zipper on one piece of your pouch, lining the zipper up with the top edge of your pouch.
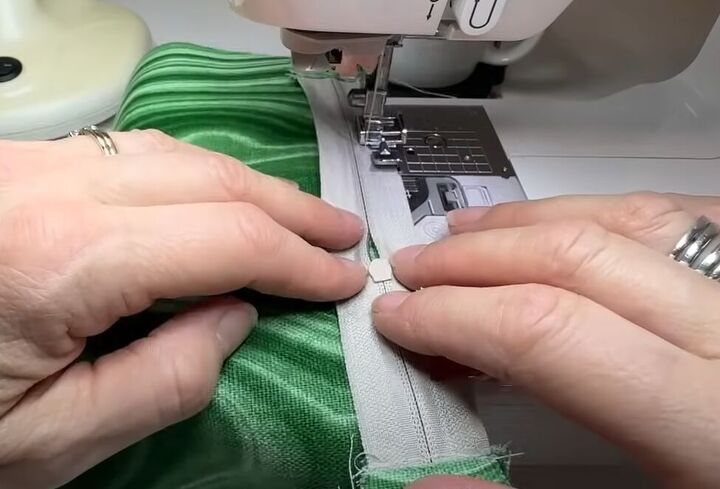
Sew the zipper in place using the zipper foot on your sewing machine.
Repeat for the other side, attaching the other edge of your zipper to the other pouch fabric piece.
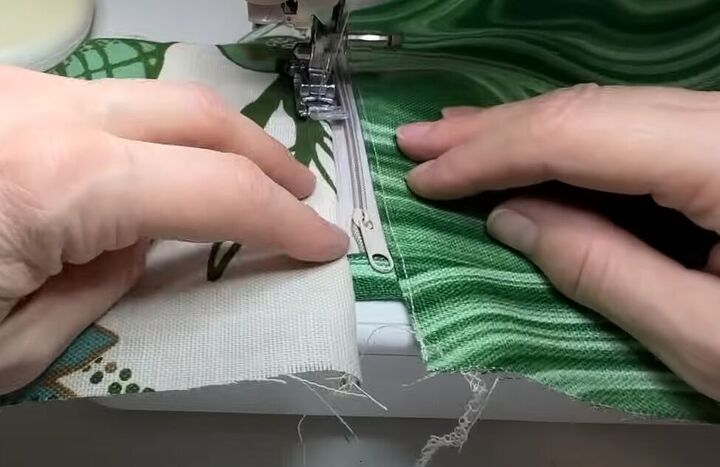
Switch back to your regular presser foot and top stitch along the zipper on both sides.
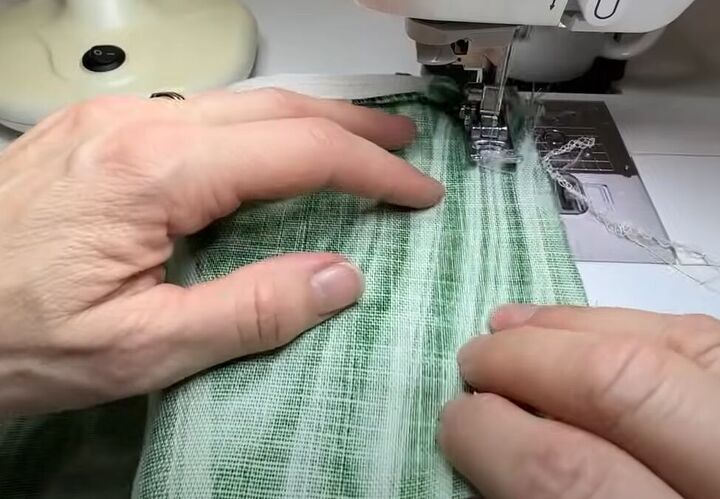
4. Sew the pouch
Fold the fabric pieces right side together, aligning the edges.
Sew along all three sides, avoiding the zipper tabs.
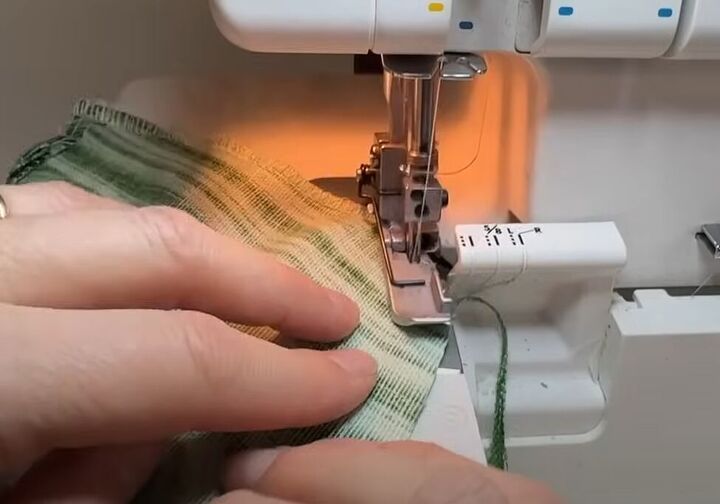
Trim excess fabric with a serger, following the sewing line.
Trim any loose threads and clean up the edges.
5. Final touches
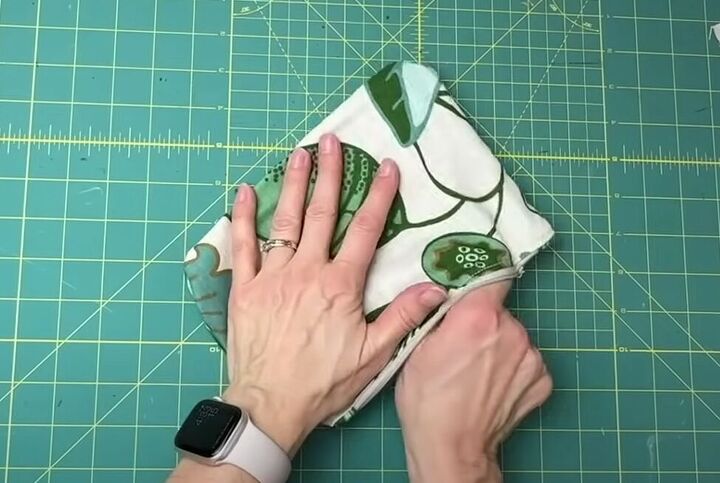
Flip the pouch right side out.
A good trick for getting corners nice and smooth is to insert the handle of your scissors into the corner and pressing it out.
Press the pouch with an iron, paying attention to the curved areas.
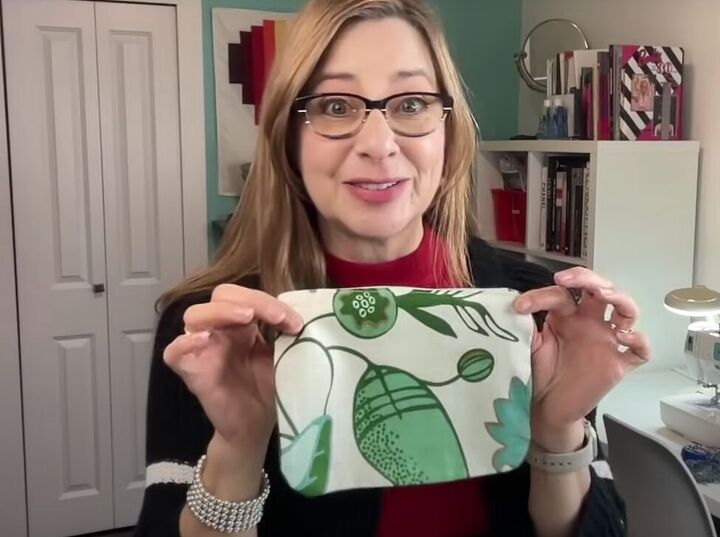
Zipper pouch pattern
There you have it! A lightning-fast and adorable zippered pouch.
Feel free to experiment with different fabric combinations to make each pouch unique.
I hope you enjoyed this tutorial. Happy sewing.
Next, learn How to Easily Change a T-shirt's Neckline.
The author may collect a small share of sales from the links on this page.


Comments
Join the conversation