Easy Zipper Pouch Sewing Tutorial

If you want to create something both fun and functional, check out this zipper pouch tutorial. This easy zipper pouch is a perfect beginner’s project, with simple lines and an adorable final product. Choose fabrics with cute prints for an extra dose of charm.
Tools and materials:
- Fabric
- Interfacing
- 7” zipper
- Clips or pins
- Iron
- Scissors
- Sewing machine
Cut the fabric
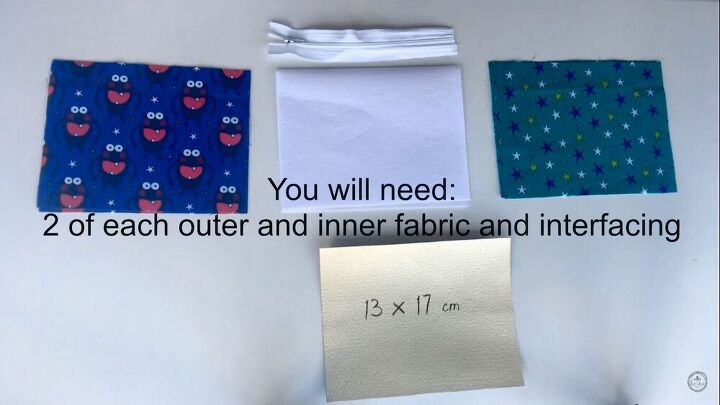
For this project, you will need two pieces of outer fabric, two pieces of inner fabric, and two pieces of interfacing. Each piece should be 13 centimeters (5 inches) by 17 centimeters (6¾ inches).

Iron the interfacing onto the outer fabric
Lay the pieces of outer fabric with the wrong side facing up, and iron a piece of interfacing onto each one.
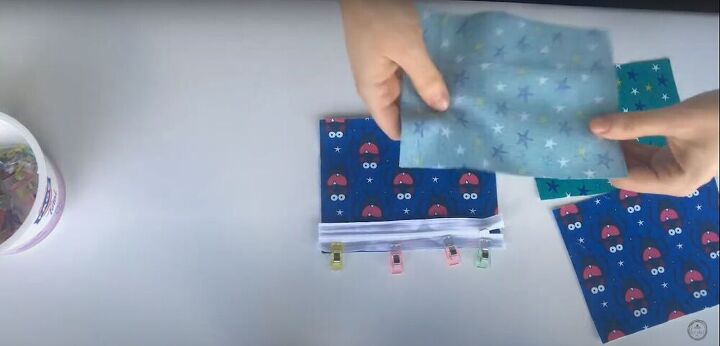
Layer the zipper between the inner and outer fabrics
Lay one piece of outer fabric with the right side facing up. Lay the zipper across the top edge of the fabric, right side facing down. Layer a piece of inner fabric on top of the outer fabric and zipper, right side facing down. Pin everything together along the top edge.
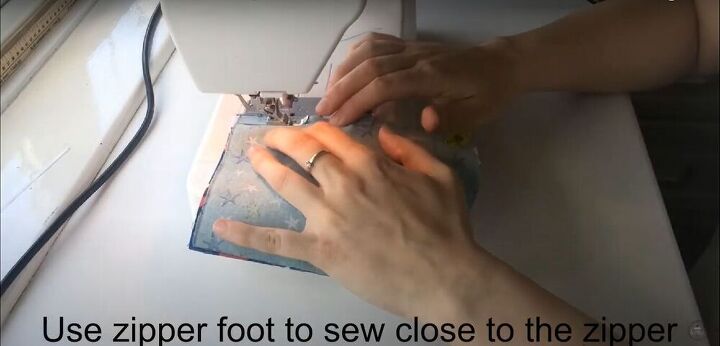
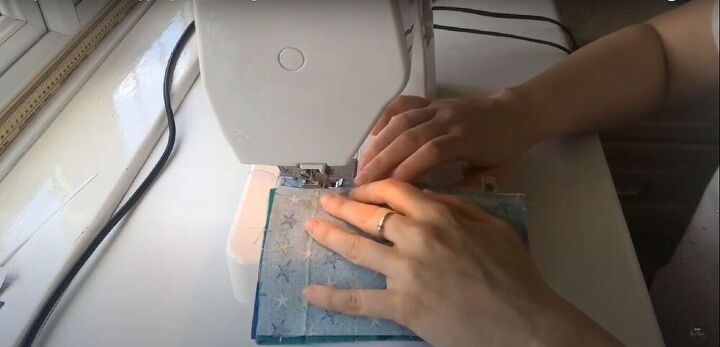
Sew them together
Sew everything together. Use the zipper foot on your sewing machine to sew as close as possible to the zipper.
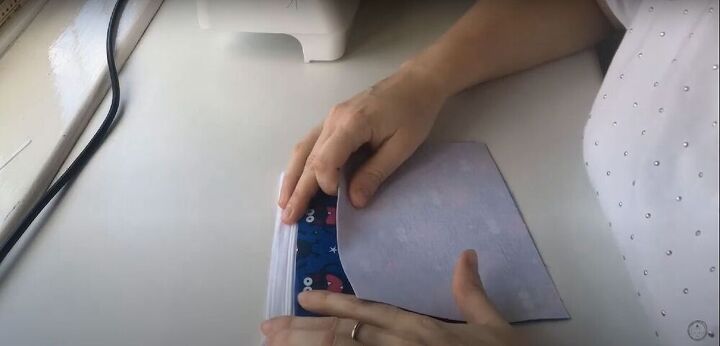
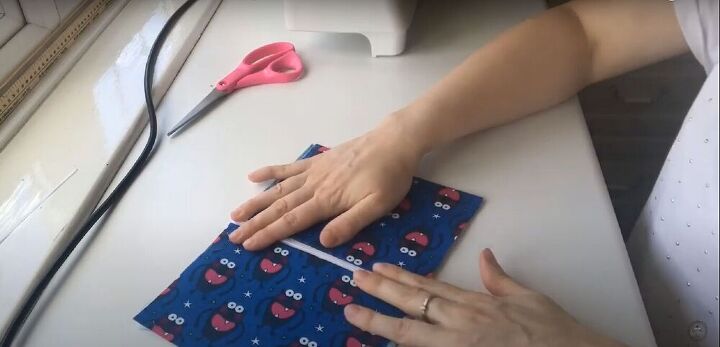
Attach the second pieces of outer and inner fabric
Fold the inner fabric behind the outer fabric. With the right side of the outer fabric facing you, lay the second piece of outer fabric on top of the first piece, aligning the edge of the fabric with the top edge of the zipper. Clip it in place, then flip everything over, and do the same with the second piece of inner fabric.
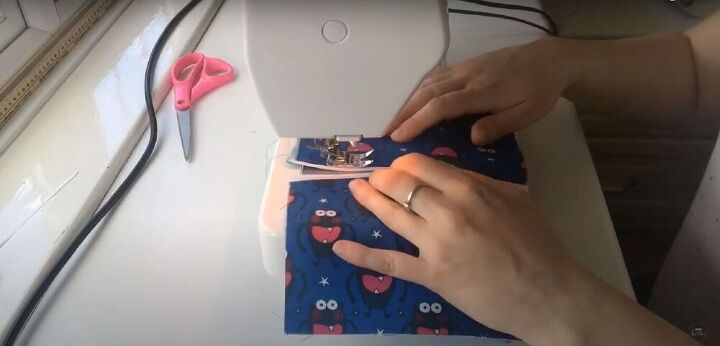
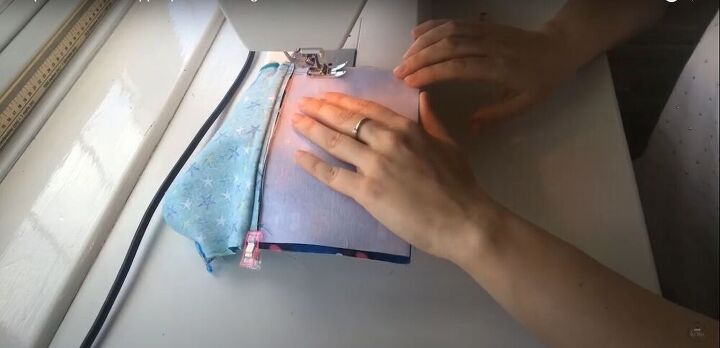
Sew it together
Sew everything together.
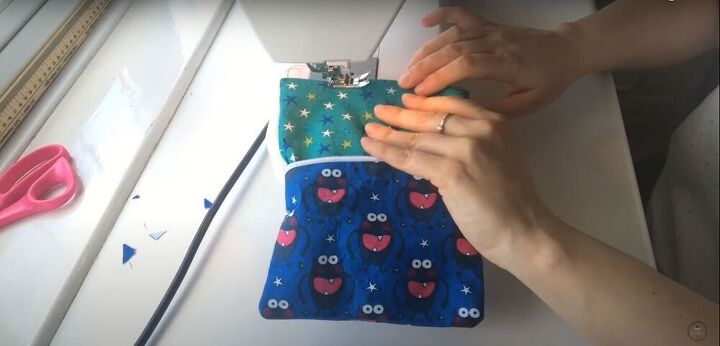
Top-stitch next to the zipper
Arrange your project so the zipper is in the middle and there is a piece of inner fabric and a piece of outer fabric on either side of it.
Top-stitch along each side of the zipper.
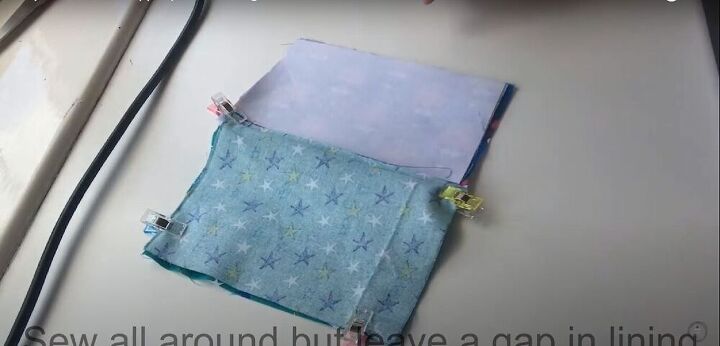
Sew all around and leave a gap
Arrange the fabric so the two outer pieces and two inner pieces are facing each other, and the zipper is hidden in the middle. Pin the fabric at the ends of the zipper, and then align all the edges and pin them together, as well.
Sew all the way around, but leave a gap of a few inches on the long edge of the inner fabric.
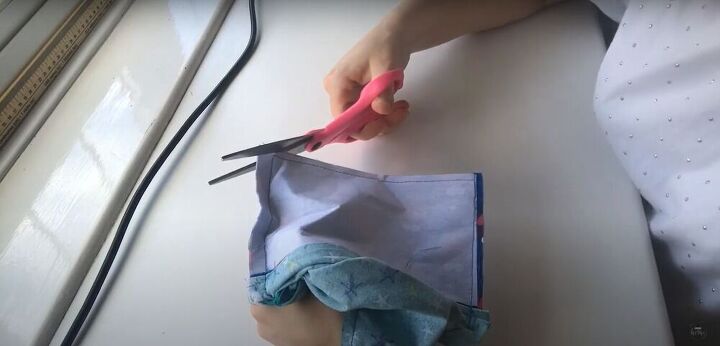
Cut the corners
Snip the corners off the outer fabric.
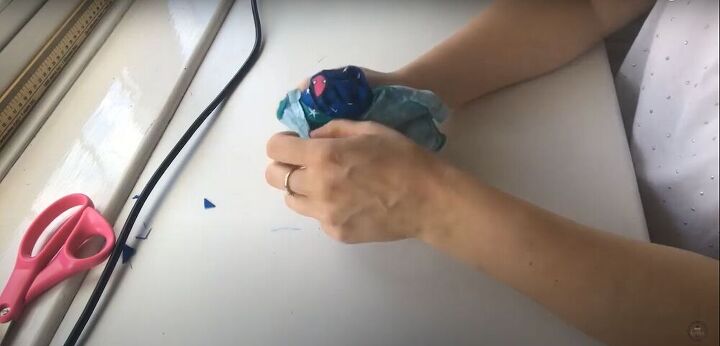
Turn the pouch right side out
Push the outer fabric through the gap you left in the stitching of the inner fabric until the outer fabric is right side out.
Close the gap
Fold the raw edges of the gap inwards, and sew it closed.

Push the inner fabric inside
Push the inner fabric into the pouch and zip it up.

You’ve created an adorable zipper pouch with a lining.

If you choose to make this project with a stiffer fabric, like this tapestry fabric, there’s no need to use interfacing.
I hope this tutorial was helpful. Share it with all your friends who love to sew!
The author may collect a small share of sales from the links on this page.


Comments
Join the conversation