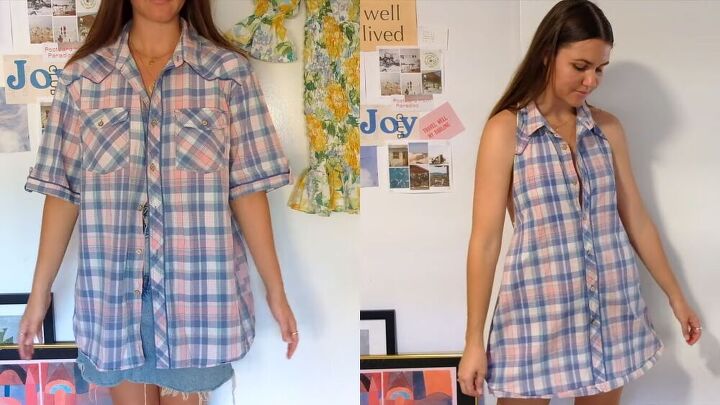
Easy Sewing Tutorial: How to Turn a Dress Into a Halter Neck

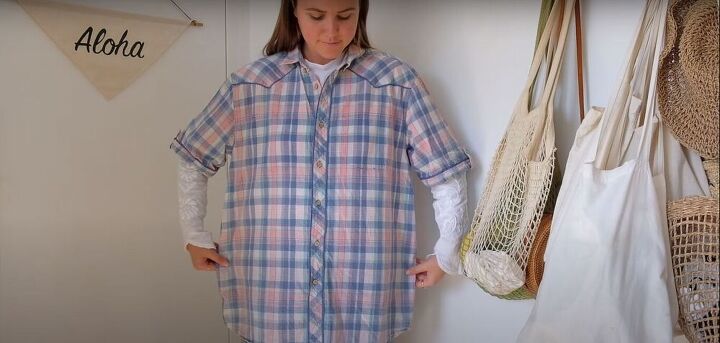
Don’t throw out that shabby old button-down shirt just yet! Turn it into a fun new item for your summer wardrobe.
In this tutorial, I will show you how to make a halter top dress out of a t shirt or shirt. Let's get started.
Tools and materials:
- Old button-down shirt
- Elastic
- Thread
- Fabric scissors
- Measuring tape
- Pins
- Safety pin
- Tailor’s chalk
- Seam ripper
- Sewing machine
1. Try on the shirt
To start, I tried the shirt on to see how much I wanted to take it in on the sides, so it would not be loose and shapeless.
2. Take in the sides
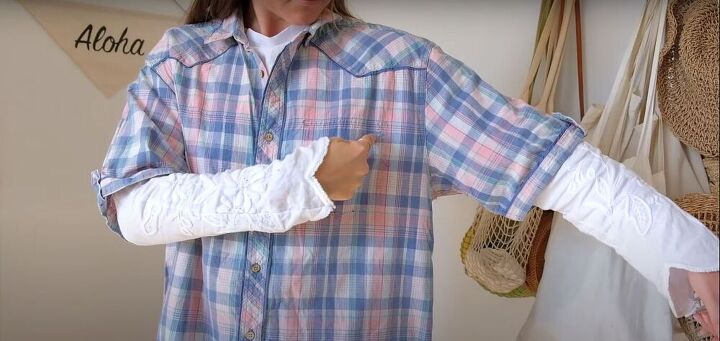
Once I knew how much I wanted to take the seams in, I flipped the shirt inside out. I then sewed a straight line on either side of the shirt from the underarm down to the bottom hem.
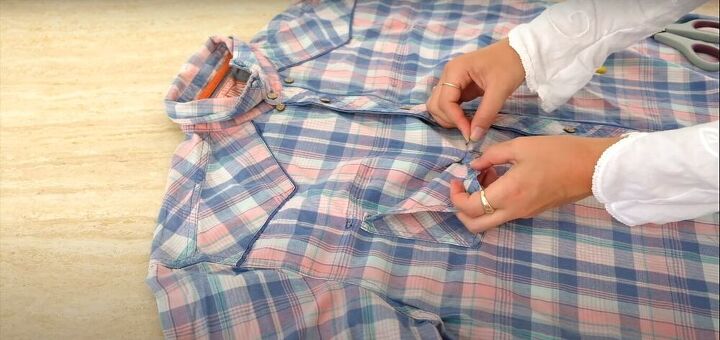
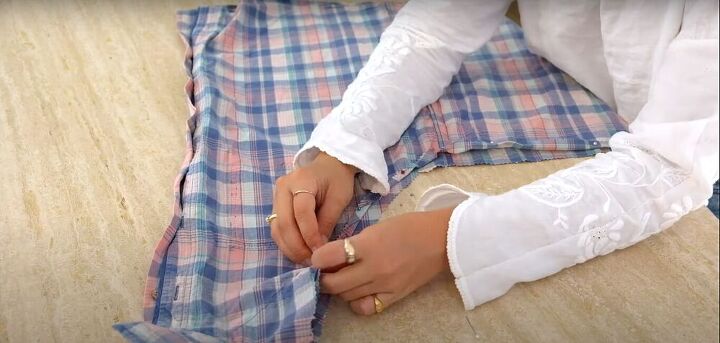
3. Remove the pockets
Next, I used my seam ripper to carefully remove the pockets from the front of the shirt.
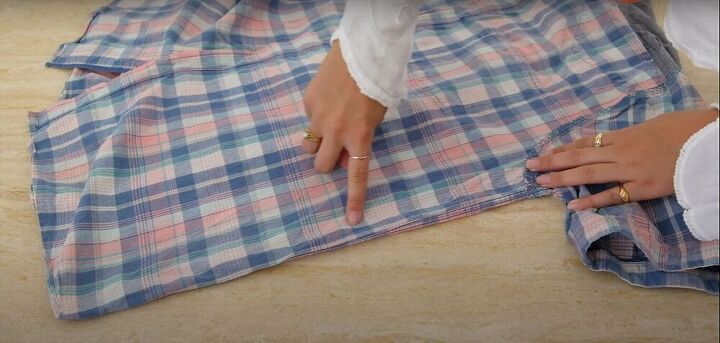
4. Mark the points where the shirt will be cut
Once the side seams were in, I popped the shirt back on and stuck a pin in to mark the point where I wanted the armholes to be.
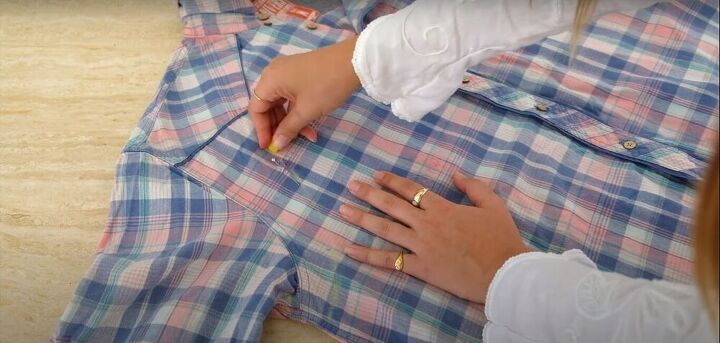
Then I took the shirt off again. Using the pin as I guide, I plotted where I would cut out the armholes.
I drew the line where the final seam would be, so I had to remember to leave an inch extra for seam allowance when I was cutting.
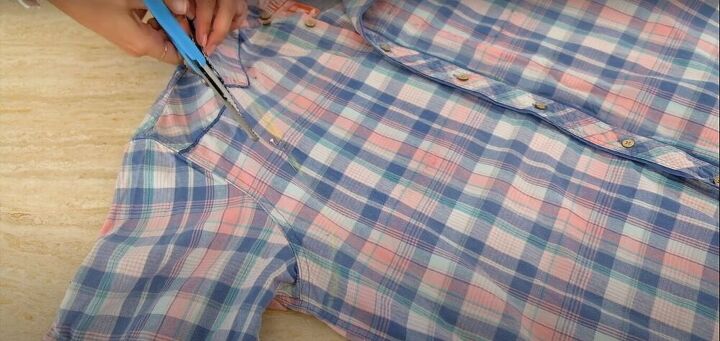
5. Cut the armholes
Following about an inch away from the line I had just drawn, I cut the sleeves off the shirt to create the armholes.
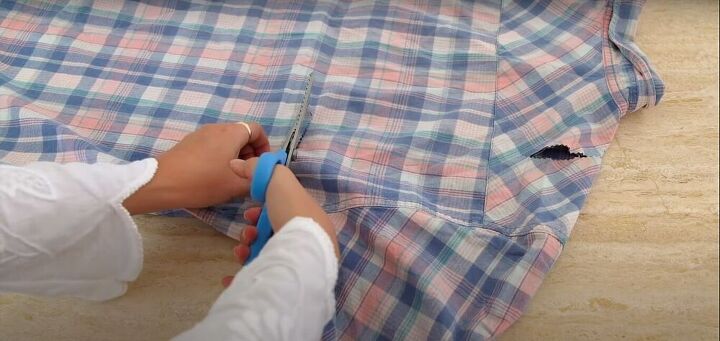
6. Cut out the rest of the back
After I cut out the armholes, I just cut a straight line directly across the back of the shirt, from underarm to underarm.
And then I made another straight cut across the back a few inches below the collar, from shoulder to shoulder. I made sure to leave an extra inch for seam allowance.
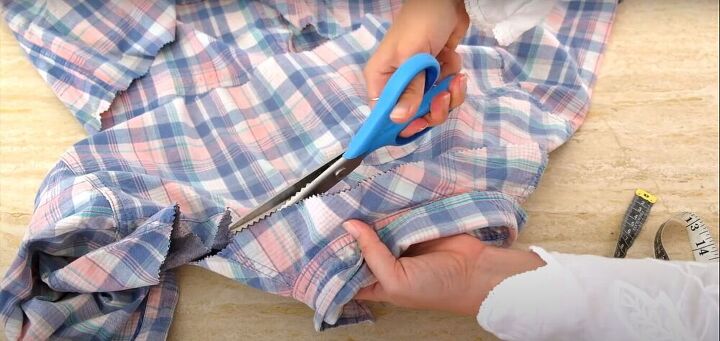
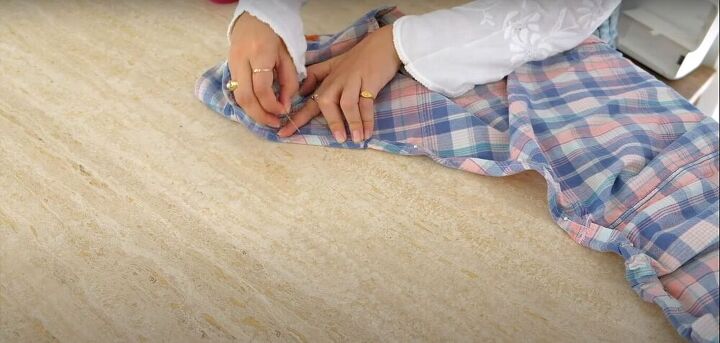
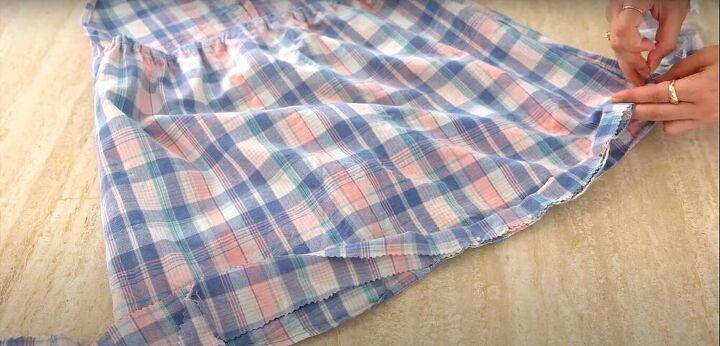
7. Fold and pin the raw edges
Once everything was cut, I turned the dress inside out. Then, I made a half-inch fold and pinned all the way around the back opening of the dress.

8. Sew it up
Then I sewed one long hemline all the way around the back opening of the dress.
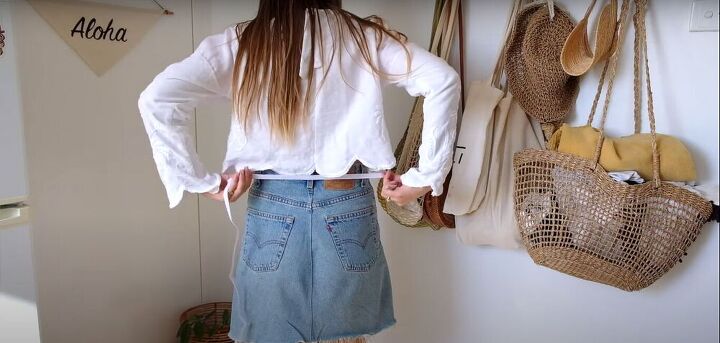
9. Measure and cut the elastic
I pulled the elastic across my back to the point where it was a little bit tight, but not too stretched out.
It reached across my back to where the side seams of the dress will rest. Then I cut the elastic at that point.
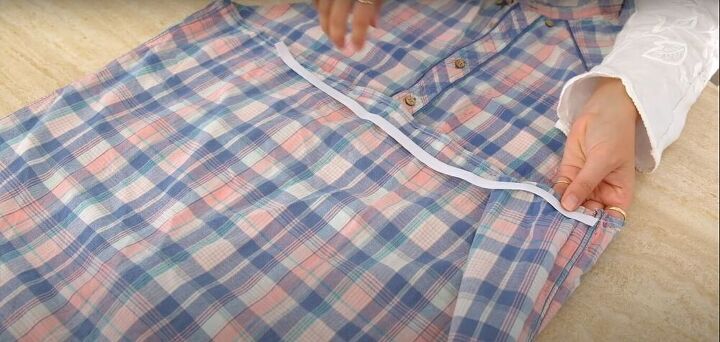
10. Attach the elastic
I aligned the elastic with the back edge of the dress, leaving about a half-inch of space from the top, so there would be enough fabric to fold over the elastic.
Then, I attached both ends of the elastic to the side seams of the dress with a zigzag stitch.
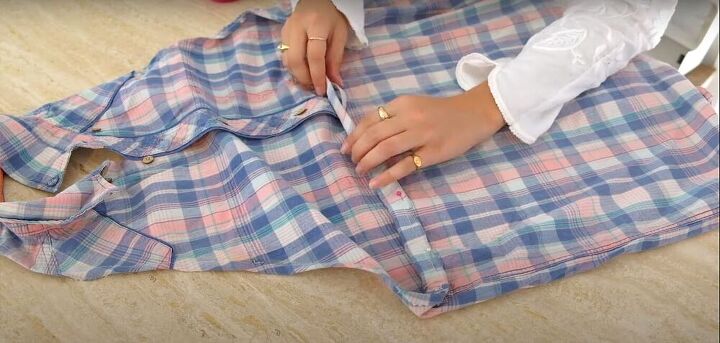
11. Fold the waistband over the elastic and pin it
I folded the edge of the waistband over the elastic and pinned it into place.
12. Fold and pin the edges around the back opening
Then, I continued to fold the edges about another quarter- to half-inch all the way around the back opening of the dress and pinned everything down.
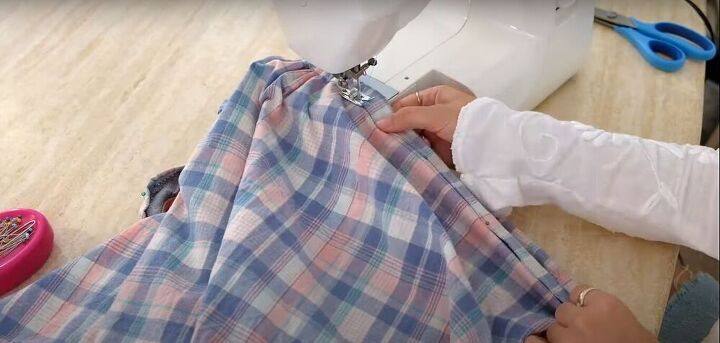
13. Sew all the way around
Once everything was pinned, I sewed across the waistband, pulling the fabric flat as I went, since the elastic caused it to bunch up.
I continued to sew one long seam all the way around the back opening of the dress, once more.
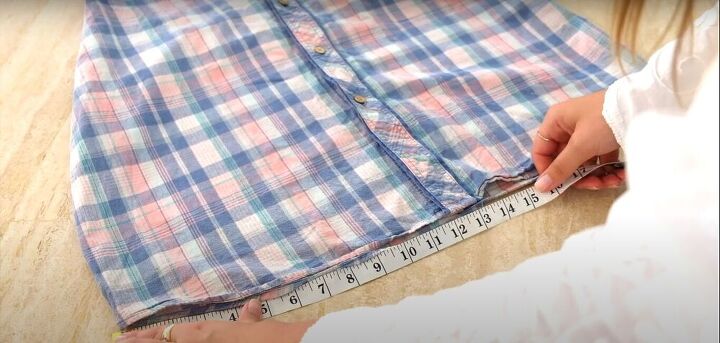
14. Add extra length (optional)
If your shirt was already at your preferred length, you’re done! You now have a cute new dress.
However, my dress was a bit too short for my liking, so I added a strip of fabric at the bottom to give the dress more length. To do this, I first measured the circumference of the hem of the dress.
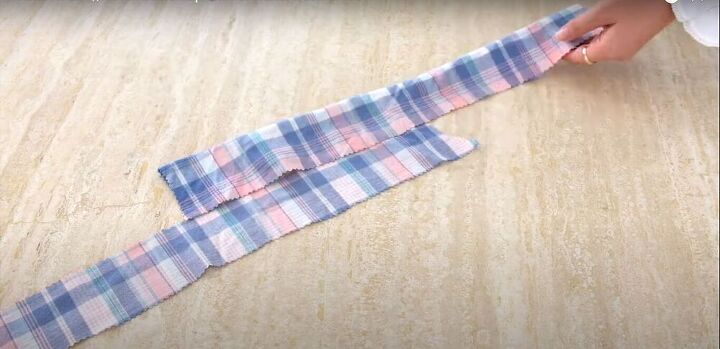
Then, I cut strips of fabric from the piece that I had cut out of the back of the shirt.
I attached them to create one long strip, the length of which was equal to the circumference of the hem.
I folded the strip of fabric in half, so the fold would become the finished edge of the dress and I wouldn’t have to hem it.
I pinned the folded strip of fabric along the bottom of the dress.

Then I sewed it all together.
I tried it on one more time and made any small adjustments necessary to get the fit just right. And then my dress was complete!


How to change a halter neck dress
And there we have it! That's how to make a halter top dress out of a t shirt or shirt.
I think it would be so cute with some white go-go boots and a headband.
If you enjoyed this tutorial, please let me know in the comments and share it with your friends!
The author may collect a small share of sales from the links on this page.


Comments
Join the conversation
U did a great job young lady.. ... and yes Leslie, I wore these myself back in the day. Thank you for this post. I will try this with a few old shirts to make a back in tunic top. Lol, I've grown a bit so may use the sleeves to give a loose fitting summer top. Thank you again
It did turn out very cute, for a hot day. From the photos used, I could not really see the added length you put on. As a suggestion, if someone used the sleeve fabric also they might be able to gather the added length a small amount, so it had a bit of a ruffle on the bottom.