This Easy-Sew Zipper Pouch is Cute & Practical Scrap Fabric Idea

Sometimes you just need a little functional pouch that is not bulky or hard to carry around. I have the perfect solution for you: an easy-sew zipper pouch!
This DIY zipper pouch with lining is great for storing all the necessities you need when you’re on the go and running errands. It’s super cute and stylish, too. So, if you want to know how to sew a zipper pouch, keep on scrolling and see how easy it is to make!
Tools and materials:
- Fabric for the pouch
- Lining
- Sewing machine - optional
- Needle
- Thread
- Zipper
- Scissors
- Pins
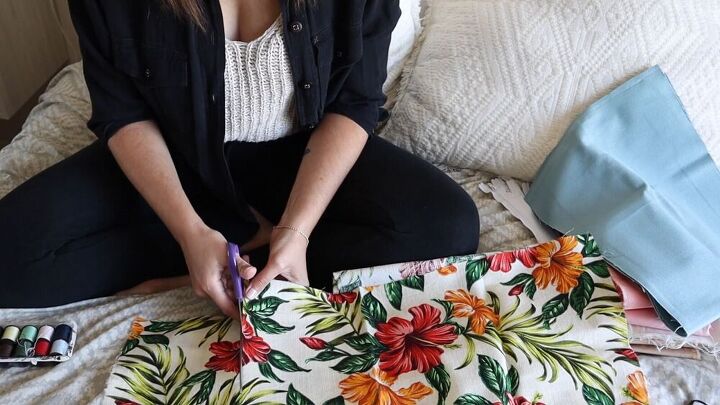
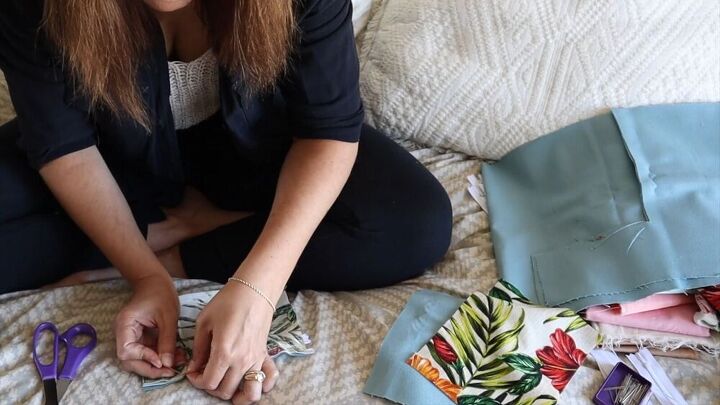
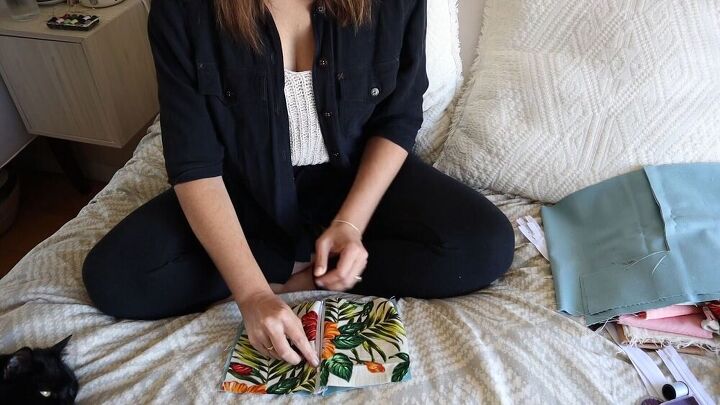
1. Cut the squares
Ok, we’re starting the DIY zipper pouch tutorial by cutting squares. Now, you can make them into any size that you like or need. Cut the first square, making sure the lines are straight.
Next, take your square and put it on the lining. Use the first square as a guide as a pattern for cutting out the lining piece.
You should now have four pieces of fabric: two for the exterior and two for the lining.
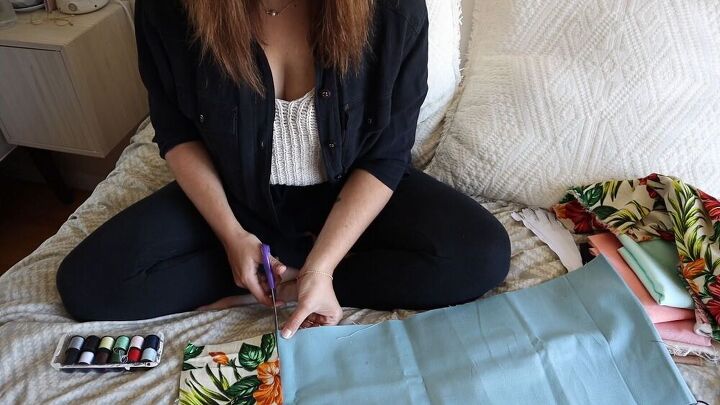
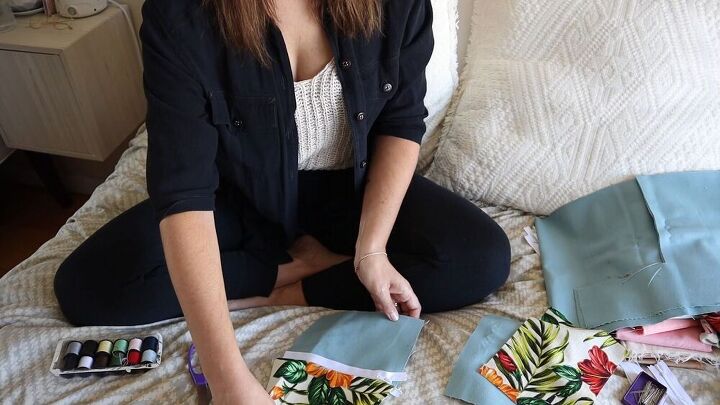
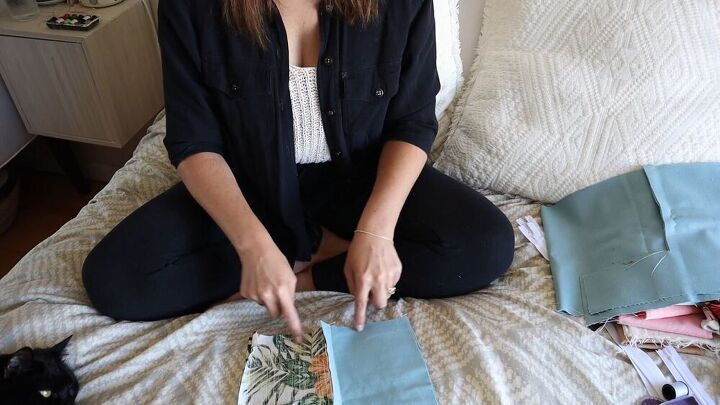
2. Add the zipper
My zipper was too long, so I cut it to size. Next, place your zipper on the one edge of one of the lining pieces.
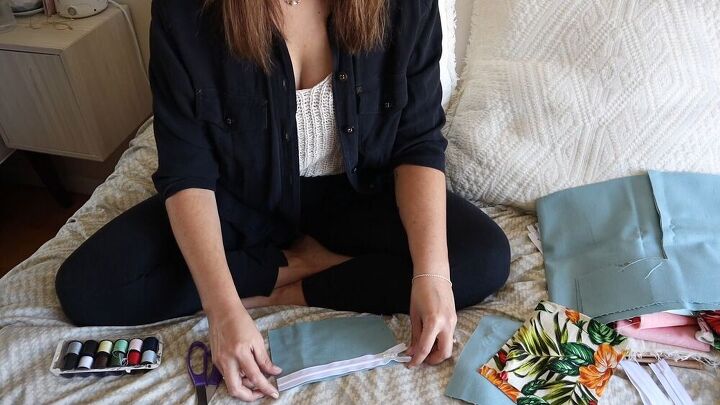
Then, take a piece of the outer fabric, flip it over, and place it on top.
Pin the two fabrics together with the zipper sandwiched between the fabric pieces.
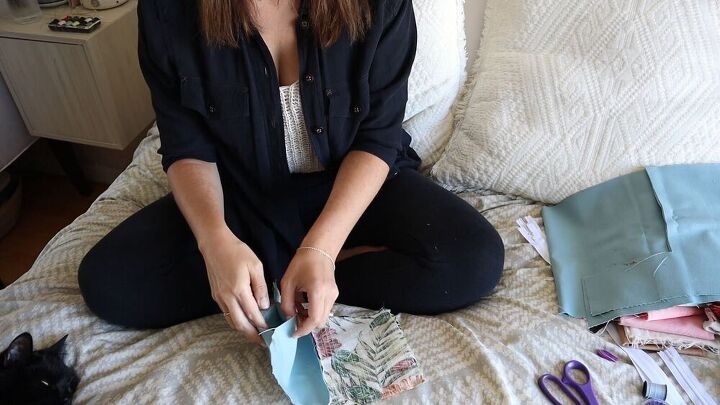
Sew along the edge to secure all the layers in place. When you flip it inside out, this is what it should look like.
Tip: Feel free to either hand sew this DIY zipper pouch or use a sewing machine.
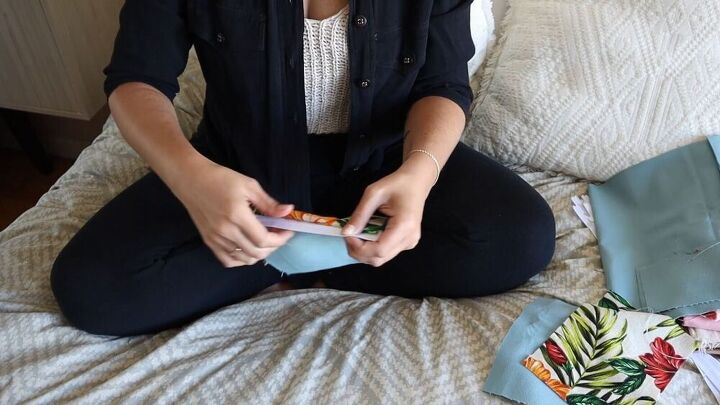
Repeat the process to attach the zipper to the fabric on the other side.
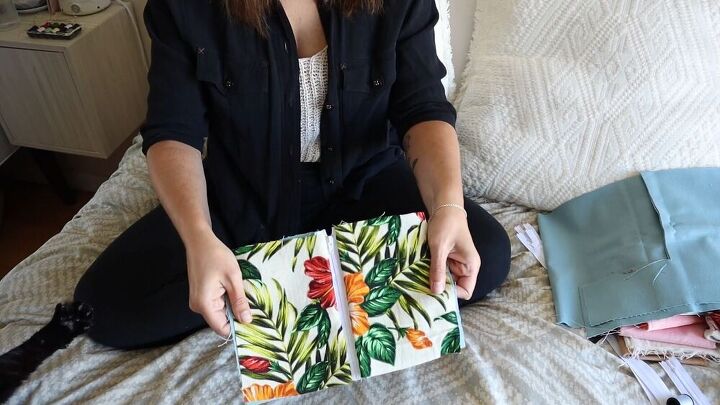
This is what your DIY zipper pouch should look like thus far.
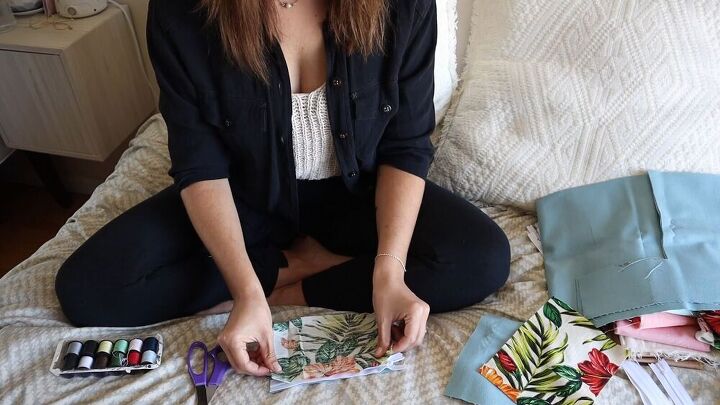
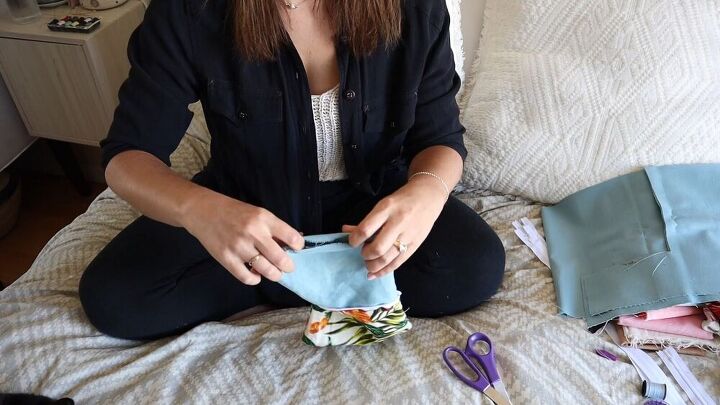
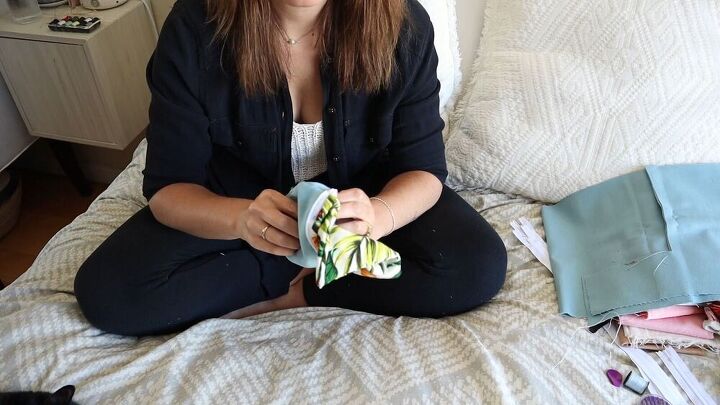
3. Assemble the easy-sew zipper pouch
Now, open your zipper around ¾ down.
Then, flip the fabric over. So the printed outer layer is on one side, and both the lining pieces are on the other. Then, go ahead and sew around the raw edges. Leave a small opening on both sides so that you can flip the fabric right sides out after.
Now that you have sewn everything, flip each side right side out through the openings.
Sew the openings closed.
Push your lining fabric inside the outer fabric.
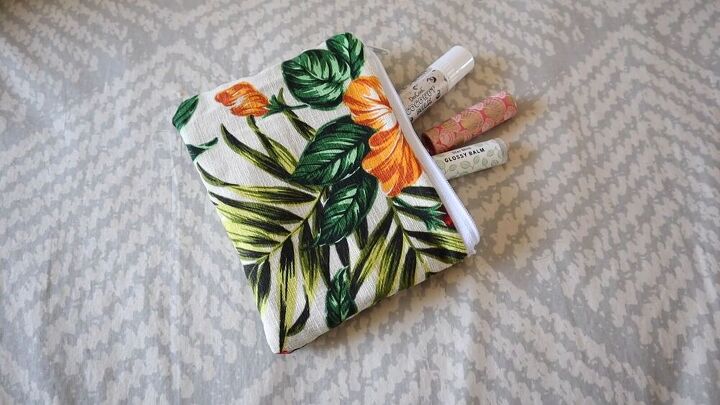
Easy-sew zipper pouch tutorial
That’s it, guys! Now you know how to make a zipper pouch! This whole DIY pouch tutorial didn't even take long. I love the fun print and that it can fit practically all my necessities. I hope you enjoyed this guide. Let me know what you think of this easy DIY.
The author may collect a small share of sales from the links on this page.


Comments
Join the conversation
Yes but not sure about the lining portion& turning it inside out. I will have to review it again. I’m not much of a sewer but trying to learn.
The whole idea of sewing a zipper into a tiny pouch has intimidated me for YEARS! Your tutorial is wonderful and now I’m determined to make a pouch, or few! Thank you!