Quick and Easy DIY Drawstring Pouch Tutorial

Hey guys! Today, I’m going to show you how to make a DIY drawstring pouch with a lining.
This is such an easy project and you will get so much use out of the finished product. Let’s get started!
Best fabric scissors!
Tools and materials:
- Fabric for bag
- Fabric for lining
- Fabric for the drawstring
- Rope
- Ruler
- Scissors
- Sewing machine/needle and thread
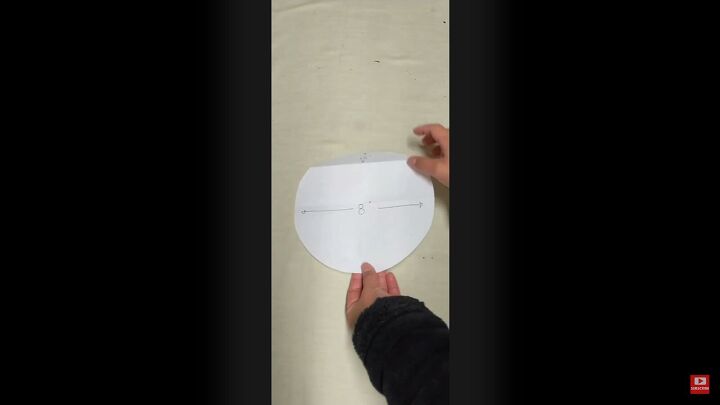
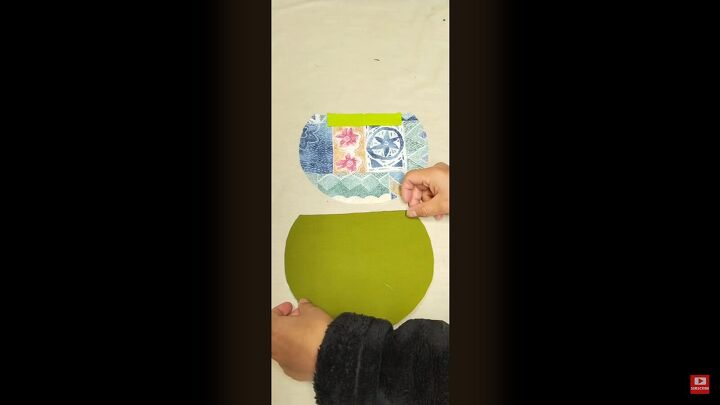
1. Create your pattern and cut your fabric
To create your pattern, take a piece of paper and cut out a circle that is 8 inches in diameter. Then fold one edge 1 ½ inches down.
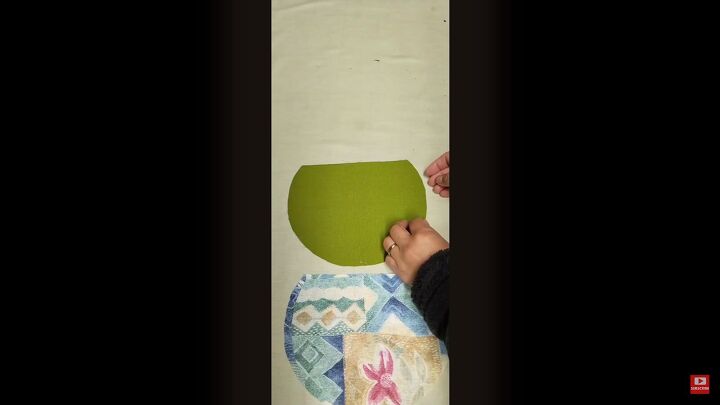
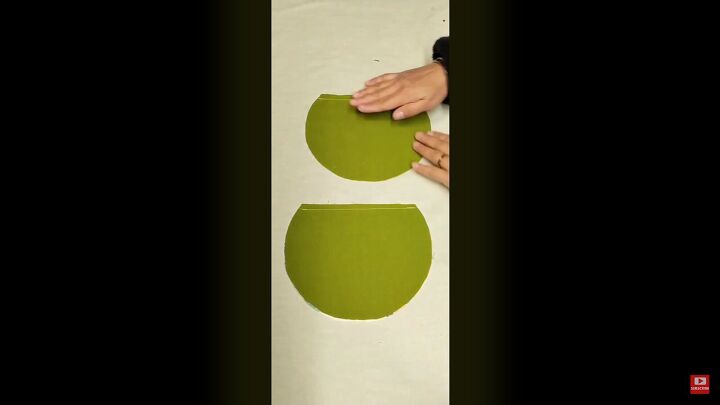
Use the folded pattern to cut 2 pieces of fabric and 2 pieces of lining.
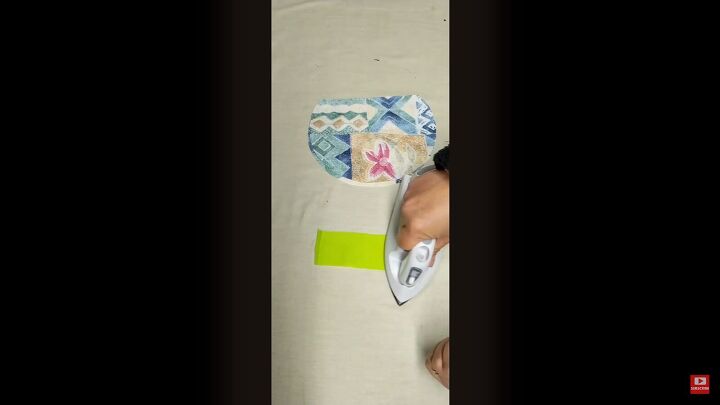
Cut 2 small rectangles of fabric that are 2 by 5 inches.
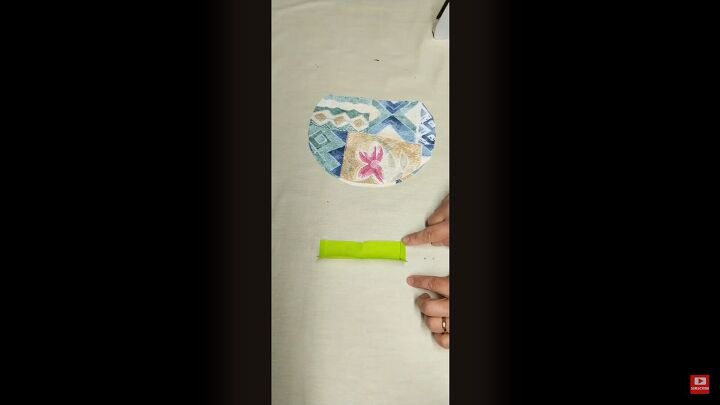
Fold both 2-inch edges in 1/8 inch and iron them down. Fold the rectangle lengthwise and iron it. Cut a small notch at the center.
2. Start sewing
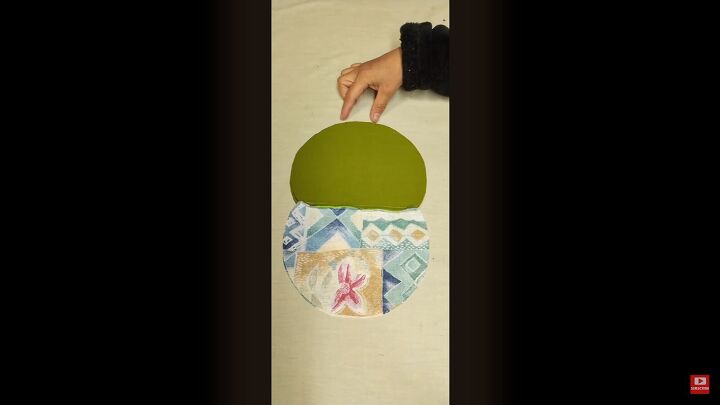
Sew the folded edges of the folded rectangles. Then take your fabric partial-circle and place it facing up.
Put one of the rectangle strips centered at the top edge, then place the lining on top with the right side facing in.
Sew the 3 fabrics together along the top edge. Do this for the other pieces of the bag too.
Open both sides and place them on top of one another with the right sides facing in.
Make 2 small marks at the top of the lining about 2 inches apart.
Then sew everything together, leaving an opening in between those 2 marks.
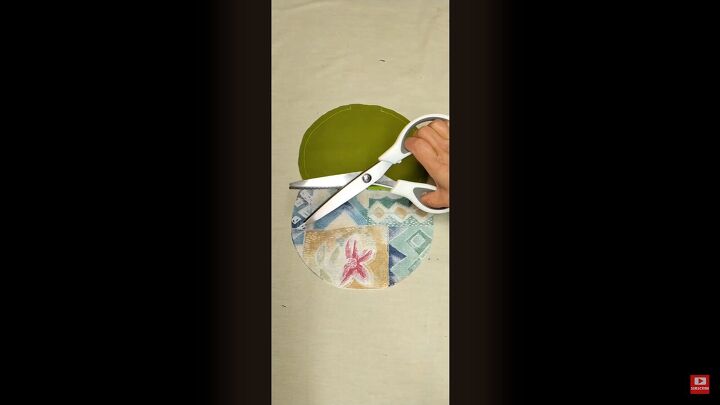
Take shearing scissors and shear the around the perimeter of the bag.
Use that opening to turn the fabric right side out. Iron everything down and then sew the small opening closed.
Push the lining into the bag.
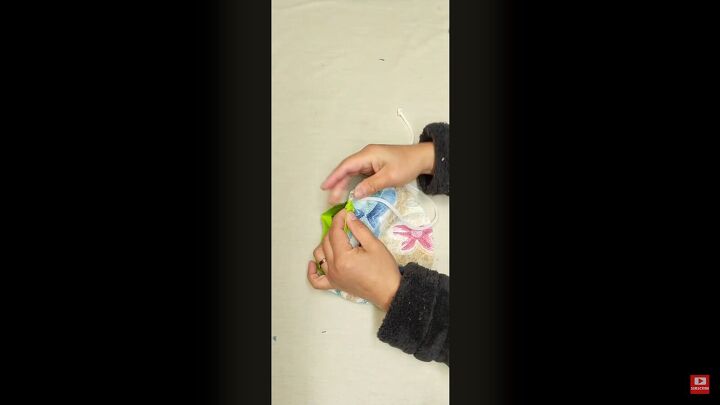
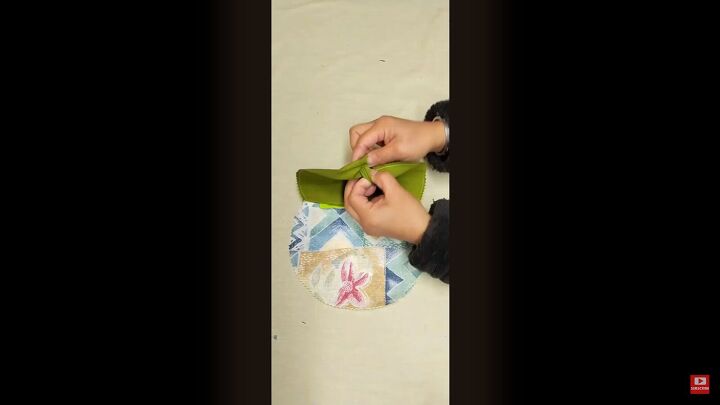
3. Create a drawstring
Cut 2 pieces of rope that are each 16 inches long.
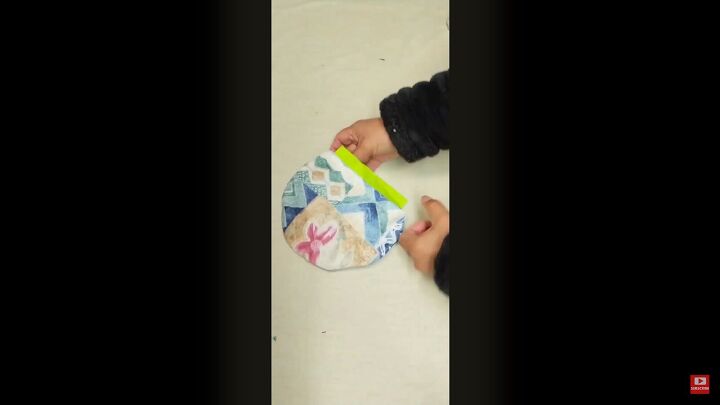
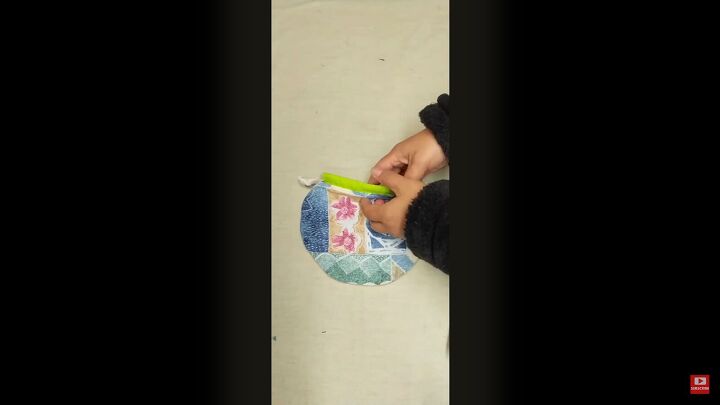
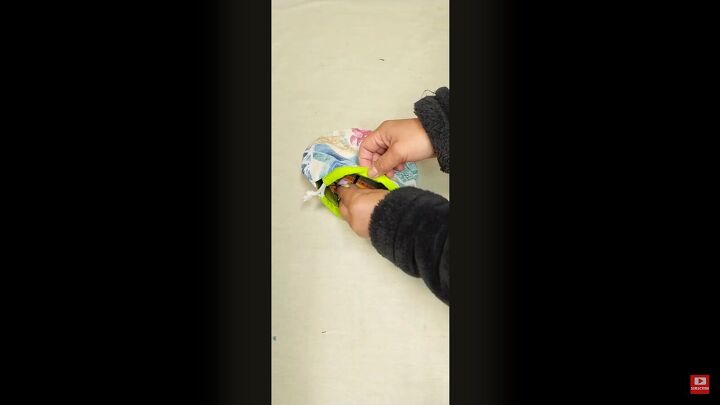
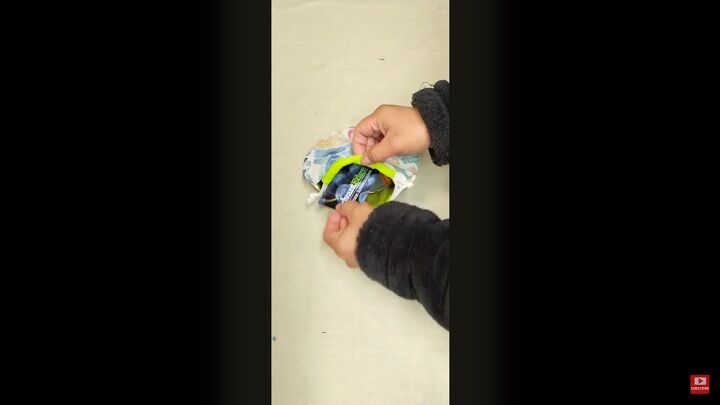
Attach a safety pin to help you thread one rope through one opening of the folded rectangle and then through the opening of the rectangle on the opposite side.
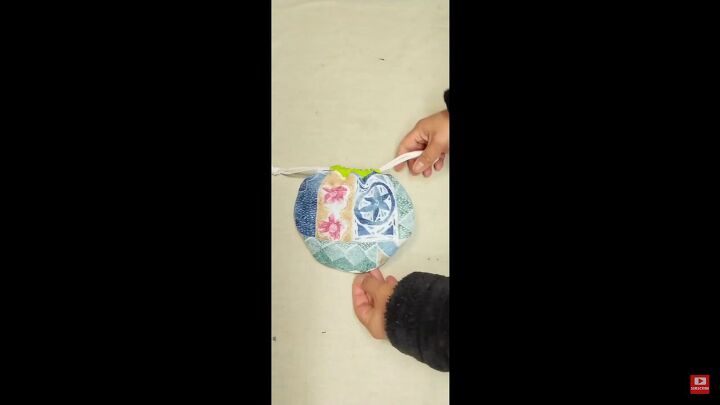
Tie the ends together. Do the same with the 2nd rope, going in the opposite direction.
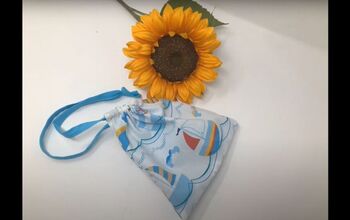
DIY drawstring pouch
You’ve just made an adorable and useful drawstring pouch! It’s the perfect size for all of your essentials. Throw in your wallet, keys, and phone, and you’re all set to go out.
I love how simple this is to make, and the finished product is so convenient.
What do you guys think? Leave me a comment and let me know.
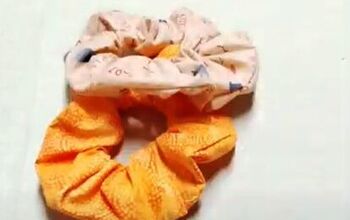
Next, check out my Quick and Easy DIY Hair Scrunchie Tutorial.
The author may collect a small share of sales from the links on this page.


Comments
Join the conversation