Quick and Easy DIY Bow Brooch Tutorial + Styling Ideas

In this tutorial, I’m going to show you how to make an easy DIY bow brooch.
But in all honesty, it is so easy that it can hardly be called a DIY. You only need three materials for this project - let’s get started!
Tools and materials:
- E6000 glue
- Bows
- Magnets
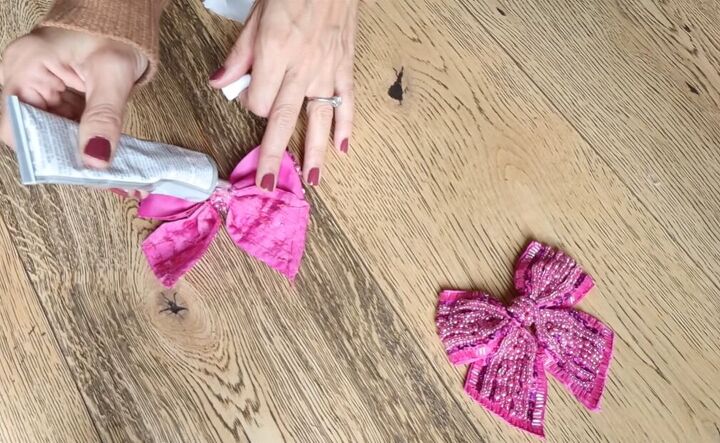
1. Apply glue to bows
Apply a good amount of glue on the back of each bow.
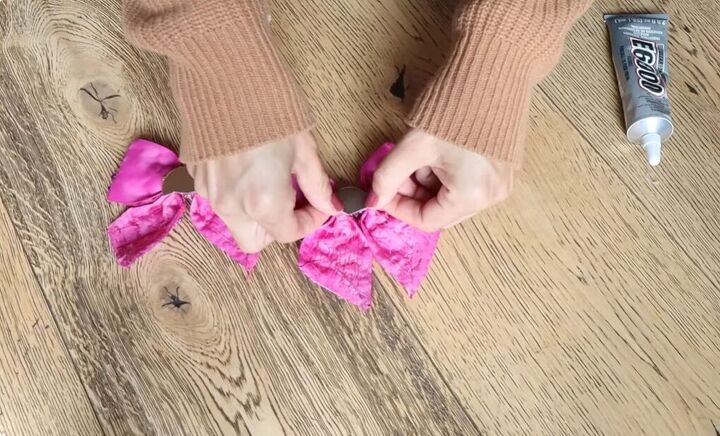
2. Attach magnet
Take two magnets and put one on the back of each bow.
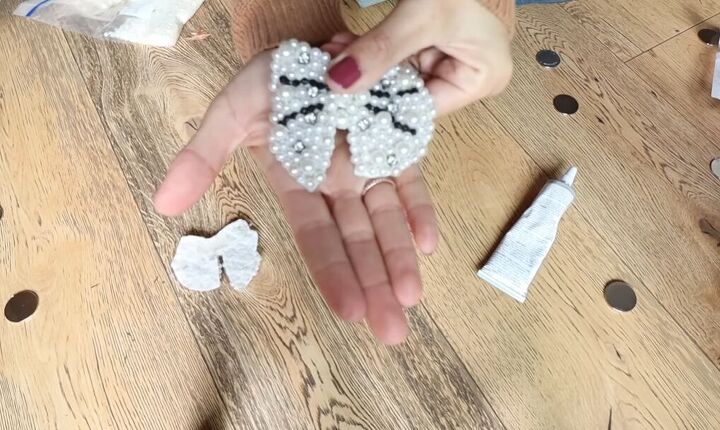
If the magnet is bigger than the bow, like it is with these pearl bows, you can remedy this by adding more material that matches the bow.
Here, I added one single flat-back pearl to cover the magnet.
And that’s it! I told you it was easy. Now, I’m going to show you various ways that you can style these bow brooches.
How to style DIY bow brooch
To put the bows on, just get the attaching magnet, put it inside your pocket (or on the other side of whatever other item of clothing you’re attaching the bows to), then hold the bow by the outer side, and voila!
The two magnets will snap together, and you’ll get a super strong hold.

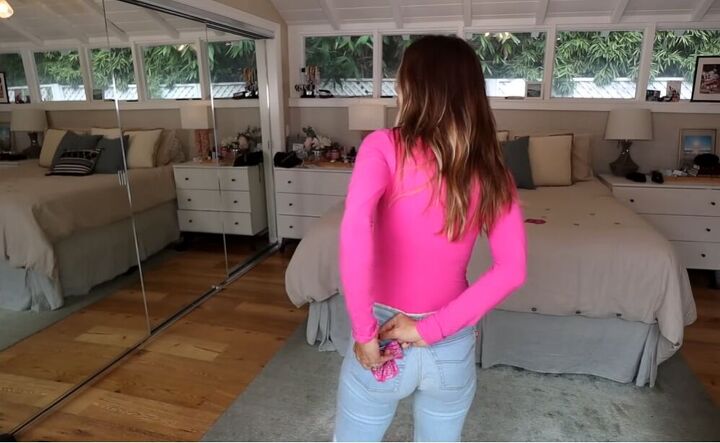
Here, I’ve added them to the backs of my jeans pockets.
I would add them when you’re not wearing the jeans so that you can make sure they’re perfectly centered.
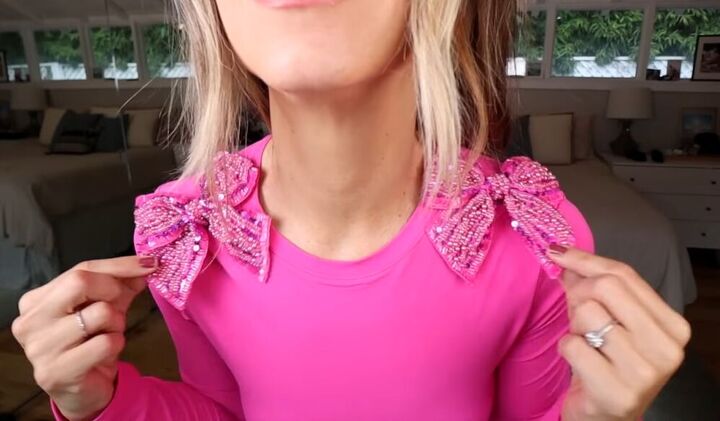
I also attached bows to the shoulders of my top.
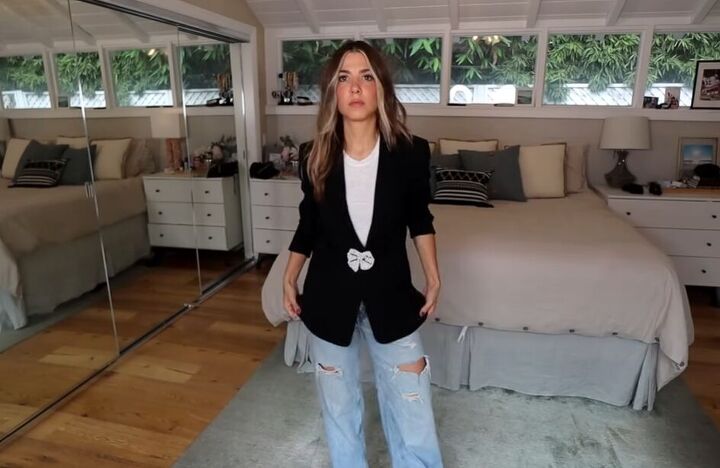
You can add them to the center of a blazer. The brooch acts as a button to close up the blazer.
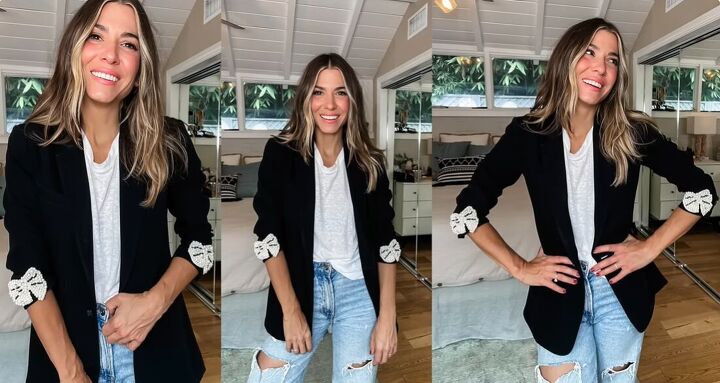
Or on a blazer cuff to add a bit of detail.
Here, I did a slouchy roll on my sleeves and added the brooch over the top.
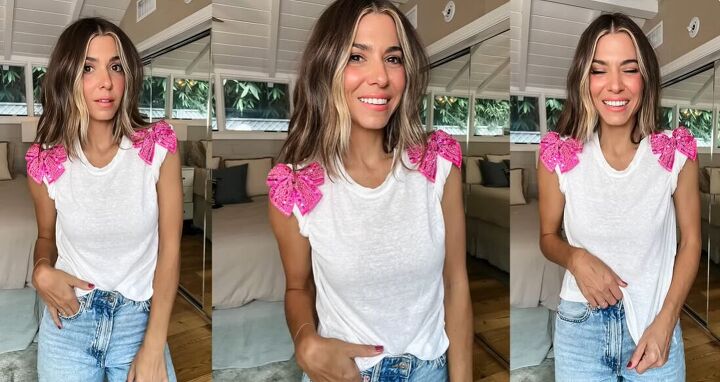
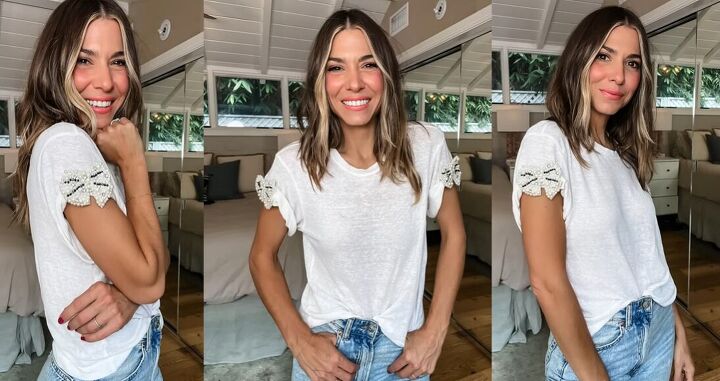
And, here, I did like a muscle T-shirt roll and added the brooch.
Something about the sort of juxtaposition between girly pink bows, a muscle T-shirt, and ripped-up jeans was very much my style.

The brooches don’t need to be on something big - they can be on spaghetti straps on a dress.
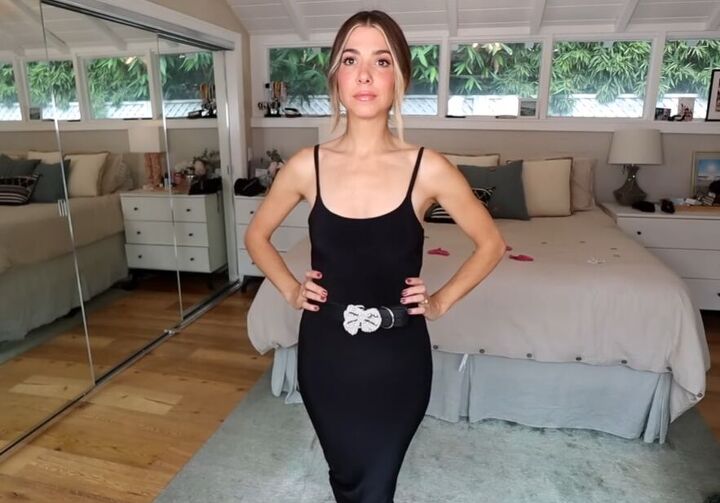
The magnets on the brooch were also strong enough to fit on a leather belt.
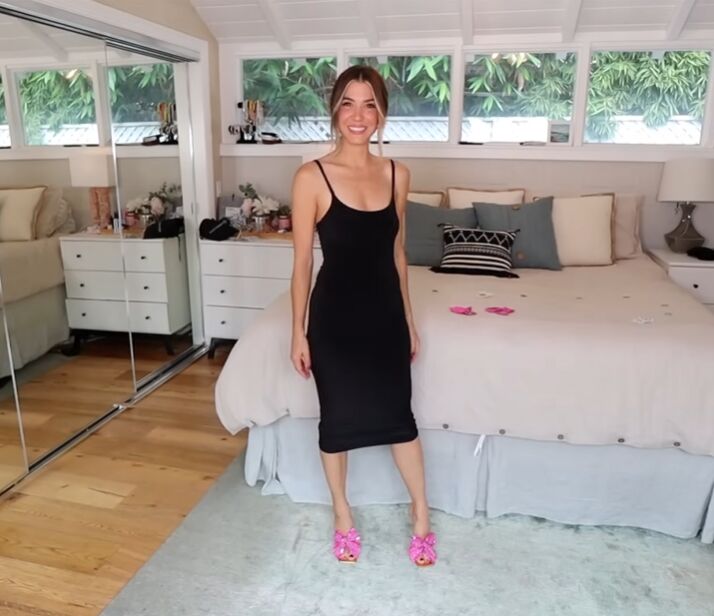
They work on any shoe. If you have a simple strappy sandal, this is an amazing way to make these look like a custom pair of shoes.
I tried to kick the brooches off to see if they would come off when I was walking, but they stayed on!
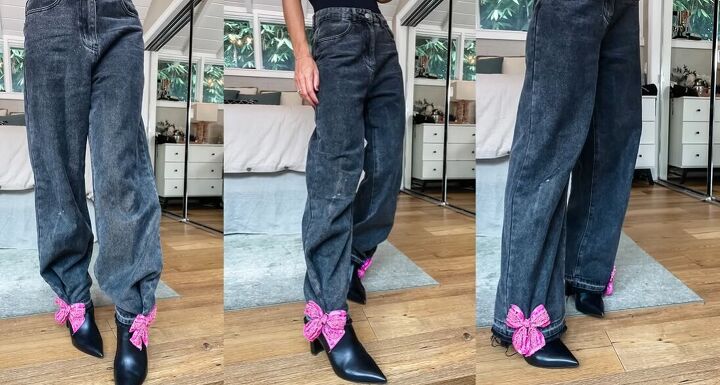
Here, I took the bottom of my jeans, created a cuff, and used the magnetic piece to hold it in place.
It did work but, if I was actually wearing it like this, I would safety pin it to make sure the roll stays in place. I'd then cover the safety pin with the bow.
You can add the brooch to the back of the heel, the front of the heel, or the toe of a heel - these could go on any boots.

Here, I’ve used it to close a waistcoat that didn’t have any buttons, so previously, I didn’t have anything to close it.
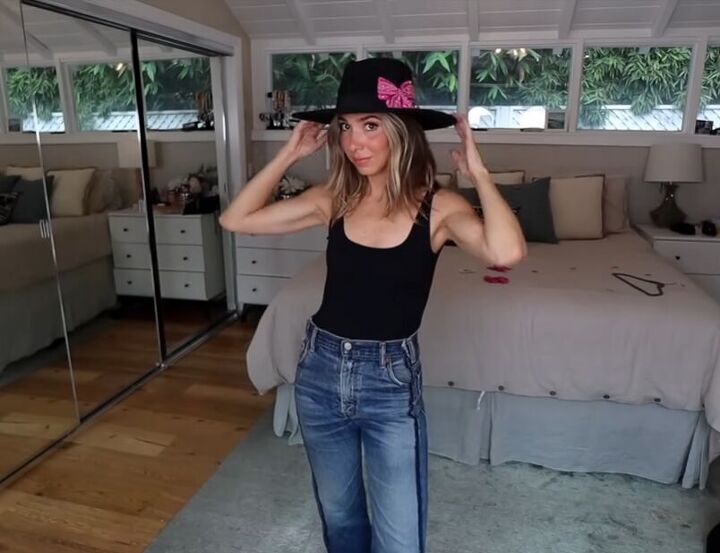
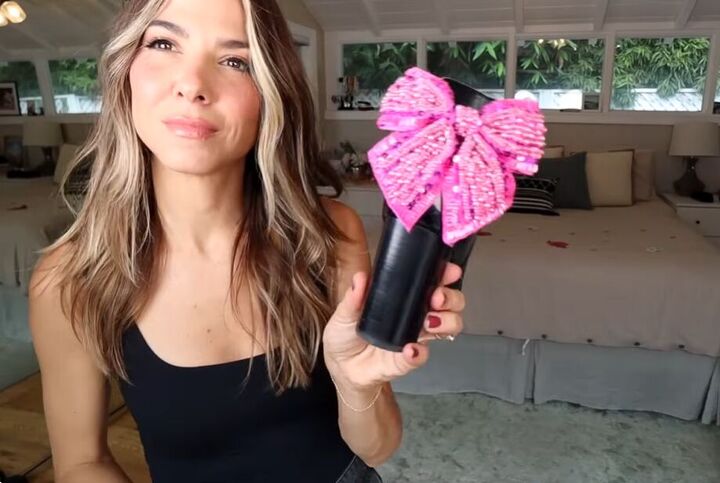
And lastly, I’ve added it to a wide-brim hat. Because the material of the hat is quite stiff, I used a brooch that has two magnets attached to it one on either bow flap instead.
Easy DIY bows
I really want you guys to think outside the box. Imagine the applique that you will choose - your brooch doesn’t have to be a bow like mine; it can be whatever you want.
So, the aesthetic and the overall presentation are going to entirely transform depending on what the design is, but the functionality will be the same. These brooches add a lot of visual interest.
There is no item of clothing that I tried to put the brooch on where it did not look good.
All it takes is a magnet on one side and a magnet on the other, and boom, you have an instant brooch that doesn't damage your fabric the way a safety pin would.
Next, check out my Easy No-sew Ruffle T-shirt Upcycle Tutorial.
The author may collect a small share of sales from the links on this page.


Comments
Join the conversation