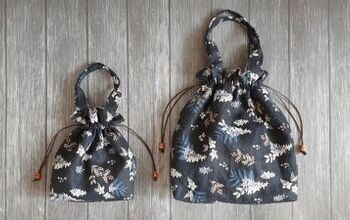
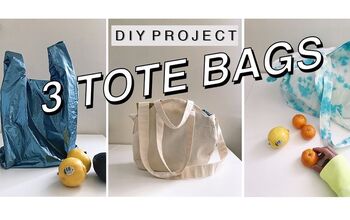
Quick and Easy DIY Drawstring Bag

This simple drawstring bag is a great way to make something useful out of leftover fabric. It is quick, it is easy and it is so fun! I love this drawstring bag and am excited to see what uses I can find for it.
Tools and materials:
- Fabric
- Scissors
- Pins
- Thread
- Sewing machine
Make your strap
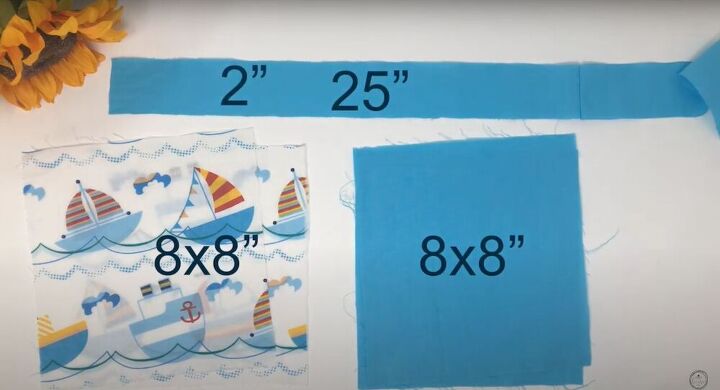
Start with two pieces of square (eight by eight) patterned fabric, two pieces of single-colored fabric in the same size, and one piece of plain fabric that is 25 inches long and two inches wide. Fold your 25-inch long fabric inwards and over as you would when making bias tape. Iron the edges down and sew. This will be your strap.
Form the bag
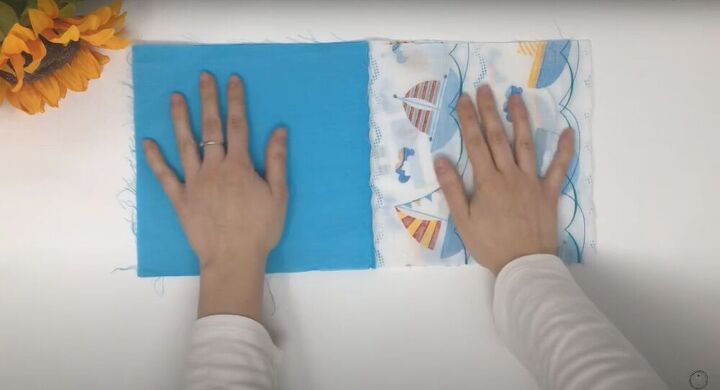
Take one piece of each of your squares and put them together, right sides together. Sew along the top edge. Repeat with the second pair and lay both out flat. Place them together, right sides together, with the matching fabrics meeting up. Pin the seams to keep them aligned and sew around the rectangle you’ve formed, leaving an opening on one side where the two fabrics meet.
Finish the bag
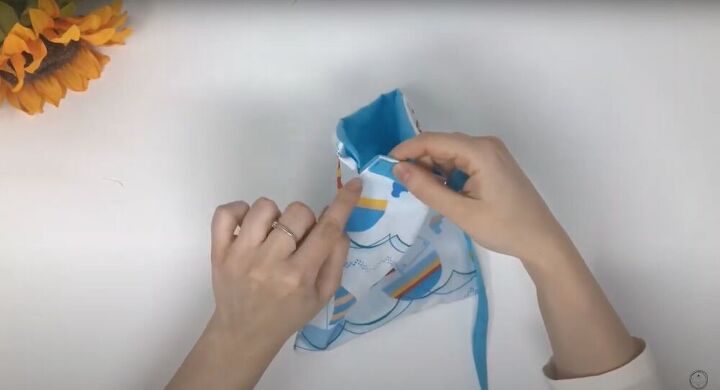
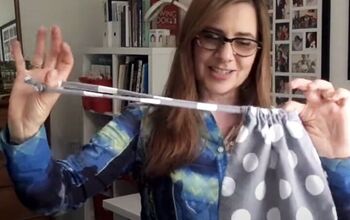
Using the gap you left, turn the bag right side out. Push the blue lining into the bag and you should be left with a small opening by one of the corners (as pictured above). Weave your strap through that lining using a safety pin. When the strap comes out the other end, tie a knot and you’re done!
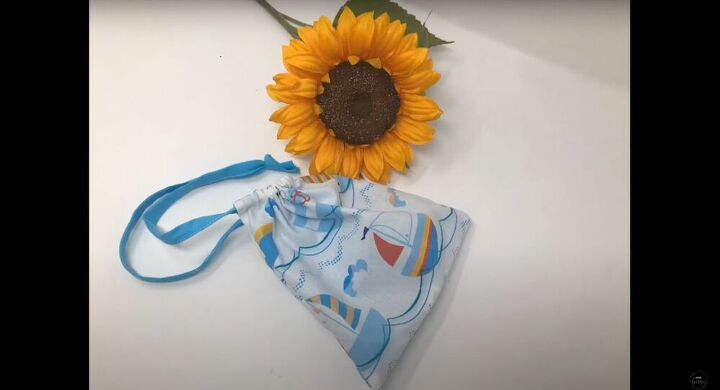
This DIY drawstring bag is so easy to make and doesn’t use much fabric. It is the perfect answer to finishing up those leftover pieces. If you’re looking for an easy and useful project, this is the tutorial for you!
The author may collect a small share of sales from the links on this page.


Comments
Join the conversation