DIY an Easy Drawstring Bag in One Hour

I made a pair of boxer shorts in a previous video and had some scrap fabric left over. It was just enough to make a cute DIY drawstring bag.
So I’m going to show you how to sew a small drawstring pouch in an hour or less.
Best fabric scissors!
Tools and materials:
- Scrap fabric
- Pins
- Scissors
- Ruler
- Sewing gauge (optional)
- Safety pin
- Iron
- Sewing machine
1. Cut the fabric
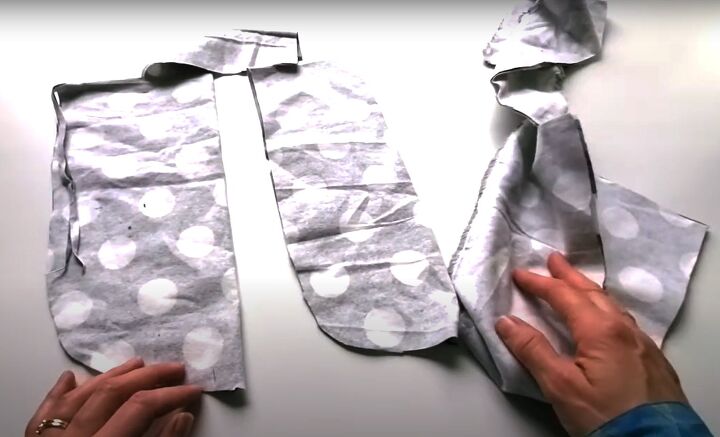
I had two pieces of fabric from where I cut out the crotch curves on the boxer shorts. They were 8 to 10 inches (20 to 25 cm) long and about 8 inches (20 cm) wide.
You can make your drawstring bag DIY any size you like, these were the scraps I had available.
I also had a long strip of fabric left on one edge. You’ll need a piece long enough to go around the circumference of the bag plus about 12 inches (30 cm).
Mine is roughly 30 inches (75 cm) long.
As my main bag pieces weren’t the same size, I lay the smaller one on top of the larger one and trimmed them to the same size.
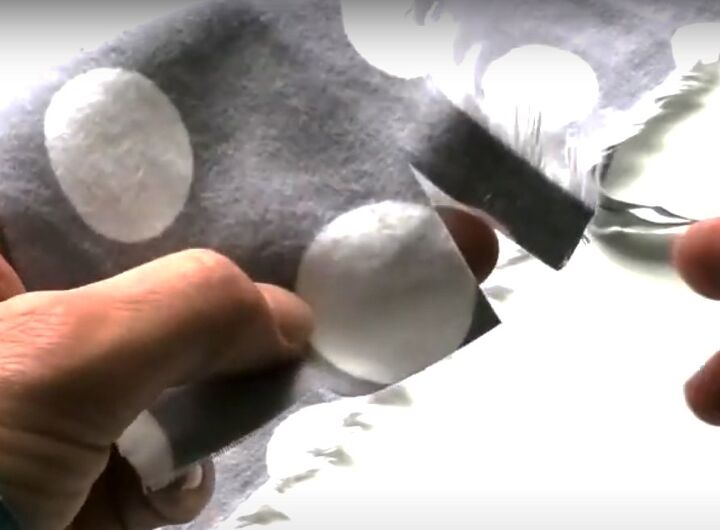
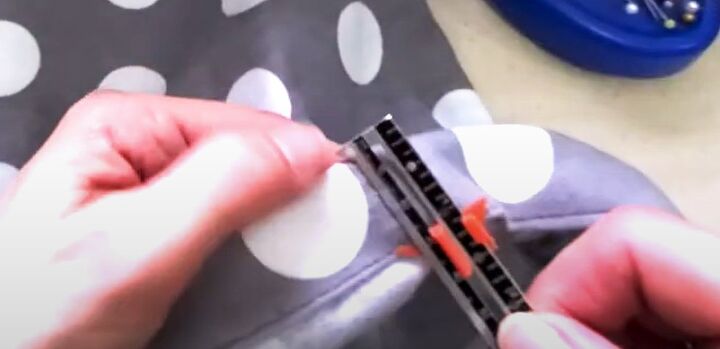
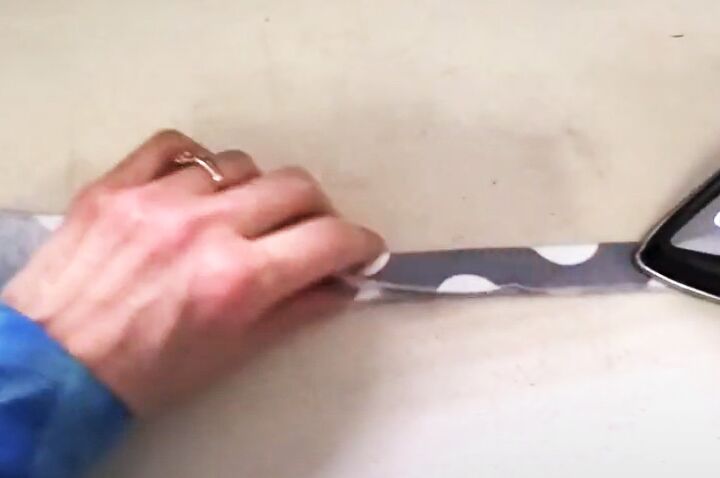
In order to cut a long strip of woven fabric, make a small cut at one end.
Grab hold of the fabric on either side of the cut and rip it apart.
It will tear cleanly between two threads. I cut mine to 1.5 inches (4 cm) wide.
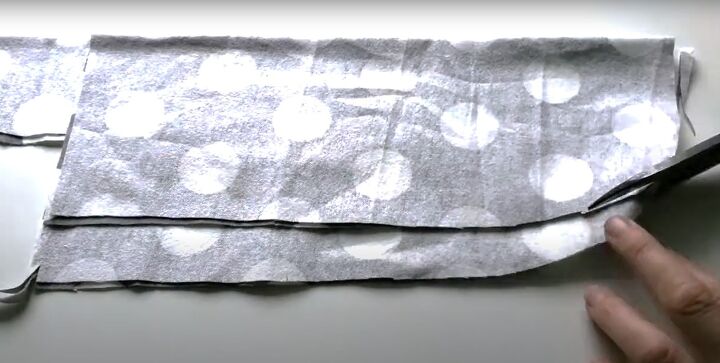
2. Sew the main bag seam
Open out the two main pieces and place them together with the right sides facing.
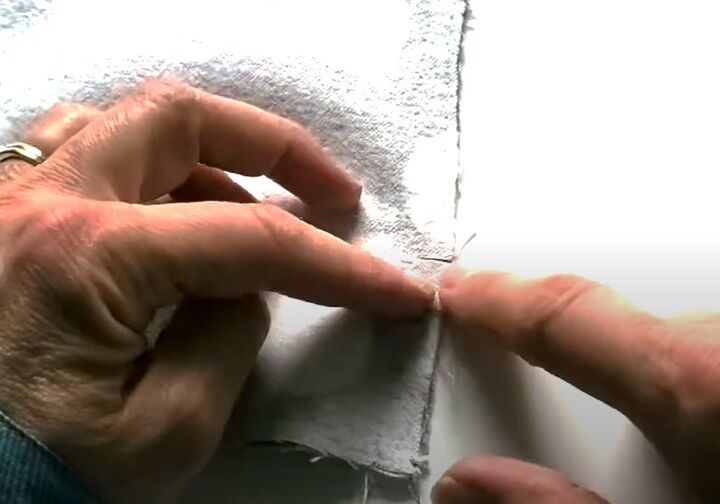
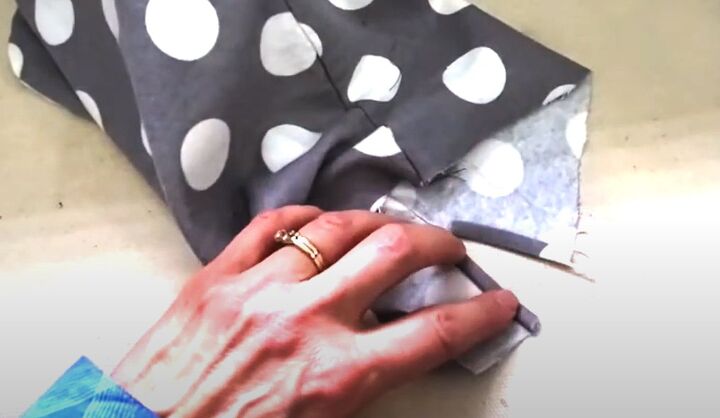
Cut a notch 2 inches (5 cm) from the top edge down one side edge.
Starting from the notch, sew the two pieces together down the rest of that side, along the bottom and up the other side.
Take a seam allowance of 0.75 inches (1.5 cm).
Zigzag or overlock stitch along the edge of the seam allowance.
Iron the pouch flat.
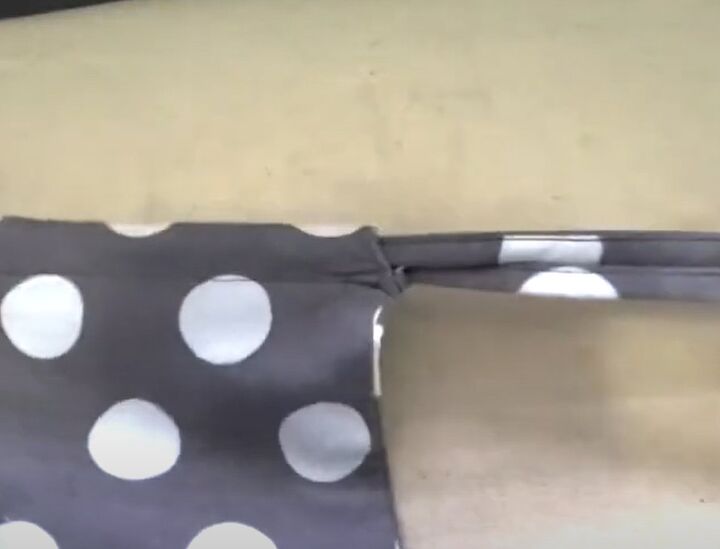
3. Top placket
Turn the bag right side out.
Push the seam right to the edge all the way around and press it flat.
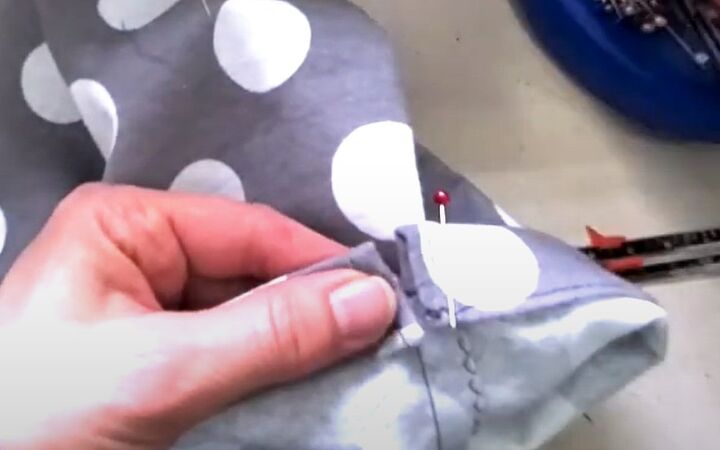
Separate the two sides at the top edge.
Extend the notch to the stitch line so you can press the seam allowance flat on either side of it.
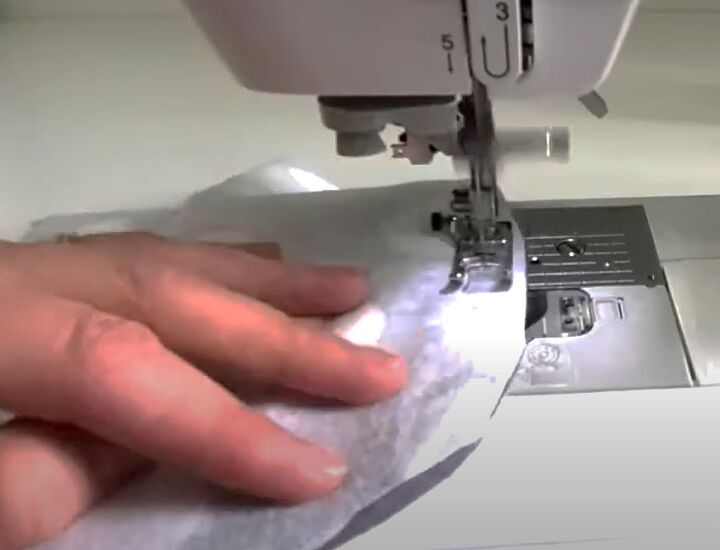
Turn the raw edges under and press them flat.
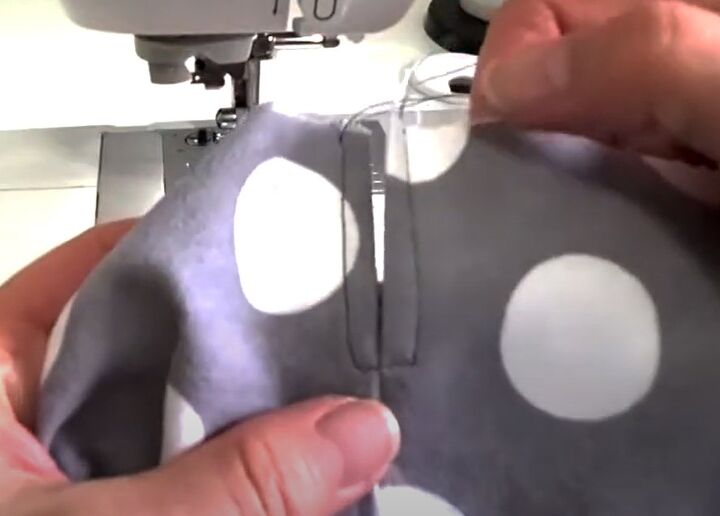
Sew them in place down each outside edge and straight across the bottom of the opening.
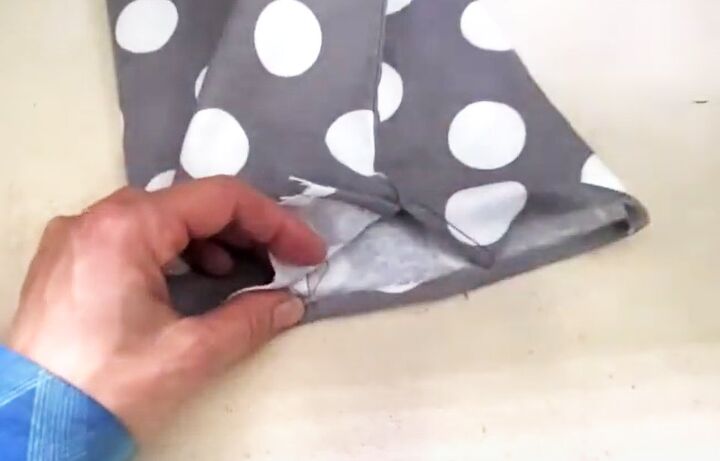
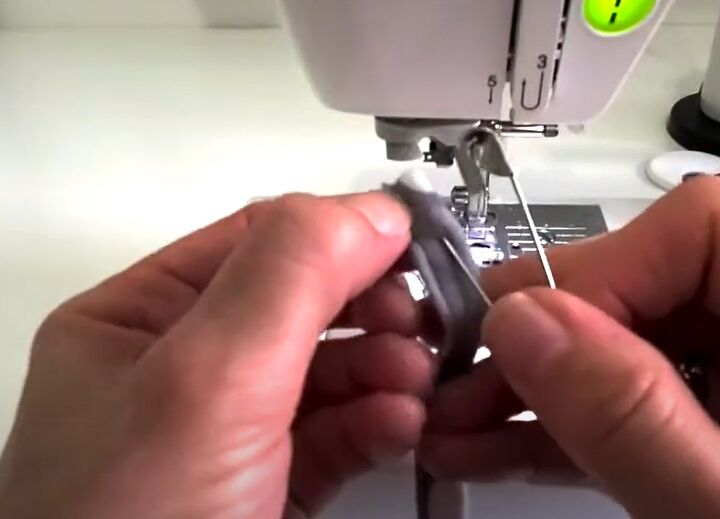
4. Make the top casing
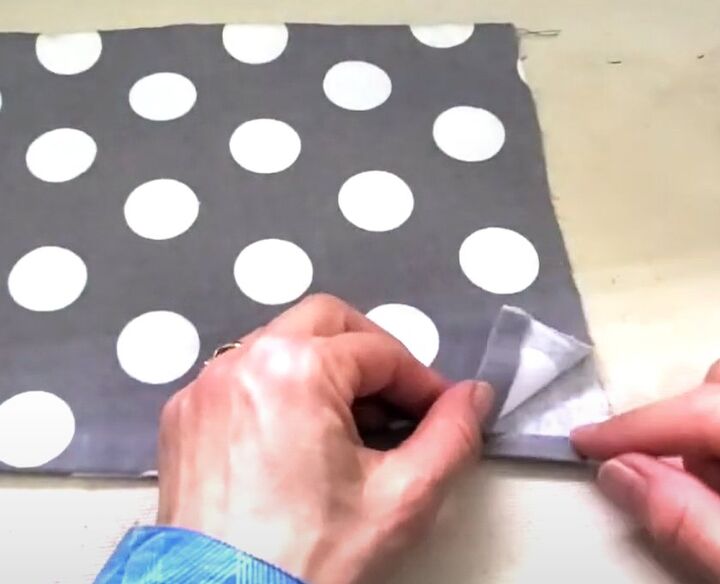
Turn the top edge of the pouch in by 0.25 inches (0.5 cm) and press.
Sew it down close to the edge, tucking the corners in either side of the placket.
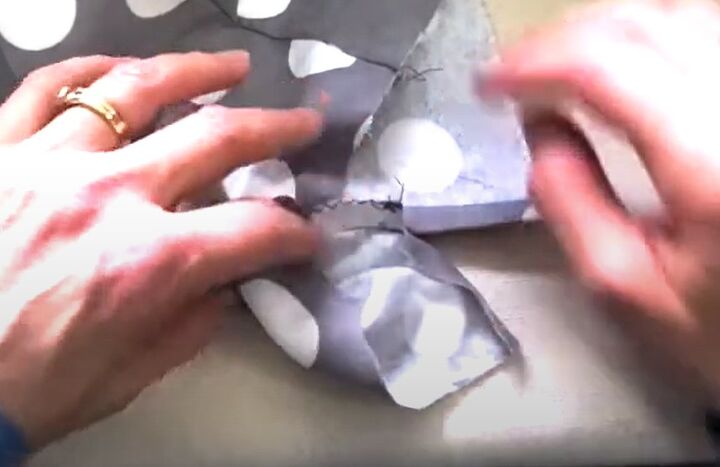
Using a sewing gauge if you have one, turn the top edge by 1 inch (2.5 cm) and pin it in place.
Make sure the top edges of the placket are even.
Sewing along the existing stitch line, sew the casing in place and press it flat.
5. Make the drawstring
Fold the long strip of fabric in half lengthways, with the wrong side inside, and press.
Make sure the raw edges are together all the way along.
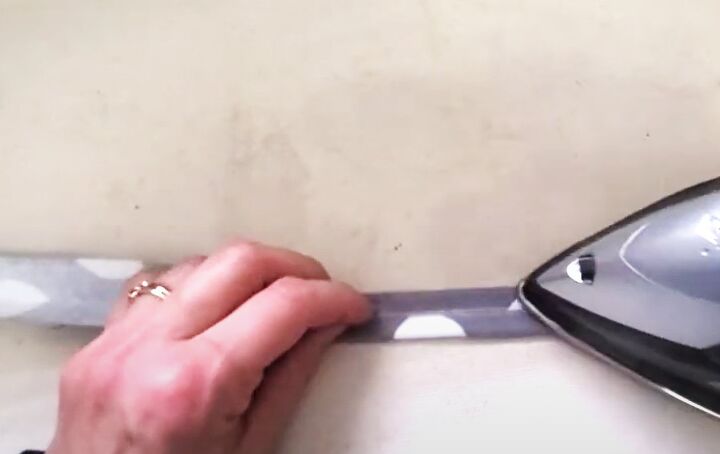
Open out the strip. Still with the wrong side inside, fold both long edges towards the middle crease and press.
Finally, fold the strip in half lengthways along the center crease and press again.
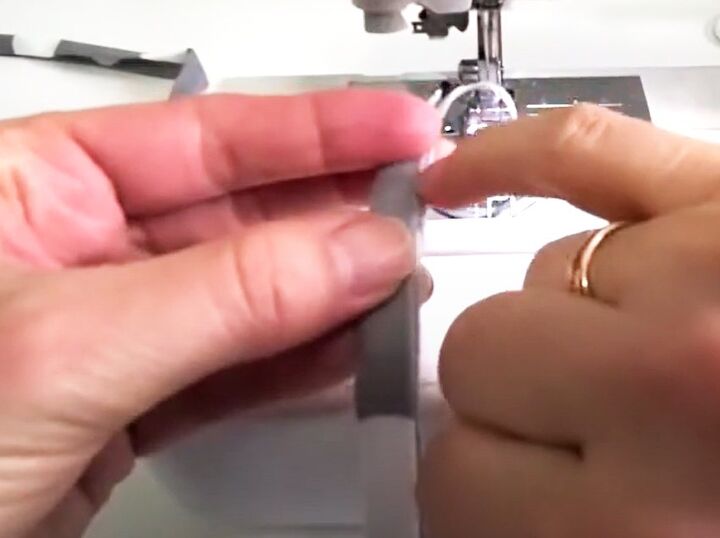
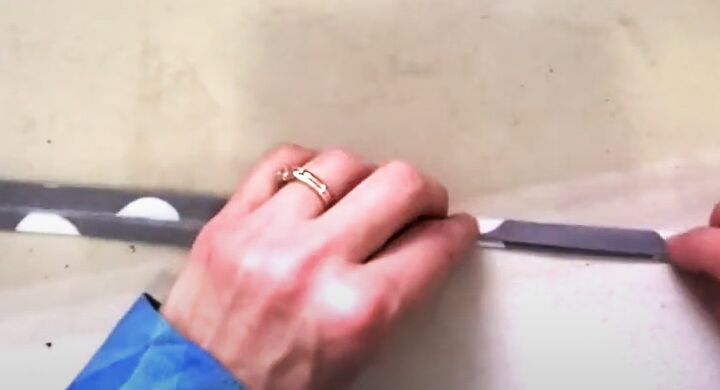
Sew the two sides together as close to the edges as you can.
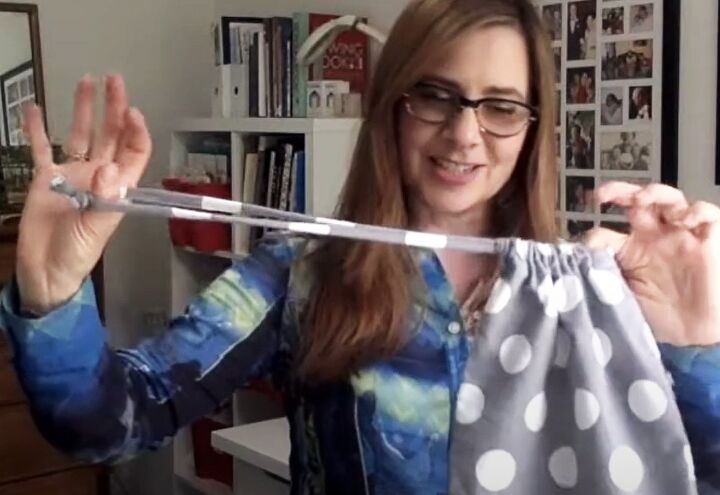
6. Attach the drawstring
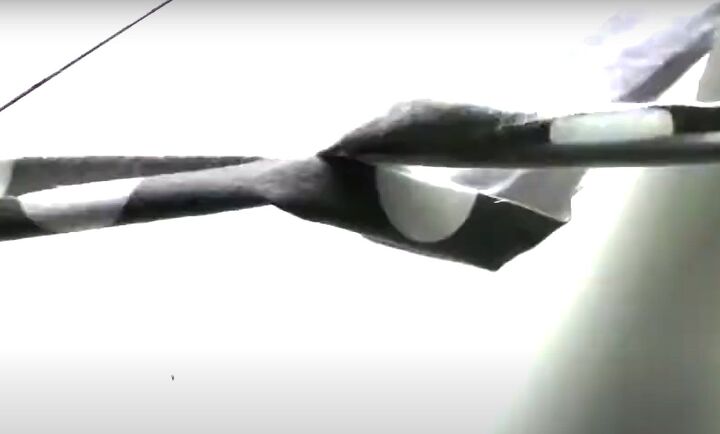
Insert a large safety pin at one end of the strap.
Feed it through the casing through one side of the placket and bring it out the other side.
Keep the drawstring flat as you thread it through.
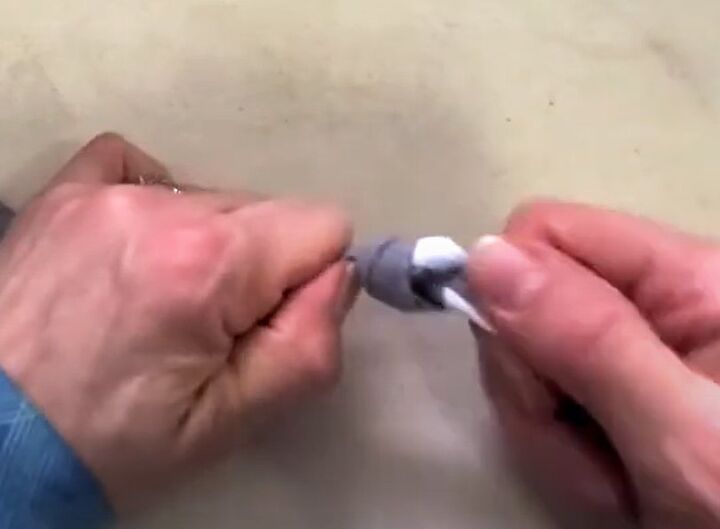
Even up the two ends and knot them together, pulling the knot tight.
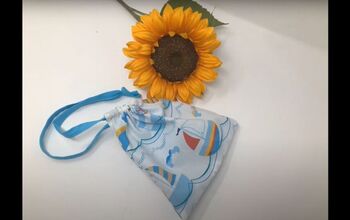
Drawstring bag DIY
If you made the boxer shorts earlier, this would make the perfect gift bag to put them in!
You could make a collection of them in different fabrics and sizes as gift bags for birthday and Christmas presents, or just use up fabric scraps as you get them.
I love the idea of using surplus fabric to make something useful. And as I still have a long strip left over, I’m going to turn it into a scrunchie.
What do you think of this idea? Do you find it satisfying to make use of fabric that would otherwise be thrown away? Please let me know in the comments.
Next, learn How to Add a Zipper to a Bag in 6 Easy Steps.
The author may collect a small share of sales from the links on this page.


Comments
Join the conversation